

| Armor | Weapon | Food |
| Journal entry | Smuggler's journal | Valve outer wheel | Valve inner wheel | ||||
| Valve wheel | Pitch | 752 Coins | 4 Uncut sapphire | ||||
| Uncut emerald |
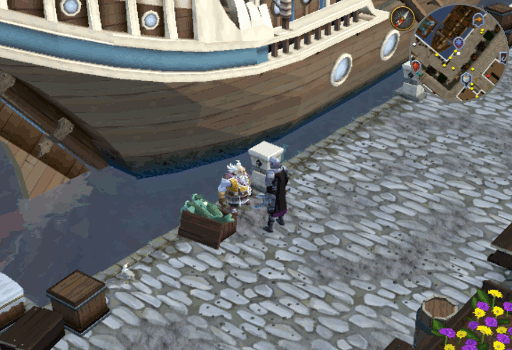
- Talk to Gudrik at the Port Sarim dock and ask him about A Shadow Over Ashdale. He will tell you that supply ships to Ashdale have discovered that the island has been completely deserted and he would like you to go investigate it for him. Accept the quest and board the ship moored at the dock to the West. Make sure you remember to bring some food, particularly if you are a lower level! You will be able to get more food as monster drops and from a respawn point, however, it is not wise to go in completely empty handed.
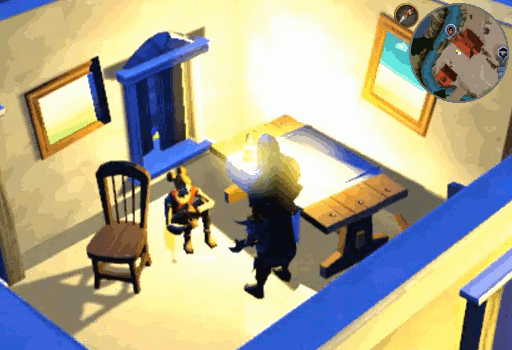
- Once you arrive at Ashdale, head North up the stairs into the town. On the West side of the street, you'll come across a building with lights on and find Lucy inside. Talk to her and go through the options to learn that the townspeople have been taken away by mysterious creatures that recently appeared on the island. Ask her how to reach the other side of the island and she will suggest using the sewer system which can be accessed through the storm drain behind her house.
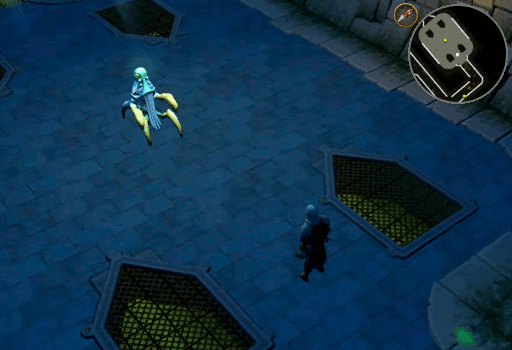
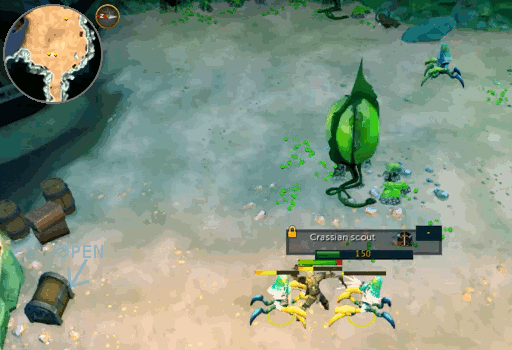
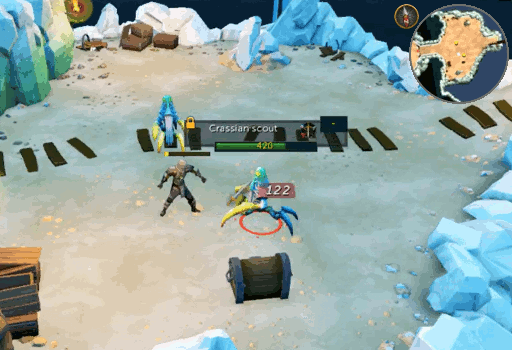
- Walk down the stairs behind the house and enter the storm drain to find yourself in the sewers. Follow the tunnel around until you reach the large room. After a brief cutscene, you will be attacked by a Crassian scout. It will use attacks scaled to your combat level, so don't underestimate it. If you happen to die, you will respawn at the start of the sewer. Once the scout is dead, continue following the sewer until you encounter another scout in a room with a ladder. Kill this one as well and climb out of the sewers.
- You will now find yourself back on the surface of Ashdale, behind a house on the water's edge. Head around the house to the West - if you are in need of more food, a barrel can be found just West of the bridge you will cross as you head South - continue South until you find two more scouts. Kill them both, then open the gate and enter the building.
- Search the table in the South East corner to find a Journal entry detailing the writer's plan to include an entrance to the cave system below Ashdale into a house he is building. Then inspect the bust along the West wall to reveal a hidden staircase in the floor. Climb down this to access a cavern containing two more scouts.

- Kill both scouts and search the body of the dead smuggler to find a Smuggler's journal. Reading it will inform you that the caves were being used by smugglers who accidently awoke the Crassians, explaining why the creatures seem to have suddenly appeared from out of nowhere.
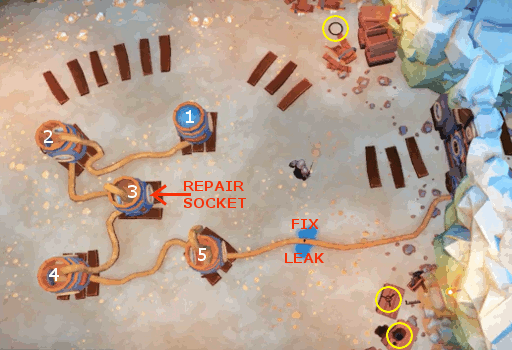
- Now continue east to find a rather simple puzzle involving barrels of water which open the door.
- Take the Valve inner wheel, Pitch, and Valve outer wheel from the boxes near the door (circled in yellow).
- Combine the two valve parts to make a Valve wheel.
- Repair the socket of the middle barrel using the wheel.
- Use the Pitch on the leaking section of the pipe near the door to repair it.
- Starting with the North East barrel, move the water from barrel to barrel by turning each of the valves in order. Eventually, it will reach the door and unlock it.
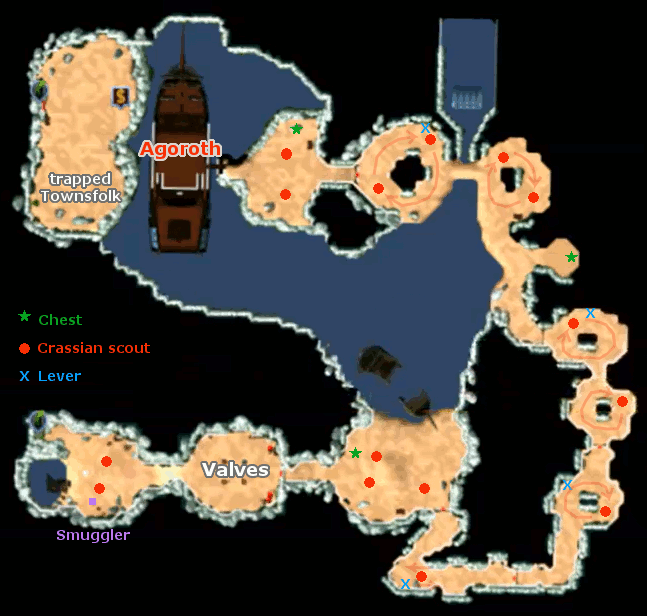
- In the next cave you'll find the missing townspeople trapped inside Crassian pods. Ignore these for now and kill the scouts in this room to break the barrier in the South East corner. You can search the chest in this cave to find 125 coins and an Uncut sapphire. Opening this chest, and the others, will complete the Shadow Hanging over Me requirement for the Master Quest Cape.
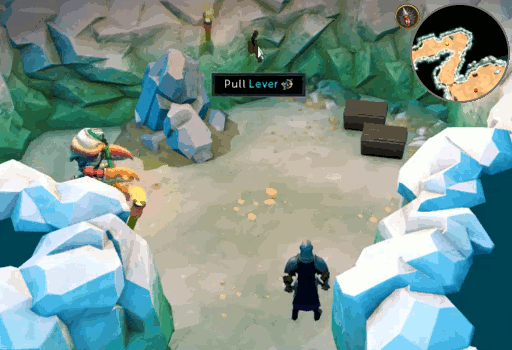
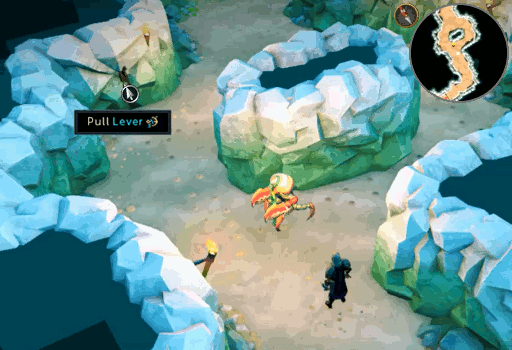
- Once the scouts are dead and the barrier is open, go through the broken barrier and you'll encounter a Crassian warrior that cannot be attacked. If it spots you, you will be ki1lled in one hit before respawning at the barrier. To get past the warrior, you must pull a lever when it is not looking. This lever will activate a spike trap, ridding you of your opponent. Note that stepping up to the edge of the wall will play a cutscene showing the scout and lever, be sure to view this before attempting to pull the lever.
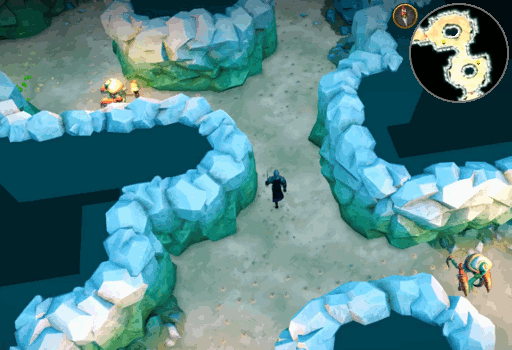
- Killing this scout will once again open a barrier farther in the tunnel. Continue along the corridor until you reach another warrior. This one will be circling a room with a barrier preventing you from continuing. You will once again need to pull a lever without being seen. This lever can be found directly North of your tunnel.
- In the next section is a 2 for 1. First you will find a scout wandering a ring, here there is no barrier and therefore no need to kill it. You will simply need to wait until he walks by then follow along his heels to the next area. Unfortunately, because of how the next area lines up, before following the first scout, you will need to know where the second one is located. Thankfully in this second room, you will find a third lever along the North East corner allowing you to quickly dispatch the scouts and open the next barrier.
Note: On the way to the next area with warriors, there is an offshoot to your right that has a chest containing 500 coins and 3 Uncut sapphires. Opening this chest, and the others, will complete the Shadow Hanging over Me requirement for the Master Quest Cape.
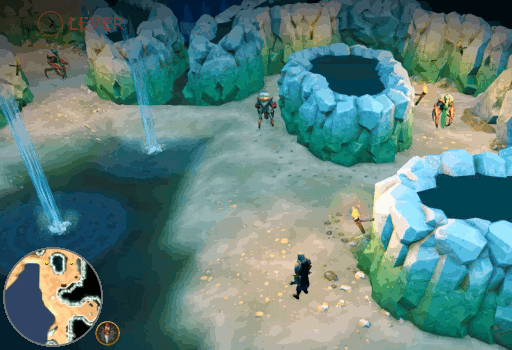
- The next cave is a little more tricky as there are 4 of them patrolling two circles. As with the other scouts, you must avoid being seen and make it past them to a lever. Getting past the first two should be relatively easy if you follow just behind one of them. This will get you to a small landbridge between the 2 loops. Follow behind one of the next 2 scouts until you reach the North East corner of the loop. Here you will find your fourth and final lever, pull the lever in order to kill the four warriors and break the barrier.
- Continue West and kill the 2 scouts in the next area. Once they are defeated, be sure to loot the chest to obtain 132 coins and an Uncut emerald. Opening this chest, and the others, will complete the Shadow Hanging over Me requirement for the Master Quest Cape.
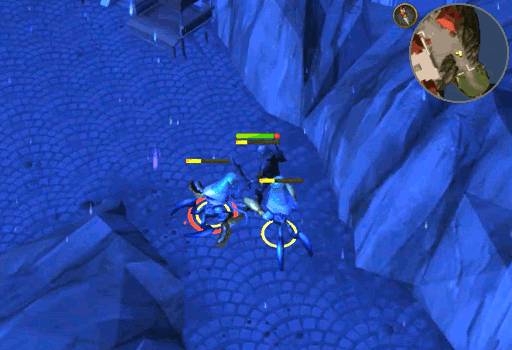
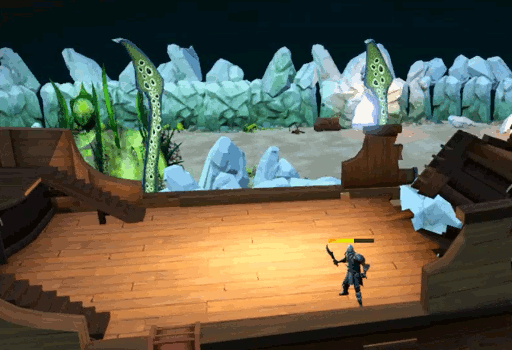
- Board the ship and 4 tentacles will appear around it. You must now kill each one. While doing so, you will notice the tentacle begin to spin. After about 5 seconds, the tentacle will slam to the deck. If you are standing within range, you will be stunned and damaged. You can avoid it, by attacking a tentacle then running off and attacking another once once it begins to spin or by just running out of range. Once all 4 are dead, a cutscene will play in which a large creature called Agoroth breaks through the deck.
Note: If you happen to Log-out during the final boss fight, you will respawn by the dock in Port Sarim. You will need to restart the fight/return to Ashdale. Simply board the ship again.
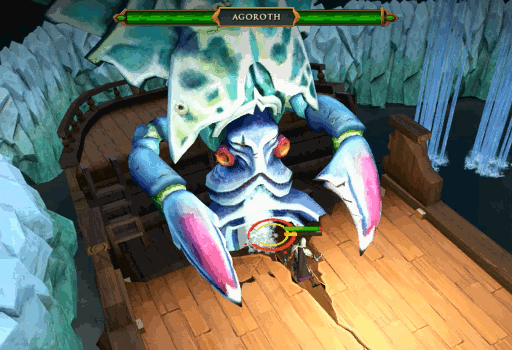
- As with previous combat in this quest, Agoroth's attacks and health (up to 39,600) are scaled to your combat level. It will mainly attack you with its claws, but has a few other attacks.
- Water jet - Occasionally Agoroth will launch a stream of water that it will spray from Right to Left or Left to Right and stop in the middle of the deck. It is recommended to move out of the way as getting hit can knock you back and deal rapid damage.
- Tentacles - Similar to the 4 tentacles you defeated earlier, 1 will appear on either side of the boat if you retreat from Argroth's main body too far. They will begin to spin and slam on the deck if you are in range. Getting hit by one will stun and damage you as before.
- Acid - At half health, Agoroth will shield itself using its claws and you will see shadows form on the deck. Move away from these shadows! Within a few seconds, acid will appear in those locations and deal a large amount of damage if you are hit. Note that Agoroth will be immune to damage that you deal by hand, but area of effect and over time attacks can still damage it - Swiftness & Sunshine or Combust & Dismember respectively. You will perodically see this attack until Agoroth is defeated.
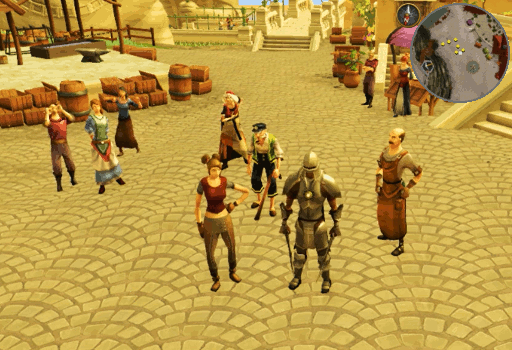
- Once Agoroth is dead, the townspeople will be freed and you will all travel to the surface. Here, Lucy and the others will thank you for all your help and you will be asked if you wish to return to the mainland. Saying No will allow you to either travel back on your own or to explore Ashdale a little bit. When you are ready to leave, speak with Lucy again. Once you have said Yes, you will appear back in Gudrik's house and can claim your reward by asking for one.
Congratulations! Quest Complete!

Note: You can still access the dead man's chest in the Ashdale Caves to repeat the battle against Agoroth once (Free Players) or twice (Members) a week. Doing so will earn you a black pearl with bonus xp in any skill equal to that of a Medium fallen star or a reward of coins.
In addition, the chests which must be looted to complete the Shadow Hanging over Me requirement for the Master Quest Cape will also be available in their normal locations if for some reason you missed them. See step 6 for where they can be found.
This Quest Guide was written by ChathMurrpau. Thanks to previous guide writer Javezz, as well as Mr Tudjay, The Cardinal, Ezekiel_3000, LizzyBoredom, and whyamistupid for corrections.
This Quest Guide was entered into the database on Tue, Apr 22, 2014, at 01:11:35 PM by Javezz, and it was last updated on Sat, Mar 21, 2020, at 03:08:59 PM by Chath.
If anything is incorrect or missing, or if you have any new information to submit to this database, please submit it to us on our Content Submissions Forums.
If you see this guide on any other site, please report it to us so we can take legal action against anyone found stealing our content. This guide is copyrighted by RuneHQ, and its use on other sites is expressly forbidden. Do not ask if you can use our guides or images, the answer is and always will be NO!
Print this page with images - Back to the Quest Guide Index Page - Back to Top
