

Fate of the Gods
Kindred Spirits
Mahjarrat Memories
Mighty Fall, The
One of a Kind
To fully participate in the backstory and characters of this quest, it is strongly recommended to complete the following before starting.
- The Chosen Commander
- Ritual of the Mahjarrat
- Koschei's Troubles
- The World Wakes
- The Death of Chivalry
-
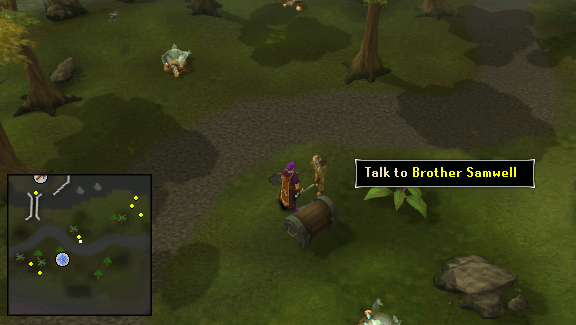
Talk to Brother Samwell on the path to the Temple of Paterdomus and you will find that somebody has murdered his fellow brothers and left him alive, however it appears that the souls of the dead brothers are trapped in their bodies. He'll then ask you to help him look for evidence to identify the killer and bring them to justice. Accept the quest and he'll tell you to search the area and the bodies for clues and give you an Investigator's notebook to note down anything you find.
-
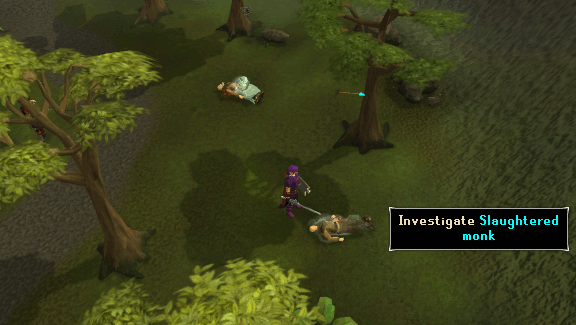
Investigate the three bodies of the slaughtered monks and choose each option to add clues to your notebook. Then investigate the plant to the East of Brother Samwell to find a Lost ring and the tree to the South to find a crystal-tipped arrow stuck in it.
-
Talk to Brother Samwell again and tell him you've found all the clues and he'll mention that the ring and arrow must have been elven crafted as they contain crystal. Choose an option to encourage him to remember and he'll mention that the Godess Seren shattered herself into shards of crystal. You'll then ask him if he's sure there weren't any witnesses and he'll tell you he saw a strange man nearby carrying a bone sack and suggests you talk to him.
-
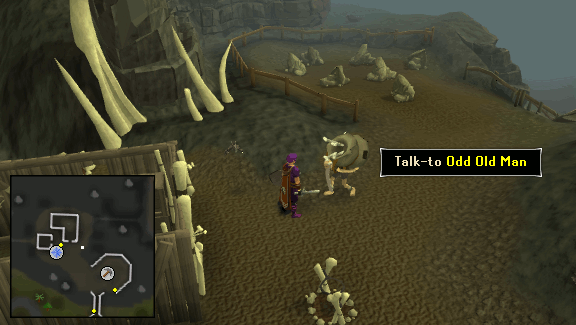
Head North West up the path to the Odd Old Man and ask him about the slaughtered monks and he'll tell you he didn't see anything, however he seems shifty about it. Choose to either threaten or persuade him to talk and you'll ask him if he's seen any elves. He says he might have done and you'll need to persuade or threaten him again to get him to admit he saw an elf go by heading East. Make him talk once more and he'll say he heard screams nearby and witnessed a tall, hooded figure heading East.
-
Go back and talk to Brother Samwell and let him know what the Odd Old Man told you. He'll then ask you who you thought the figure was, choose an option and he will suggest you try and find a trail to follow.
-
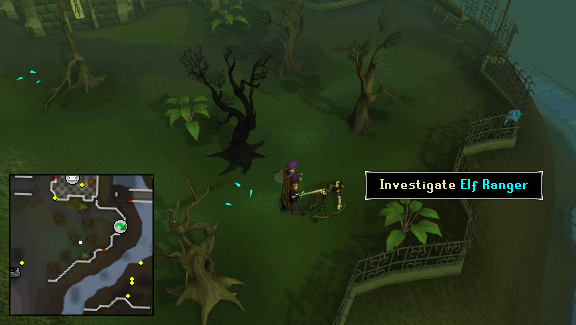
Head East the Temple of Paterdomus and follow the trail of blue elven crystals on the ground South East to find the body of an Elf ranger. Investigate it, choosing all options, and then investigate the fence to find a ripped piece of blue cloth caught in it. Investigate the nearby bench to find a Mysterious letter and a plant to find a Lost necklace.
-
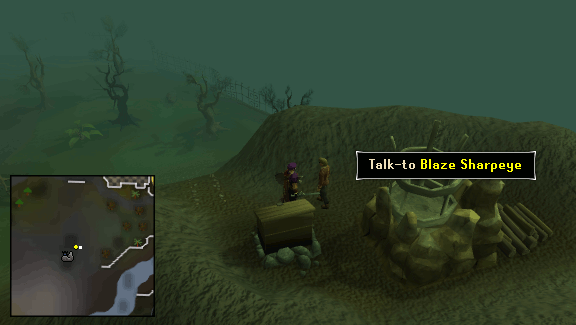
Now go talk to Blaze Sharpeye by the beacon on the hill and ask him about the murdered elf. He'll tell you that he's busy, so choose to persuade or threaten him to get him to answer your questions and he'll tell you he heard the elf scream and he saw the killer disappear into what appeared to be some sort of rift.
-
Next, tell Brother Samwell that you've found all of the clues and he'll say that they suggest the killing is related to Saradomin. Continue to tell him about what Blaze witnessed and he'll tell you that you need to seek help from a friend of his called Valina who can be found at the Wizards' Tower.
-
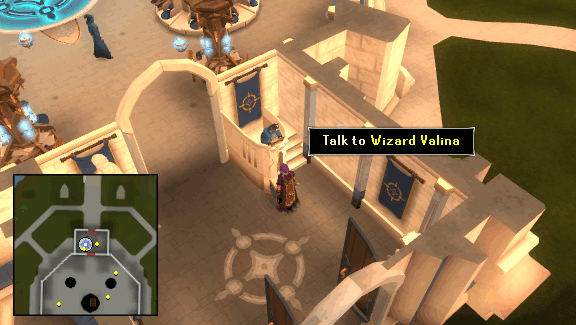
Make your way to the Tower South East of Draynor Village and speak to Wizard Valina in the entrance hall and fill her in on what's happened. You'll then show her your notes and she'll say she can help. Go through the options to learn the following:
- The clues suggest that it is unlikely the murders were not committed by an elf, skilled assassin, or Saradominst.
- The ability to open a rift to telelport would require someone very powerful.
- It is likely that the trapped souls are not related to the murderer and are due to something else.
-
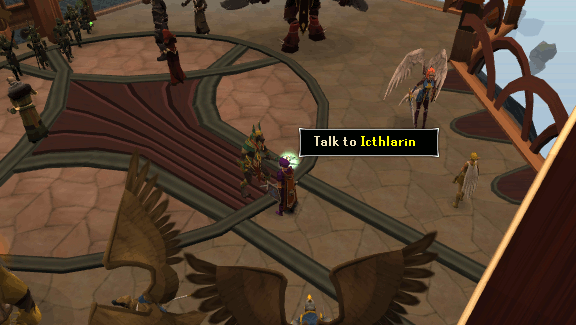
Go back to Brother Samwell and show him your findings from Valina and choose an option for what you think is going on and who committed the crime. He will then suggest that the clues may have been planted and someone could be trying to turn Saradomin and Seren against each other. You'll then say that none of this explains why the souls are trapped and a strange voice will interrupt and offer to explain, at which point the god of the underworld, Icthlarin will appear.
Explain that somebody killed the monks and Icthlarin will tell you that Death has gone missing and therefore there is nobody to sever the tie between the bodies and their soul. Go through the next three options to learn that Icthlarin needs Death so that he can perform his own duty of transporting souls to the afterlife. You'll now show him your findings and he will come to the conclusion that the Mahjarrat Sliske is behind everything.
-
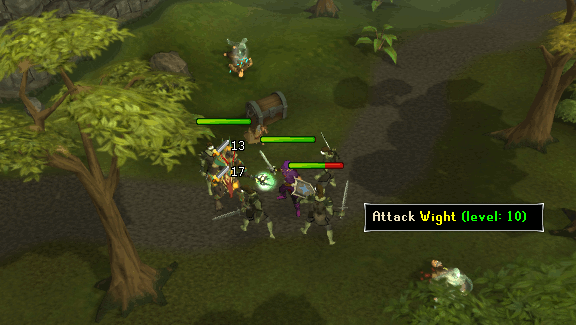
You'll now be attacked by a group of level 10 Wights, kill them and you'll receive an Invitation box. The mask on the box will then explain that Icthlarin is invited to the ascension of Sliske to godhood. Go through the following conversation to learn that Sliske must be gathering the gods and has a plan for each of them. When you're ready to travel to the Empyrean Citadel, open the box.
-
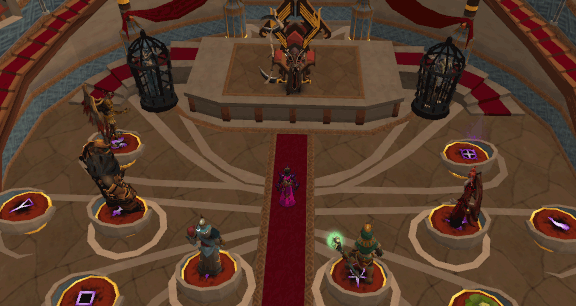
Once at the citadel, walk North into a room containing high ranking followers of several gods including the God Wars Dungeon generals, Zamorakian and Zarosian Mahrarrat, and Ilfeen. Go around the room and talk to the followers and go through the options to find out why they're there. You'll learn that only the gods have been permitted access to the main chamber. Tell Icthlarin that you're ready to proceed and he'll suggest that you investigate the rest of the citadel while he enters the chamber.
-
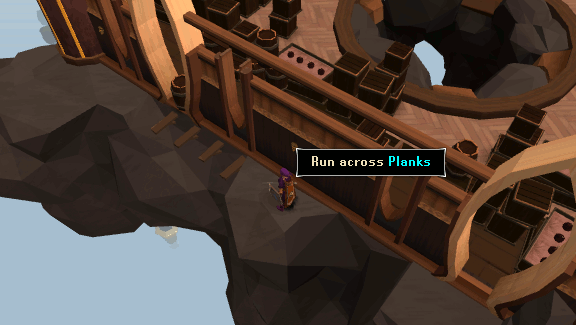
Open the door to the west and you'll find yourself in a storage room. View the window to the North to find you can spy on the meeting of the gods. When the scene is over, head South and jump through the gap, run across the planks, climb down the rock face, climb up the next rock face and finally climb through the obstacle to get around the storage crates and head through the door to the North.
-
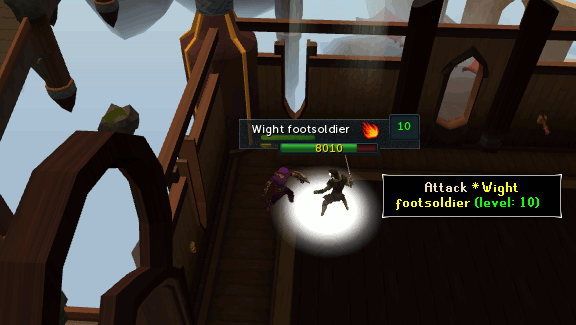
In the next room you'll find a level 10 Wight footsoldier. Pull the lever on the East wall and a beam of light will appear in the room. Attack the Wight and draw it into the light. Kill it and a level 10 Wight ranger will appear. Kill that as well and another wave of Wights will appear shortly after. Kill the footsoldier and ranger and pull the lever on the west wall to light up the last ranger. When they're dead, a final wave of footsoldiers will appear. Finish them off and and view the window to watch more of the meeting. When the scene has finished, continue North.
-
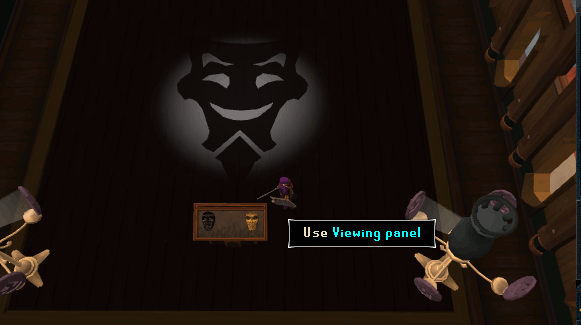
Use the viewing panel in the next room and the two masks will explain what to do. You must rotate the four shadow casters in each corner of the room to create the shadow shown below. Once done, use the window to view another scene from the meeting and continue through the door.
-
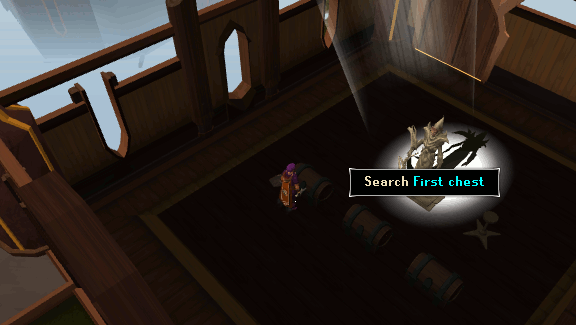
In the next room, talk to the Statue of Death and the mask will tell you that he'll give you Death in return for answering his riddles and the answers are objects in the chests that you must place on the plinth next to him. The answers are as follows:
- I can build castles but melt in the rain, but I trickle down as the seconds drain - Sand.
- I can fall from the sky, but I cannot climb higher. I spring with no legs, I run but don't tire - Water.
- Glass can't create me, but stone and steel do. I'm made by the sun, but out of its view. I can be tiny and also be vast. In the shape of my maker, like a spell I am cast - Shadow.
-
Go through the last door and jump off the ledge, then make your way to the room filled with followers and talk to one of the Barrows Brothers to enter the main chamber. Go through the conversation to learn that Sliske is in possession of the Stone of Jas and that this isn't really his ascension, rather he has planned a competition in which the person who has killed the most gods at the end will be awarded the stone. After some more conversation, Sliske will attack Icthlarin and set the dragonkin free.
-
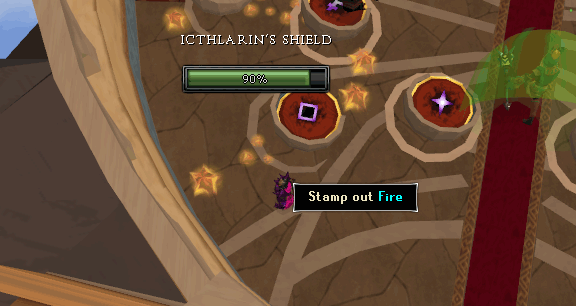
You'll now have to free Death before Icthlarin's shield breaks. Stamp out the fires to the North and unlock Death's cage while avoiding the fireballs and then run back behind Iclathrin's shield. A short cutscene will play in which Death teleports the three of you back to Brother Samwell.
-
Go through the final conversations in which Death discusses the possible outcomes of the events that have taken place.
Congratulations! Quest Complete!
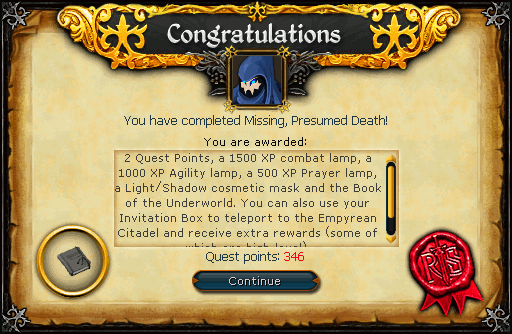
Additional Reward:
After you've completed the quest, you can use the Invitation box to return to the Empyrean Citadel and talk to the statue to claim extra rewards. These are:
- 50,000 Thieving Xp (requires 75+ Thieving).
- 50,000 Constitution Xp (requires 75+ Constitution).
- 30,000 Xp lamp for any skill over level 75.
- 30 Barrows amulets (requires 80+ Combat).
- Two new death animations.
This Quest Guide was written by Javezz. Thanks to premium dank, Lord Rioki, and Dr3amCrush3r for corrections.
This Quest Guide was entered into the database on Tue, Oct 15, 2013, at 05:41:05 PM by Javezz, and it was last updated on Thu, Oct 12, 2017, at 03:53:16 PM by ChathMurrpau.
If anything is incorrect or missing, or if you have any new information to submit to this database, please submit it to us on our Content Submissions Forums.
If you see this guide on any other site, please report it to us so we can take legal action against anyone found stealing our content. This guide is copyrighted by RuneHQ, and its use on other sites is expressly forbidden. Do not ask if you can use our guides or images, the answer is and always will be NO!
Print this page with images - Back to the Quest Guide Index Page - Back to Top
