

Ability to kill a level 54 enemy.
-
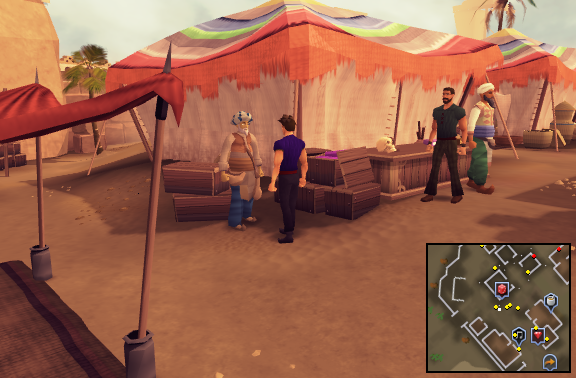
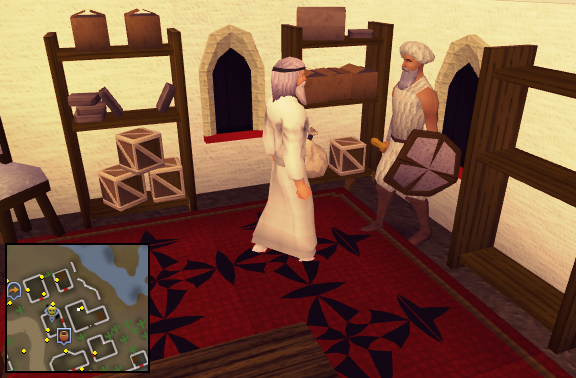
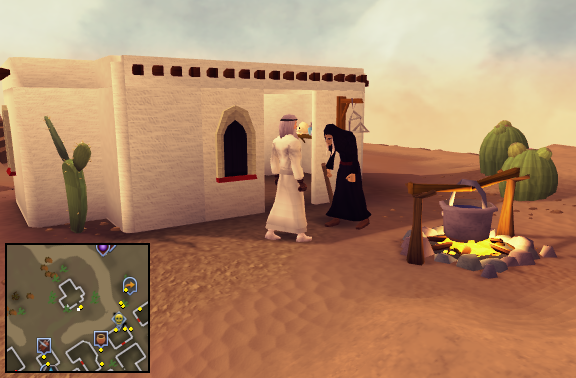
Talk to Ali Morrisane, near the cactus patch in Al Kharid, and he will tell you that he is the best tradesman. Ask him why then is he still selling goods from a stall. He will admit that if he had more staff, he would be able to sell much more. Offer to help him and will send you on a mission to find his nephew in
Pollnivneach. Agree to help him.
Note: If you have not got a Desert disguise already, then buy a Fake beard and Karidian headpiece from Ali Morrisane. Use both items on each other to make the disguise. The easiest way to reach Al Kharid is via the Amulet of glory (4) teleport to Al Kharid, the Ring of duelling(8) teleport to the Duel Arena or the Al Kharid lodestone Home teleport.
-
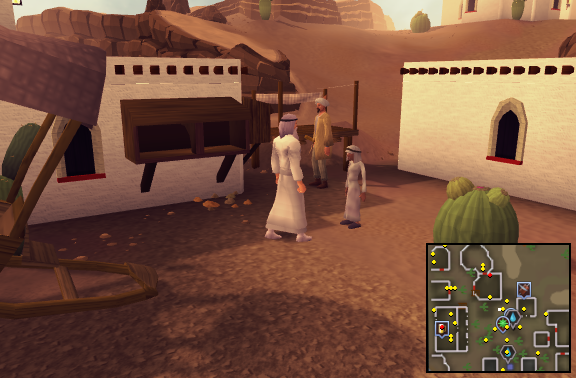
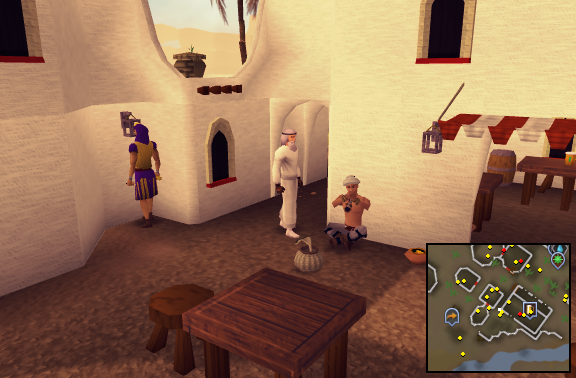
Grab your desert equipment and make your way to Pollnivneach in the middle of the desert. Once there, talk to one of the Street urchins in the center of the town. Ask him for some information about the town and its inhabitants. Finally ask him about Ali's nephew.
Note: The easiest way to reach Pollnivneach the Ring of slaying (8) teleport to Sumona in Pollnivneach or via a carpet ride from the Shantay Pass to Pollnivneach for the fee of 200 Coins (100 Coins with Ring of charos (a).
-
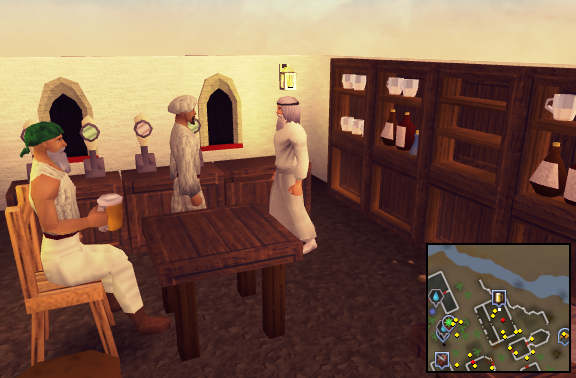
Walk into the pub in the southeastern corner of the town and buy 3 Beers from Faisal the Barman. You then need to talk to Jalal the Drunk, who will ask for a Beer in return for information. One at a time give him the 3 Beers by using them with him. He will tell you that Ali Morrisane's nephew's disappearance may be linked to the gangs.
-
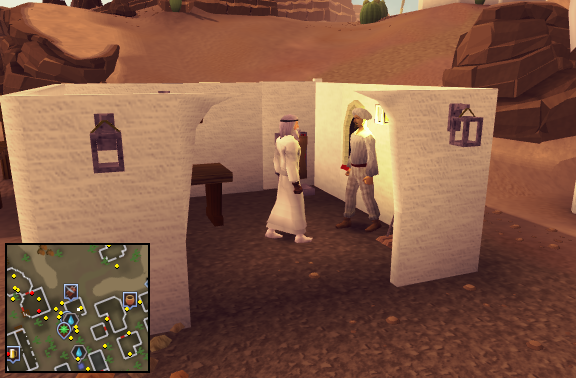
Head west of the bar and talk to any Menaphite Thug. When you ask them a few questions, you learn that the gangs are feuding with each other over a stolen camel. Head south-west to the purple-yellow tent and talk to Rashid the Operator inside. Ask him about the feud and he will tell you that those thieving Bandits are the problem. Say to him the Menaphites are also involved in unsavory behavior, which he will eventually admit. However, he will tell you that the Bandits started the feud by robbing one of their camels. Ask him if the feud would end if the Bandits give back the camel. He will agree that it might end the feud.
-
Talk to any of the Bandits in the north part of the town. They will tell you that the feud started because the Menaphites stole a camel from them. Ask him if the feud would end if the Menaphites give back the camel. He will agree that it might end the feud.
-
Head a bit south to the camel shop and ask Sami the Camel Man for the price of the 2 camels outside. He will however tell you that those are not for sale but that he is expecting the arrival of 2 more camels. Ask him how much he wants for them and offer to take them for free, an offer which he will deny. Talk to him again and offer him 1000 Coins. He will accept the offer and give you 2 Receipts and won't take your Coins.

-
Give both gangs, the Bandits and the Menaphites, a Receipt. Each gang will say that they knew that their enemies were cowards and that they now demand 10 camels.
-
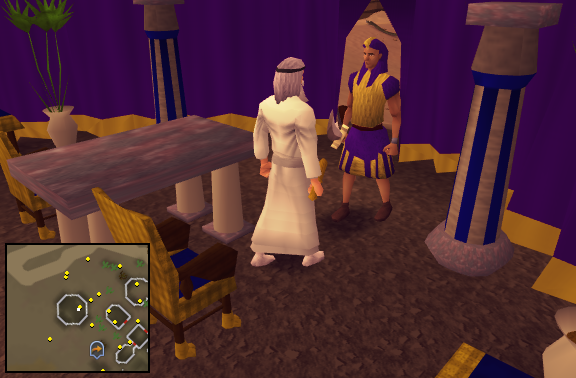
Now, you must join one of the gangs. Talk to Rashid the Operator, who will offer you to join them to wipe out the Bandits. Before you are allowed to join the gang, you must complete a test to prove whether you are trustworthy enough. He will tell you to go and pickpocket 3 Villagers.
-
1st Villager - Easy, normal pickpocket. If you are unable to pickpocket them because someone may see you, then "lure" them away from a crowded area or find a Villager in an empty area
-
2nd Villager - Go back to Rashid the Operator and ask for advice. He will tell you to distract them in order to pickpocket them. Talk to one of the Street urchins in the center of the town, and pay him 10 Coins to distract a Villager. Quickly pickpocket the Villager with the flashing arrow above his/her head.
-
3rd villager - Once again, ask Rashid the Operator for advice. and he will give you an Oak-blackjack. Head back into the town, knock out a villager and pickpocket him.

-
1st Villager - Easy, normal pickpocket. If you are unable to pickpocket them because someone may see you, then "lure" them away from a crowded area or find a Villager in an empty area
-
Talk to Rashid the Operator who will say that you have successfully complete the first test. He now wants you to steal some Jewels from the Hakeem the Mayor's safe in his villa. Rashid the Operator will give you a set of Keys to the front door.
-
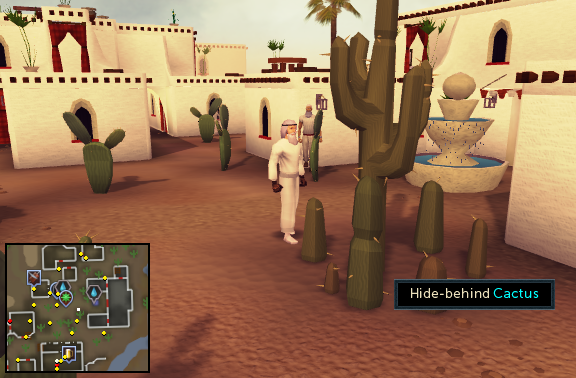
Put on the Desert disguise and the gloves. Now, hide behind the huge cactus near the entrance to Hakeem the Mayor's villa. When the coast is clear, run to the front door and use the Keys to enter the premises.
Note: If you have not got a Desert disguise already, then buy a Fake beard and Karidian headpiece from the Pollnivneach general store.
-
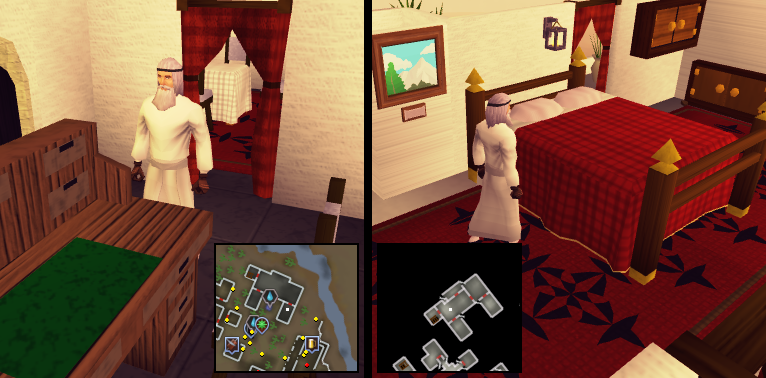
Once inside, search the study desk in the southern wing of the villa for a Note containing the numbers "1, 1, 2, 3, 5". Then, go up the stairs and search the bed on the second floor. Underneath the bed, you will find a Note with the word Fibonnaci written down on it. Using these notes, you will crack the code of the safe, namely 1, 1, 2, 3, 5, 8.
-
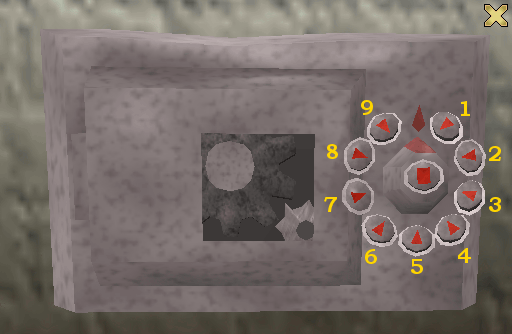
On the second floor, search the landscape to discover the safe. Dial the code 1, 1, 2, 3, 5, 8, also known as the Fibonnaci sequence. Once the combination has been entered, the safe will open and you will take the Jewels out of it.
-
Leave the premises and give the Jewels to Rashid the Operator. He will thank you and send you on your last trial to find the traitor. Talk to one of the Menaphite Thug gang members about, who will tell you that it must be Traitorous Hesham. Talk to Rashid the Operator who will ask you to kill him using a stealthy method.
-
Head up the hill to the west of the town and talk to to Maysa the Hag at her small house. She will recommend that you use poison to kill the traitor and will offer to make a strong enough poison for you if you bring her a bunch of ingredients, starting with a snake.
-
Pay a visit to Badir the Snake Charmer, who can be found south of the pub. Put some Coins in his money pot and ask him if you could have a try at playing the snake charm. He will give you a Snake charm and a Snake basket (Empty). Play the Snake charm to open up notes sheet, which has 8 pages and each page contains 8 different notes. Click on one note per page and then click Play. Once you are through all 8 pages, head a bit north of the Menaphites tent, right-click on the charm in your backpack and use it on a Desert snake nearby to capture it. The basket will then turn into Snake basket (Full).
Note: If you fail to charm a Desert snake succesfully, it will attack you. However, keep trying and you will eventually capture it.
-
Head back up the hill to the west of the town and give the Snake basket (Full) to Maysa the Hag. She will ask for one final ingredient, some camel dung. Go to the center of the town and ask Isma'il the Kebab Seller for some Red hot sauce. He will give you a bottle of Red hot sauce for free.
-
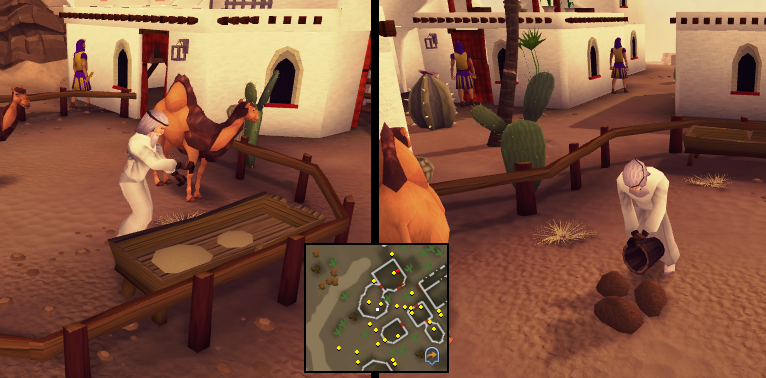
Take the bottle of Red hot sauce to the camel shop and use it with one of the food trough at the back. One of the camels will eat from the trough after you have poured the Red hot sauce into it. A few second later some brown dung will appear. Pick up the dung using a Bucket.
Note: If you forgot to bring a Bucket, there are 2 Bucket spawns inside the camel shop. If the camel produce some green dung, then simply use the Red hot sauce on a trough again.
-
Bring the bucket of Ugthanki dung to Maysa the Hag. Using both ingredients she will make Hag's poison and give it to you.
-
Go to the pub in the southeastern corner of the town and ask Faisal the Barman about Traitorous Hesham. He will tell you that it is his beer on the nearby table and that he went to the toilet a few minutes ago. Use Hag's poison with the beer on the table.
-
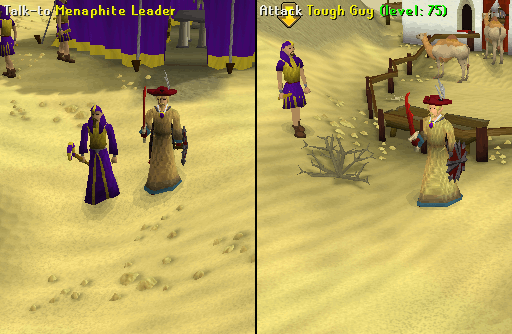
Report back to Rashid the Operator who will tell you to talk to their leader outside of the tent. The Menaphite Leader will thank you and reveal his plans to dominate the world. The leader will send a Tough Guy (level 54) after you. Kill him (he is weak to fire spells) and the leader will disappear.
-
With the Menaphites defeated, talk to one of the villagers. They will be angry with you unbalancing the balance of power and tell you that you need to deal with the
bandit leader too.
-
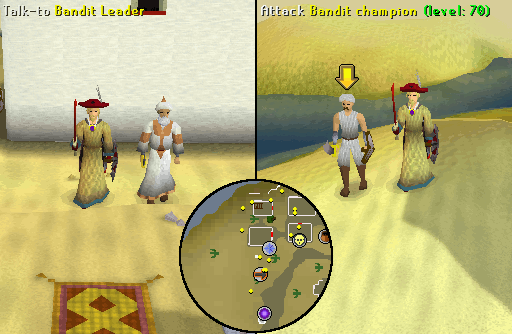
Head to the northwestern part of the town and tell the Bandit Leader, near the Rug merchant, to leave the town. However, he will not leave without a fight and will summon a Bandit champion (level 54). Once you have defeated him, you will give the Bandit Leader a final warning.
-
Talk to one of the villagers, who will refuse to reward you and will redirect you to Hakeem the Mayor. Talk to the mayor nearby, who will be a little more grateful and tell about Ali Morrisane's nephew. Return to Ali Morrisane in Al Kharid to claim your reward.
Note: The easiest way to reach Al Kharid is via the Amulet of glory (4) teleport to Al Kharid or using the home teleport spell.
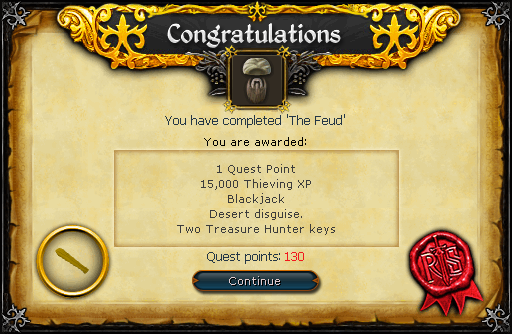
Quest complete!
This Quest Guide was written by crisholt4000, Sand Spinner, and Alfawarlord. Thanks to Fireball0236, Uber, henry_n, DRAVAN, Pntballa4lif , Aakanaar, Furiex, ss4kamikaze, samandsam, Bob, sir karamu, obi-wan, JohnAlexP, lament, Purrrr, l Darkn3ss L, IMB, Jarkur, draztic kush, and Muri Master for corrections.
This Quest Guide was entered into the database on Mon, Apr 04, 2005, at 05:58:09 PM by monkeymatt, and it was last updated on Sun, Dec 05, 2021, at 03:04:56 PM by KsbSingle.
If anything is incorrect or missing, or if you have any new information to submit to this database, please submit it to us on our Content Submissions Forums.
If you see this guide on any other site, please report it to us so we can take legal action against anyone found stealing our content. This guide is copyrighted by RuneHQ, and its use on other sites is expressly forbidden. Do not ask if you can use our guides or images, the answer is and always will be NO!
Print this page with images - Back to the Quest Guide Index Page - Back to Top
