

| 50 Archaeology | 50 Agility |
| 100 Orthenglass | The Measure* |
*Optional as Charos will give you one if you don't have it when needed.
- Archaeologist's workbench
- The Heart of Gielinor (God Wars 2)
- The Heart teleport
- Desert amulet (2, 3, or 4)
- Ranch Out of Time
- Magic tree within Farming Guild
- Max Guild Skilling Portal (if attuned)
- The Needle
| Dragonkin device (damaged) | Dragonkin device | Dragonkin tablet (damaged) | Dragonkin tablet | ||||
| Eye of Jas | Kerapac's tablet |
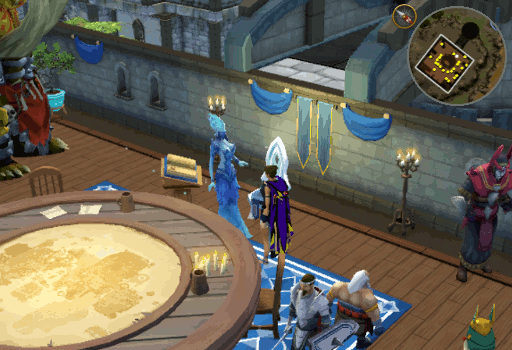
- Speak with Seren. As the conversation continues, you will notice that everyone is constantly agreeing with and deferring to Seren due to her gift from Mah – an aura which compels others to trust her. The longer the deliberation over what to do continues, the more tightly everyone is bound to her and her voice becomes the only one heard. With the council's permission, she sent Thok and Charos to investigate. She would like you to meet up with them and assist.
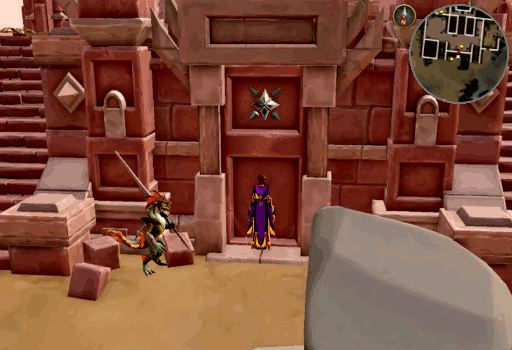
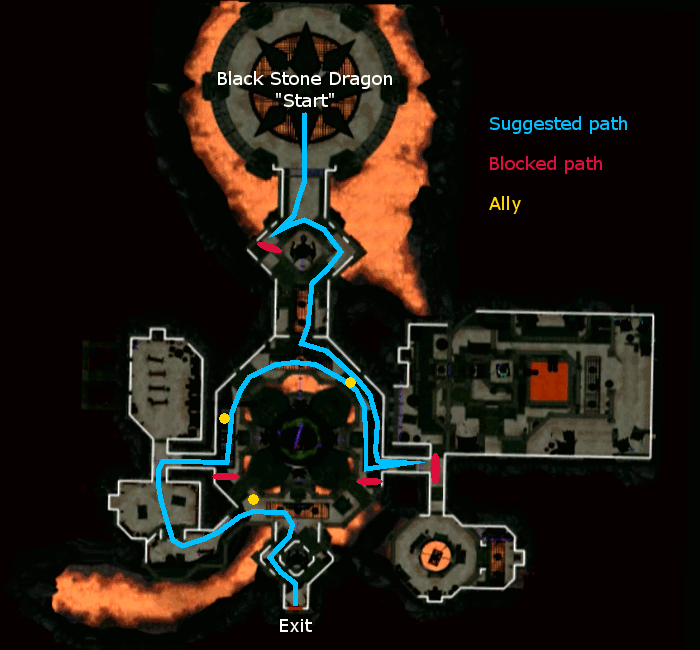
- Travel to Anachronia (lodestone recommended) and speak with Mr. Mordaut. He will inform you that Thok and Charos were last seen heading North West toward the ruin by the volcano, near the start of the Agility course; do not begin the course or you can’t reach them and will need to backtrack.
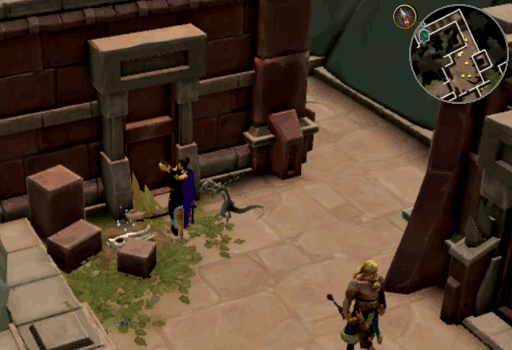
- Walk North toward the volcano, climb down the stairs, and speak with Thok – attempting to speak with Charos will just start your conversation with Thok. After a bit of conversation, you will be told the story of what has happened since they arrived, as told by Thok.
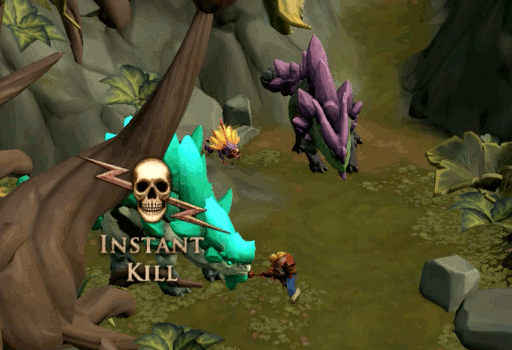
- During this saga, you will have control over Thok, though you must still follow the script. This means that when dinosaurs appear, you will need to Thok-smash them and progress closer to Base Camp. Clicking to an odd area will ask if you wish to leave the encounter.
- Once the mini adventure has completed, you will notice a hotspot just South of Thok. Excavate it to obtain a Dragonkin device (damaged). Travel to an Archaeologist's workbench and repair it to create a Dragonkin device; this will require 50 Orthenglass.
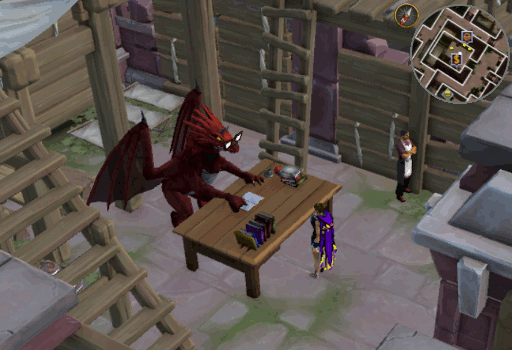
- Return to Thok and Charos and show the repaired device to Charos. While he has no idea what it is, he insists that it is important and that you should keep a hold of it. You will now notice a hotspot just North of Charos. Excavate this location to obtain a Dragonkin tablet (damaged). Travel to an Archaeologist's workbench and repair it to create a Dragonkin tablet; this will require 50 Orthenglass.

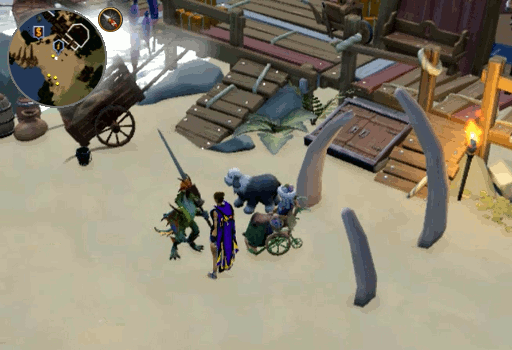
- With the tablet repaired, return to Charos and show it to him. He will explain that it is old Dragonkin writing, but he doesn't quite understand it very well. He will then suggest that you speak to Hannibus, conveniently close by, to see if he can help. Hannibus can be found with Prehistoric Potterington at the Ranch Out of Time. This location can quickly be reached via the Mystical tree in the Farming Guild or via a skilling portal at the Max Guild if you have it attuned there.
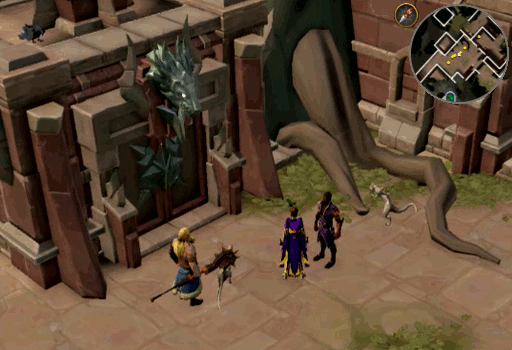
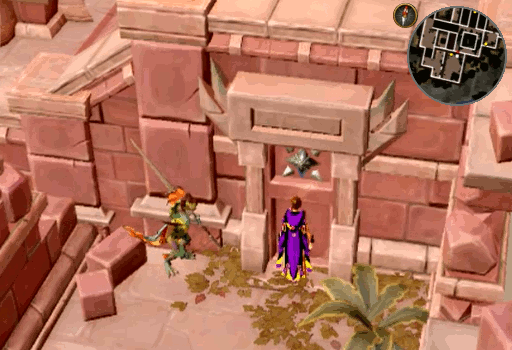
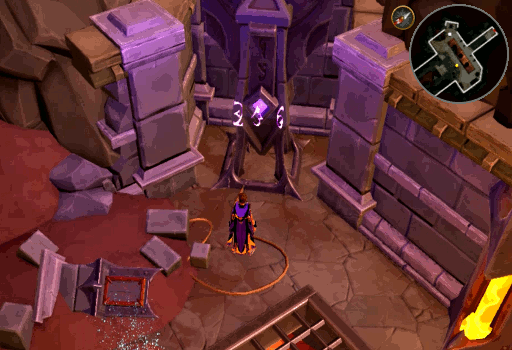
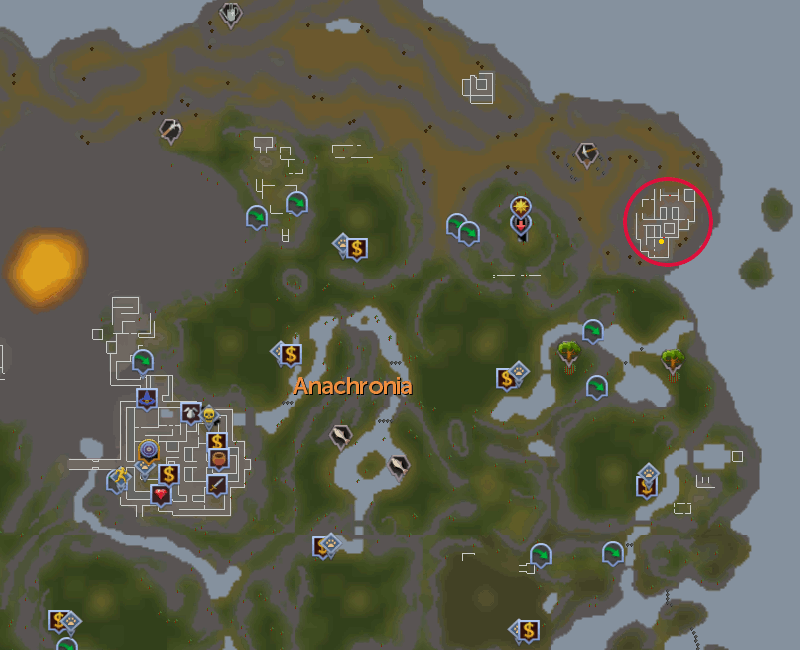
- After speaking with Hannibus for a bit, he will tell you that the Nodon may still be sleeping in a great chamber mentioned on the tablet. He will then instruct you to meet him at the ruins in the North Eastern area of Anachronia so you can investigate. Travel to the Dragonkin statue along the East coast and you will find Hannibus on the Southern side near a door. Here you can talk to him to learn more about the Nodon. When you are ready, use the Dragonkin device on the door to unlock it and enter.
Click to see map of area.
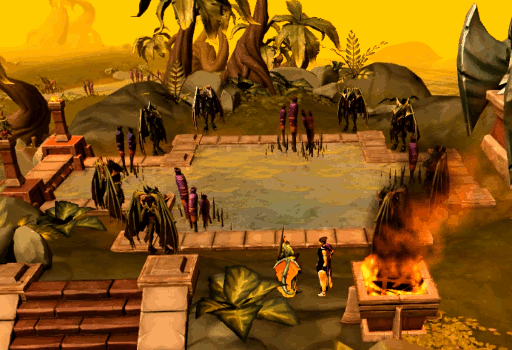
- You will now find yourself inside the Hibernatorium. Walk North and speak with Hannibus to enter the dream of 2 Nodon. You will need to obtain 2 bits of information, 1 from each dragonkin, the order is up to you. Note that you will need to reset the dream between collecting each bit of information, this can be done by speaking with Hannibus.
- Pylon code – in the South East corner of the room is a pylon. One of the dragonkin will wander around the room and end up in this corner where it will input a code. Either follow the dragonkin around the room or just wait in the corner. Regardless of which you choose, make sure you get a notification that you see which symbols are used.

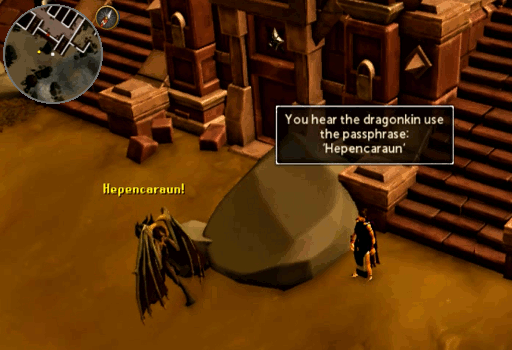
- Passphrase – Exit out the South door and walk around the ruins to the Northern door; you can either follow the dragonkin there or simply wait near the door. Here you will hear the dragonkin use the passphrase "Hepencaraun". Be sure that you get a notification that you hear the passphrase.
- Pylon code – in the South East corner of the room is a pylon. One of the dragonkin will wander around the room and end up in this corner where it will input a code. Either follow the dragonkin around the room or just wait in the corner. Regardless of which you choose, make sure you get a notification that you see which symbols are used.
- Once you have both pieces of information, return to Hannibus and inform him that you have seen all you need from this dream and disconnect from it; make sure you go through the chat fully. Now in the real world again, walk to the pylon and cycle each symbol until it says that the one you have looks right.
- With the code entered into the pylon, exit the South door and travel around the Northern door. When attempting to enter, it will ask you for the passphrase. Select Hepencaraun (Option 4) and you will find yourself in the lower chamber. Speak with Hannibus and he will tell you that these Nodon are having a different dream and he may be able to steer them toward something with Kerapac in it.
- This second dream will be of the Kendra Council. Enter the dreamscape and you will find yourself just West the pool on the Eastern coast of Anachronia. Walk up and around to Hannibus to speak with him and start the memory dream. Once it completes, the 2 Nodon dragonkin will not disappear like the others. They will confront you and then a cutscene will begin.
Note: If your client crashes due to the cutscene, you will not be able to progress. Try playing via mobile or updating your graphic drivers to help solve this problem.
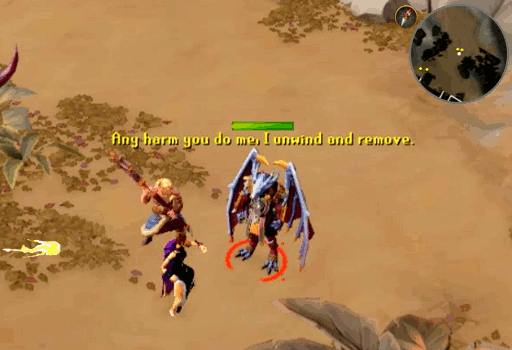
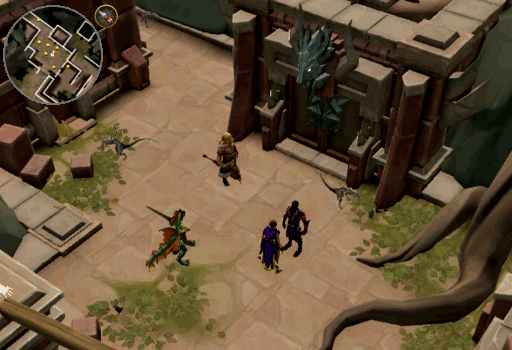
- When the 2 of you exit the dream, you will find yourselves with Thok and Charos on the Southern side of the ruins. You will all remark about an encroaching presence of evil and conclude it is likely Kerapac. The 4 of you will make your way to the Northern side of the ruins where you will indeed encounter Kerapac.
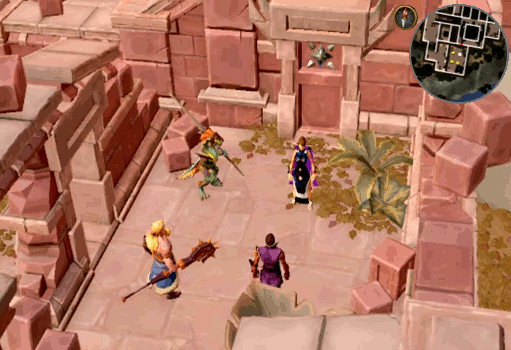
- After a short confrontation, a battle will begin. No matter what weapon you do (or don't) use, Kerapac will take no damage as he has control over time via the Needle and can nullify your attacks. He will explain that he could easily kill you all now, however, he will be merciful and grant you the chance to spend your remaining time with loved ones. Kerapac will then leave and the 4 of you will plan your next steps: Charos will investigate the ruins for any more secrets, Hannibus will see if anything more can be learned from the Nodon, you will inform Seren of the progress, and Thok... Thok will punch dinosaurs for information.
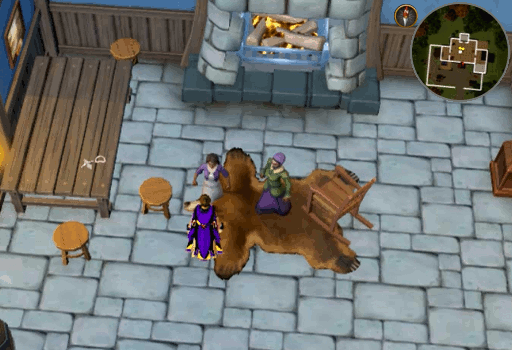
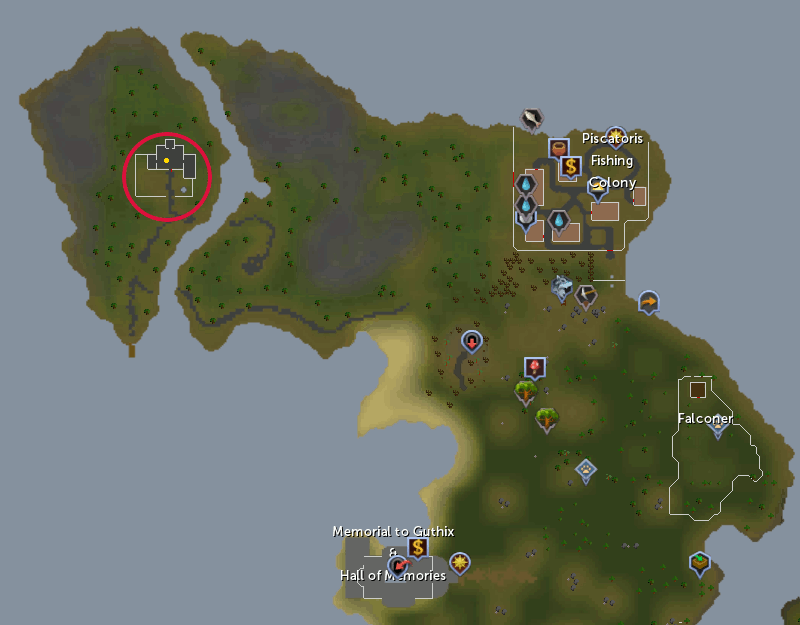
- Return to Burthorpe castle and give Seren an update. She will suggest speaking with the Needle’s previous guardian. Head to Primrose’s home West of the Piscatoris Fishing Colony – you can get here quickly by using Memory strands to teleport to the Memorial to Guthix, using a Phoenix lair teleport, or using the Mask/Helm of the Airut and walking the rest of the way. Be sure you go through all of her conversation options before you leave.
Click to see map of area.
- After speaking with Primrose you will have a few ideas on how to face Kerapac though no solid answers. Return to Seren and inform her of what you have learned. She will suggest meeting with Jas to see if she will help. Travel to the Heart of Gielinor – Desert amulet (2, 3, or 4) or The Heart teleport – and meet Seren outside near the Helwyr statue. When ready, you will meet with Jas. Note that what you say to Jas will be judged and affect what the elder god chooses to do. Using 3 negative/judgmental options will cause her to choose to end all mortal life and you will be ripped to shreds. Thankfully, you will find yourself outside once again with the previous conversation nothing more than a memory and be able to speak with Seren and begin with Jas again.
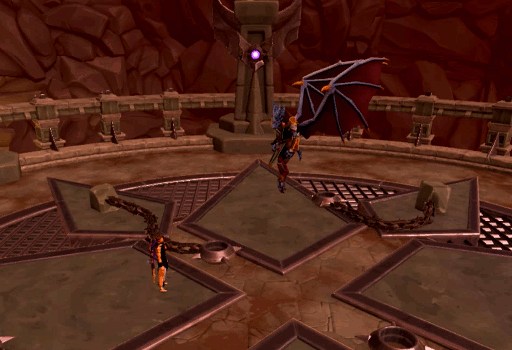
- With the conversation successfully completed and the Eye of Jas now in your possession, you will need to return to Anachronia and speak with Charos near the lodestone. After examining the Eye, he will inform you of their progress. Hannibus will suddenly begin to feel a large amount of pain in the surrounding area and Kerapac will appear. It seems that he has infused the creatures of Anachronia with some of the same curse that the Dragonkin have been tormented by. This has caused them to go crazy and begin to rush to the Base Camp. Kerapac has "graciously" given you time to evacuate, unfortunately, some of the Archaeologists were unable to escape fast enough and must now be defended.
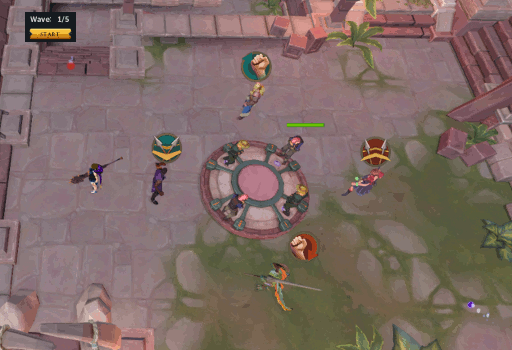
- Your equipment for this battle is unimportant and you will not need to heal. Speak to Thok with both hands empty to obtain his stick. This is what you will use in the coming battle.

- This fight will consist of 5 waves of dinosaurs. They will come from the North, West, and South entrances of the Base Camp. All hits from you and your allies will be timed; see the bar above your heads. Each of your allies will have different fighting abilities. You will be able to move them around the area and choose what type of targets they will attack. It is suggested to leave everyone in their default locations and to stand slightly West of Charos, about 2 spaces. Doing this and using the targeting suggested below will allow for an easy victory.
You will need to complete a tutorial of sorts where each person tells you their skills before you can place and assign targets to them all as you desire. Left click an ally to move them and right click then select "Target" to choose what they focus on. These can be done at any time during the waves. When you are ready, click the "Start" button at the top of your screen.
Note: If you fail a wave, the entire encounter must be restarted. Failing twice will enable you to get an "easy mode" option from Thok – all allies will deal extra damage.Ally Ability Suggested Target Charos Fire Spells Closest Hannibus Stops dinosaur movement with mind control Weakest Laniakea Throws vials of poison at far targets and stabs targets in melee distance with her spear Farthest Thok Thok smash (heavy damage to melee targets) Strongest
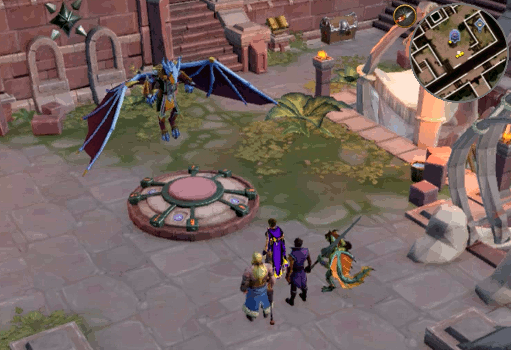
- With the waves successfully completed, speak with Charos where you initially found him and Thok. You will now work together to investigate the cosmic energy around the volcano to unlock the door to Kerapac's hideout. If you did not bring a Measure, Charos will supply you with one. Visit Charos at each of the 4 locations on the map, the order can be done as you please.
When you reach Charos at each location, simply click The Measure to place it and continue. If he doesn't react, you can try speaking to him, re-logging, and/or hopping worlds. Once the conversation completes, you can simply move on to the next location. You will not need to retrieve The Measure as you will still have it in your inventory despite seeing it on the ground.
- After The Measure has been placed in the 4 locations, return to where Thok and Hannibus were left waiting and speak with Charos. You will learn that the blessing Guthix placed upon you seems to have infused shadow anima into your soul. Due to this fact, you are the only one that can pass through the barrier around Kerapac’s hideout now that Charos has unlocked the door.
For efficiency, you can prepare for the coming battle now (see step 23 for details). Otherwise you can exit the hideout once you have shut down the barrier. Note that you will need to walk out the door as you will not be able to teleport.
- When ready, enter the hideout. There are 4 pylons which you will need to input the correct code. The code can be deciphered by using Kerapac's tablet (found in the South West room). Each chamber is connected to one of the elder gods – Jas within the Slancras, Ful within the Chenrath, Wen within the Bujahephen, and Bik within the Kalistrak. The chamber name can be found within each room and can be discovered based on the number of letters in each word and the repeating letters within it. Once you know what the rooms are, you can cross-reference the letters used to spell the words to discover what symbols are needed for the god names. Or you can simply use the image and/or table below. When you have entered all of the correct codes, a short cutscene will play showing you that the barrier is opened.
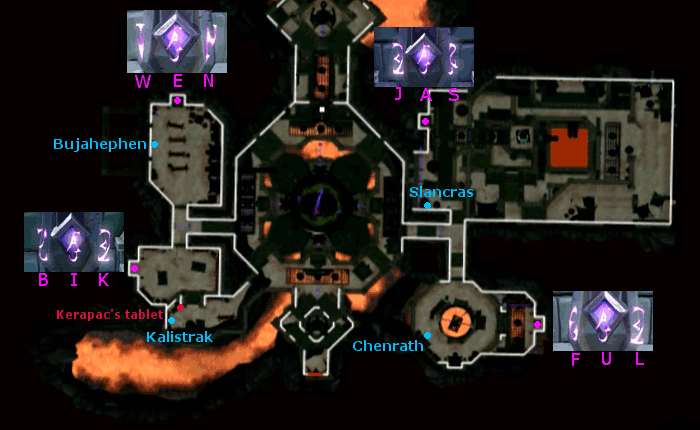
Note that the order the letters change in is the same for all pylons and that the center letter does not change for any of the words. See the table below for the number of clicks needed to input the correct code.God Name/Code Room 1st Letter 2nd Letter 3rd Letter Bik South West 1 - 3 Wen North West 6 - 4 Jas North East 3 - 5 Ful South East 2 - 3
- With the barrier now turned off, you can exit through the front door (cannot teleport out) and equip for the coming battle or you can simply head to the Northern most room if you came prepared. Note that the only item you will need to bring in addition to your combat equipment is the Eye of Jas, any other items used during the quest are unnecessary.
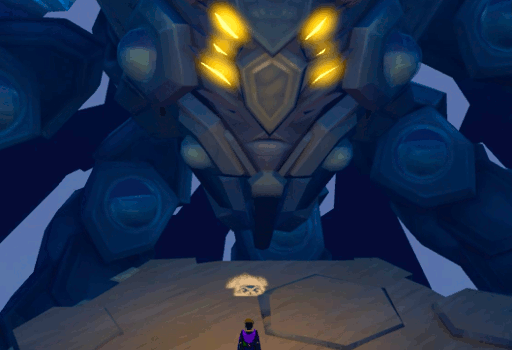
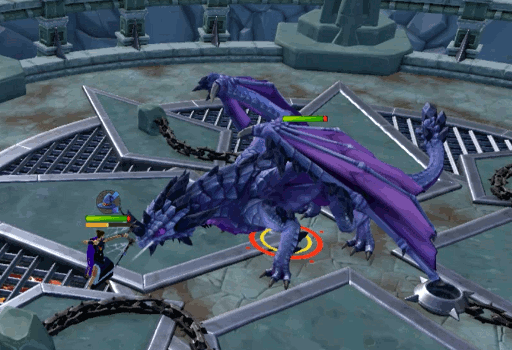
In the coming battle, you will be fighting the Black Stone Dragon. The attacks used in this fight will be the same as those used within the Dragonkin Laboratory – claw swipes, smokey magic, crystals flung from its tail (range), crystals from the ground (proceeded by a shaking screen, simply move out of the 3x3 area), and the flame spiral (at about 140,000 and 110,000 health). Note that the dragon will always fly up and land in the center of the arena for the spiral and you will not face the hands. For the most part, you will want to protect/deflect magic, though Soul split is another good option if you can use it.
Your opponent will only be level 91 with 180,000 health and no weakness. As such, it is suggested to simply bring your best combat equipment as you don’t need to worry about using a specific style. Be sure to of course bring appropriate food and potions to help ensure your victory.
- Once you have defeated the dragon, Kerapac will appear. You will have the option to try to persuade him if you so choose. Whether you do or not, you will end up using the Eye of Jas on him. This will allow Jas to reclaim the Needle and her control over the dragonkin present.
- As the conversation comes to a close, Kerapac’s hideout will begin to collapse and you will have 2 minutes to escape amid the falling rocks. As you escape, your allies will join you. If you fail to escape twice, you will be offered more time to complete the escape (4 minutes 18 seconds). Exiting out the door will start a cutscene.
- Once you are outside, speak to either Thok or Charos to continue the quest dialogue. After a little discussion, Charos will suggest that you let Seren know what has happened while they ensure everyone is alright. Return once more to Burthorpe castle and speak with Seren. You will have an option on how to tell her what your group has accomplished and if you would like to mention the Shadow anima that Guthix grafted onto your soul.

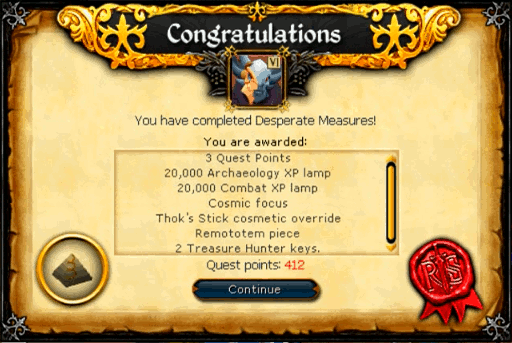
Congratulations, quest complete!
This Quest Guide was written by ChathMurrpau. Thanks to 3ter 1 for corrections.
This Quest Guide was entered into the database on Wed, Jul 08, 2020, at 03:41:20 AM by KsbSingle, and it was last updated on Wed, Jun 08, 2022, at 11:42:24 PM by Chath.
If anything is incorrect or missing, or if you have any new information to submit to this database, please submit it to us on our Content Submissions Forums.
If you see this guide on any other site, please report it to us so we can take legal action against anyone found stealing our content. This guide is copyrighted by RuneHQ, and its use on other sites is expressly forbidden. Do not ask if you can use our guides or images, the answer is and always will be NO!
Print this page with images - Back to the Quest Guide Index Page - Back to Top
