

-
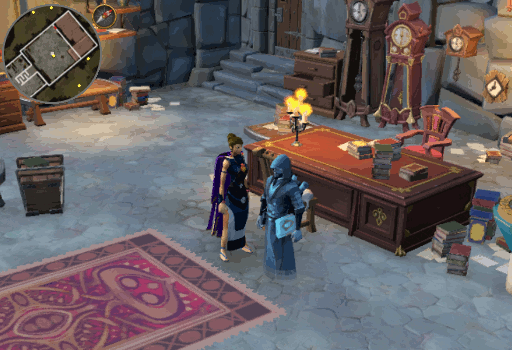
Closure wants to talk to you about your biography that he's writing, but like a good hero with ADHD, you get sidetracked by his thoughts on Relomia. It is highly possible that she is just a person without a purpose rather than an actual antagonist. You decide that you might be able to make her into a decent person if you gave her a chance. Closure calls up a few people who might have quests for her to complete for them.
-
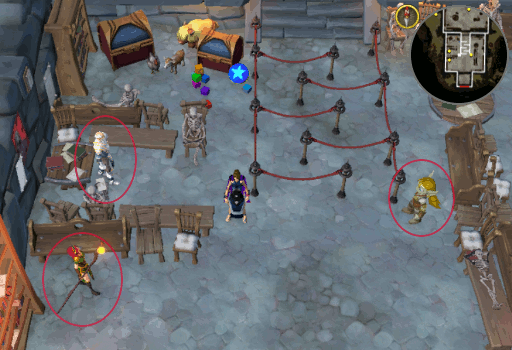
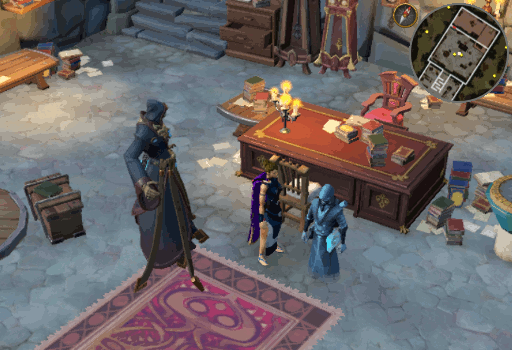
Go South into the waiting room and talk to the people he called: Ariane, Sir Tiffy, and Zanik. The order in which you speak to them doesn't matter and they will all say that they can't help you this time around.
-
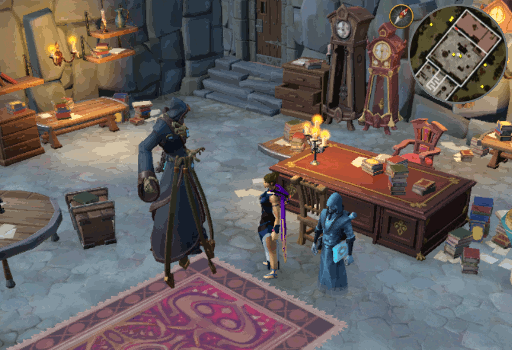
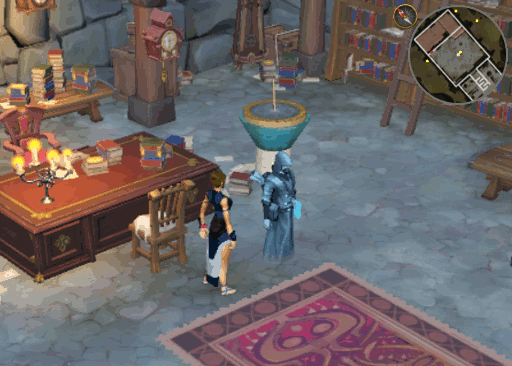
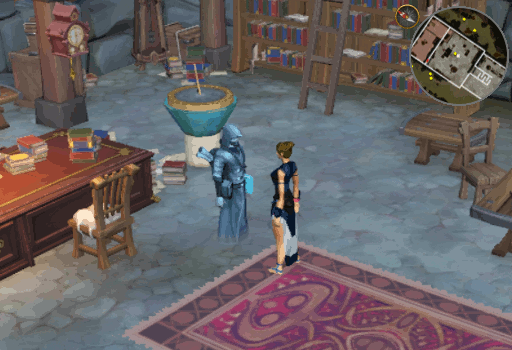
Return to Closure and talk to him. Death will appear and get mad that you are grabbing dead people to further your own ends all willy-nilly; you will have to appeal to him for aid. In order, talk to him about Icthlarin (option 1), Sliske (option 2), and himself (option 3). After that point, he will agree to help. Your first step in preparation will be to obtain 3 Spooky scarecrow which you unfortunately can't just make yourself.
-
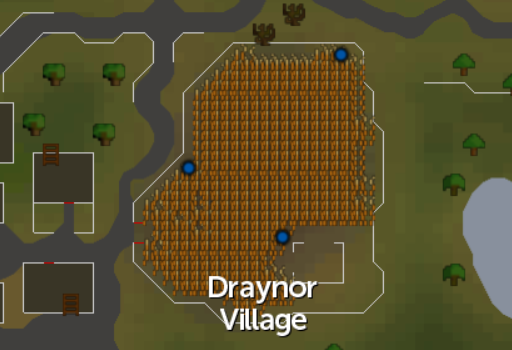
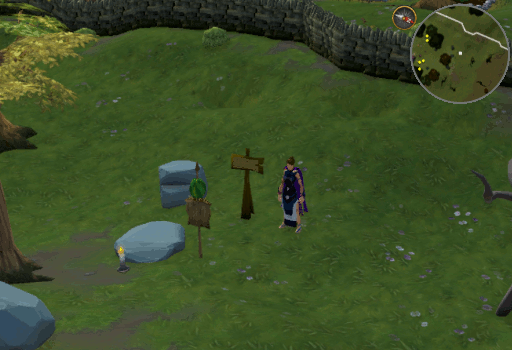
Leave Closure's study and go to Draynor Village. Bordering the East side of the village is a wheat field in which you can find 3 Spooky scarecrow. You can also find a regular scarecrow, but it's just not going to do the job right.
-
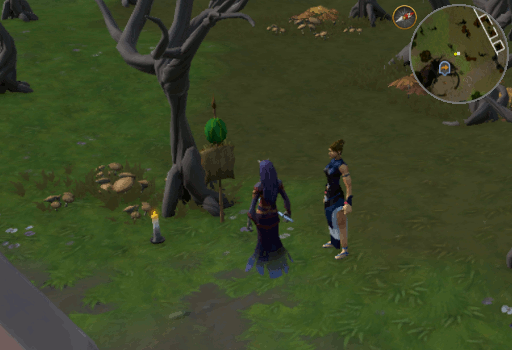
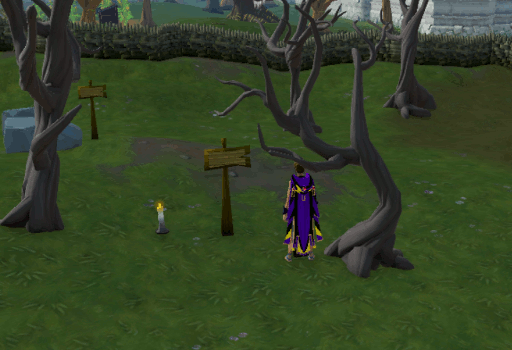
Take the Spooky scarecrow to the wooded area between Death's hourglass and the farm South of Falador. There will be 3 markers at which you must prop up the scarecrows. Return to Closure's study when you are done placing them all.
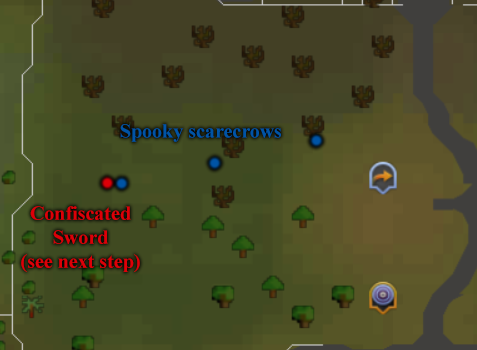
Click image to see what the markers look like.
-
Talk to Closure to find out what other preparations must be made to create a quest for Relomia. After some deliberation, Death will give you a Confiscated sword to hide that Relomia can find. Return to the woods where you placed the scarecrows. Near the Westernmost one there will be another marker. Place the Confiscated sword there and return to Closure.
-
Talk to Closure and, after a bit of obvious planning going right over your character's head, you will be asked to go find Relomia.
-
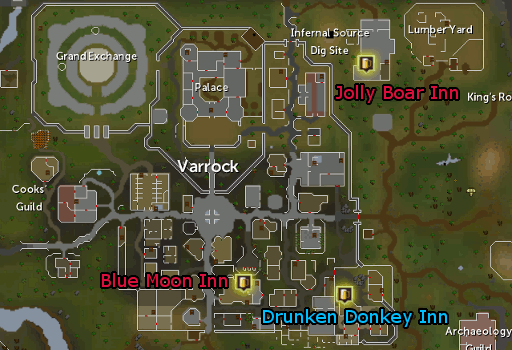
At this point you can either take the long route and go to either the Jolly Boar Inn (North East of Varrock) and/or the Blue Moon Inn (North of the Varrock lodestone) and talk to
the Bartenders OR you can skip to the next step.
-
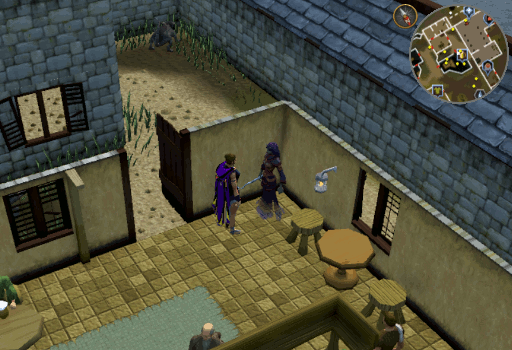
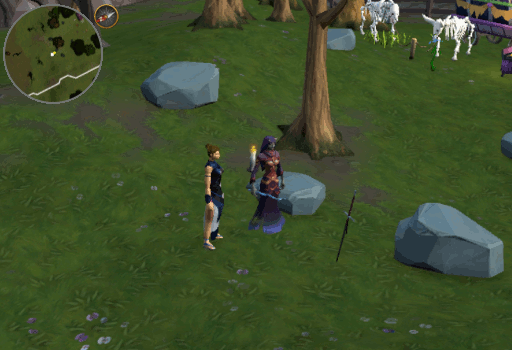
Relomia can be found at the Dancing Donkey Inn in South East Varrock (fenced-in area). Talk to her and she will get grouchy before attacking you with her wand. This will push you backwards several spaces, but otherwise cause no harm. As this will break dialogue, walk back up to her and continue the conversation. When she asks what she gets out of helping you, any answer will do. She will agree and teleport off to meet you at Death's hourglass.
-
In preparation for this last portion, put all of your items in the bank. Once you have, return to Closure's study and talk to him to begin your little act. Note that if you lobby or logout at any time during the mini-miniquest (before Relomia's victory), you will need to complete the entire encounter (steps 11 through 14) again by speaking with Closure.
-
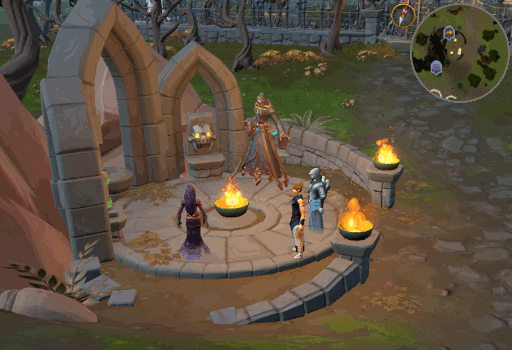
Upon starting, you will meet up with Relomia outside, near Death's hourglass. Death appear and provide the cover story, amongst several interruptions: someone has stolen a powerful artefact from him and has vanished into the trees. Once the task has been assigned, Death will vanish and Relomia will head for the trees to the West.
-
Upon encountering an "Evil goon" (one of the scarecrows), Relomia will stop and you must talk with her to proceed. Closure will begin to narrate the quest (just go with it) and describe the enemy which Relomia will then attack, though she will remain fairly unconvinced by the "enemies". As each goon is dispatched, she will progress to the next location where you will need to speak with her again.
-
After the last one is destroyed, she will find the Confiscated sword! Speak to her once more and, after you mutter to yourself a bit, your character will understand that you are meant to pose as the mastermind thief for Relomia to cut you down.
-
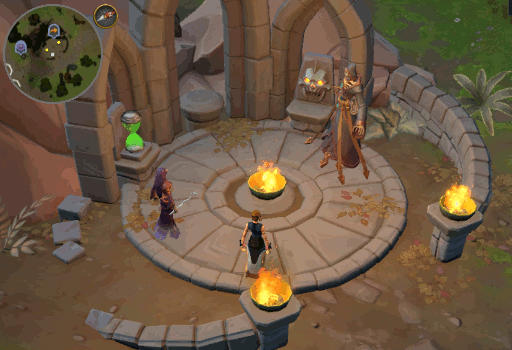
This fight is safe, has no stakes, and is fairly boring. Before the fight breaks out, you will "reveal your villainy" and take away Relomia's wand, she will draw the Confiscated sword and the fight will commence. Your combat level is irrelevant, as the Confiscated sword will constantly heal her whenever she drops below about 2,000 of her 3,000 hitpoints. The wand that you took from her supplies infinite air runes, so you can cast any standard spellbook air spell and use magic abilities, but eventually the it will break. After that point, Relomia will eventually "defeat you" and claim her reward from Death. Alternatively, you can just stand there and take the damage or punch her until she "kills" you.
-
Once Relomia has impatiently received her reward and left, Closure will take you to his study to get you patched up. A short conversation later, you will complete the miniquest and receive your reward.
Congratulations, miniquest complete!
This Miniquest Guide was written by 3ter 1. Thanks to ChathMurrpau for corrections.
This Miniquest Guide was entered into the database on Fri, Jul 30, 2021, at 09:44:06 PM by 3ter1, and it was last updated on Fri, Aug 19, 2022, at 11:26:09 PM by 3ter1.
If anything is incorrect or missing, or if you have any new information to submit to this database, please submit it to us on our Content Submissions Forums.
If you see this guide on any other site, please report it to us so we can take legal action against anyone found stealing our content. This guide is copyrighted by RuneHQ, and its use on other sites is expressly forbidden. Do not ask if you can use our guides or images, the answer is and always will be NO!
Print this page with images - Back to the Miniquest Guide Index Page - Back to Top
