

-
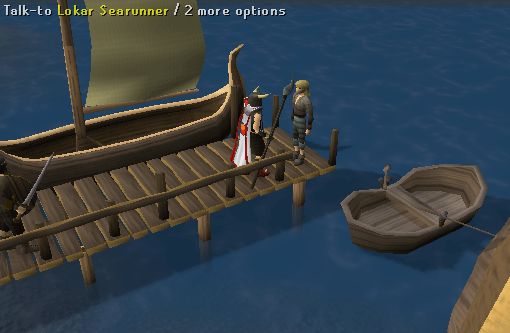
After talking to Lokar Searunner about his boring life as a Fremennik and how he ran off to become a Pirate, he will invite you to Lunar Isle, the current residence of the Moon clan. Before you're able to board the boat and travel to lunar island for the first time, Lokar asks you to obtain a "Seal of passage" from brundt the chieftain in Rellekka.
-
Speak to Brundt the Chieftain to obtain a Seal of passage. Go back and speak to Lokar Searunner. He will take you back to the Pirate Cove and will tell you to speak to the captain of the Lady Zay, a pirate ship.
Note: Keep the Seal of passage in your inventory or wear it at all times.

-
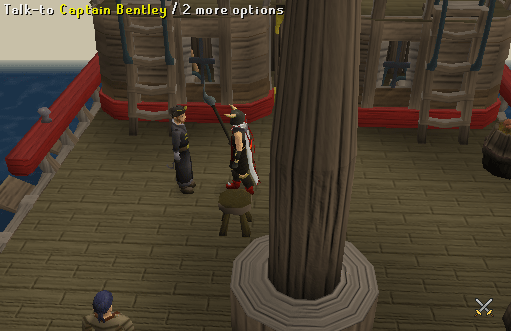
Speak to Captain Bentley and he will offer some insight about Lunar Isle and the Moon Clan. Select the option to go to Lunar Isle. A cut scene will then show the ship going around in a circle. Talk to Captain Bentley again and he will instruct you to investigate what happened by speaking to 'Birds-eye' Jack, the ship's Navigator.
-
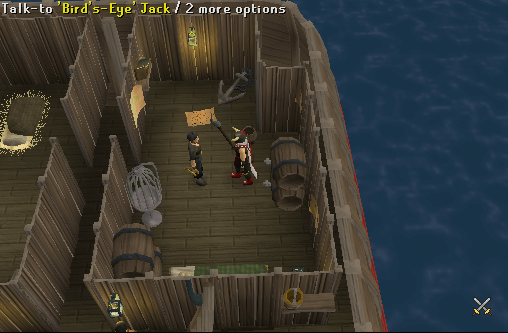
Go south of the captain, head down the stairs, and then speak to 'Birds-eye' Jack. He suggests that you go back and speak to Captain Bentley. Talk to Captain Bentley and he will tell you to go back to 'Birds-eye' Jack and speak to him again. After another interesting conversation with 'Birds-eye' Jack, he concludes that the problem is a Jinx.
-
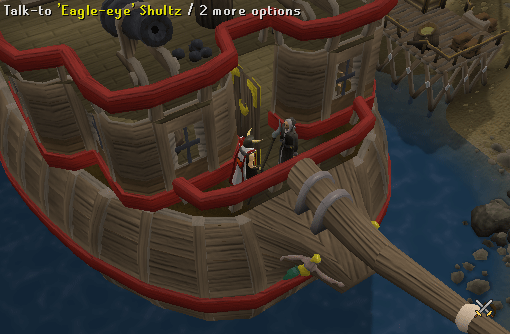
Go to the deck Captain Bentley is on and then walk north to speak to 'Eagle-eye' Shultz for more information on Jinxes. 'Eagle-eye' Shultz will tell you that you have to find the offending people and fix the problem.
-
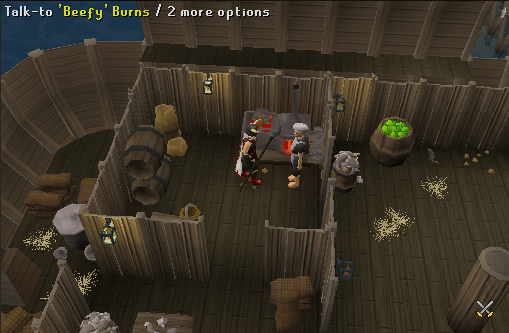
Go to the bottom deck of the ship and speak to 'Beefy' Burns to find out about the feast.
-
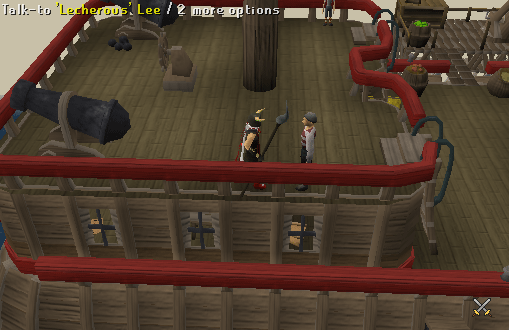
Now go back to the deck with the captain and take the stairs on the south end of the ship (going up) to talk to 'Lecherous' Lee. He tells you that he saw the first mate leaving the feast.
-
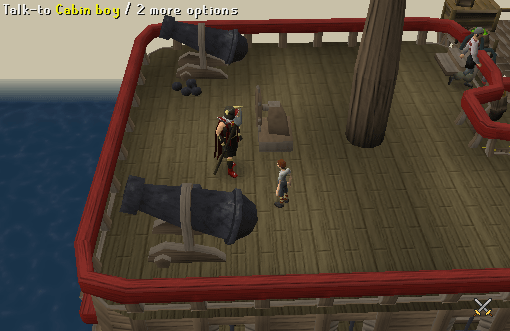
Go back down a deck and talk to the First mate 'Davey-boy'. Then return to where you found 'Lecherous' Lee and talk to the Cabin Boy. He will tell you that a girl tricked him into drawing 5 symbols on the ship, creating the jinx. The Cabin Boy will give you a Bullseye lantern and an Emerald lens. Put the Emerald lens into the Bullseye lantern to create a Emerald lantern. Now light the Emerald lantern with the Tinderbox and find the 5 symbols.
-
The symbols are in the following locations. Use your Emerald lantern on the object to see the symbol, then choose to rub the symbol away.
- The cannon on the east side next to the Cabin Boy.
- The wallchart in First mate 'Davey-boy' cabin.
- The wooden chest next to the ladder on the bottom deck.
- The support column, just north of 'Beefy' Burns.
- The stack of crates in the room east of 'Beefy' Burns.
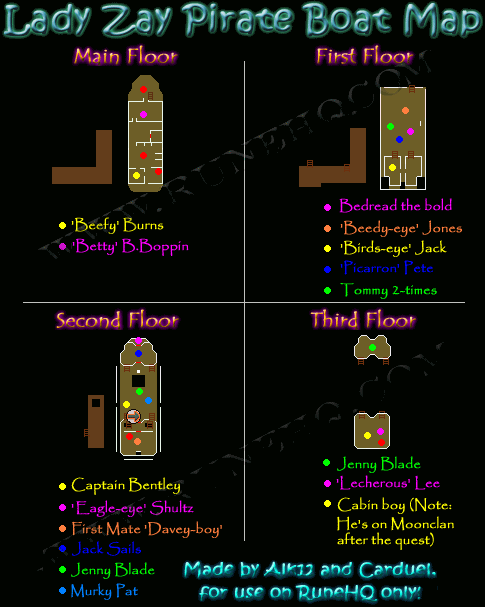
This map might help you find the Symbols and NPCs:
-
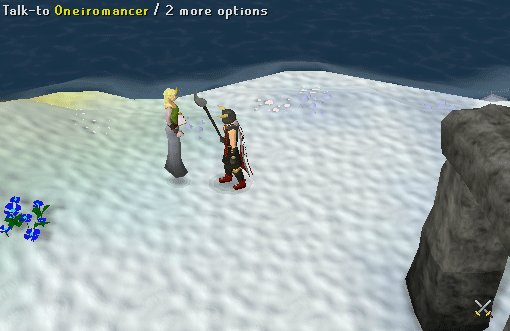
Now that you have gotten rid of the Jinx, the ship can proceed to Lunar Isle. Go back to Captain Bentley and ask him to bring you there. Enter the village to the northwest and a cut scene will ensue, giving you a quick visual tour of the village.Go to the bank and withdraw anything you might need later on. Then make your way to the southeast corner of the isle and talk to the Oneiromancer. She will tell you that the quarrel is because the Fremenniks do not use magic, and she will request that you learn their magic ways.
-
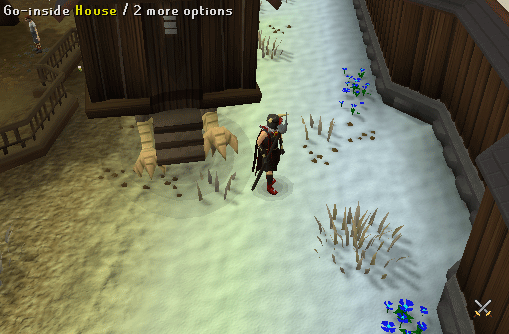
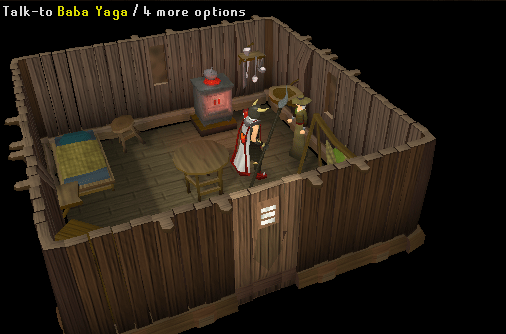
Go back to the city and to the north you will find the chicken house with Baba Yaga inside. Speak to her about making a potion.
-
Baba Yaga will give you an Empty vial. Fill it with water (there is a sink near the bank) to make a Vial of water and then add the Clean guam to make it a Guam vial. Now add the Clean marrentill to get a Guam-marr vial. Kill Suqahs, wondering around south of the village, until you get a Suqah tooth. Grind the Suqah tooth with a Pestle and mortar and add the Ground tooth to the Guam-marr vial to get a Waking sleep vial.
Note: While killing Suqahs for the Suqah tooth, you can collect 4 Suqah hides you will need for later on. Also, please be aware the Suqahs may freeze you for 5 seconds, in which time they can harm you.
-
Go back to the Oneiromancer, who will take it from you for safe-keeping. You now need to make a Lunar staff. Use a Dramen staff on each of the elemental altars in this order:
- Air altar (west of Gertrude's house in Varrock) - Makes the Dramen staff into Lunar Staff - pt 1
- Fire Altar (north of the entrance to the dueling arena) - Makes Lunar Staff - pt 1 into Lunar Staff - pt 2
- Water altar (Lumbridge swamp) - Makes Lunar Staff - pt 2 into Lunar Staff - pt 3
- Earth altar (northeast of Varrock's east entrance) - Makes Lunar Staff - pt 3 into Lunar staff
Note: This must be done in order, otherwise nothing will happen. Having Air altar teleport, Fire altar teleport, Water altar teleport, Earth altar teleport tabs from the Elemental talisman, along with an Elemental talisman will make this much quicker.
-
Head back to the Oneiromancer in the south east corner of the Lunar Isle once you have received the Lunar staff.
Note: The quickest way back is to use an Enchanted lyre to get to Rellekka, and then Travel with Lokar Searunner to Pirates cove, and then Travel with Captain Bentley to Lunar Isle.
-
The Oneiromancer will take the Lunar staff for safe-keeping. She will then explain how to get the ceremonial clothes.
-
Torso, legs, gloves and boots: You will need 1 Suqah leather for each item (4 total). Talk to Rimae Sirsalis (clothes shop, south of the bank) and ask her to tan the 4 Suqah hides for 100 Coins each. Use a Needle and Thread on each of the Suqah leather to make each item.
Note: The Needle and Thread can also be bought from Rimae Sirsalis.
-
Ring: Speak to Selene near the bank and ask her about the Lunar ring. Go to the south of the isle (southwest of the western bridge) and find the patch of blue flowers. Dig there with a Spade to obtain the Lunar ring.

-
Amulet: Talk to Meteora in the south end of the village to obtain the Lunar amulet. She will tell you that a Suqah stole her tiara. Kill Suqahs until one drops A special tiara, then exchange the tiara for the Lunar amulet.
-
Cape: Talk to Pauline Polaris at the west side of the village to obtain the Lunar cape. She will give you the Lunar cape if you pick her real name. Choose Pauline first, then choose Jane-Blud-Hagic-Maid.
-
Helmet: To the northeast of the isle, near the mountain, is a mine (Dungeon symbol). Go down the ladder to one of the many stalagmites. Mine the stalagmite for a Lunar ore. Then either superheat item or go to any furnace to smelt it into a Lunar bar. Go to an anvil with a Hammer and use the Lunar bar on it to make a Lunar helm.
Note: There is an anvil in the southeast corner of the town; however there are no furnaces on Lunar Isle
-
Torso, legs, gloves and boots: You will need 1 Suqah leather for each item (4 total). Talk to Rimae Sirsalis (clothes shop, south of the bank) and ask her to tan the 4 Suqah hides for 100 Coins each. Use a Needle and Thread on each of the Suqah leather to make each item.
-
Make your way back to Oneiromancer and speak to her (providing you have 11 spaces free in your inventory). She will give you your Ceromonial clothes, Waking sleep vial, and Lunar staff back, as well as Kindling from the first ever magic tree.
-
Now re-stock on food if necessary and withdraw runes for your best Fire spell (make sure you have at least 4 free inventory spaces), then soak the Kindling with the Waking sleep vial. You can drop the Soaked kindling and talk to the Oneiromancer to get a new one along with another Waking sleep vial. Pick up the Soaked kindling as this will save you the trip back to the Oneiromancer should you be killed in the Dreamworld or get disconnected.
-
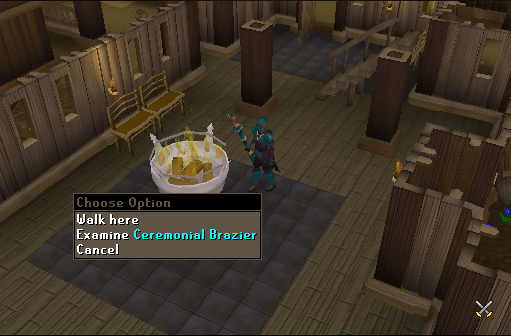
Now make your way to the Brazier in the building west of the bank and light it. While wearing the full set of ceremonial clothes, use the Soaked kindling on the Brazier to be teleported to Dreamworld.
-
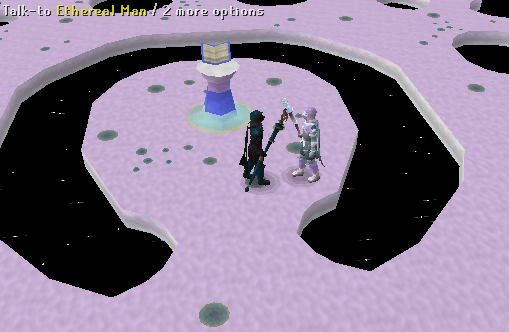
When you get there, talk to the Ethereal Man there (Ethereal Lady if you're a female). They will tell you about the Life Book and will instruct you to take some tests. If you do click on the book or logout while in the Dreamworld, you'll appear next to the Brazier.
Note: Do not click on this book until you finish all of your tasks in Dreamworld.
-
Step on the colored pods in turn to get teleported to each of the 6 tests. After each test you need to go talk to the Ethereal Man or Ethereal Lady. The tests are the following, in the clockwise order from the eastern pod:
-
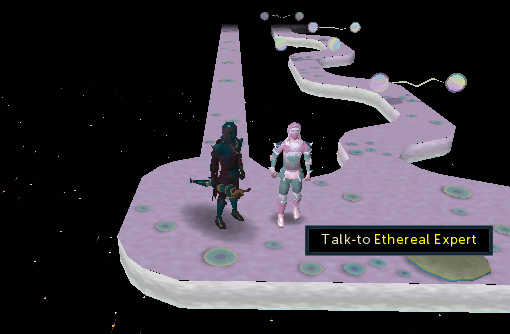
The Race is On - You are teleported to a place where a Ethereal Expert awaits. Talk to him and he will challenge you to a race, where he'll go through a linear path, and you'll go through a very curved, filled with obstacles path. Run and jump across the hurdles. If you fail a hurdle, you'll get 80 damage, so take care with your health. After you win, you'll be teleported back to the main area.
-
Communicating in Numbers - Talk to the Ethereal Numerator there and he will propose a test with numbers. You'll have to find the next two numbers in the sequence he'll give to you, and press the numbers accordingly. After you have finished 5 sequences correctly, you will be returned to the main area.

Sequence First Number Second Number 0, 1, 3, 4 6 7 1, 1, 1, 2, 1, 3, 1, 4 1 5 9, 7, 5 3 1 1, 1, 2, 2, 3 3 4 1, 1, 2, 3, 1, 1, 4 5 1 1, 2, 3 4 5 1, 3, 5 7 9 1, 4, 2, 5 3 6 1, 5, 2, 5 3 4 1, 6, 2, 5 3 4 1, 9, 2, 8 3 7 2, 6, 3, 7 4 8 3, 4, 2, 5 1 6 7, 3, 6, 2 5 1 8, 6, 4 2 0 9, 8, 7, 6 5 4 2, 3, 5, 6 8 9 -
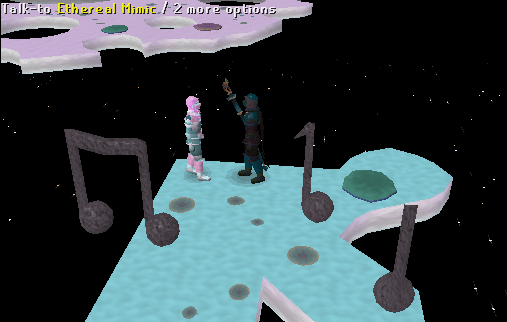
Anything you can do Test - Talk to the Ethereal Mimic. You'll have to mimic the emotes he's doing, just like the mime random event. After mimicking 5 emotes you'll be kicked back to the main area.
-
A Game of Chance - Speak to the Ethereal Fluke and you'll get a number. 6 dice are spread around the platform. Each die can have 2 possible numbers. You must make the given number with the sum of all dice. Once you made 5 numbers, you will be kicked back to the main area.
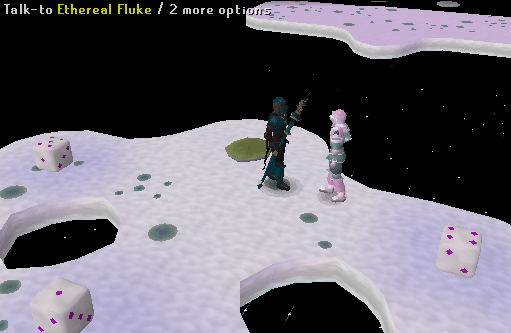
Number Shown Changes Into 1 6 2 5 3 4 4 3 5 2 6 1
-
Dice game answers
Question Answer 12 1,1,2,2,3,3 13 1,1,2,2,3,4 14 1,1,2,2,4,4 15 1,1,2,5,3,3 16 1,1,2,5,3,4 17 1,1,2,5,4,4 18 1,1,5,5,3,3 19 1,1,5,5,3,4 20 1,1,5,5,4,4 21 1,6,2,5,3,4 22 1,6,2,5,4,4 23 1,6,5,5,3,3 24 1,6,5,5,3,4 25 1,6,5,5,4,4 26 6,6,2,5,3,4 27 6,6,2,5,4,4 28 6,6,5,5,3,3 29 6,6,5,5,3,4 30 6,6,5,5,4,4
-
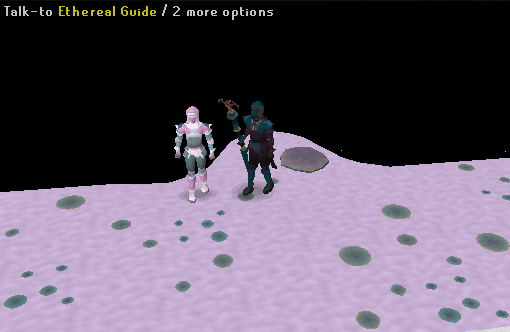
Where Am I? - Speak to the Ethereal Guide. You'll need to cross the platforms to get to the other side. If you step in a loose platform, you'll fall and then will be teleported to the beginning of the course. Once you reach the other side, you'll be kicked back to the main area.
-
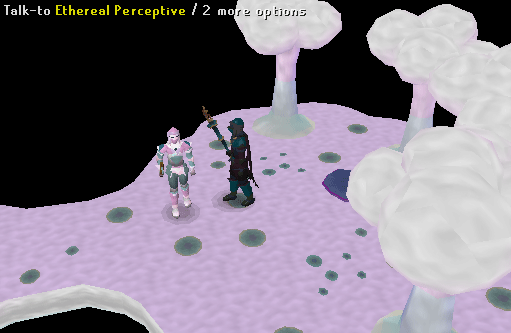
Chop, Chop, Chop Away - Speak to the Ethereal Perceptive and he will challenge you. Your objective is to chop 20 Dream logs faster than him. One side of trees is his, and the other is yours. Get your Dream logs and put them in your pile. Once you win, you'll be sent back to the main area.
-
When you finish all the courses talk to the Ethereal Man or Ethereal Lady again and he'll give you your last test. You must face yourself. You'll be teleported to an area with a level 84 version of yourself which keeps teleporting you to a random place in the map and teleports itself too. Me, who has the same Life points and Max hit as you, can only be killed using Magic and has a weakness to Fire spells. Once you've killed it then read the lectern and you'll be sent back to reality.

-
Now go and talk to the Oneiromancer again to finish the quest.
Note: Players who happen to lose their Lunar equipment may purchase it from the Oneiromancer after completion of the quest.
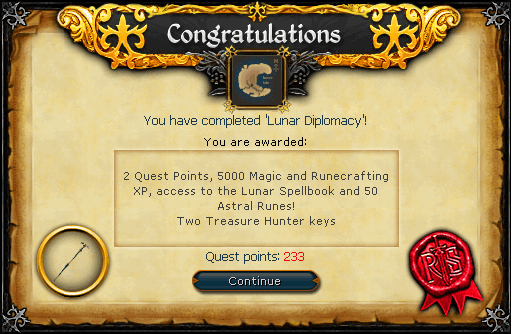
Congratulations! Quest Complete!
This Quest Guide was written by Piro_Omar, Meowmix686 and Zharramadar. Thanks to Im4eversmart, Fireball0236, Ilikedragonweps, G1ygas, DRAVAN, LogGamer, Ragonrok, Joe C, Oberon_Black, Alk12, atr0p0s, Dragoon889, Kittyhawk, Carduel, andro_girl, RingoSmif, flyinzamboni, St0rm, RingoSmif, SimonH, Double_D_Edd, Hilwin1, GodzSniperX3, Saint Legacy, Jarkur, Scott, Nightowl67, Sirius XM, and RdRanger2020 for corrections.
This Quest Guide was entered into the database on Sun, Jul 30, 2006, at 03:17:56 AM by Alk12, and it was last updated on Tue, Jun 12, 2018, at 02:36:45 AM by Ksb Single.
If anything is incorrect or missing, or if you have any new information to submit to this database, please submit it to us on our Content Submissions Forums.
If you see this guide on any other site, please report it to us so we can take legal action against anyone found stealing our content. This guide is copyrighted by RuneHQ, and its use on other sites is expressly forbidden. Do not ask if you can use our guides or images, the answer is and always will be NO!
Print this page with images - Back to the Quest Guide Index Page - Back to Top
