

-
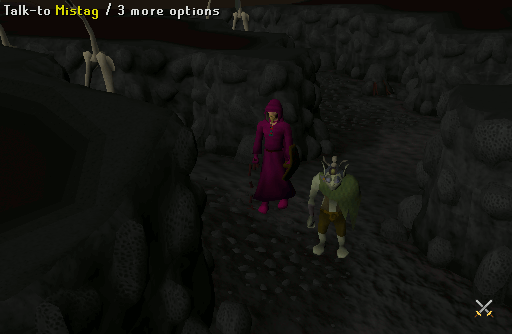
Head to the Dorgeshuun mines under Lumbridge Castle and speak with Mistag. He will tell about the plans of the H.A.M. and wants you to protect the goblins.
Note: Ensure you have a lightsource when you enter the lumbridge mines. Speak to the goblin Kazgar at the entrance to the maze and he will take you to the mines.
-
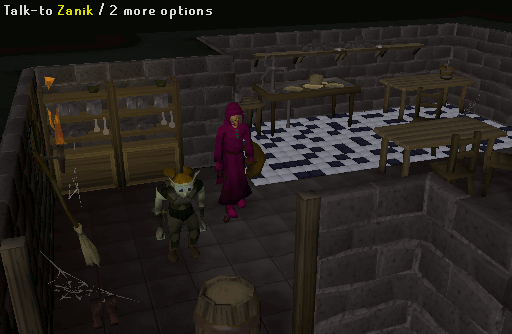
Meet his agent, Zanik, in the Lumbridge Castle basement. She will take one of the 2 sets of HAM clothes and ask you for a tour around Lumbridge. Put on the other set and tell Zanik to follow you.
-
Go outside of the castle and a cut scene will occur. Once the cut scene is over, you may start the tour around Lumbridge. She will ask you to visit some of the following people.
- Shopkeeper or Shop assistant of the General store. Zanik will buy a souvenir from them.
- Duke Horacio on the second floor of Lumbridge Castle
- Father Aereck at the church in front of Lumbridge Castle
- Bob at his Axe Shop
- Any of the citizens of Lumbridge. These include Donie, Hans, Cook, Lumbridge Guide, a Man and a Woman.
- Surface Goblins
-
When Zanik has seen enough of the surface, you may ask her about the scar. A cut scene will occur showing the Tears of Guthix cave and how she got the scar.
-
Head to the HAM headquarters east of Lumbridge, opposite the cow field. Once there, talk to a H.A.M. guard to hear that Sigmund and the H.A.M. leaders have a plan to wipe out the Dorgeshuun goblins.
-
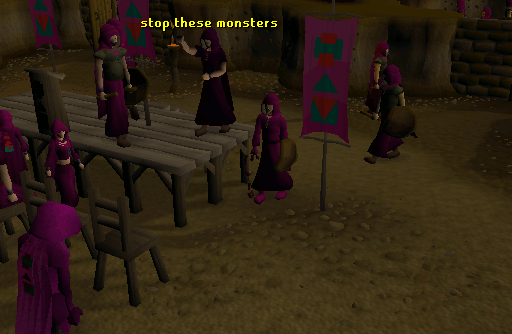
Zanik will ask you enter the main area where she will listen to a speech.
-
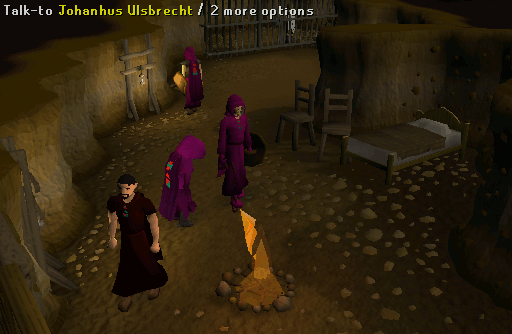
After that, ask Johanhus Ulsbrecht about the Cave goblin attack.
-
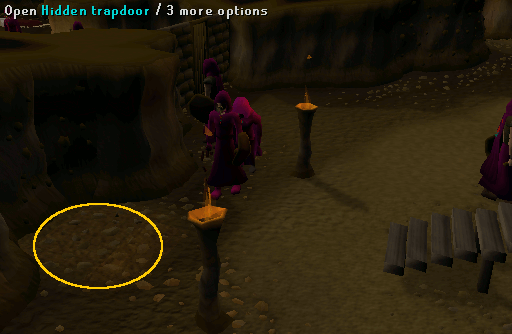
Now Zanik will want you to check the main area again. Walk to the southeastern edge of the main area, and she will see a hidden trapdoor. The trapdoor in the southeastern corner of the H.A.M. hideout is in the very southern middle end of the main area. Pick-lock and enter it. You will end up in the HAM storerooms, guarded by five H.A.M. guards.
-
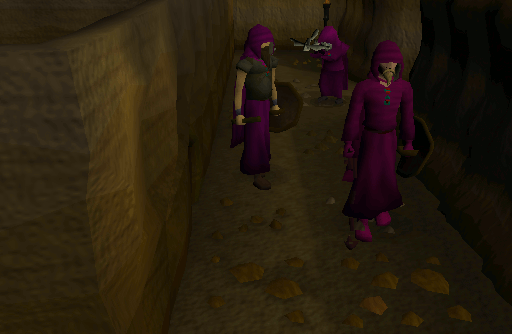
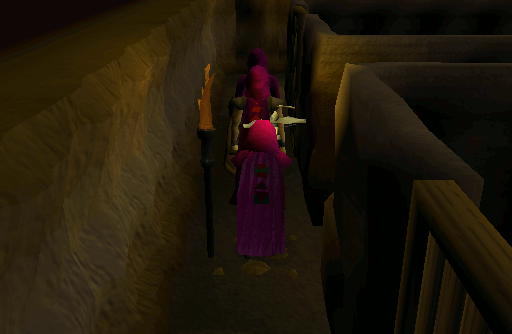
To get past the first guard, stay against the opposite wall as the guard, and walk past him. He will turn and face you and then Zanik will then be able to shoot him in the back and kill him using her crossbow. You have to get all the guards to turn their backs to her.
Note: If you get caught by any of the guards you will be sent to the jail. Zanik will set you free, but you will have to start over again. If you get stuck in the jail cell and Zanik wont let you out, just teleport back to Lumbridge (home teleport) and then go talk to Zanik in the Lumbridge Castle Kitchen Dungeon.
-
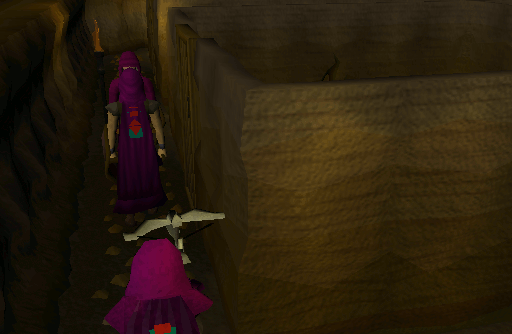
To kill the second guard, squeeze through the crack in the southern wall. Then, pick-lock the door, you will walk out the door behind the guard so do not panic, just wait til the pick lock action is complete and talk to the guard while standing to the north of him. Zanik will then shoot him.
-
Once the second guard has been killed, Zanik will ask you to tell her when the coast is clear. Select the "now!" option when the guard in the center isle turns and walks east.

-
Tell Zanik to wait in middle path and then walk out and head 2 steps south. This will lure the fourth guard towards you and will enable her to shoot him in the back.
-
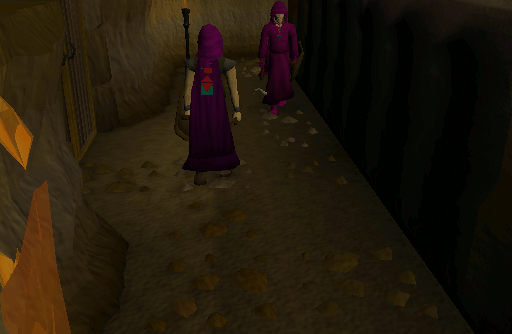
Finally, tell Zanik to wait in the path to the west or east of the fifth guard. Be careful not to go out into the end hallway when setting Zanik up or you will be caught and have to start over. Head to the opposite pathway and get noticed by the guard who will turn his back to Zanik. Zanik will come out and kill the final guard.
-
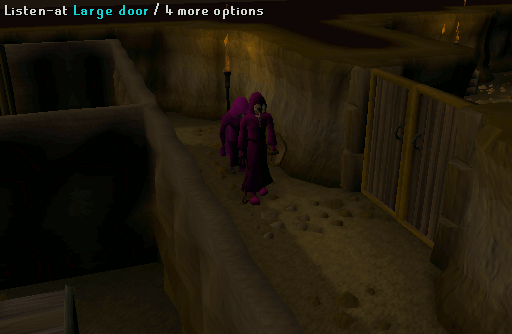
Now, listen at the large door. During a small cut scene Zanik will tell you about their evil plans involving a machine, but before she is able to finish both of you will get caught.
-
You will then wake up in a HAM prison cell without Zanik. Pick-lock the jaildoor and ask both Johanhus Ulsbrecht and a H.A.M. guard to find out what happened to her.
-
Leave the headquarters, only to find Zanik's body not far from the mine entrance. Inspect her and you will notice that, although she is dead, her scar is glowing.
-
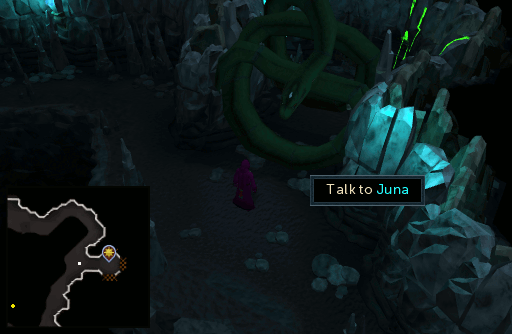
Now, if you have completed Tears of Guthix, use a Games necklace to teleport directly to Juna.
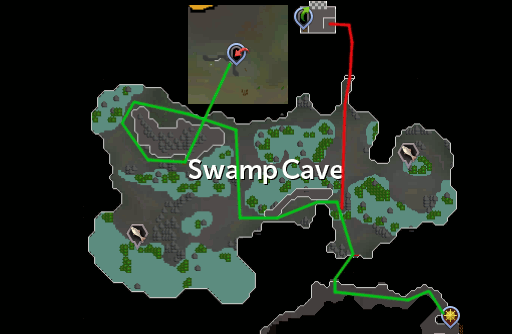
If you haven't completed Tears of Guthix, but have previously unblocked the hole into the Lumbridge Swamp Caves found just south of Kazgar, then first follow the red and then the green line on the map below into the caves and to Juna.
If you haven't unlocked the shortcut, make sure you have a Spiny helmet equipped, then access the caves through the entrance in Lumbridge Swamp and follow the green line through the caves and first unblock the hole for future use before heading to Juna.
-
Once you've reached Juna, talk to her and she will inform you that she can revive Zanik if you collect 20 tears of Guthix. Enter the cave behind her and collect 20 tears from the blue streams and avoid the green streams (this does not count toward your weekly total).
Once you've given her the tears, a cutscene will play in which Zanik is revived and Juna will tell her about her destiny. Zanik will then finish telling you about the H.A.M. plot to wash away the Dorgeshuun using the River Lum.
Note: This is the time to grab Magic or Melee type weapons and armour for the final fight!
-
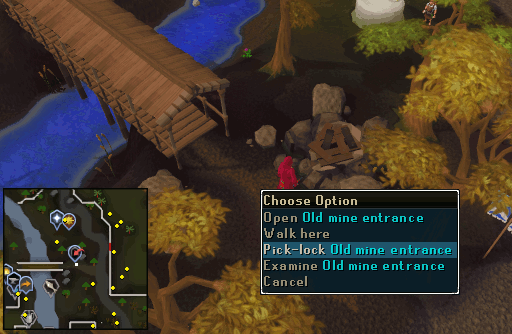
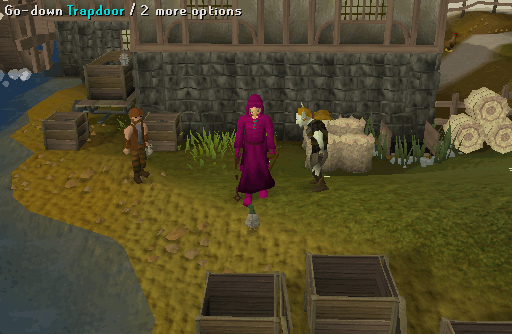
Now, you will need to go to the watermill, across the bridge, over the river, northeast of Lumbridge. Just outside the farm you will find a trapdoor. As you try to enter it, you will be stopped by a dwarf saying that only H.A.M. Members are allowed. Search the empty crates to the south and Zanik will jump in one of them. Pick up the crate and go down the trapdoor.
-
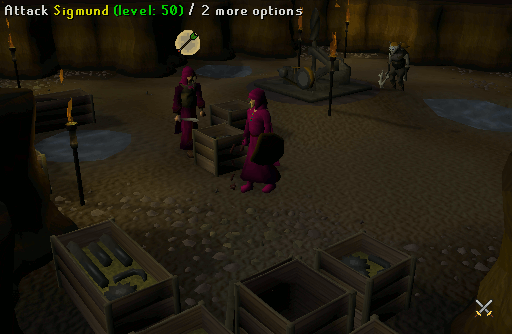
Once down into the dungeon, head west where you will get attacked by three H.A.M. guards (level 36) and Sigmund (level 42), who will use a protection prayer based on the attack you are using. When Zanik starts to attack Sigmund, he will switch to Protect from Ranged.
-
When both the guards and Sigmund have been defeated, smash the machine in the center of the chamber.
-
Go to through the southern tunnel into the Dorgeshuun mines. There, talk to Mistag and a cut scene will occur.
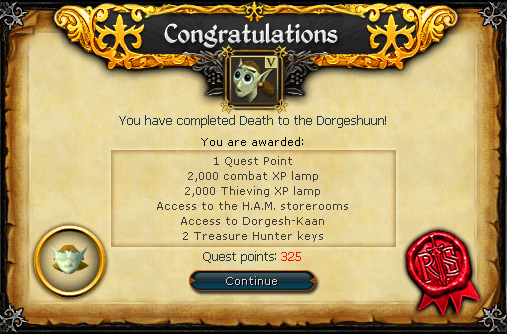
Congratulations! Quest Complete!
This Quest Guide was written by Zevenberge. Thanks to Halk 5, Piro Omar, Inferno X, FxExAxR, Meowmix686, Jonathanshi, Grey 1337, Ready4ownage, Cedros_Man, Wrestler126, DRAVAN, Bob, Toeby, Im4eversmart, Alfawarlord, Dark, CFoHT, Javezz, Jarkur, Zac1atak1, R 0 B E R T, and Noble K, Olllivander, and Lone One. for corrections.
This Quest Guide was entered into the database on Wed, Jun 21, 2006, at 11:25:40 AM by Im4eversmart, and it was last updated on Sat, Aug 05, 2023, at 10:21:17 AM by Robbie.
If anything is incorrect or missing, or if you have any new information to submit to this database, please submit it to us on our Content Submissions Forums.
If you see this guide on any other site, please report it to us so we can take legal action against anyone found stealing our content. This guide is copyrighted by RuneHQ, and its use on other sites is expressly forbidden. Do not ask if you can use our guides or images, the answer is and always will be NO!
Print this page with images - Back to the Quest Guide Index Page - Back to Top
