

| 18 Herblore | 25 Crafting | 30 Smithing | 36 Agility |
Note: If you have completed Druidic Ritual prior to January 31, 2012, you will have to complete the updated version in order to do this quest.
| 44 Coins* | 4 Steel bars | Vial of water | Clean harralander | ||||
| Clean marrentill | Iron bar | Bronze bar | Empty pot | ||||
| Hammer | 5 Pigeon cages |
| Amulet of Glory (4) | 4,010 Coins | Varrock teleport method | Watchtower teleport method | ||||
| Skills necklace (4) or | Ardougne teleport method |
-
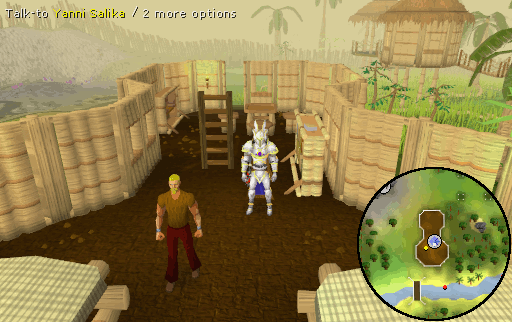
Make your way to the antiques shop South East of the gem mine in
Shilo Village and ask Yanni Salika if there is anything else to do in the village. Eventually he will ask you to do him a small favor. The favor he requests is for you to retrieve a Red mahogany logs from a forester, just outside of Shilo Village.
Note: The easiest way to reach Shilo Village is by chartering a boat to Brimhaven or using an Amulet of Glory (4) to teleport to Musa Point. From there head to the Northern part of Brimhaven and take Hajedy's cart ride in Shilo Village for 10 Coins. Another option to reach Shilo Village is by using the Fairy code CKR, which will teleport you to the hunting grounds North West of the village.
Alternatively, if you have completed The Grand Tree, you may use Gnome Gliders to travel to South of the Ship yard on Karamja (Gandius). From there, walk slightly South West until you reach the waterfall shortcut. After going across the stone steps at the waterfall, walk directly West and you will reach the Shilo Village entrance.
-
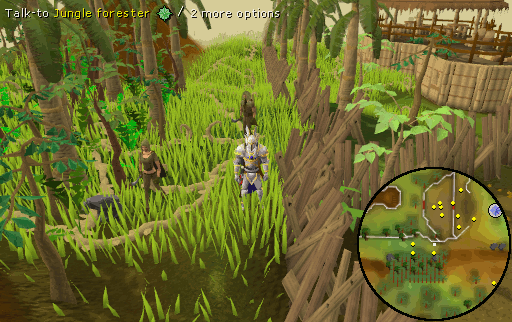
Leave Shilo Village through the gates to the East and just South of the village near the barrier to the Kharazi Jungle you will find Jungle foresters. Ask one of them about some Red mahogany and they will promise you some mahogany if you do them a small favor. You will be asked to take a Blunt hatchet to Captain Shanks, so that he can get it fixed in Port Sarim.
-
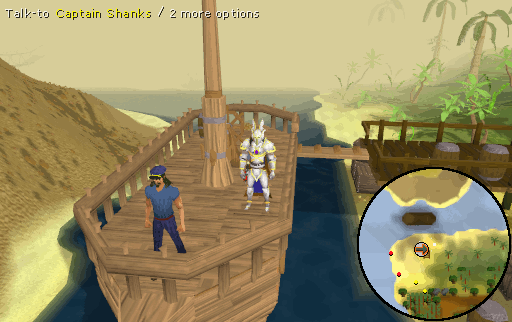
Follow path to the West until you spot a ship along the coast, West of Shilo Village. Climb up the ladder and talk to Captain Shanks on the boat. He will tell you that he does not do favors and suggests that you take the Blunt hatchet to Port Sarim. Speak to the captain again and ask for a ride to Port Sarim. He will offer to take you along for between 26 and 44gp.
-
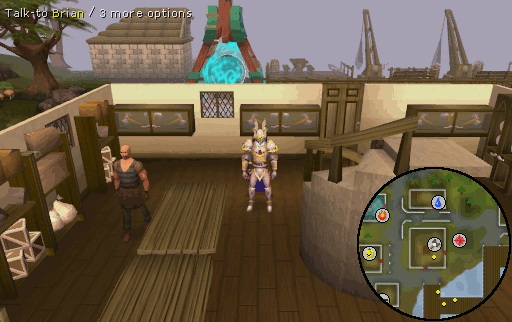
When you have arrived in Port Sarim head directly West past the Player Owned Ports portal to the battle-axe shop. Speak with Brian, and ask him if he sharpens hatchet. Apparently, he normally would but he is worried about his best friend spending the rest of his life behind bars. For just one small favor he will sharpen the hatchet. Brian wants you to pay a visit to Aggie the witch in Draynor Village and ask her to be a character witness for his friend.
-
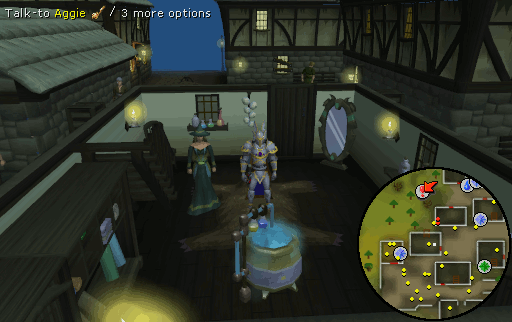
Head East to Draynor Village and speak with Aggie in her house, North of the market area. She will agree to be the character witness if you help her out. Her friend Jimmy the Chisel has gone missing and she wants you to find him. Aggie suggests that you head East and check out this old abandoned building.
Note: The easiest way to reach Draynor Village is by using a Amulet of Glory (4) teleport or via the Draynor Village lodestone
-
Head East of Lumbridge, opposite the cow pen and picklock the trapdoor to the mine and climb down the ladder. Head into the South room, West of the jail cell and talk to Johanhus Ulsbrecht about Jimmy the Chisel. He will tell you about how the organization needs food. Ask him if he needs a favor done, and he will tell you that if you arrange a monthly supply of chickens, he can let Jimmy go free.

-
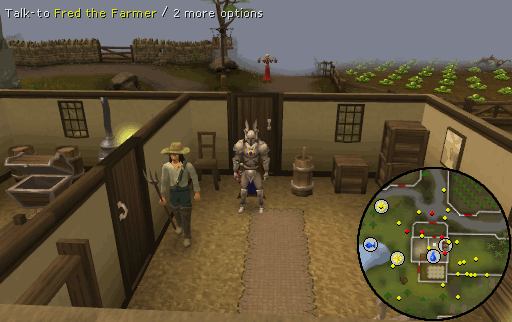
Leave the H.A.M. headquarters and make your way to the farm North of
Lumbridge. Find Fred the Farmer and ask him about giving you some chickens. He will admit that he just does not have enough chickens but suggests that you should talk to Seth Groats, at the farm over the river, on the way to Varrock.
-
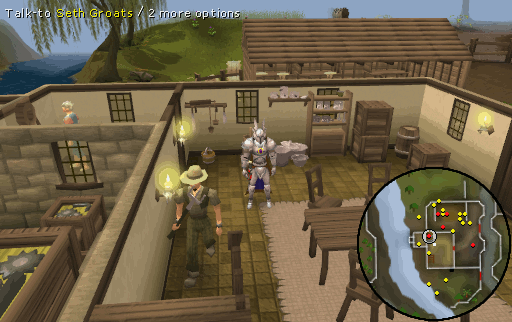
Cross the bridge to the East and walk North until you reach another farm. When you talk with Seth Groats, he will say that he will do it but just needs to get everything organized. Firstly, he will needs some cages for the chickens. He then suggests that you go see Horvik, in Varrock, about the cages. Apparently, Seth owed Horvik 3 Steel bars for his last job and assumes that those would be great payment for the cages.
-
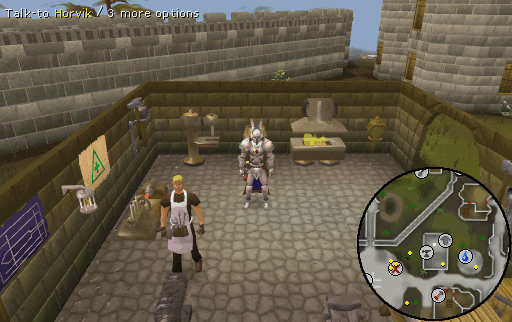
Speak with Horvik at his armor shop in East of
Varrock square, and ask him about the chicken cages. When you notice that he is very sick, he refuse to do any work for you unless he has an herbal antidote. He then also says that it would be much easier for him if you bring him some existing Pigeon cages to modify.
Note: The easiest way to reach Varrock is by using the Varrock lodestone or the Varrock teleport spell (requires 25 Magic).
-
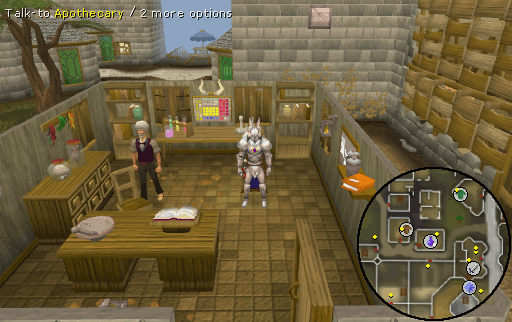
Run South West to the Apothecary in Varrock, and ask him about the medicines. He will gladly hand over the Herbal tincture and the
Breathing salts. But as he is giving you the salts, he accidentally drops the Airtight pot and loses the salt. He then requests a new airtight container to put more salt in, and suggests that you see Tassie Slipcast, in the Barbarian Village.
-
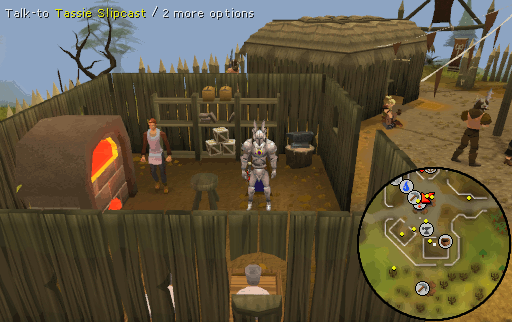
Travel West to the Barbarian Village and speak with Tassie Slipcast at the pottery. She will say that she needs to pay off a loan to Hammerspike Stoutbeard, a ruthless gangster who lives in the Dwarven Mines. You will need to take it up with him if you want your Airtight pot from her.
-
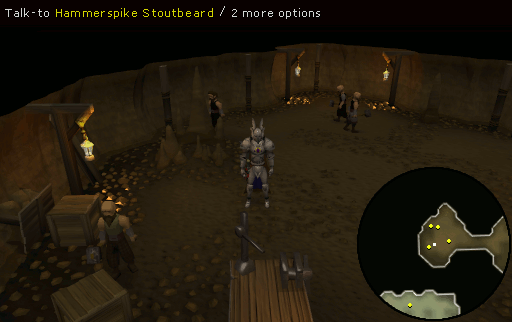
Head West to the Ice Mountain and descend into Dwarven Mines. Follow the path to the South and then keep going West until you hit a dead end. There, ask Hammerspike Stoutbeard about him being a gangster. He will tell you that he has always wanted to be a druid, but needs someone to take him on as their initiate. Hammerspike suggests that you talk to Sanfew in Taverley.
-
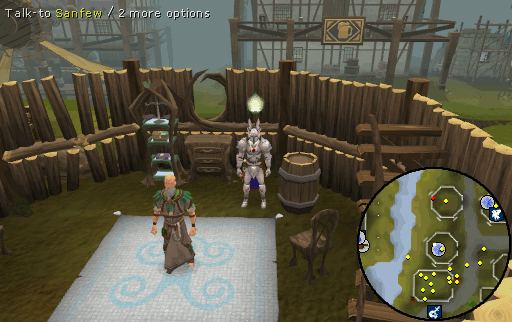
Make your way to Taverley and speak with Sanfew, in his house to the West of the city gate. Ask him if he is accepting new initiates, and tell him that you know a dwarf who wants to be his initiate. He will take the dwarf on for not one, but 2 favors. He needs you to make a potion for the gnome pilot on White Wolf Mountain, and to organize a trip with the gnome to the Feldip Hills. To make the potion, add a Clean harralander to a Vial of water and then add Clean marrentil.
Note: The easiest way to reach Taverley is by using the Taverley lodestone
-
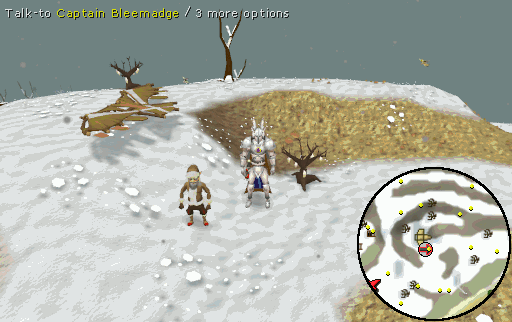
When you have the Guthix rest (3), head up the White Wolf Mountain to the west and talk to Captain Bleemadge next to the gnome glider. Tell him you have a special tea for him and he will take it. Then tell him about the trip you want to organize to take Sanfew to the ogres. The gnome pilot wants to make it in record time, so he will need some lightweight rope; or T.R.A.S.H. as he calls it. Bleemadge then mentions that Arhein, in
Catherby, has some of these ropes.
-
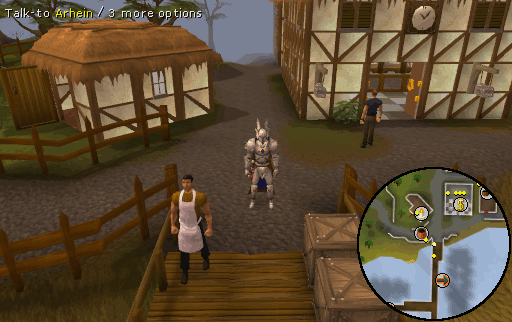
Run down the mountain and talk to Arhein, wandering around at the docks in Catherby.
He will tell you that he knows a lot about T.R.A.S.H. and will be glad to help you in return for a Weather report, to keep his cargo from sinking in a storm. He thinks a Seer named Phantuwti Fanstuwi Farsight could help him.
-
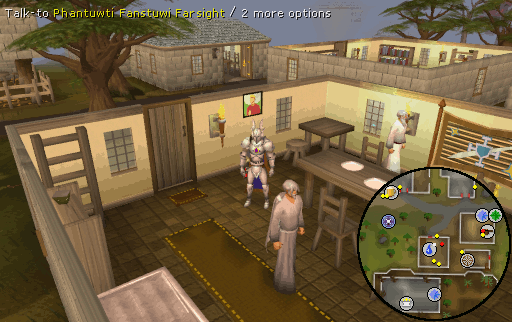
Follow the road West into Seers' Village to the house directly South East of the bar. Inside, talk to Phantuwti Fanstuwi Farsight and ask him about a weather forecast. He will inform you that he cannot do it for you, as he too is looking for a missing person. Her name is Petra Fiyed, and according to his vision, she is in a cave, inhabited by some smelly creatures. He says that the cave must be somewhere nearby.
Note: The easiest way to reach Seers' Village is by using the Seers' Village lodestone
-
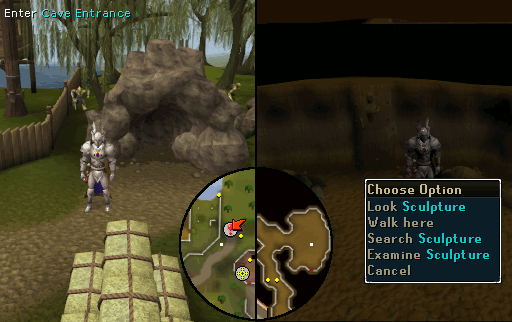
Travel South West to the Fishing Guild and enter the small cave just East of the entrance. Follow the Northern corridor until you come to a room. Upon entering the room a short cut scene will play. The girl you are looking for appears to have been turned into stone and embedded in the cave wall. Search the sculpture and you will see an incomplete message telling you "There were problems, report to Wizard Cromperty, he is currently resident in East Ardougne."
Note: The easiest way to reach the Fishing Guild is by using a Skills necklace (4) teleport option or the Ardougne lodestone.
-
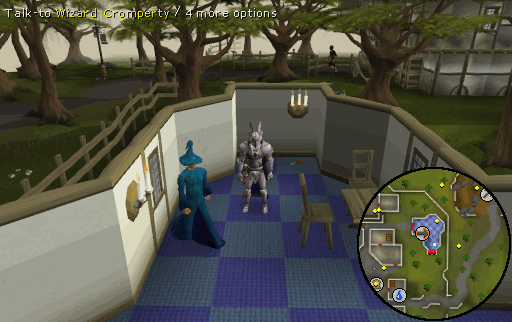
Head to the most North East building in East Ardougne and speak with Wizard Cromperty about the girl stuck in a rock. He will say that in order to free the girl, he will need some Iron oxide, which can be bought from a merchant in Port Khazard.
Note: If you haven't obtained the 5 Pigeon cages for Horvik already, you can grab them now behind Jerico's house, just South of the Northern bank in East Ardougne.
-
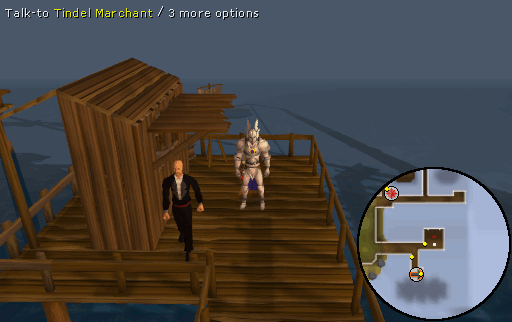
On the Port Khazard docks, talk to the Tindel Marchant and ask him about Iron oxide, more commonly referred to as rust. He will agree to give you one of his last pots, in exchange for a favour. He wants you to take his old flea-infested Stodgy mattress down to the ogre Rantz in the Feldip Hills.
Note: The easiest way to reach Port Khazard is by using the Catherby lodestone then chartering a ship from the dock (costs 1600 gp), the Watchtower teleport spell (requires 58 Magic), or the Fairy code DJP.
-
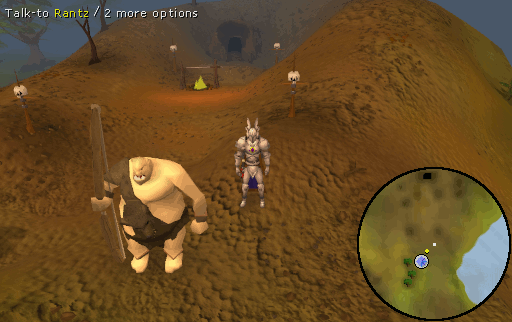
Travel to the North Eastern corner of the Feldip Hills and find Rantz. He would normally be happy to fill the Stodgy mattress with feathers, but he cannot hunt any Chompy birds to get some feathers. This is due to a small man and his 'man flapper' making a lot of noise nearby. If you can help the man, and get the noise to stop, then Rantz will agree to fill your mattress.
Note: The easiest way to reach the Feldip Hills is by using the Oo'glog lodestone, or the Fairy code AKS.
-
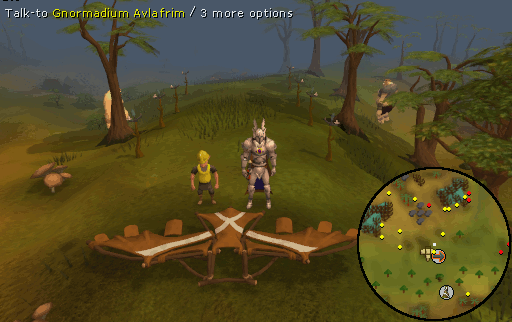
Head West until you find a gnome glider and talk to Gnormadium Avlafrim. Apparently, the gnomes are trying to extend the glider travel route to the Feldip Hills. Tell him that Rantz thinks you should help, and he will inform you that the gnome landing lights in front of the glider are not working. Search each light for a gem, cut the gem, and put it back in that landing light. When you have fixed all 8 gnome landing lights, tell the pilot that the work is done and he will fire up the lights.
Note: If you happen to crush any of the gems, you may buy new ones from Gnormadium Avlafrim at 500 Coins a piece.
-
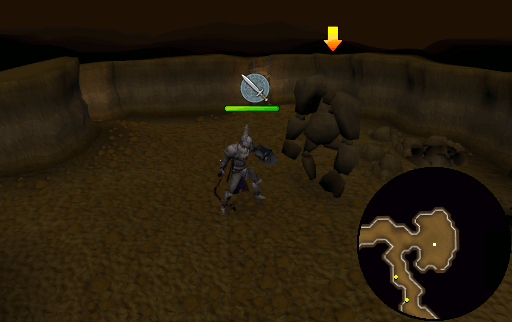
Run North East and report back to Rantz. He will stuff the Stodgy mattress and give you a Comfy mattress. Take the Comfy mattress to the Tindel Marchant and he will give you some Iron oxide. Hand Wizard Cromperty the Iron oxide and he will give you an Animate rock spell. Prepare to battle a level 63 monster, which uses Melee and is weak to Air spells. Head back to the goblin cave and cast the spell in the room with the sculpture. You will accidentally release Slagilith, a 63 rock monster. Turn on the Protect from Melee prayer and kill him. He will drop an Uncut ruby, a Uncut diamond, and an Adamantite ore. Now, cast the spell again and you will free Petra Fiyed.
-
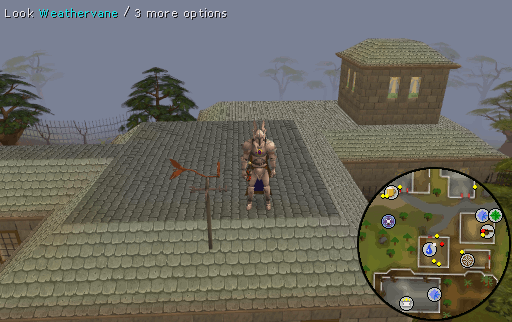
Return to Seers' Village and tell Phantuwti Fanstuwi Farsight that you freed Petra Fiyed. Go through all the chat options until he gives in. He will tell you that his weathervane is broken, but gives you permission to go up on the roof to fix it. Climb up onto the roof and search the weather vane. Choose the option to hit it with a Hammer to obtain all of the broken broken parts. Take these parts along with a Bronze, an Iron, and a Steel bar to the anvil in the house to the North. Use each of the parts with the anvil to fix them. Return to the house and use the parts on the weathervane to fix them. Talk to Phantuwti Fanstuwi Farsight and he will give you a Weather report.
Note: The easiest way to reach Seers' Village is by using the Seers' Village lodestone
-
Now, it is time to retrace your steps.
- Take the Weather report to Arhein, in Catherby, and he will get one of his associates to take the T.R.A.S.H. to the gnome.
- Talk to Captain Bleemadge, on the White Wolf Mountain, and he will agree to take Sanfew to the Feldip Hills.
- Report back to Sanfew, in Taverley, and he will agree to take the dwarf on as his initiate.
- Head into the Dwarven Mines and talk to Hammerspike Stoutbeard. Apparently, he has changed his mind in being a druid. He will have his 3 gang members (level 35) attack you. Kill them and then talk to Hammerspike Stoutbeard again. He will agree to forget about the loan.
- Talk to Tassie Slipcast, in the Barbarian Village, and she will teach you how to make Pot lid. She will give you some Soft clay. Use it on the nearby Potters wheel to make an Unfired pot lid and then use the lid on the Pottery oven. Use the finished Pot lid on an Empty pot to make an Airtight pot.
- Go to the Apothecary in Varrock and show him the Airtight pot. He will fill it with Breathing salts.
- Travel to Horvik, in Varrock, and give him the Breathing salts and the Herbal tincture. Now, give him the 5 Pigeon cages mentioned earlier, and he will turn them into 5 Chicken cages.
- Go back to Seth Groats, at the farm South of Varrock, and give him the Chicken cages. He will tell you that the fanatics will let Jimmy the Chisel go.
- Enter the H.A.M. headquarters and talk to Johanhus Ulsbrecht. He will agree to release Jimmy the Chisel.
- Return to Draynor Village and speak with Aggie. She will agree to be the character witness for Brian.
- Head West to Port Sarim and speak with Brian. After some chat, he will give you the Sharpened axe.
- Travel to Shilo Village and give the Sharpened axe to a Jungle forester. They will give a Red mahogany logs for all your help.
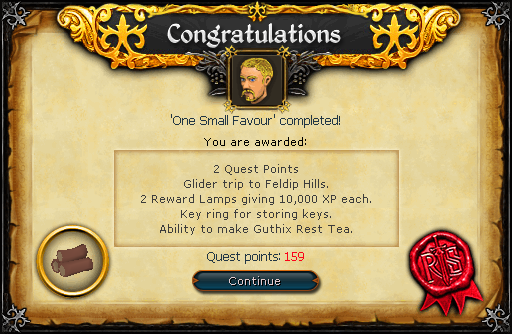
- Return to Yanni Salika, in Shilo Village, and give him the Red mahogany logs. After a conversation, he will give you your reward.
Congratulations! Quest complete!
After completion of the quest, a Steel key ring is added to your toolbelt, from which it will operate automatically. Thus it cannot be lost or destroyed. To view keys currently on the ring, open up your toolbelt, click the cog (settings) icon and then 'Key Ring' to see a list of keys and wether or not they are available. Keys that can be on your keyring include:
This Quest Guide was written by Xtotre. Thanks to crisholt4000, mithr ndir, FlX, mona lisa, Hyrune, x kite, Netherworld, viralmonkey9, gkef, ssvash1, trekkie, asianboy49, Im4eversmart, number1short, blooddragon3003, bainsy44, Andro_Girl, Omega, Alfawarlord, High Vortex, pixelights, Jarkur, Capa1di, Unview, Rip Empire, Lanarel, RoonscapePlz, Your E Plug, and CylorV for corrections.
This Quest Guide was entered into the database on Mon, Feb 28, 2005, at 03:44:55 PM by pokemama, and it was last updated on Sat, Jul 20, 2019, at 03:30:12 PM by Alk12.
If anything is incorrect or missing, or if you have any new information to submit to this database, please submit it to us on our Content Submissions Forums.
If you see this guide on any other site, please report it to us so we can take legal action against anyone found stealing our content. This guide is copyrighted by RuneHQ, and its use on other sites is expressly forbidden. Do not ask if you can use our guides or images, the answer is and always will be NO!
Print this page with images - Back to the Quest Guide Index Page - Back to Top
