

Grove (Tier 1)
Botanist Workbench (Tier 1)
-
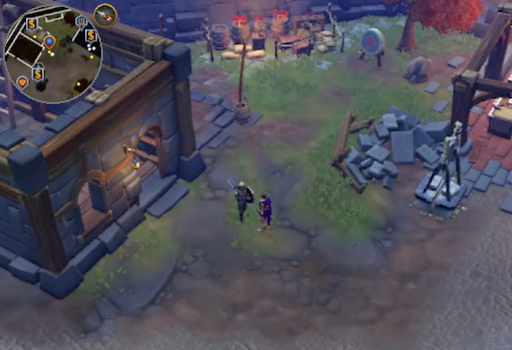
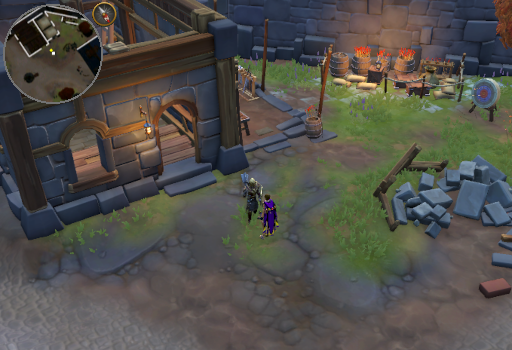
Prepare for battle BEFORE beginning the quest; any combat style can be used.
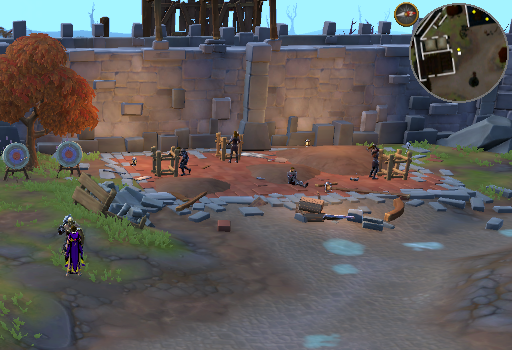
Talk to The Raptor and choose to discuss the Battle of Forinthry (option 1). Accept the quest and they will inform you that Zemouregal and Vorkath have arrived. It is time to fight! You will suddenly find yourself on the North side of the Workshop where The Raptor will tell you the order that the places of power need to be destroyed.- North
- North West
- West
-
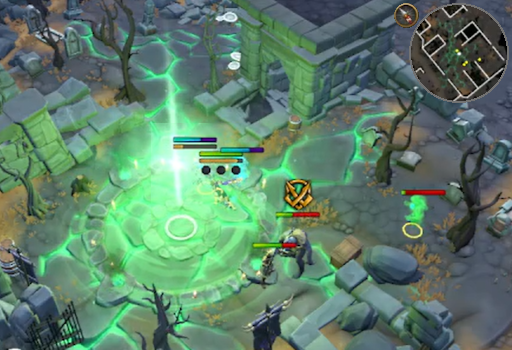
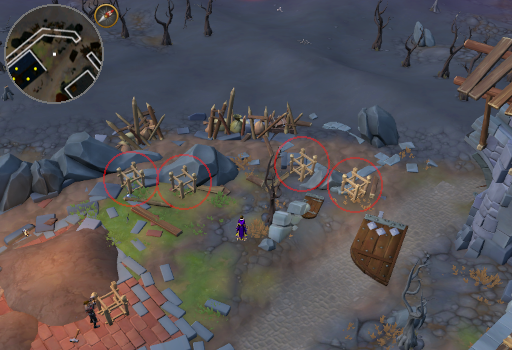
When ready to begin, head through the Northern gate and you will automatically start following The Raptor to the first place of power. As previously mentioned, make sure the Undead giant is killed then click on the middle of the giant light to disrupt the place of power. With the first location taken care of, you will automatically follow The Raptor to the next spot. Lather, rinse, and repeat for the second and third places of power.
-
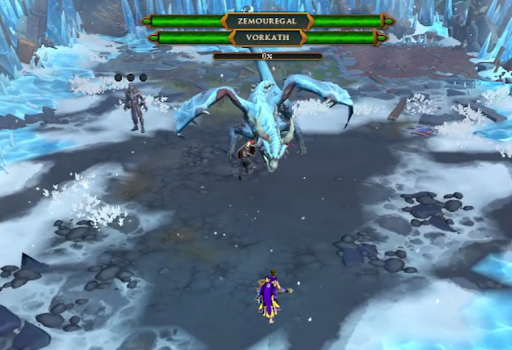
With the places of power disrupted, Vorkath will arrive and you will find yourself in the boss arena.
It is recommended to use protect/deflect against Necromancy (particularly if you are a lower level), but your other options are to protect/deflect Magic or to Soul-split. Additionally, you will want to use some form of Antifire potion. The fight itself has 3 phases. For the first 2 you will be fighting both Vorkath and Zemouregal and the during the third Vorkath will leave once he hits 0 Health.
Whenever Vorkath is present, focus mainly on him as Zemouregal will largely be immune to damage. When Phase 1 and 2 end, Vorkath will briefly attack Zamouregal before focusing back on you. During the entire fight, you will have the ability use the ballista stationed at the Fort by using the extra action button with the arrow on it. This is particularly helpful when Vorkath does his Take Flight special (see below).
Specials you can encounter.- Zonal Ice
- Vorkath will jump up and hover in the air before breathing ice onto the ground. This creates a square of ice spikes around Vorkath in a 9x9 area which expands to 12x12 and then 15x15 area.
- Getting caught in these spikes does damage and stuns you.
- This can be avoided by hitting Anticipate when Vorkath jumps and run/escape/surging out of the area and returning once the ice melts.
- Poison Breath
- Vorkath will stand on his back 2 legs and spew poison into the area. These will land in puddles around the arena.
- Standing in one of these puddles will cause massive poison damage regardless of poison immunity. These puddles will remain through the end of the fight.
- Simply move out of the puddles to avoid taking damage.
- Take Flight
- Vorkath will fly out of the arena at Zemouregal's command and, when he returns, the entire arena will be filled with ice spikes.
- Cast my glorious vengeance down upon them!
- Cut them down without mercy!
- If the arena fills with ice spikes, you will receive significant damage.
- This can be avoided by using the Ballista button while Vorkath is in the air, The Raptor will announce that you should use it. If you have used the button, when Vorkath returns, it will interrupt his turning the arena in to a bunch of painful icy spikes and deal some damage to him. If the ballista is not available protect mage + devotion or barricade can block the big hit, but is tricky to time so it is recommended to use the ballista.
- Vorkath will fly out of the arena at Zemouregal's command and, when he returns, the entire arena will be filled with ice spikes.
- Zonal Ice
-
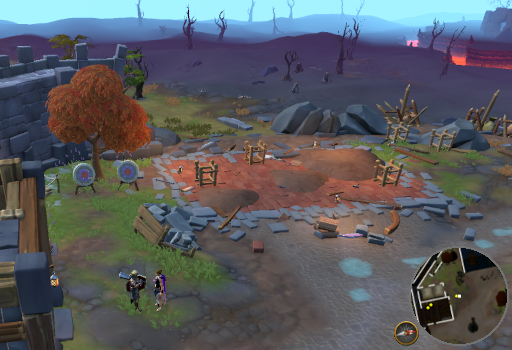
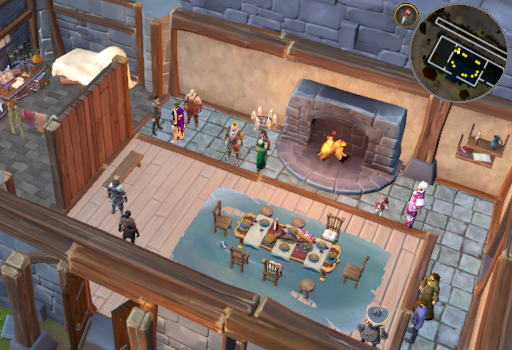
Once Vorkath is defeated, you will arrive back at the Fort that has suffered some damage (all that hard work...), destroying some of the wall, gate, and Workshop. Speak to The Raptor, you will be worried about everyone. Luckily, they all took shelter in various areas around the Fort. You will need to check on them and tell them to meet you in the Town Hall.
-
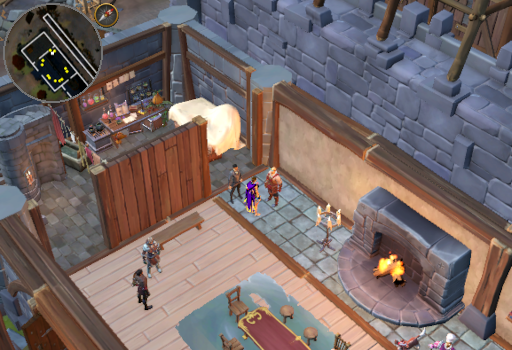
Travel to each of the locations in the table below and speak to one of the group members. You will briefly talk to/check on all of them and then encourage them to meet you at the Town Hall. Note that the groups can be found in any order. Click on the map images to see the group members in situ.
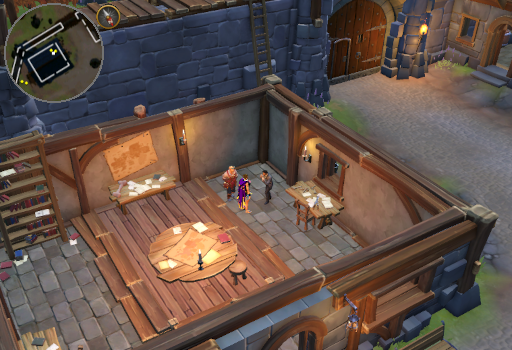
Group Building People Map 1 Guardhouse Siv and Sofia 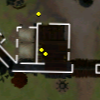
2 Command Centre Aster and Bill 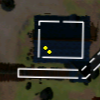
3 East of Command Centre Oak and Zoe 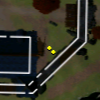
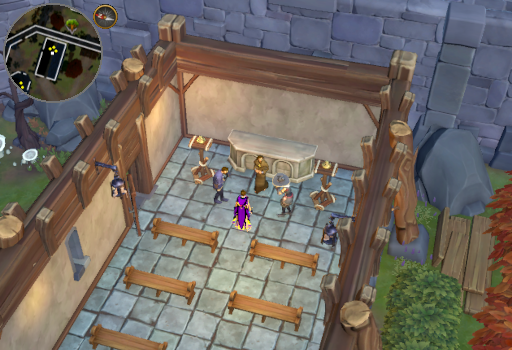
4 Chapel Copperpot, Father Flint, and Granny Rowan 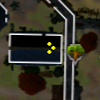
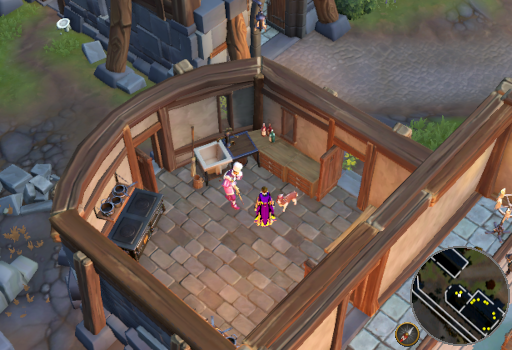
5 Kithen Rodney and Princess 
-
With everyone accounted for, return to The Raptor where you will explain that everyone is safe, but some of the guards were lost. They will inform you that we are vulnerable with the Fort being damaged and should get it repaired quickly. You will concur that it needs to be repaired post haste and need to speak to Bill about reparations.
-
Head to the Town Hall and speak with Bill about materials. Unfortunately, most of his supplies were damaged in battle. Luckily, he has an emergency supply of materials. Rodney will remind you to not overwork your self and Siv will recommend just worrying about the outer wall for now, the guards can help with restoring the workshop.
-
Run East through the Kitchen and pick up 4 Stone wall segments from the "Pile of stone" just outside. With these, head West to the damaged part of the Fort. Note that any extras grabbed will not remain once the wall is rebuilt.
-
Its time to repair the outer walls and gate. This can be done in any order and each section will take around 35 seconds to complete. Simply click on the hotspot to build it. With the outer wall fixed up, return to the Town Hall.
-
Once inside, speak with either Aster, Rodney, or Siv to start the feast. There will be a cutscene, celebrating our victory. Once the cutscene is over, Aster will show concern for The Raptor after such a hard battle and will ask for you to check on him.
-
Head back to The Raptor for a chat. You won't get much of an answer when asking how they are doing, but will get a bit of a response when you mention Zemouregal being held under the Command Center. Someone it is high time you checked on.
-
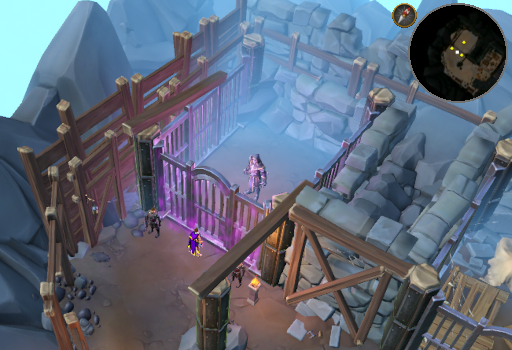
Head East past the Command Center and enter the hatch to the South near the wall. Once inside, head West and speak to Zemouregal in his cell. As much as he will insist you can't get any information out of him, he will be rather chatty until he catches himself. After strengthening the wards, a cutscene with Moia will occur and wrap up the current situation.

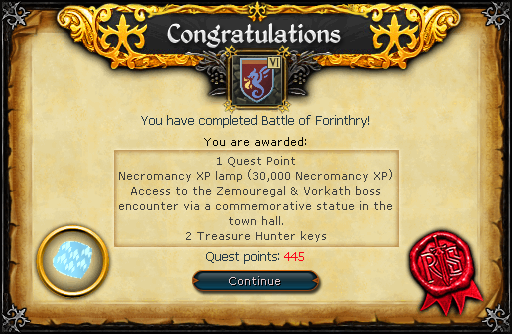
Congratulations, Quest Complete!
This Quest Guide was written by Robbie07731 and ChathMurrpau.
This Quest Guide was entered into the database on Tue, Nov 28, 2023, at 03:32:42 AM by Chath, and it was last updated on Sat, Dec 30, 2023, at 09:24:09 PM by Chath.
If anything is incorrect or missing, or if you have any new information to submit to this database, please submit it to us on our Content Submissions Forums.
If you see this guide on any other site, please report it to us so we can take legal action against anyone found stealing our content. This guide is copyrighted by RuneHQ, and its use on other sites is expressly forbidden. Do not ask if you can use our guides or images, the answer is and always will be NO!
Print this page with images - Back to the Quest Guide Index Page - Back to Top
