

- 12 Agility
- 34 Woodcutting
- Completion of all 3 Elite Dungeons (Temple of Aminishi, Dragonkin Laboratory, The Shadow Reef – can be completed during quest)
- Completion of Pieces of Hate and Sliske's Endgame for full story comprehension
| Uncut dragonstone | Raw fish (any kind will work) | Disguise for Black Knights' Fortress* | Rope | ||||
| Law rune |
*Appropriate disguises include:
- Dulcin armour cosmetic override
- Guard uniform
- Black armour
- Dagon'hai robes
- Elite black armour
- Black Knight captain's armour
- Combat equipment and food
- Quick teleports to various locations
- Daemonheim - Ring of kinship
- The Arc: Waiko, Whale's Maw, Tuai Leit, & Goshima - Arc journal
- Varrock Museum - 'Chipped' Varrock teleport
- Black Knights’ Fortress - Skull of Rememberance (You will also need a disguise to enter)
- Wizards' Tower
- Adamant Dragon Dungeon (in Brimhaven Dungeon)
- God Wars 2 Dungeon
- The Heart teleport
- Desert amulet (2, 3, or 4)
- Elite Dungeons (if necessary)
-
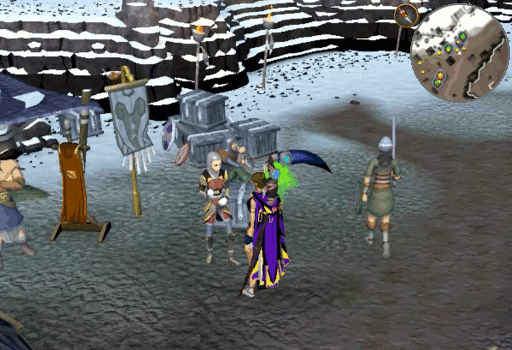
Be sure to Right-click Bryll and choose the "Curse of the Black Stone" option. Talking to her, you will learn that her network of informants has told her about signs of impending disaster. She will ask if you are willing to help her get to the bottom of the situation and the quest start window will open. As it turns out, her main informant, the "Jade Spider", has specifically asked for you by name. Unfortunately, she doesn't really know where you will be able to find the Jade Spider. The best she can do is suggest you start looking for them in Waiko.
-
Travel to the island, either by going to Port Sarim (Arc journal or Lodestone) and taking a ship or by using a Waiko teleport if you have one. Once there, go to the South East side of the Market and speak to Zhuka. Specifically ask her about the Jade Spider and she will warn you to be careful because THEY will hear you. She will then whisper that you should "find a friend on Whale's Maw" before leaning back and loudly exclaiming that she can't help with what you're looking for.
-
Travel to Whale's Maw by speaking to Gully on the dock or by using a Whale's Maw teleport. When you arrive to the island, walk to the North Western corner and speak to Sea Witch Kaula. She will whisper that she has a message from the Jade Spider for you that she had to bury near the tortles.

-
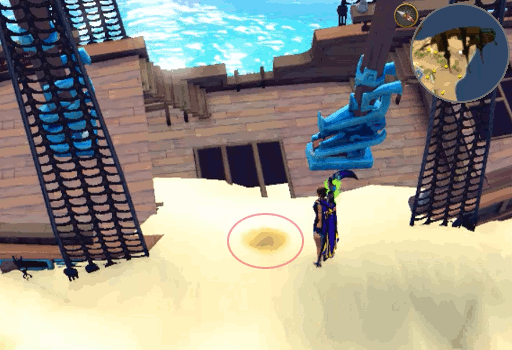
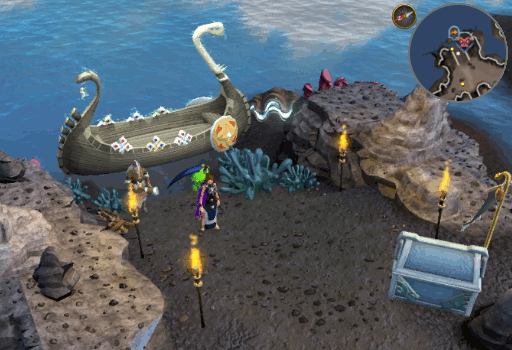
Walk to the far Western ship and dig the pile of sand near the middle of it. Here you will find a small tunnel that ends in tortle tracks and scraps of paper.
-
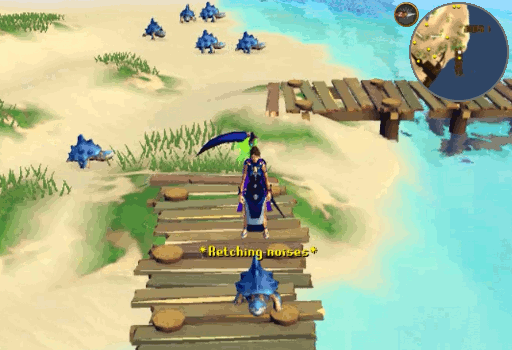
Wander to the South end of the ship and look for a tortle that you can click to check. It will occasionally have various belches and retching noises so it should be relatively easy to find. Once you locate the tortle, click it to receive your Note from the Jade Spider. Reading the note, it will tell you to seek out a trusted friend on Tuai Leit that you must tell "The oyster is open" as a passcode.
-
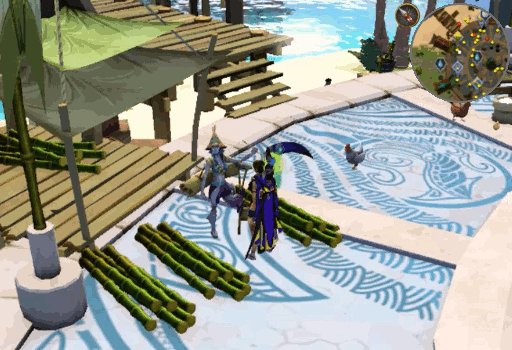
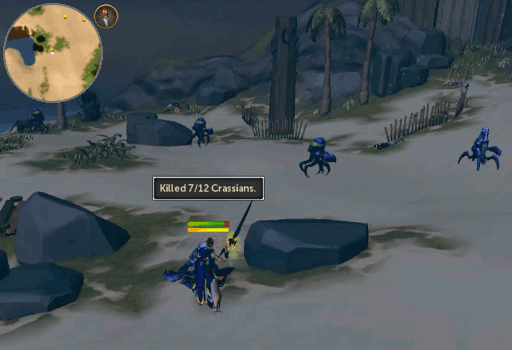
Travel to Tuai Leit, via Gully or a Tuai Leit teleport, and visit Sensei Seaworth in the South West corner of the plaza. You will automatically tell him the passcode and he will respond as appropriate. He will then directly tell you that you will need to travel to Goshima to meet the Jade Spider. At this point you will need to grab and equip any combat gear and food necessary to fight 12 Crassian warriors and Crassian scouts – 6 of each.
-
Travel to Goshima using Gully – he must be used to access the island as it will ask if you are going to search for the Jade Spider. When you arrive, you will find the Crassians scattered about. It is suggested to begin along the Western coast so that you do not need to back track to kill the remaining Crassians.
-
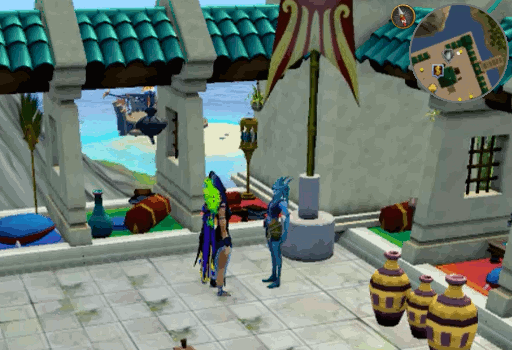
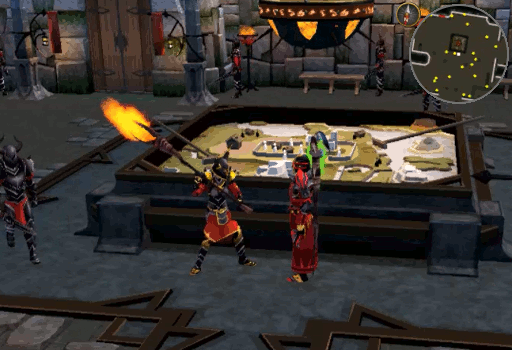
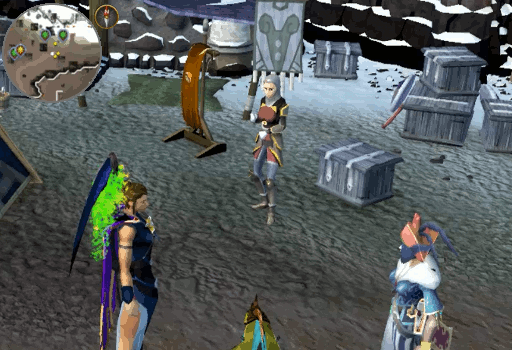
Once they are all defeated, walk to the gate of the city and enter. Inside are various pirates walking about. Ignore them and walk into the building directly East of you. Here you will find the Jade Spider – Madame Shih. She will tell you about a new religious order found on Aminishi. This explanation will culminate in her asking you to find your way into the lower levels of the Temple of Aminishi to see what is truly going on there.
-
At this point you will need to either enter and complete the Temple of Aminishi Elite Dungeon (in any mode) or you will have the option to inform her that you have already done so. This Elite Dungeon entrance can be found on the highest peak of Aminishi; accessed via: boat ride from Quartermaster Gully, using the Max Guild portal, or by using an Aminishi teleport. Once the dungeon is complete, either recently or long ago, you will inform her of what you found there. She will get excessively mad about what was going on in the dungeon before calming herself and showing you a strange tablet that was recently uncovered. It seems to be written in the language of the dragonkin and she asks if you can find someone to translate it.
-
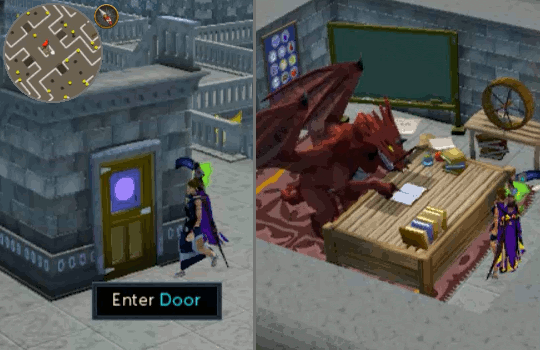
You will need to visit Mr. Mordaut in the Varrock Museum basement. You can travel here via the Varrock lodestone and walk to the Museum or you can use a 'Chipped' Varrock teleport if you have one. Once in the Museum, you will travel down the flight of stairs to the North West then enter the door on the back side of the staircase. Here you will find Mr. Mordaut at his desk as normal. After some excitement about your find, he will inform you that it is not complete, but that it hints about where the hidden laboratory it mentions may be hidden.
-
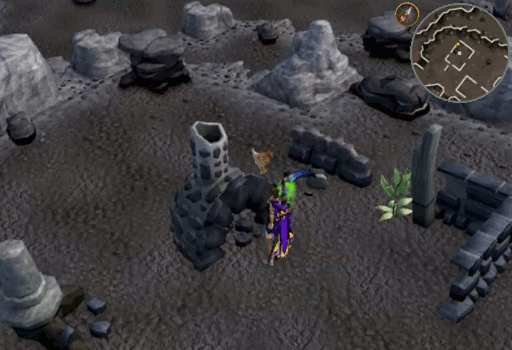
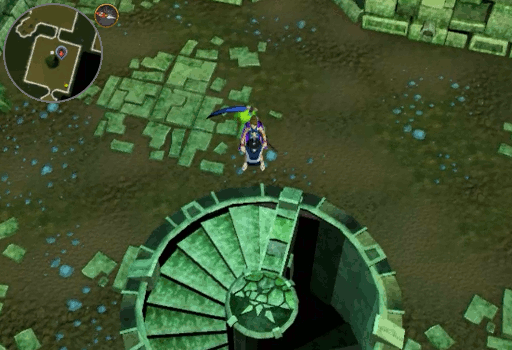
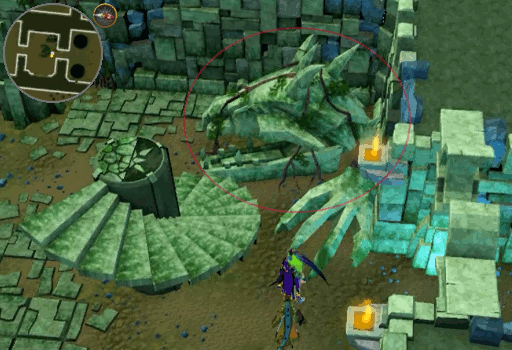
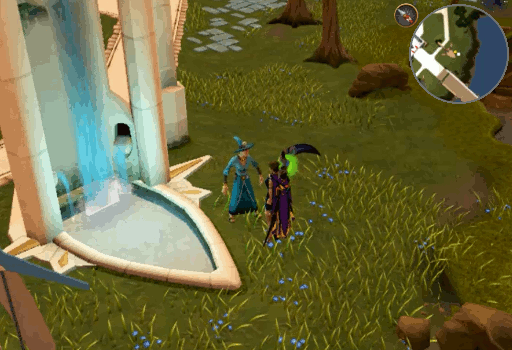
Travel to Daemonheim, via Ring of kinship is suggested, and grab an Uncut dragonstone if you do not have one with you. Walk down either set of stairs to the ruins just South. On the far East side you will find a fireplace. Investigate it and you will receive a Carved dragonstone (left).
-
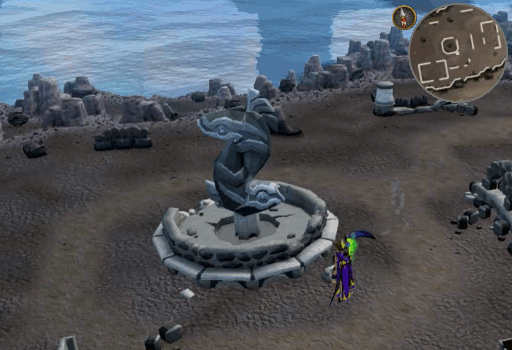
Walk West to the fountain and use the Dragonstone on it and place the stone within the eye-socket. You will then need to craft your Uncut dragonstone into a Carved dragonstone (right) and place it into the other eye-socket. You will hear a click and mechanisms moving to the West.
-
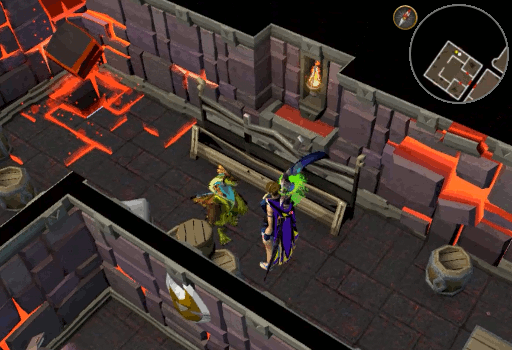
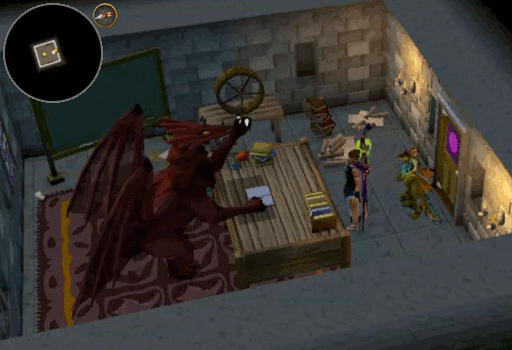
Walk up the stairs and enter the crumbling watchtower which will lead to Kerapac's lab. In the Western room you will find Hannibus. Speak to him and you will briefly discuss what he is doing there before noticing that what he is looking at is similar to the tablet that Madame Shih gave you.
-
After translating the tablet to a degree, Hannibus will inform you that it says something about "secrets hidden in the place 'where the armoured dragons are made'." – This will be the Adamant Dragon Dungeon within Brimhaven Dungeon. Be sure you bring a Rope with you.
NOTE: There are several methods to reach this dungeon.- Dungeoneering cape or Hoardstalker ring will teleport you to the Resource dungeon in the Iron & Bronze dragon area
- 5 Metallic dragon trinkets will enable you to teleport to any of the nearby metal dragons (Steel, Bronze, and Iron)
- 5 Dragon trinkets to teleport to the nearby Red dragons and crawl through the pipe (34 Agility) or cross the lava in the South West (30 Agility) to walk around
- Simply enter the Brimhaven Dungeon (875 Coins if you have not completed the Hard Karamja Achievements) located North of the Karamja lodestone and walk to the Adamant Dragon Dungeon entrance to the South (Karamja gloves 4 and Agility 30/34 can be used to reach the area a little faster via the Red dragon shortcut)
-
Upon entering the Adamant Dragon Dungeon, you will need to confirm that you wish to proceed with the quest. Once down the stairs, go to the Eastern room and investigate the Mithril smelter along the Eastern most wall. Searching it will earn you a Metallic object. Unfortunately, in its current condition it is useless.
-
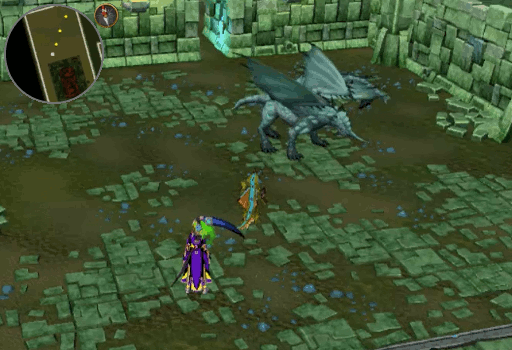
Walk to the Western most room and speak with the sole surviving dragon. She is distraught about the loss of everyone, especially the babies. Talking to her through Hannibus you will need to ask her to heat the metal you are holding (option 1). Unfortunately, she won't really listen to you so you will need to try harder to reach her. Tell her that her baby is cold (option 3) and she will heat the cypher for you.
-
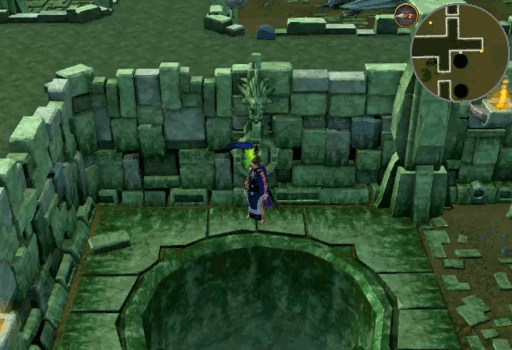
Take the Metallic object (heated) to the pits North of the entrance. Investigate either pit and you will be given several options. Be sure to choose the one where you attach the Rope to the Metallic object before tossing it in (option 2). Pulling the object back up, you will now have a Metallic object (brittle).
-
Return to the main entry room with the stairs. In the North West corner is a large stone Dragon head. Use the Metallic object (brittle) on it. Hannibus will then translate the tablet to find out that you will need to return to Kerapac's Laboratory in Daemonheim.
-
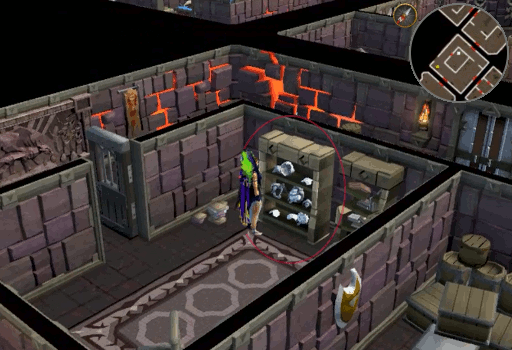
Within the Laboratory, open the door to the little room within your current room. Inside you will see shelves along the Southern wall. Check the Effigy shelves which are closest to the door. Here you will find and speak to an Effigy. Inform it that you are looking for clues and it will tell you a little bit about the statues that the big "mucky muck" brought in before they all disappeared.
-
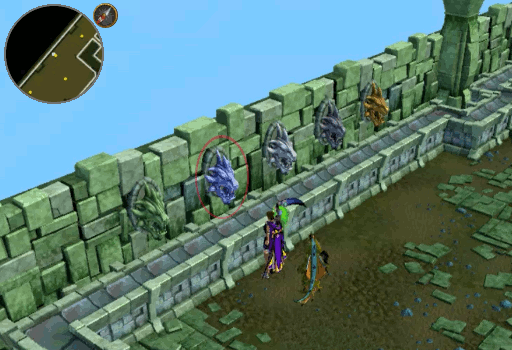
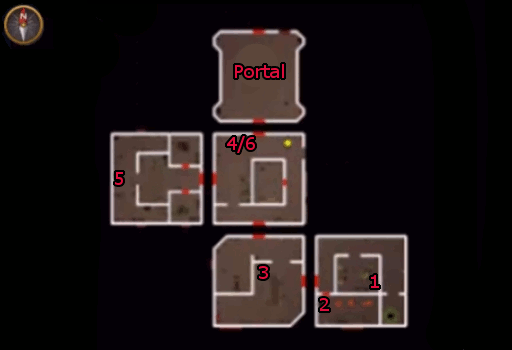
You will now need to activate each statue in the correct order. This is done by investigating them. Start in the Eastern most room. You will need to activate the statue in the middle of the room, followed by the one nest to the door in the Southern section. The third statue is located in the center of the room to the West. The fourth one is in the North West corner of the center room. Fifth is along the far Western wall of the Western most room. And finally, you will return to activate the fourth statue a second time.
-
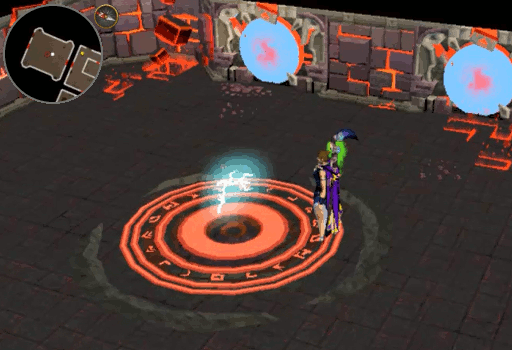
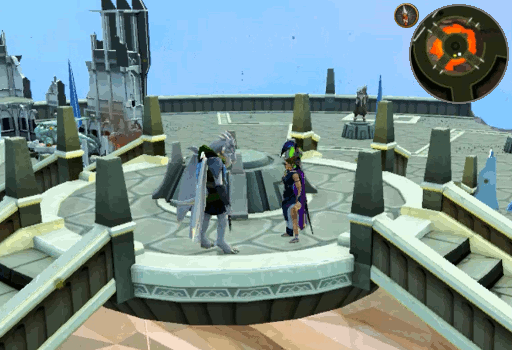
With all statues activated correctly you will have opened a portal which looks like lighting in the center of the North most room. Enter the room and the portal to be transported to Kerapac on Mount Firewake.
-
When the cutscene ends, walk to Kerapac and speak with him. He will eventually tell you that the map leads to an old laboratory of his – home to some of his greatest experiments... and his greatest mistakes. He will mark it on the map with a small X and tell you that your answers lie there.
-
You will make a demand that you have more questions, to which Kerapac will reply that he has no more answers. Return to Bryll and inform her of your progress.
-
At this point you will need to either enter and complete the Dragonkin Laboratory Elite Dungeon (in any mode) or you will have the option to inform her that you have already done so. This Elite Dungeon entrance can be found North of Daemonheim; accessed via: walking through the wilderness, using the Max Guild portal, or by using a Dragonkin Laboratory teleport. Once the dungeon is complete, either recently or long ago, you will inform her of what you found there. She will tell you that Madame Shih should be informed of this information as she may have more knowledge about what it all means.

-
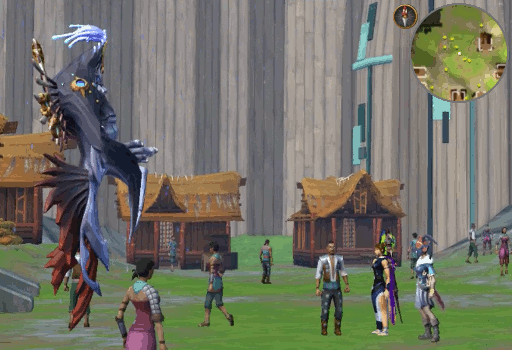
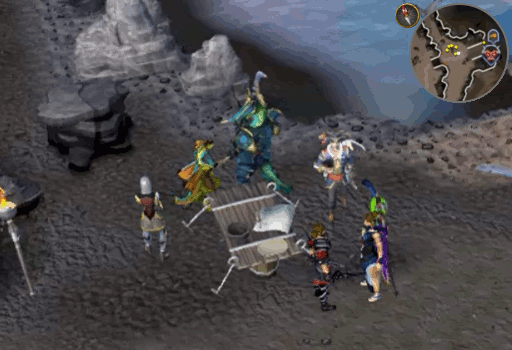
Return to Goshima via Gully, this will prompt if you wish to continue the quest or visit there for leisure. Choosing to continue the quest will segway into a cutscene where the Ambassador confronts Madame Shih. He will kill her entire crew in torment before teleporting away. This will send Madame Shih into a rage and she will teleport after him before you have a chance to object. You will then find yourself on the dock outside of Goshima.
Note: Completing the quest this far will enable you to complete the "Post-Quest Extras".
-
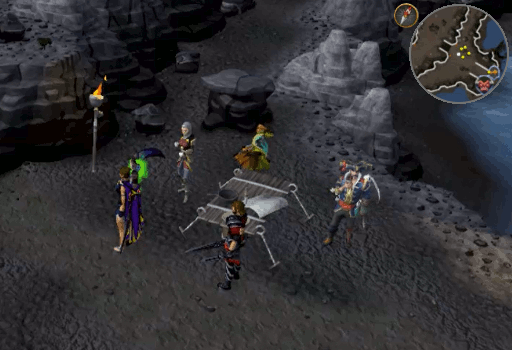
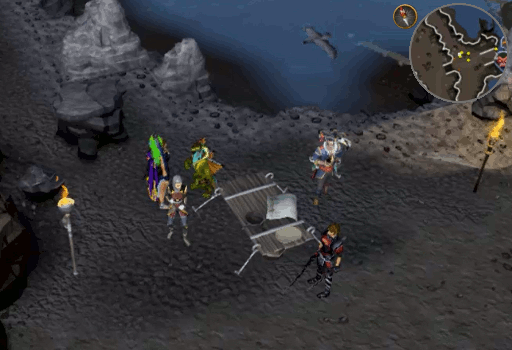
Return to Daemonheim and inform Bryll of what has transpired. She will begin to make preparations for a force to go and confront the Ambassador. You will be transported to the Shadow Reef entrance where you will find Bryll, Hannibus, Gully, and Higgs discussing the next move – finding a way to breathe underwater. Bryll will say that there is a hydromancer, Myrtle, that may be able to help. Be sure to bring a fish and a Law rune with you.
-
Travel to the Wizards' Tower, either teleport to Draynor Village or Lumbridge and walk to the tower or you can use the Traveller's necklace to teleport there or the Wicked hood to teleport to the top of the tower then descend and step outside. Speak to Myrtle and she will tell you that while she cannot join you, she does know a recipe for a potion that will allow you to breathe underwater. To create this potion, you will need: a vial of the clear winds of Winter, seaweed dried under a divine blinding light, and a resident of the depths you wish to transverse. She will give you Wet seaweeed and an Empty enchanted "vacuum" vial. Choose option 4 (Can you help me get the fish now?) to give her your fish and Law rune in exchange for a Small raw sillago. Using your fish or Law rune on her will not work, you must give it to her through chat.
-
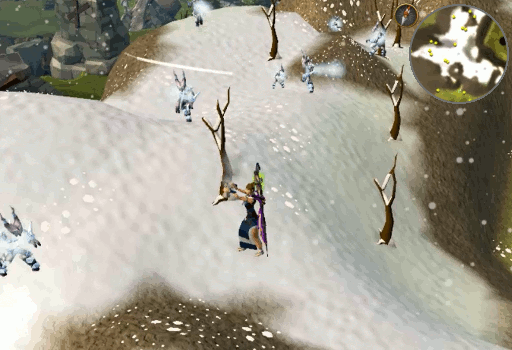
With the first item acquired, teleport to Edgeville and climb onto Ice Mountain to the West. Once on the mountain, click the vial to fill it. Two items collected.
-
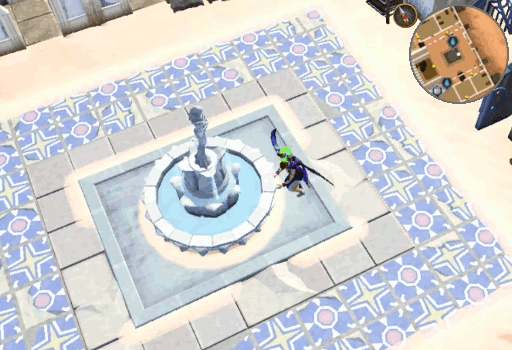
Teleport to Al Kharid and walk East to the Abbey of St. Elspeth Citharede. Stand next to the fountain and click the seaweed. This will dry it, allowing you to obtain the final ingredient. Click any one of the ingredients to combine them into a Potion of waterbreathing. Drink the potion then return to Bryll and the others.
-
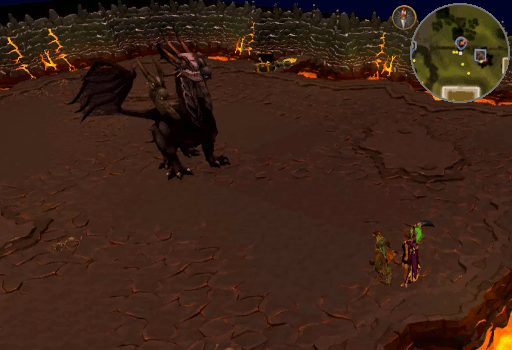
Speak with Hannibus and he will discuss how the most immediate priority when encountering the Ambassador is to take out his artillery. He will then suggest that a quick strike with dragonfire should solve this obstacle. You will now join him in talking to his old friend Shakoresis, the King Black Dragon.
-
Teleport to Edgeville and interact with the artifact along the Wilderness Wall. This will prompt if you wish to visit him with Hannibus or if you wish to engage in combat. Choosing the first option, will begin a cutscene of your discussion. As it culminates, you will need to speak with an expert on dragon activity in Gielinor.
-
Your next stop will be to see Mr. Mordaut in the Varrock Museum basement. As before, you can travel here via the Varrock lodestone and walk to the Museum or you can use a 'Chipped' Varrock teleport if you have one. Once in the Museum, you will travel down the flight of stairs to the North West then enter the door on the back side of the staircase. Now inside his office with Hannibus, Mr. Mordaut will fangirl over getting to meet a dragonrider. After a bit of discussion, he will suggest that Vindicta may be of some use in your search.
-
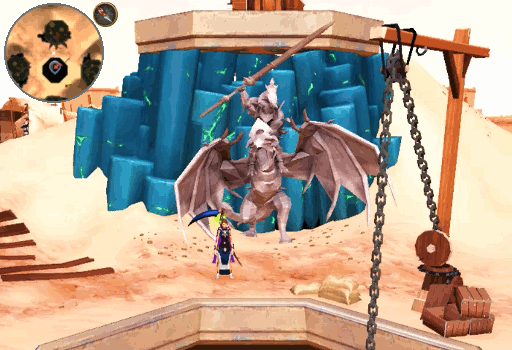
Travel to The Heart of Gielinor, either via use of The Heart teleport or by using a Desert amulet (2, 3, or 4) to teleport to Nardah and walk South West to the entrance. Entering The Heart you will be asked if you wish to continue the quest. Choosing to do so will result in a meeting between Vindicta, Hannibus, and yourself. During the conversation you will learn that Hannibus is Vindicta's father, however, this will not sway her into fighting with your group. What finally makes her decide to join is knowledge that you will be fighting Kranon the Ambassador. With dragonfire to defeat the artillery, you will find yourself outside of The Heart once again.
-
Return to Bryll and speak with her to learn what the next phase is. It seems that Gully has some personal matters that need dealt with before the mission can continue. Speak with Gully to learn that his seagull, Steven, wishes to reconcile the relationship he has with his wife.
-
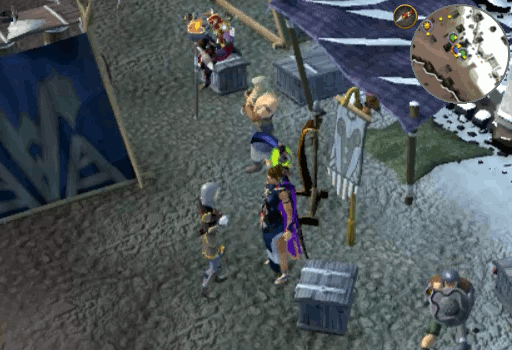
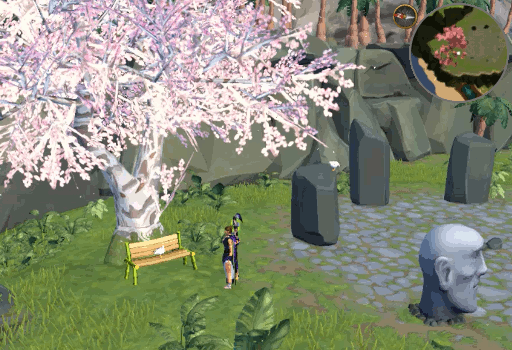
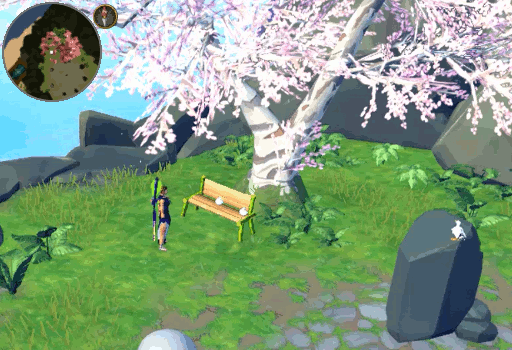
Travel to Waiko, either by going to Port Sarim (Arc journal or Lodestone) and taking a ship or by using a Waiko teleport if you have one. Once there, go to the North East area of the island where the Moai heads are located. Here you will find Steven's wife perched upon the bench under a tree. Unfortunately, it would seem she is not alone – she is involved with Count Ludwig Koppenploppen.
-
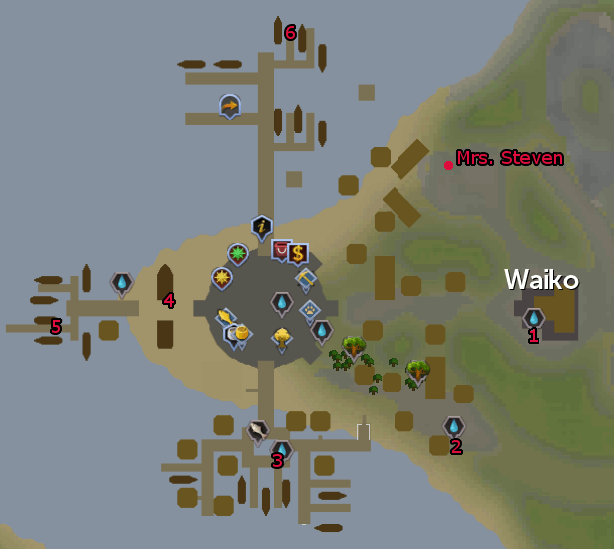
You will now need to speak with several seagulls around the island to find evidence that will save Steven's marriage. See the map below for locations. All seagulls will be found sitting on/in a barrel, crate, or cage.
-
Once you have spoken to all six birds, return to Mrs. Steven and present your proof that the Count is a bounder and a cad that she should not associate with. She will be appalled and he will not deny any of the allegations. Steven's marriage is now saved and you can return to Daemonheim and speak to Gully. After a short conversation he will inform you that Higgs also requires your attention.
-
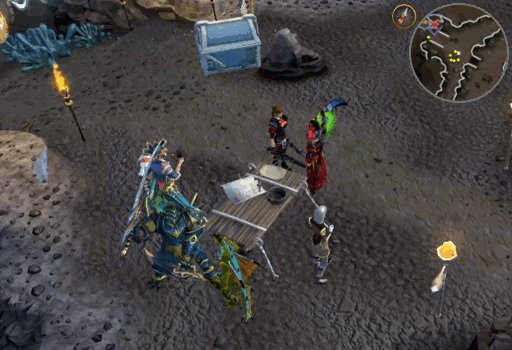
Speak to Bosun Higgs and she will tell you that if you will be fighting the Ambassador that you will need soldiers and she knows just where you can get some. While she was part of the Black Knights, she had a comrade named Lieutenant Crane whom she trusts with her life and believes would help with the situation.
-
Teleport to Taverley and walk South to the entrance of the Dungeon. Once inside, make your way to the Black Knights' Base in the far Southern area of the dungeon. Lieutenant Crane can be found in the war room on the North side of the strategy table. When she threatens you for eavesdropping tell her that Evie sent you and she will go off on a tangent about how there are always threats to Gielinor. Her tune will change when you tell her what you're facing. Before she will agree to help you, she wants you to check on her sister, Tessa, whom is training to be one of the Kinshra at the Black Knight's Fortress. Agree to check on her then equip your disguise to enter the fortress (see Items needed for quest for wardrobe options). When you are geared up, you can either teleport to Edgeville and walk West to the castle entrance or you can use the Skull of Rememberance to teleport to the ritual chamber at the top of the Fortress.
-
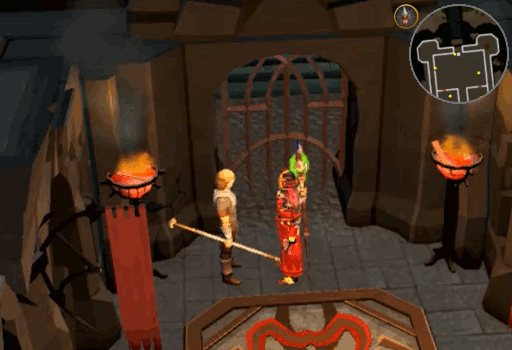
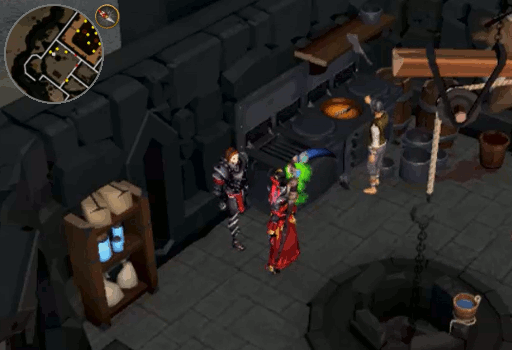
Once inside the fortress, speak to a Fortress guard, one can be found next to the entrance gate. He will ask if she is one of the recent failures then offer to let you read the list of transfers. Unable to locate her name on the list, you will ask about where her stuff would be found and he will inform you that the recent trainee barracks are in the room to the West.
-
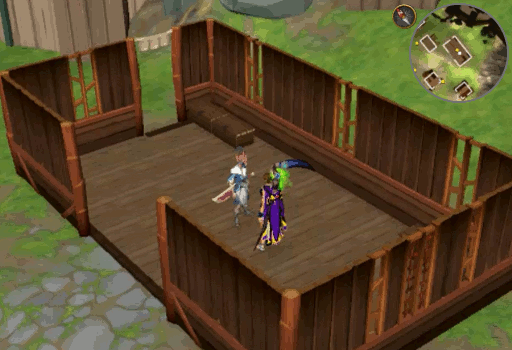
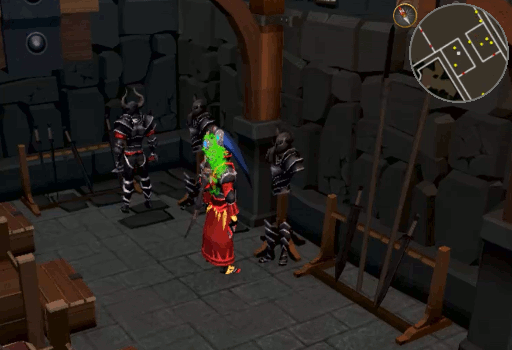
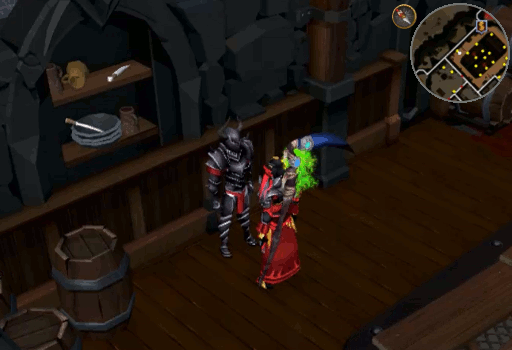
Enter the small room on the West side of the Fortress ground floor. Inside you will see 2 sets of armor. Interact with the Southern one and you will discover it is Tessa's suit of armor. After a brief, unexpected, conversation, you will find that Tessa hasn't been seen by the armor for a while, but she was last sent upstairs for her evaluation.
-
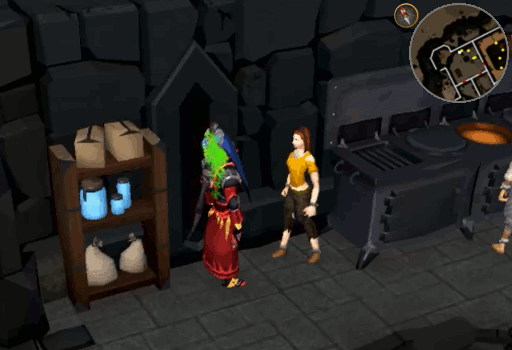
Climb the stairs in the North West corner of the Fortress. On the second floor you will see a female slave leaning against the North wall. Speak to her and you will learn that she is Tessa. It seems that Commandant Bletchley purposely failed her and several other female recruits then proceeded to cut out their tongues and make them slaves.
-
Armed with this new information, return to Lieutenant Crane. You can choose to either tell her the truth or lie to her about her sister's situation. Either route will result in her wanting to save her sister.
-
Return to the Fortress and interact with Tessa's armor again. You will grab the armor and place it within your inventory.
-
Climb the stairs in the North West corner again and speak to Tessa. You will need to remove her manacles then instruct her to put her armor on. The soulbound armor will now act as her voice as the two of you make your escape.
-
A cutscene of your escape will begin. On your way out, you will briefly be stopped by a Lieutenant asking where you are going. Choose any method and you will escape safely. The cutscene will then conclude with the reunion of Crane and Tessa. Speak to Crane and she will ask you to inform Higgs that she will be teaching Bletchley a lesson and she thinks that Higgs should be present for it.
-
Return to Daemonheim and speak to Higgs to let her know what Crane wants to do. She will instantly agree to come. The two of you will then decide how to separate Bletchley from others within the Fortress. Once the plan is agreed upon, she says that she will inform Crane and that you should begin the plan of attack.
-
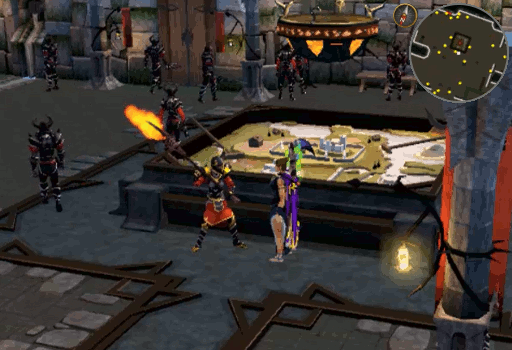
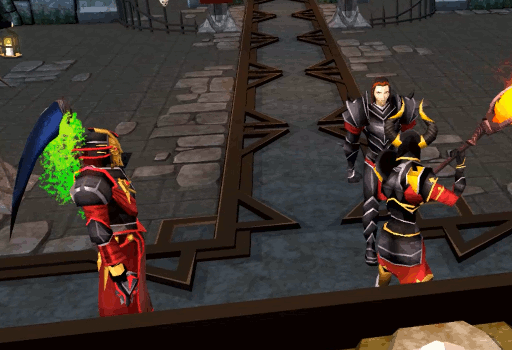
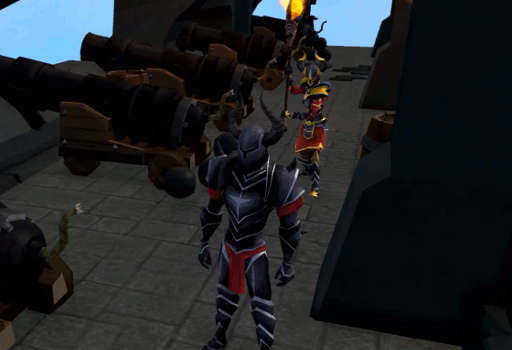
Return once more to the Black Knights' Fortress, climb the stairs to the second floor and you will find Bletchley along the North wall of the mess hall. You will tell him that you have spotted Higgs on the roof and a cutscene of the confrontation will begin.
-
When the cutscene completes you will find yourself within the Black Knights' Base again. Speak with Crane and she will gladly agree to meet you in Daemonheim. Return there and speak with Bryll.
-
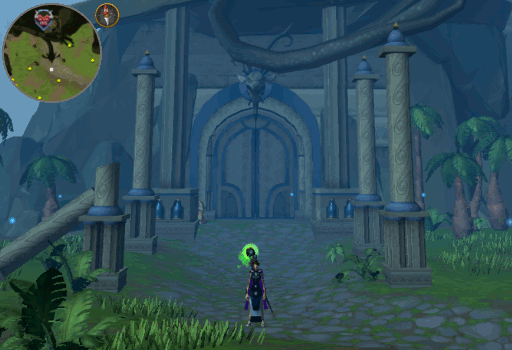
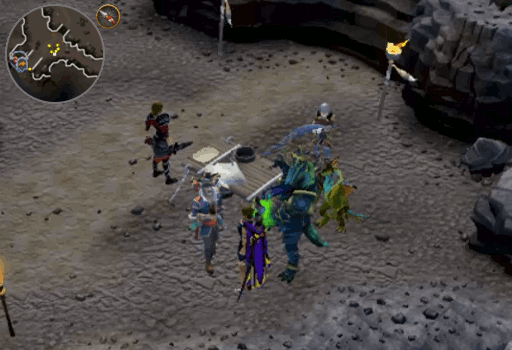
At this point you will need to either enter and complete the Shadow Reef Elite Dungeon (in any mode) or you will have the option to inform her that you have already done so. This Elite Dungeon entrance can be found just East of Daemonheim; accessed via: teleporting with the Ring of kinship and walking East, using the Max Guild portal, or by using a Shadow Reef teleport. Once the dungeon is complete, Bryll will inform everyone that the threat has been taken care of and they can all return to what they were doing beforehand.
-
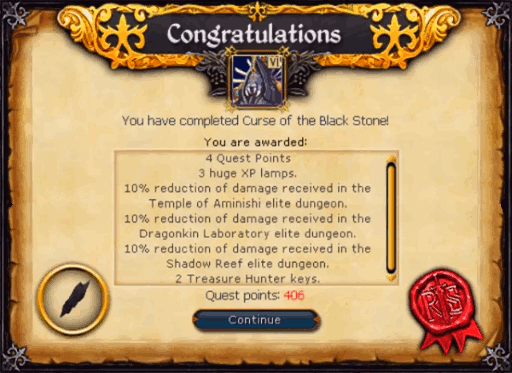
This will then trigger a final cutscene where you will speak to Madame Shih, Hannibus, and Bryll. You will then receive your rewards as well as a Moonlight mead (m) from Bryll.
Congratulations, quest complete!
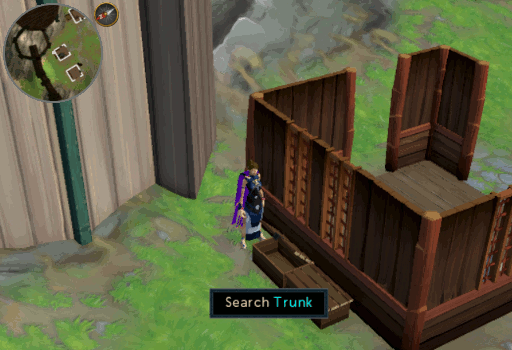
After completion of step 25, or the quest as a whole, you will be able to return to Goshima and obtain an Azure key. This key can be found in the Eastern trunk behind the Northern most Eastern house within the gates of Goshima.
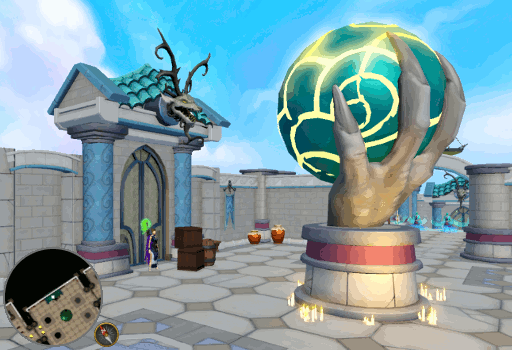
Once you have the key, you will be able to access a hidden room within the Temple of Aminishi Elite Dungeon. The door to this room is found behind the globe along the Northern wall of the initial room of the dungeon. You will need to use the Azure key on the door to unlock it before you can enter.
Within the Azure room, you can find a Mysterious lectern (readable), an Armament log (read only), locked trunk, an empty treasure chest, and a door that leads to a new section of Aminishi. Stepping through the door will present you with the Aminishi Village.
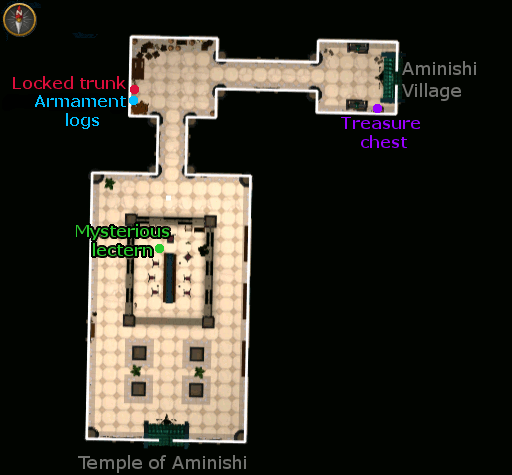
Digging the pile of sand on the Northern shore will provide you with a Trunk key. Returning to the Azure room you can unlock the trunk in the second section to obtain the following items:
- Superior scrimshaw of sacrifice
- Superior scrimshaw of vampyrism
- Ports chi pack
- Ports bone pack
- Ports plate pack
- Player-owned ports enhancer
Obtaining these items will complete the "A Mini Shipment" Elite Dungeon Achievement.
This Quest Guide was written by ChathMurrpau.
This Quest Guide was entered into the database on Fri, Mar 01, 2019, at 05:05:03 AM by Chath, and it was last updated on Wed, Jun 08, 2022, at 11:53:54 PM by Chath.
If anything is incorrect or missing, or if you have any new information to submit to this database, please submit it to us on our Content Submissions Forums.
If you see this guide on any other site, please report it to us so we can take legal action against anyone found stealing our content. This guide is copyrighted by RuneHQ, and its use on other sites is expressly forbidden. Do not ask if you can use our guides or images, the answer is and always will be NO!
Print this page with images - Back to the Quest Guide Index Page - Back to Top
