

Before starting, it is highly recommended to activate and use both Ancient Curses and Ancient Magicks throughout this quest.
-
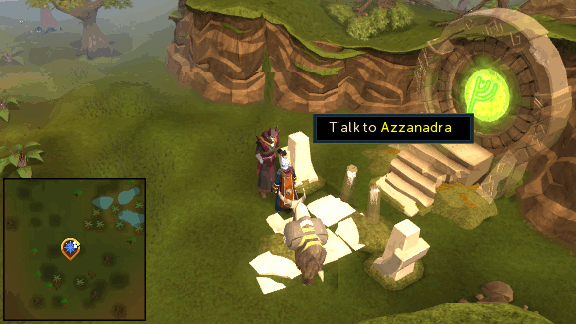
Talk to Azzanadra at the World Gate found northwest of the Arandar pass gate, southwest of the Tree Gnome Stronghold, and he'll tell you about Guthix's death allowing the gods to return, however there is one other obstacle preventing Zaros from returning and he needs your help to remove it. Agree to help him and he'll tell you that Zaros is waiting through the World Gate.
However, he will go on to say that the gate is currently trapped in the Shadow realm and you will need the help of another to bring it into the Material realm, at which point Sliske will appear and pull you into the Shadow realm.
-
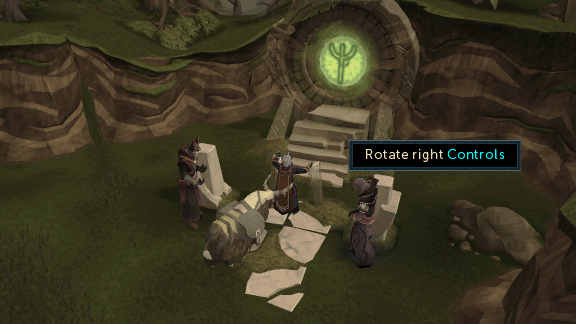
Once there, he will tell you that you must make an important decision. As the World Guardian, the fate of Zaros is in your hands and you will have to choose whether or not you really want to help him. Next he'll inform you that the World Gate is currently locked by a type of combination lock and after you complain that finding the correct combination will take a very long time, Sliske will make three symbols appear on the pillar next to him which you should investigate.
Now, rotate the gate right to match the first symbol, then left to the second, and finally right again to the third. Once done the gate will unlock and Slike will transport it to the material realm where Azzanadra will inform you that he has directed it to where Zaros is waiting.
-
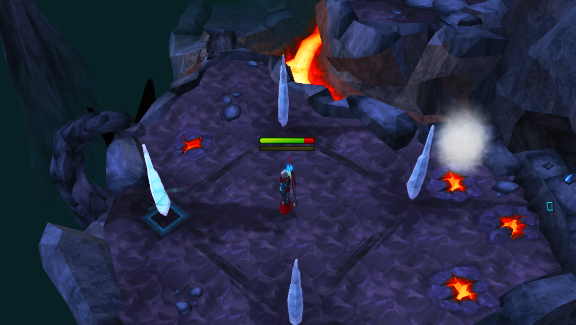
Warning: The Mahjarrat homeworld of Freneskae is a very dangerous place with many environmental effects capable of dealing high damage if you don't avoid them. If you have a charged Engrammeter, now is the time to operate it as this will reduce the damage dealt by the following:
- Lighting strikes: These charge up for a few seconds before discharging and hitting 1,500 with a direct hit or 750 if you're within a few steps.
- Geysers: Avoid stepping on geysers as they will spew our lava and steam, hitting 400.
- Falling lava: Balls of lava will occasionally fall from the sky and hit 500 directly or 250 if you're within a few steps.
- Lava vents: You will come across several vents on walls that periodically spew out lava. Run past them between them when they stop otherwise you will be hit for 1,000 directly or 500 if you're within a few steps.
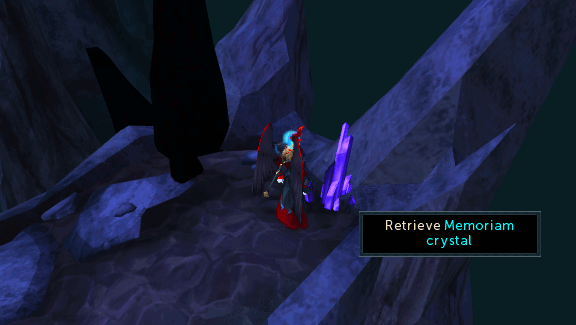
While making your way across Freneskae, you may find a Memoriam crystal. You can choose to retrieve these or ignore them as they're generally on a dead end fork in the path and can be collected after the quest to unlock a cosmetic override.
Furthermore, you will encounter two arches embedded with purple crystals which will heal you, so look out for these to conserve food.
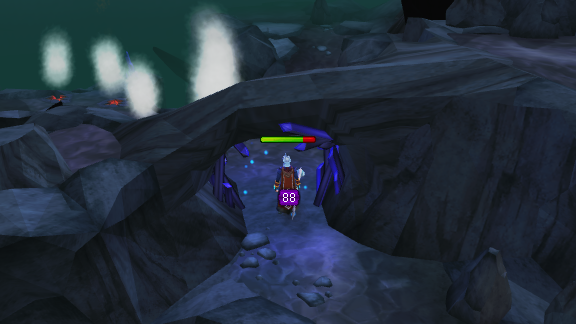
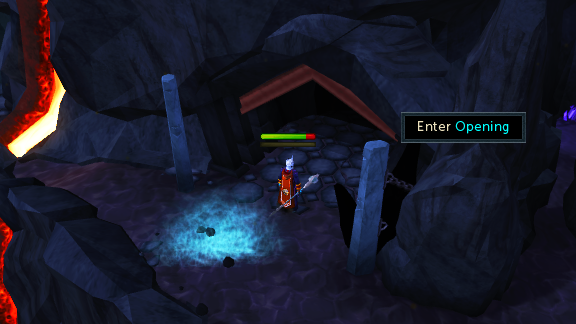
Eventually you will reach the opposite side of Freneskae and find a large opening. Enter this to find yourself large cave called The Sanctum. This is a checkpoint in the quest and you can travel directly to the Sanctum from the World Gate if you die, leave or log out.
-
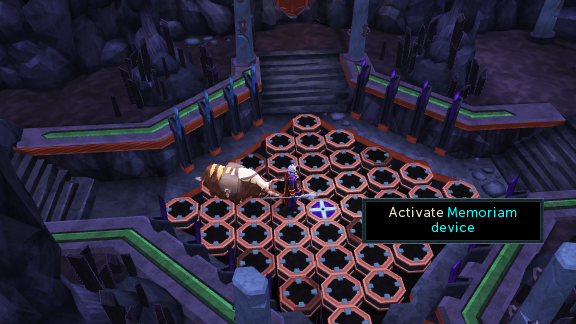
In the centre of The Sanctum you will find the Memoriam device. This can be activated to unlock one of Zaros' memories for each crystal you have found either during or after the quest.
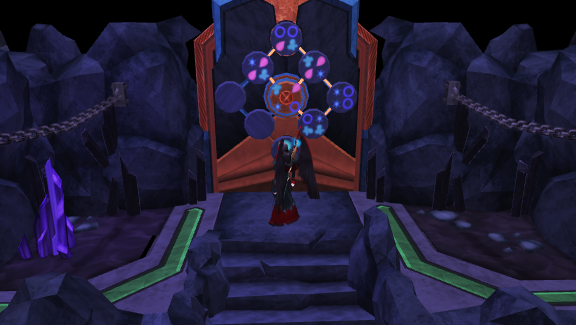
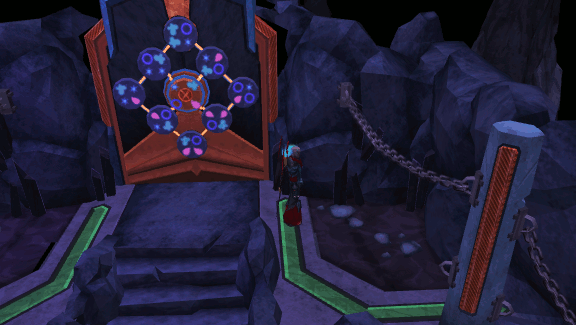
On the north side of the room you will find a door with a number of dials decorated with different symbols. To unlock the door you will need to solve a three stage puzzle by rotating the dials so that adjacent symbols match and all of the lines between them light up.
Second Solution:
Third Solution:
Once solved, the door will open and reveal a passage to the next area. Before continuing, it is advised to read the next step so that you know what you're up against and then bank to restock on food and get some Super restore potions if you don't already have them.
-
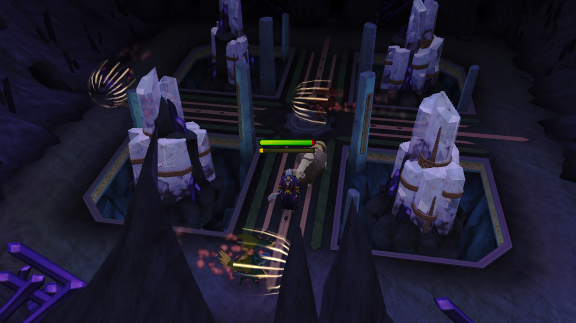
In The Pit you must face four level 160 Nihil, each of which is related to the four Ancient Magick elements. Start by stepping on the pressure pad in the middle of the room which will summon them, then they will start running across the room between the tunnels along the walls. They are unagressive until attacked, however if you stand in their path you will take heavy damage. It is recommended to kill them in the following order
- Smoke Nihil: Attacks with a smoke magic attack which slowly lowers your stats. When it hisses, it will unleash a cloud of smoke which rapidly reduces stats. Using an overload or restore potions to counteract this effect is necessary otherwise you will quickly find yourself unable to hit or defend against any of the Nihil.
- Shadow Nihil: Attacks with a shadow effect ranged attack. When it hisses, it will use an Area-of-effect attack that deals rapid damage if you don't move immediately. It is recommended to keep moving around the room to avoid this attack.
- Blood Nihil: Attacks with melee which heals the other Nihil. When it hisses, it will stop attacking you and begin to glow. Any damage dealt to it during this time will instead heal it, so you must immediately stop attacking the Nihil.
- Ice Nihil: Attacks with magic which drains your Prayer points. When it hisses, it will freeze you for several seconds. This can be counteracted by using Freedom after the special or Anticipation before.
- Smoke Nihil: Attacks with a smoke magic attack which slowly lowers your stats. When it hisses, it will unleash a cloud of smoke which rapidly reduces stats. Using an overload or restore potions to counteract this effect is necessary otherwise you will quickly find yourself unable to hit or defend against any of the Nihil.
-
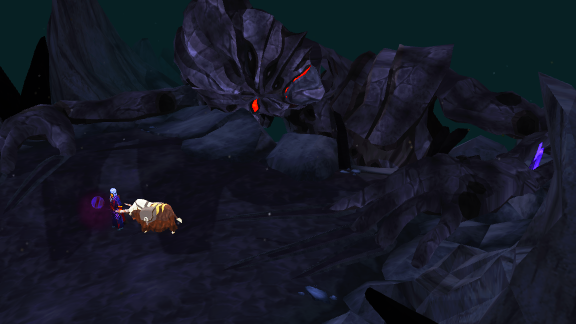
After killing the Nihil, exit to the north and you'll find yourself on The Cradle at the top of a volcano with a huge sleeping creature hanging from the edge. The purple orb that guided you previously will appear and confirm that it is Zaros in his current form and tell you that the sleeping creature is an Elder god named Mah. Zaros will then take you to a place where you can safely talk.
-
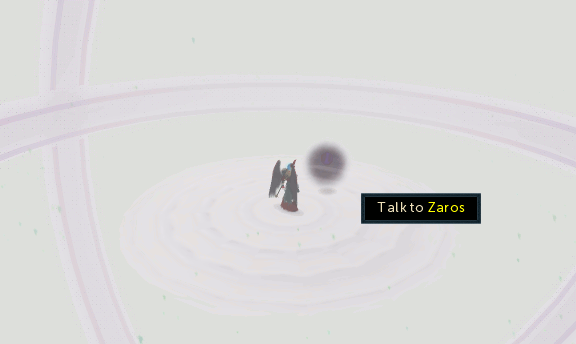
Talk to Zaros and ask him questions about his origins, history, philosophy and thoughts on the young gods. You will learn that he was created by Mah many aeons ago and now wants you to create a new form for him called a dark simulacrum so that he can return to Gielinor and become an Elder god.
Once done with the conversation, Zaros will warn you that you must now survive Mah's nightmares and offer to help you if you allow him into your mind. Do so as he will provide infinite Prayer points and runes if you are using Ancient Curses and Magicks, as well as slightly reduce the damage dealt by the Muspah that appear and attack you during the next step.
-
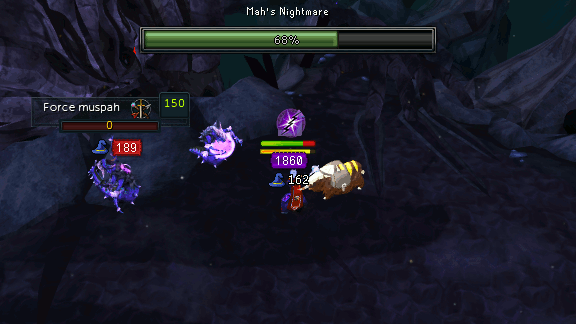
When the nightmare begins, you will see a bar indicating its progress. You must survive for several minutes against waves of level 150 Muspahs and Mah's agony until the bar reaches 0%. Surviving the nightmare can be extremely difficult as you will take rapid damage from multiple Muspahs using all three combat styles and Mah will occasionally scream in agony, which stuns you and can deal damage in excess of 2,000. However, you can try to counteract this by using Defence abilities such as Anticipation.
If you let Zaros into your mind in the previous step, then using Blood blitz/barrage and Deflect Magic or Soul split and Torment should make this fight much easier. Just make sure to watch your health at all times as you can easily take several high hits in quick succession and you will need to constantly eat to stay alive.
-
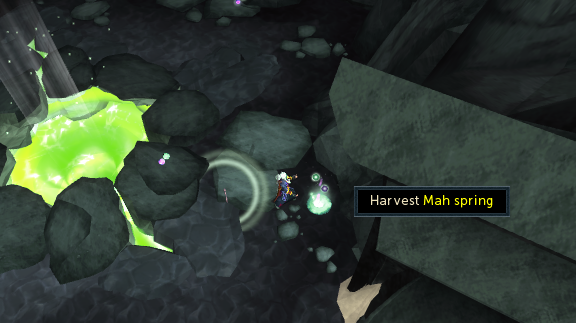
Once the nightmare has ended, Zaros will tell you to climb down into the core of the volcano via the ledge next to Mah's left hand. Do so and you'll find yourself in the Elder Halls. Pick up the pulsing device in front of you called The Measure and look around the cave for Mah wisps. Harvest these to obtain Mah energy and Mah memories. If you see any faint wisps, place The Measure to make them fully appear and be able to harvest them.
Note: You do not have to remain near the crater to harvest the memories. If none are spawning, climb back up the rock face and then go back down and more will have spawned.
Convert memories into energy when you need to and continue harvesting wisps until you have 250 energy. Once you have 250, you must choose to weave either a Divine simulacrum (dark) if you wish to help Zaros or a Divine simulacrum (light) to hinder him. Now return to the surface of the volcano by climbing up the rock face and talk to Zaros.
-
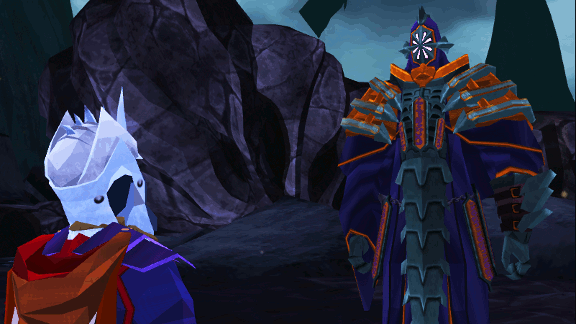
You will now give Zaros the simulacrum and a cutscene will follow in which he will take his true form and Mah awakens, however before she can attack, Zaros will teleport you to the World Gate.
After another conversation with Zaros here, step through the gate and talk to Azzanadra who will ask if you're ready for Zaros' return, say yes and another cutscene will follow.
-
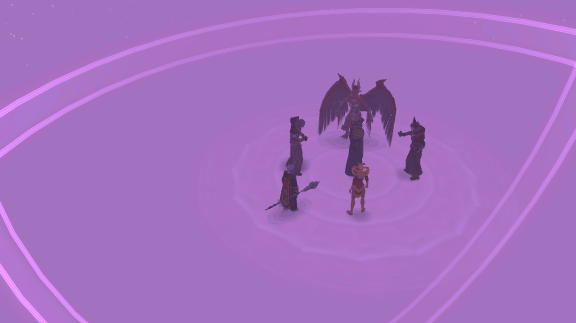
You'll now watch a conversation between Zaros and his most powerful followers: Nex, Char, Azzanadra and Sliske. Zaros will begin by excommunicating Sliske for his deception and betrayal and then order Char to locate the Staff of Armadyl and Stone of Jas, Nex to keep the young gods in line without starting a war and Azzanadra to locate Gielinor's own Elder Halls so that he can awaken the Elder gods. After this, he will break a shard from his body and give you it to show your loyalty to him before teleporting away.
Congratulations! Quest Complete!
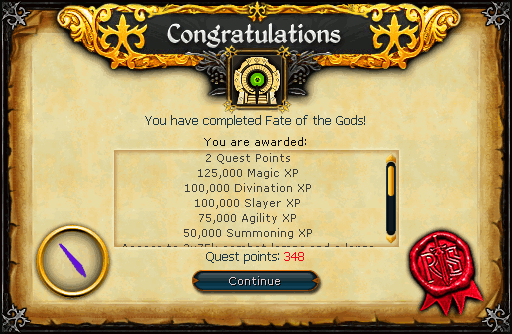
Additional Rewards:
There are a number of additional rewards you can unlock by talking to certain NPCs after completing Zaros and Mahjarrat related quests:
- Talk to Azzanadra at the Senntisten Altar to obtain a lamp that provides 3x 75K experience in any combat skill other than Summoning and Prayer (requires completion of The Temple at Senntisten).
- Talk to Ali the Wise (Wahisietel) in Nardah to obtain a large prismatic lamp (requires completion of Ritual of the Mahjarrat).
- Talk to Sliske in the Empyrean Citadel to gain access to the Shadow Realm without having to wear the Ring of visibility (requires completion of The Shadow Sword and Ritual of the Mahjarrat).
- Talk to the Guthixian High Druid in Guthix's Shrine to add a teleport to the World Gate to the Sixth-Age circuit (must have claimed all other additional rewards and completed The World Wakes).
There are four Elder Chronicles to be found which award 50K Divination XP each when The Measure is placed in certain locations:
- Near the Oracle on Ice Mountain.
- At the entrance to the TzHaar City on Karamja volcano.
- On the southwest coast of Entrana, by the Seaweed spawns.
- At the archaeologist's camp on the plateau southeast of the Agility Pyramid.
Upon completion of the quest, you can return to Freneskae to collect the remaining 12 Zaros memoriam crystals and 4 Seren memorian crystals. You can use the World Gate to quickly access any of the locations within Freneskae:
- The Approach: 8 crystals are found throughout this area.
- The Sanctum: 1 crystal is found here.
- The Pit: 1 crystal is found here.
- The Cradle: 1 crystal is found here.
- The Elder Halls: 1 crystal is found here.
Seren's crystals are all found in The Approach on a small plateau with four pillars. One of these pillars will be active at a time and can be tagged. You must tag the active pillar 80 times to obtain all four crystals. Note that as you tag more pillars, the frequency of lightning strikes will increase and you will need plenty of food to survive long enough to tag all 80.
Once you have all 12 or 16 crystals, take them to The Sanctum and activate the Memoriam device to obtain all memories and unlock two cosmetic overrides called the Helm of Zaros and Crest of Seren.
Finally, you can unlock the "the Annihilator" title by engaging all four Nihil in combat at once and then kill them. It is recommended to get the Blood nihil down to low health before attacking the other three, and then quickly finish it off to prevent it from healing the others.
This Quest Guide was written by Javezz and McSwindler. Thanks to Double_D_Edd, Todd DaBeast, DRAVAN, Runemyst, Mr Tudjay, Sumurai8, Jarkur, and Lady Caitlyn for corrections.
This Quest Guide was entered into the database on Tue, Mar 25, 2014, at 02:49:28 PM by Javezz, and it was last updated on Fri, Aug 07, 2015, at 07:00:51 PM by Jarkur.
If anything is incorrect or missing, or if you have any new information to submit to this database, please submit it to us on our Content Submissions Forums.
If you see this guide on any other site, please report it to us so we can take legal action against anyone found stealing our content. This guide is copyrighted by RuneHQ, and its use on other sites is expressly forbidden. Do not ask if you can use our guides or images, the answer is and always will be NO!
Print this page with images - Back to the Quest Guide Index Page - Back to Top
