

Note: All fighs within the quest is safe. This means you will not lose any items you have on you when you die. Tough, You will have to start from the beginning of the section you die on.
-
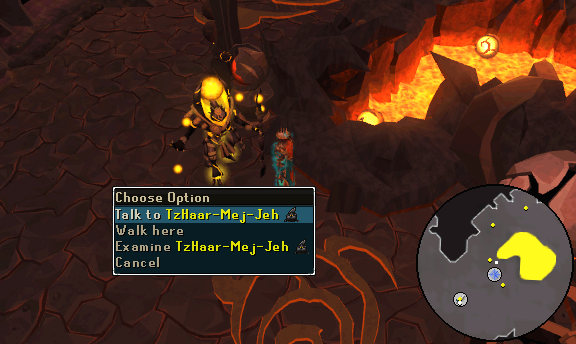
Head to the birthing pools in the northern area of TzHaar City and speak with TzHaar-Mej-Jeh. He will explain that their young are not developing properly and instead are hatching as Ga'al; TzHaar that are not infused with the knowledge of the ancestors and so do not know how to perform tasks or understand TzHaar laws. He will ask you to help them solve the problem. Agree and you will have to help hatch a TzHaar egg.
Note: The easiest way to reach TzHaar City is by using the Fairy Ring code B L P.
-
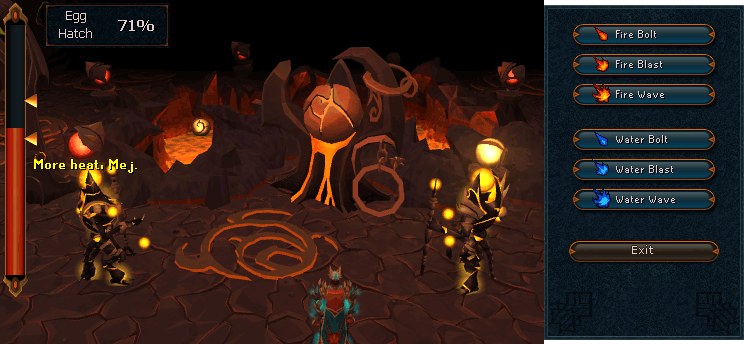
The aim is to keep the heat level between the two arrows on the gauge to the left of your screen until the counter reaches 100%. Use fire spells to increase the temperature and water spells to lower it. When the counter reaches 100%, the egg will hatch into a Ga'al. TzHaar-Mej-Jeh will explain that the Ga'al have no use of TzHaar society and are destroyed in the Fight Pits. Ask if it is possible to teach them the ways of the TzHaar and he will tell you that it may be possible, but you must persuade TzHaar-Mej-Ak to allow the Ga'al to live.
-
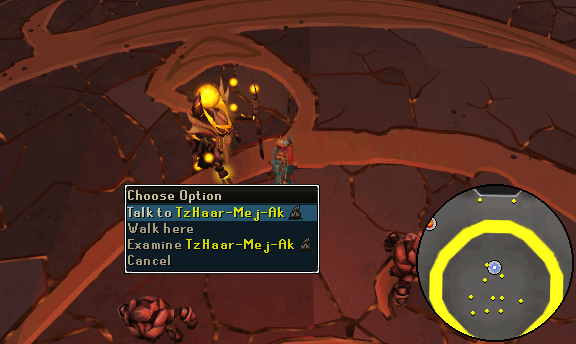
Now, head west to the main Plaza and talk to TzHaar-Mej-Ak. Tell him you have come for the Ga'al and he will refuse to let it survive, instead offering you the chance to save its life by protecting it in the Fight Pits. Agree to his terms and enter the pits when you are ready for combat. You will now have to protect the Ga'al by defeating all of the enemies in the pit. A good strategy is to get rid of the mages first, followed by the character or monster that attacks Ga'al. Attacking any monster or NPC attacking the Ga'al will get them to focus on you. When you've cleared the pit, the fight will end.
-
Restock food if required and talk to TzHaar-Mej-Ak again. You will be asked to participate in the fight pit again. Now, you will have to defeat the pit champion, TzHaar-Ket-Yit'tal. It only uses melee, so protect from melee/deflect melee is recommended.
Note: Make sure you bring Prayer potions because the champion can drain your prayer.
-
Talk to TzHaar-Mej-Ak or TzHaar-Mej-Jeh afterwards. TzHaar-Mej-Ak will claim you murdered the TzHaar champion for nothing, but TzHaar-Mej-Jeh will explain that there is a way to bring it back by recovering the memories from the remains of dead TzHaar - Tokkul. To do so, the Tokkul must be fused with the bodies of the Ga'al in the Elder Kiln. Agree to help.
-
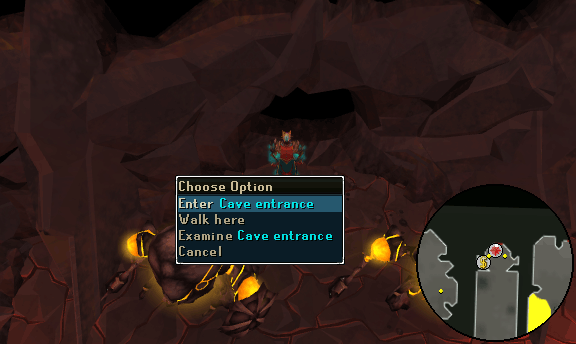
Head southeast until you see a path leading east. Follow this tunnel until you reach a bank and cave entrance at the end. Before entering the cave, withdraw a Rune pickaxe or better and combat equipment.
Note: It is advised to use protect from magic throughout the caves. Every time you clear a cave, there will be a checkpoint. The next time you enter the cave, the previously cleared rooms will still be empty.
-
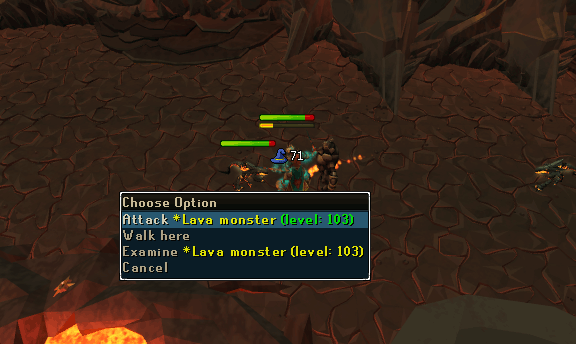
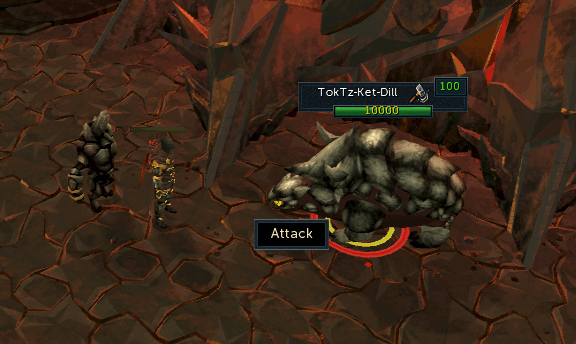
In the first cave, you'll have to fight a few Lava monsters (level 103) that only attack using Magic. At the back of the cave is a Toktz-Ket-Dill (level 100), whose armor you first need to break with pickaxe before you can deal damage. Once the cave has been cleared, examine the skeleton next to the cave entrance and take the Journal of Perjour.
Note: Do not use pray until you have broken the armor of the Toktz-Ket-Dill (level 100) or you you will be dealt heavy damage.
-
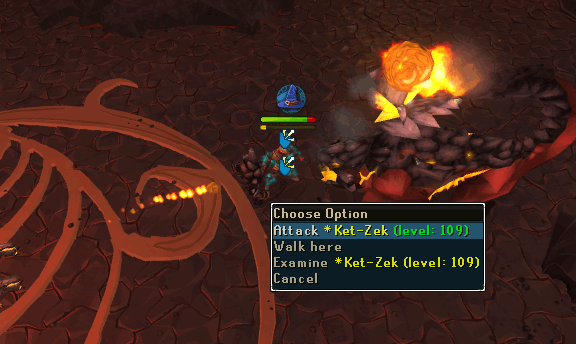
Turn on magic protection prayers and enter the second cave. Pick up 100 Tokkul from the ground. This cave will contain a few lava monsters and two Ket-Zek (level 109) which attack with Magic from a distance and both Melee and Magic in close combat.
-
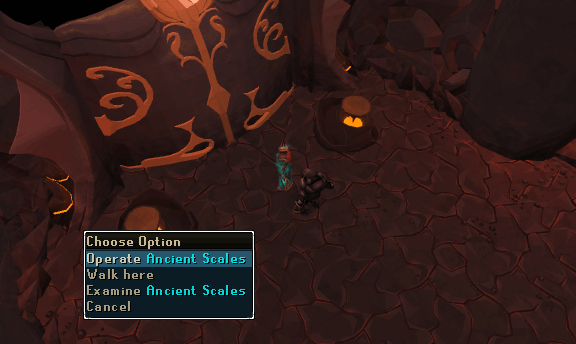
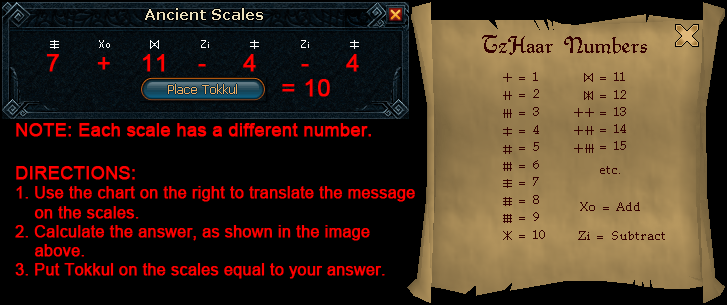
Enter the third cave and kill the lava monsters and another Toktz-Ket-Dill. Head north and you will see an ancient gate and two scales on either side of it. You now need to work out the amount of Tokkul to put on each scale by checking the notes on TzHaar numbers in the journal and comparing them with the sum shown to you in TzHaar language. Put the correct amount of Tokkul on the scales and the gate will open.
Note: The amount of Tokkul differ from player to players.
-
Enter the gate and follow the tunnel into the fourth cave. Jump over the chasms and you will eventually come across another Toktz-Ket-Dill (level 100). Once it is dead, jump over the next few chasms and enter the Cave Entrance.
-
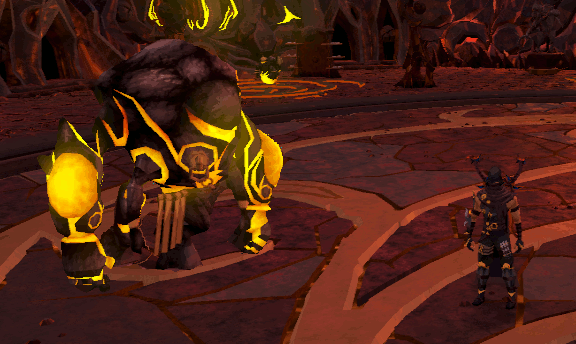
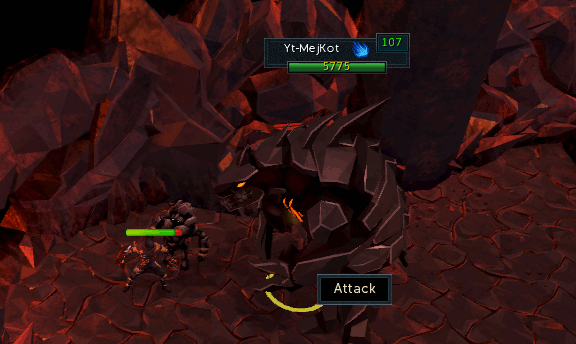
In the fifth cave, you will need to fight a Yt-MejKot (level 107) and three more Lava monsters (level 103) Use Protect from Magic while fighting the Yt-MejKot Then kill the Lava monsters. There is a safe spot for ranging/magic just east of the room's entrance. The entrance to the kiln is at the end. Enter the kiln and Tokhaar-Hok will talk to you.
-
Once the conversation is finished, you will have to kill seven waves of enemies. Here are the monsters that you will be attacking, and the attack styles they use. All the monsters can hit a small amount of damage through prayer. It is recommended to range the TokHaar-Mej from a distance while using protect from magic, as they also have a very accurate melee attack. The champion will drain your prayer points from time to time and is very resistant to range and magic attacks.
In the southeast corner is an L-shaped barrier. The north side of this barrier is tall enough to keep mage and ranged attacks from hitting you. A good strategy is to trap the monsters to the north side of this barrier and then fight them one at a time.

- Wave 1: (Attack Style - Weakness)
- Two Level 100 Tokhaar-Hur (Melee - Water spells)
- One Level 140 Tokhaar-Xil (Range - Crush)
- Wave 2:
- One Level 140 Tokhaar-Xil (Range - Crush)
- One Level 160 Tokhaar-Mej (Magic - Bolts)
- One Level 180 Tokhaar-Ket (Melee - Water spells)
- Wave 3:
- Two Level 140 Tokhaar-Xil (Range - Crush)
- One Level 160 Tokhaar-Mej (Magic - Bolts)
- Wave 4:
- Two Level 100 Tokhaar-Hur (Melee - Water spells)
- One Level 140 Tokhaar-Xil (Range - Crush)
- One Level 160 Tokhaar-Mej (Magic - Bolts)
- Wave 5:
- One Level 100 Tokhaar-Hur (Melee - Water spells)
- One Level 140 Tokhaar-Xil (Range - Crush)
- One Level 160 Tokhaar-Mej (Magic - Bolts)
- One Level 180 Tokhaar-Ket (Melee - Water spells)
- Wave 6:
- One Level 140 Tokhaar-Xil (Range - Crush)
- Two Level 160 Tokhaar-Mej (Magic - Bolts)
- One Level 180 Tokhaar-Ket (Melee - Water spells)
- Wave 7:
- One Level 160 Tokhaar-Mej (Magic - Bolts)
- One Level 140 Tokhaar-Xil (Range - Crush)
- One Level 105 Tokhaar-Ket Champion (Melee - No weakness)
- Wave 1: (Attack Style - Weakness)
-
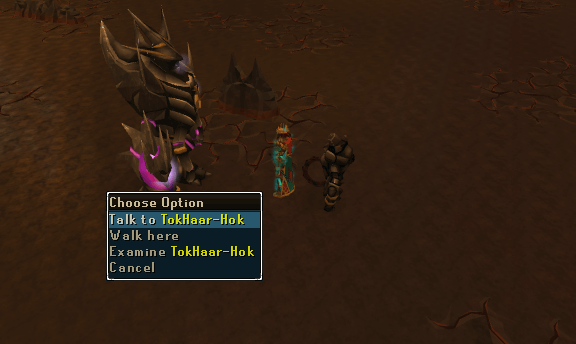
After the champion has been defeated, talk to Tokhaar-Hok and go through every option and the Ga'al will be transformed into a TzHaar. You will now need to head back through the cave system, but watch out as Tokhaar-Hok promised this trip back to be challenging. You can however just run all the way back without fighting any of the monsters that spawn along the way.
-
Talk to either TzHaar-Mej-Ak or TzHaar-Mej-Jeh and go through the conversation to let them know what happened and a cut-scene will follow in which Ga'al-Xox returns to Tokhaar-Hok to report what has happened.
Congratulations! Quest Complete!
This Quest Guide was written by CapuDie and Job. Thanks to Javezz, Kushie, Double_D_Edd, Jesse Orion, ChathMurrpau, and Alfawarlord for corrections.
This Quest Guide was entered into the database on Wed, Feb 15, 2012, at 03:36:07 AM by Double_D_Edd, and it was last updated on Fri, Oct 18, 2019, at 12:47:16 PM by Alfawarlord.
If anything is incorrect or missing, or if you have any new information to submit to this database, please submit it to us on our Content Submissions Forums.
If you see this guide on any other site, please report it to us so we can take legal action against anyone found stealing our content. This guide is copyrighted by RuneHQ, and its use on other sites is expressly forbidden. Do not ask if you can use our guides or images, the answer is and always will be NO!
Print this page with images - Back to the Quest Guide Index Page - Back to Top
