

-
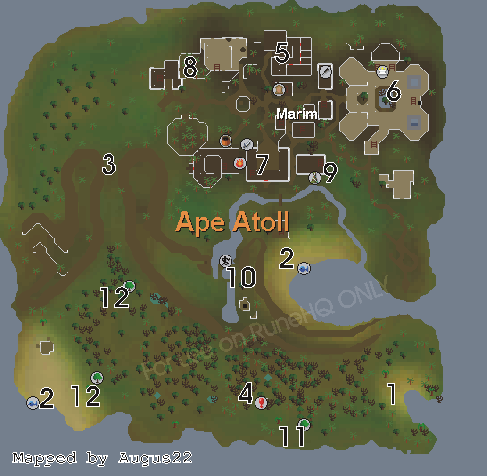
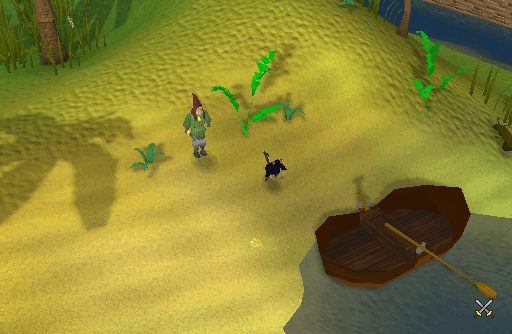
To get there, either cast Ape Atoll Teleport, which will bring you to the Marim inside the city, where you can wander freely if you brought a greegree. Otherwise you can talk to Daero, on the 2nd floor of the Grand tree. Then talk to Waydar. Then talk to Lumdo. He will bring you to Ape Atoll. There are many Banana trees and pineapple plants, so it would be a good idea to bring a knife for the pineapples.
-
If you have a high fishing level, you could bring a Harpoon/Big net, Axe (hatchet) and tinderbox, so that you could fish and cook some sharks and/or big net fish.
-
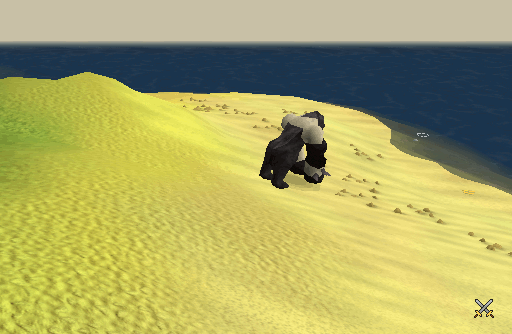
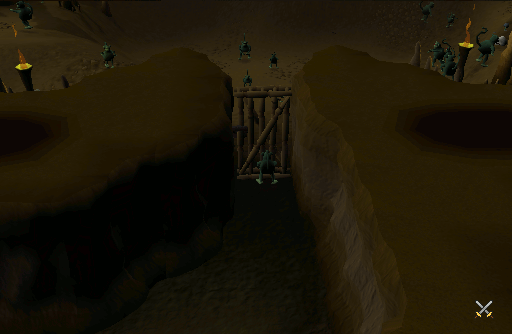
Heading northwest from Lumdo, you will soon come to a large gate. If you are human, you are recommended to put on Protect from Ranged prayer, and drink an anti-poison potion before or after the Monkey archer shoot you. If you are a monkey, you may simply pass through the gate. You will be allowed through unharmed since you are one of their kind.
-
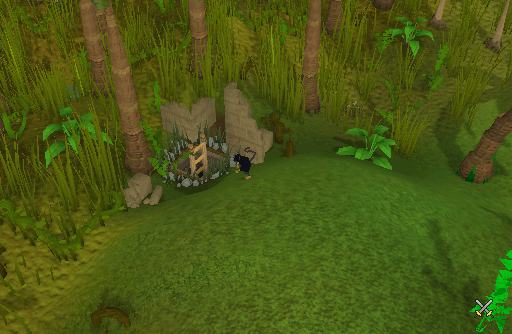
Before you reach the city gate, you will find a long and dangerous tunnel. This is Zooknock's tunnel, which is used many times during the Monkey Madness quest.
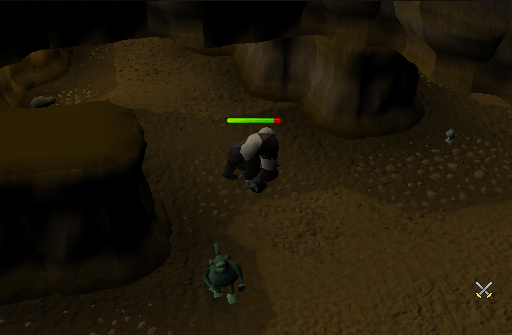
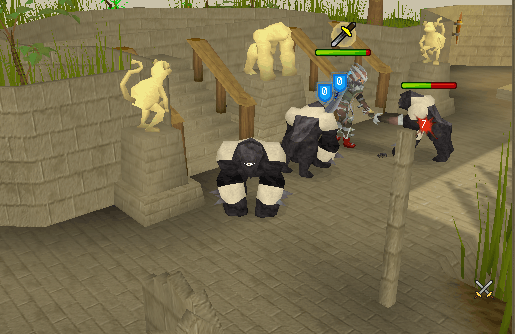
Throughout the tunnel, you will see Monkey zombies (level 98). These will not harm you if you are wearing a greegree, but if you are not, then it would be wise to use Protect from Melee.
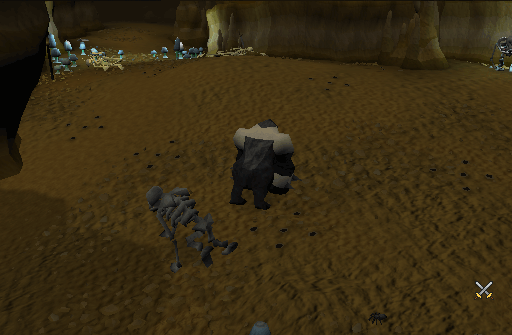
Also, you will come across Skeleton monkeys (level 142) in the larger parts of the tunnel. Many players like to range them using chinchompas, as they have many hitpoints and are found in large numbers.
-
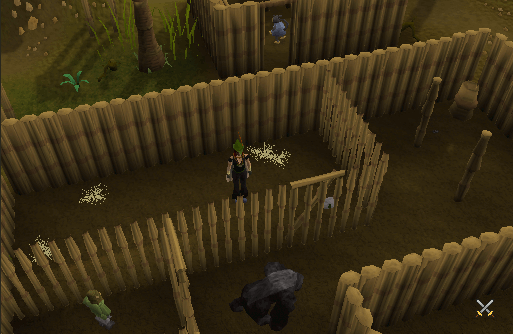
If you get shot, you will end up in a jail. Do NOT stand near the door when the jail guard is near you or he will punch you (No protection prayers stop the damage) hard, and you will take damage. When he starts to walk to the little room to the north, prepare to make your escape. Pick-lock the door and run north outside of the jail. If he comes back, go back into jail or go to the little square area west of your jail cell. But be warned, there is a poisonous spider over there, and it respawns very quickly. Once you're outside, be cautious of the Scorpions (level 38)! They can hit up to 15's. If you have a monkey greegree with you, you can simply equip it, pick the lock and walk out.
-
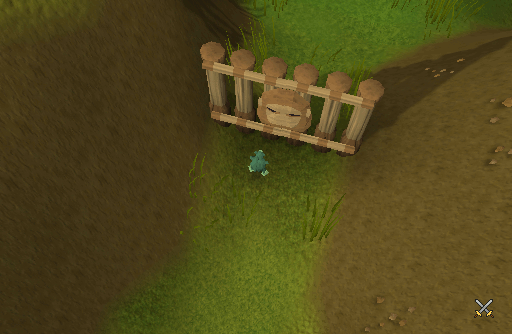
If you did get caught, you may speak to a camouflaged gnome named Karam once outside. If you go east, you will find a large building where you can train combat and/or recharge your Prayer, containing Monkey guards (level 167). This is a very good training spot that many people use, BUT there is a poisonous spider around there and you MUST have level 43 prayer for Protect from Melee. Also, at the eastern end of the room, there is a trapdoor. Around the trapdoor are more Monkey guards (level 167), but these ones have beards, and cannot be walked through! Be careful of them in human form, and try never to get stuck between them.
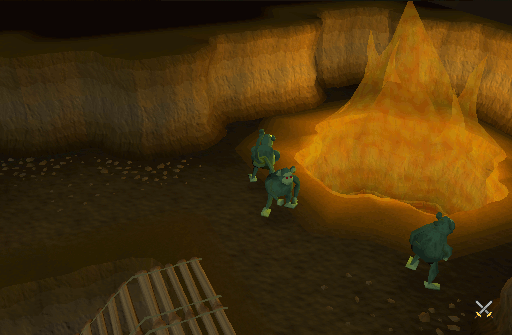
It can be a bit difficult to go down the trapdoor since you can't walk through the monkeys that are around it. Once you go down, you will find zombie monkeys. The wall of flame there is used during the Monkey Madness quest to make the Monkey speak amulet.
At the other end of the room is nothing useful. You can find a gate that can't be pick-locked. In the room beyond the gate is a monkey skull, so there is a possibility of another quest on Ape Atoll.
-
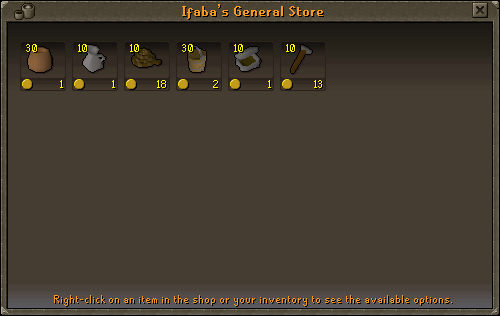
The center of the city accommodates a variety of shops.
-
This general store sells less items than your regular general store.
-
The Magic store is quite good. It sells various runes, gnomes eyes, Monkey talisman (Blank greegree) and monkey dentures.
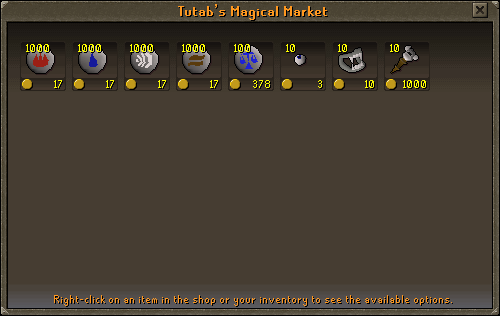
Behind the magic shop is a building where you obtain the Monkey dentures and the Monkey speak amulet mould needed during Monkey Madness. The monkey dentures can be found on the first floor and the mould is down the trapdoor. Once down the ladder, be careful of falling if your agility level is low - you could fall and be hit for a 25. Nearly all the crates here are full of bananas, so if you need some food you can take as many as you need.
-
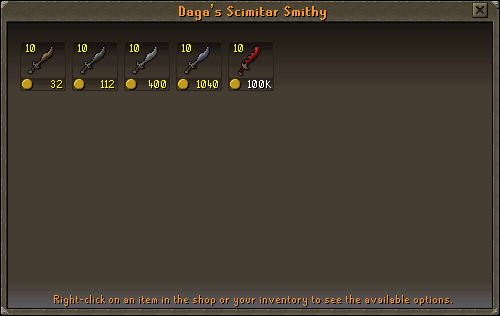
The scimitar shop sells Bronze, Iron, Steel, Mithril and also Dragon Scimitars after the quest. If you try to trade with him during the quest, he will say that he is waiting for some more stock.
-
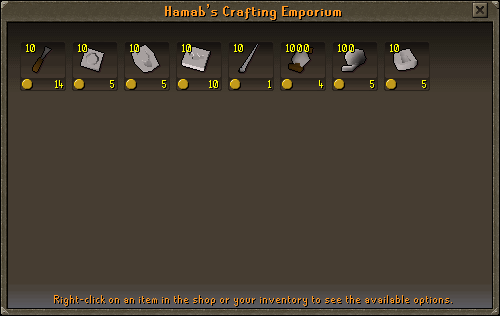
The crafting shop sells a chisel, ring mould, necklace mould, Monkey amulet mould, needle, thread, ball of wool, and a bracelet mould.
-
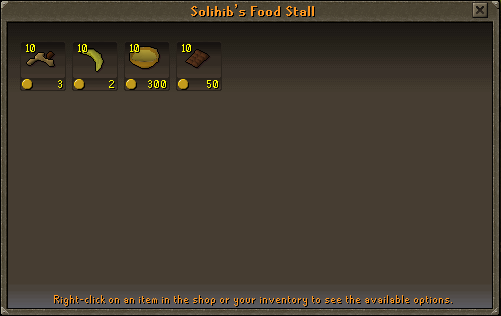
Lastly we have the food stall. This shop sells food that you cannot get anywhere else.
-
This general store sells less items than your regular general store.
-
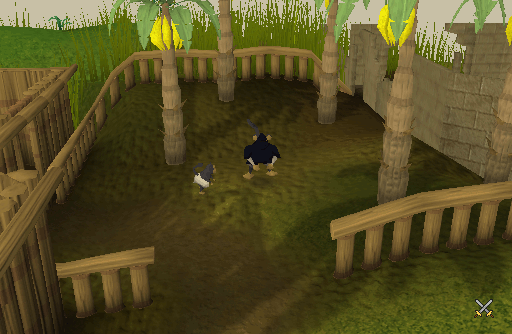
At this location you can find your Nephew and some more Banana trees. These can be helpful if you need food and did not bring any with you.
-
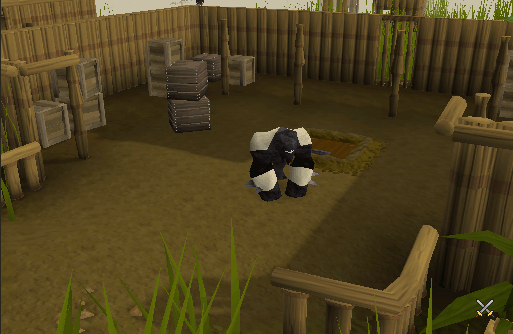
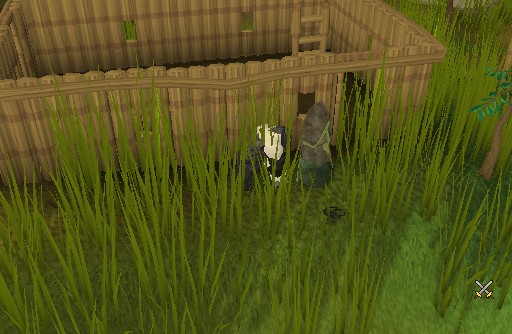
The Summoning Obelisk. It's close to the temple with the monkey guards, so if you're using a familiar to get extra experience, this can be quite useful.
-
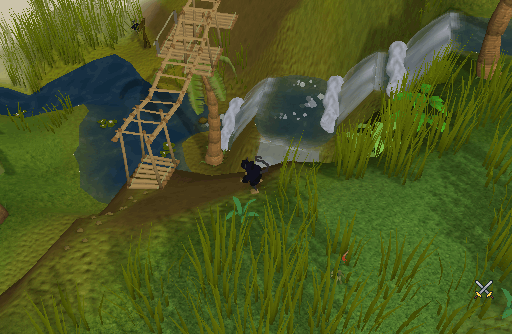
The Ape Atoll Agility course! This is one of the best ways to train Agility, and the most popular, as you stop failing all obstacles at level 75. Refer to our Agility guide for more information.
-
The very popular teak trees. These are some of the fastest Woodcutting experience in the game, as well as being decent money. There are three trees, all in the place shown on the map.
-
The mahogany trees. Not as fast experience as the teak trees, but much better money. There are only two trees, one to the north and one to the west.
How to get off the island:
Now to leave the island. If you are a monkey, simply use the gate you used to enter the city. If you are a human climb up the ladder south of the Monkey guard temple and jump off of the bridge. You should be right next to Lumdo.
This City/Area Guide was written by Creepy675298. Thanks to DRAVAN, Chopsteeq, amiele, adamb53, Bammoxx, Alfawarlord, Ralkal, and Crablogger for corrections.
This City/Area Guide was entered into the database on Sun, Jun 05, 2005, at 06:35:50 PM by Unknown, and it was last updated on Thu, Nov 11, 2010, at 02:34:02 AM by DRAVAN.
If anything is incorrect or missing, or if you have any new information to submit to this database, please submit it to us on our Content Submissions Forums.
If you see this guide on any other site, please report it to us so we can take legal action against anyone found stealing our content. This guide is copyrighted by RuneHQ, and its use on other sites is expressly forbidden. Do not ask if you can use our guides or images, the answer is and always will be NO!
Print this page with images - Back to the City/Area Guide Index Page - Back to Top
