




| Energy potions | Super energy potions | Stamina potions | Endurance Archaeology relic power | ||||
| Ogre flask (salt water) | Globetrotter boots | Anachronia saltwater spa | Oo'glog saltwater pool | ||||
| Explorer's ring 1, 2, 3, or 4 | Mint cakes |
- Talk to the Bartender and talk about the quest. He will offer a mug of their new signature mead, free of charge. Accept the quest and you will be given a What could go wrong?. Drink it and a cutscene will play.
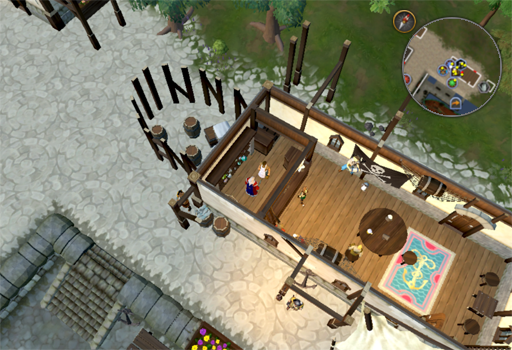
- You will wake up in the bedroom above the Tavern. Use the Eastern door to go downstairs and speak with the Bartender about the quest. After a brief conversation, 'Shady' Sullivan will get your attention.
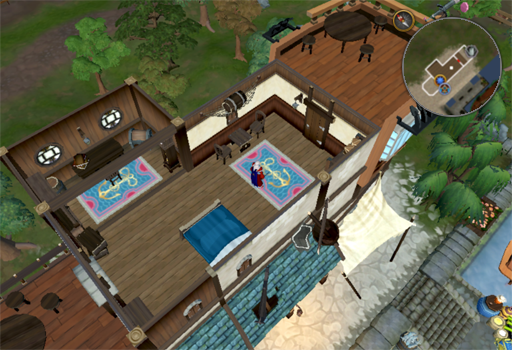
- Speak with 'Shady' Sullivan by the door to the Tavern and he will inform you of some villagers in Waiko talking about Havenhythe and is interested in visiting. He will then request that you convince Captain Lorris to take the two of you to Havenhythe.
Note: If at any point before completing the quest you leave Havenhythe you can return there by choosing Captain Lorris' "Pay-fare" option.
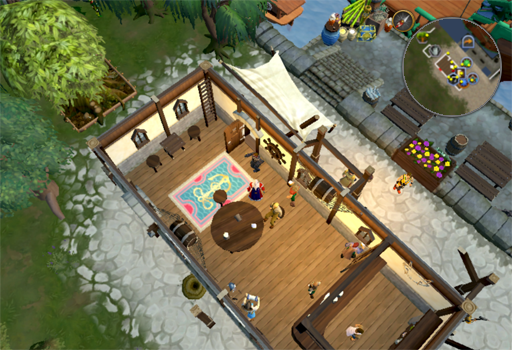
- Speak to Captain Lorris just East of the Port Sarim lodestone. When the conversation draws to a close, either go prepare or tell Captain Lorris you're ready to depart.
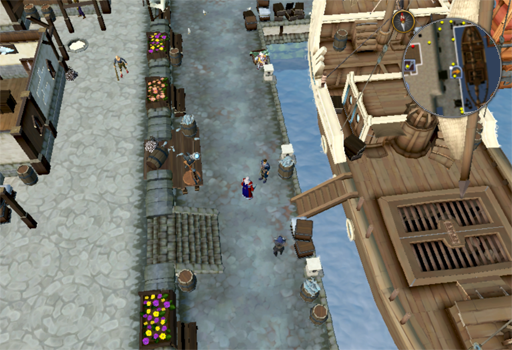
Once you arrive in Havenhythe, you'll find the place is much more open than Misthalin and Asgarnia. As such, you'll be in need of a good map, so use this one to help guide you through the remaining steps.
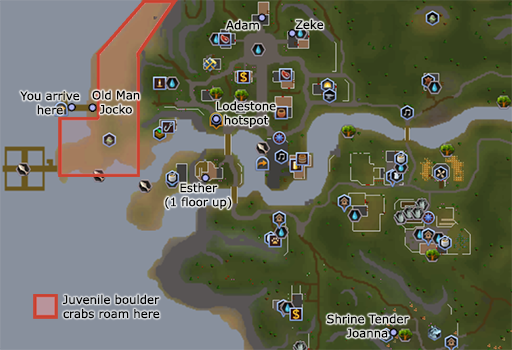
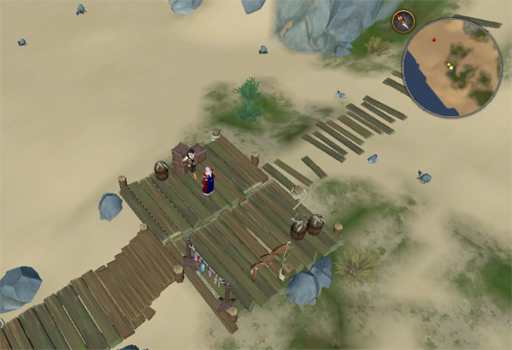
- Head East and speak with Old Man Jocko about the quest. When you ask who their village leader is, he will direct you to speak with Adam.
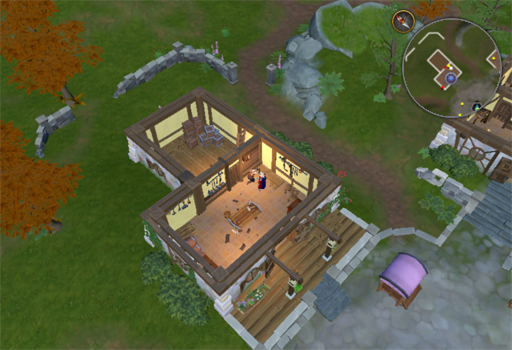
- Travel East to the village and talk to Adam in his house North of the well. He will heed your warning. Ask what to do next and he'll suggest you talk to Shrine Tender Joanna.
- Run South East to the Shrine of Inanna (look for the Prayer icon on the map) and speak with Shrine Tender Joanna. She will ask you to pray at the altar near her, as Inanna will give her a sign if you are speaking truly about your dream. Light will shine upon the altar. Speak to Joanna again and she will tell you to return to Adam.
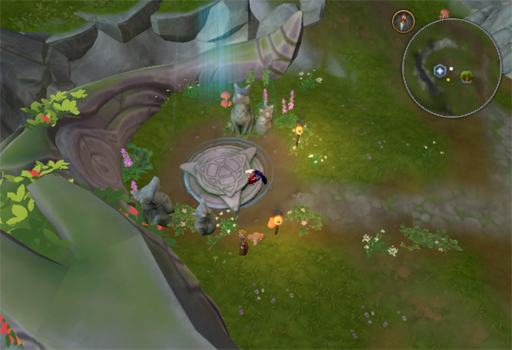
- Speak with Adam and he will request help building a Lodestone, he will advise to speak to Zeke on the Eastern side of the village: the Limestone supply you'd need access to is being threatened at the moment.
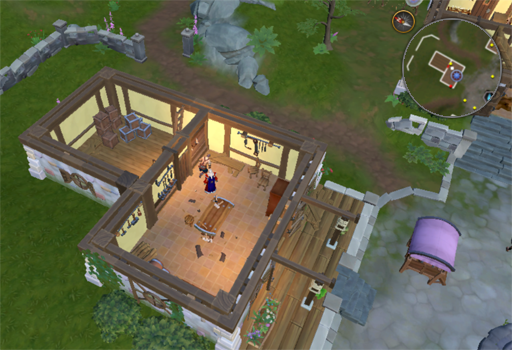
- Enter the house South East of Adam's and speak with Zeke. He will ask you to kill 10 Juvenile boulder crab on the beach and return with 10 Limestone.
Note: No, showing up with 10 Limestone bricks won't work, you still have to kill the Juvenile boulder crab.
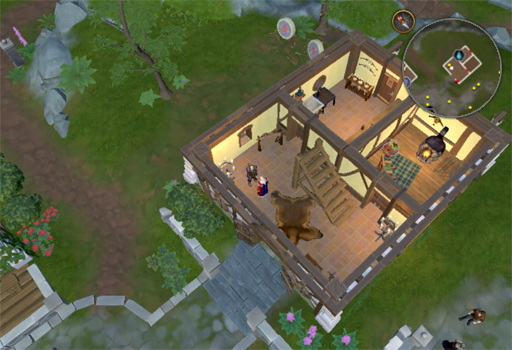
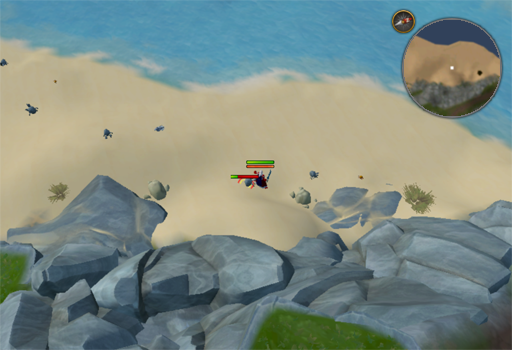
- Run West back to the beach and kill 10 Juvenile boulder crab. Pick up the Limestone each of them drop. You can chisel the Limestone into Limestone bricks or you can ask Adam to do it for you if you lack level 12 Crafting. Return to Zeke and he will tell you to speak to Esther on the middle floor of the Wendlewick lighthouse.
- Run South West to the lighthouse (South of the lodestone icon on the map), climb the stairs on the South side to the middle floor.
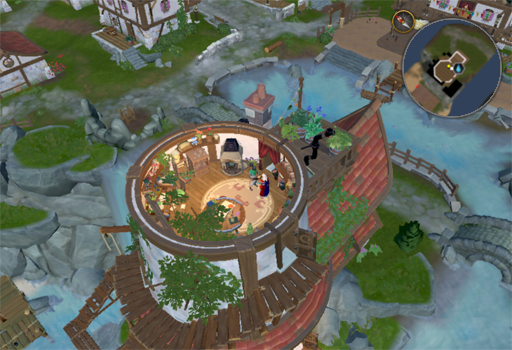
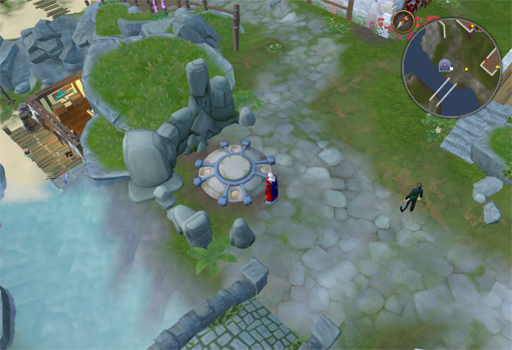
- Return to ground level and run North over the bridge. Build the lodestone where Esther set the hotspot and a cutscene will occur.
This Quest Guide was written by Sy Accursed and Dimir Editor. Thanks to Chathmurrpau for corrections.
This Quest Guide was entered into the database on Sun, Apr 05, 2026, at 03:38:16 PM by 3ter1, and it was last updated on Mon, May 25, 2026, at 11:55:48 PM by Chath.
If anything is incorrect or missing, or if you have any new information to submit to this database, please submit it to us on our Content Submissions Forums.
If you see this guide on any other site, please report it to us so we can take legal action against anyone found stealing our content. This guide is copyrighted by RuneHQ, and its use on other sites is expressly forbidden. Do not ask if you can use our guides or images, the answer is and always will be NO!
Print this page with images - Back to the Quest Guide Index Page - Back to Top