

30 Construction
50 Prayer
Access to a Player Owned House workshop
Ability to defeat a level 190 monster without using Prayer
-
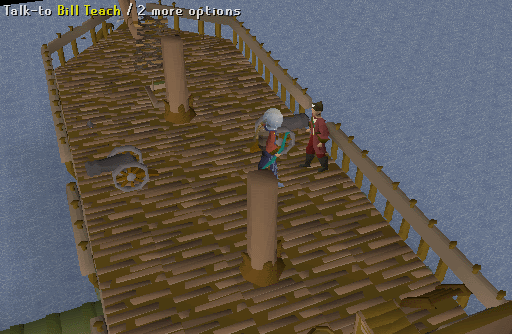
Take Bill Teach's ship from Port Phasmatys to Mos Le'Harmless.
-
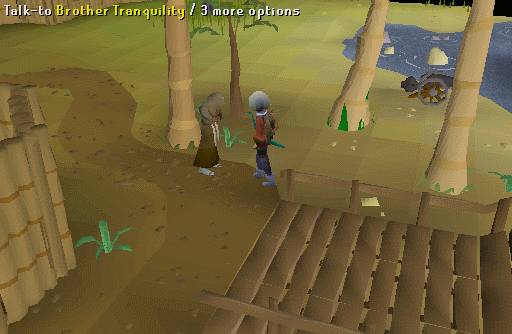
Leave the ship and speak to Brother Tranquility near the gangplank - he doesn't look well.
-
He will teleport you to a granary on the island Harmony, which is full of zombie monks. If you leave the granary you will be attacked by level 57 Zombie Pirates.
-
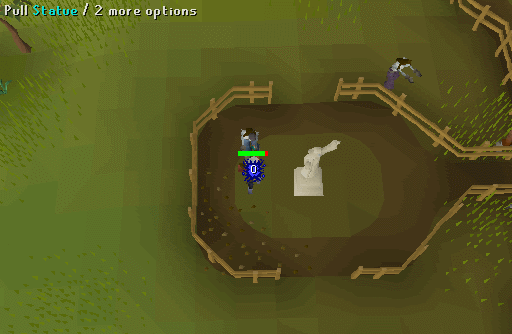
Find the statue of Saradomin in the garden push it and then climb down. You will find a secret room with some stairs leading into water.
-
Equip your diving helmet and apparatus and climb down. If you haven't got them in your bank then talk to Murphy at the Trawler minigame for replacements.
-
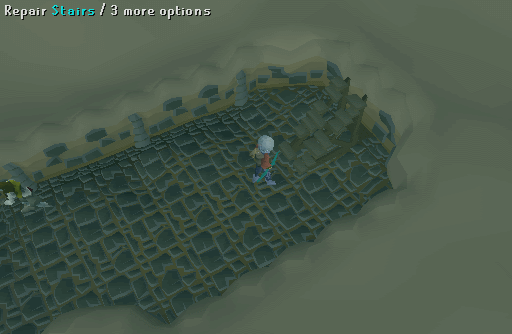
In the pool are more zombie pirates. Make your way to the end, and click on "repair stairs". This will take a little while and zombie pirates will continue to attack.
-
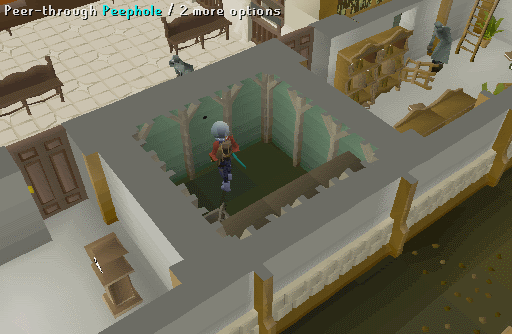
Once repaired, climb up the steps and then climb the ladder. Peer through the peephole and you will hear a conversation between Mi-Gor and the Sorebones. The zombie pirates are producing sleeping gas.
-
Return to Brother Tranquility and inform him of the plot. He will tell you to go to the Monastery to retrieve the Prayer book.
-
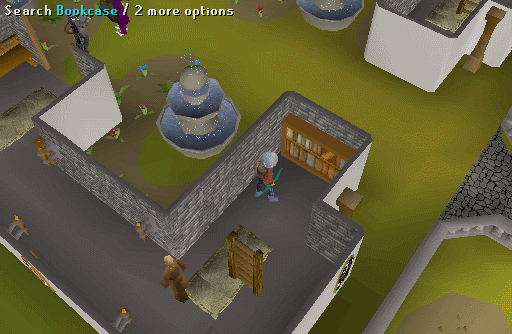
Teleport to Falador or Edgeville and make your way to the Monastery west of Edgeville. Go to the southwest corner of the Monastery and search the bookcase. You will find the Prayer book.
-
Equip your Holy symbol and return to Mos Le'Harmless. Speak again to Brother Tranquility, and once he has teleported you to the granary on Harmony island, recite the prayer book. The effects of the gas will be negated within the granary walls.
-
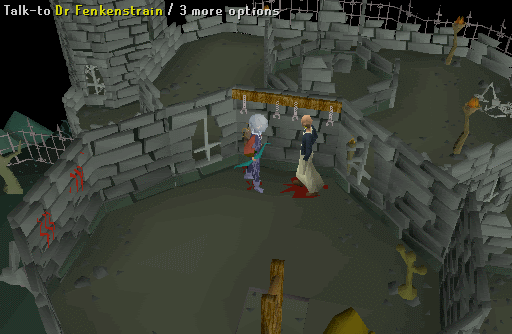
Talk to Brother Tranquility again and he will tell to go to Castle Fenkenstrain to get to perform brain surgery on the monks.
-
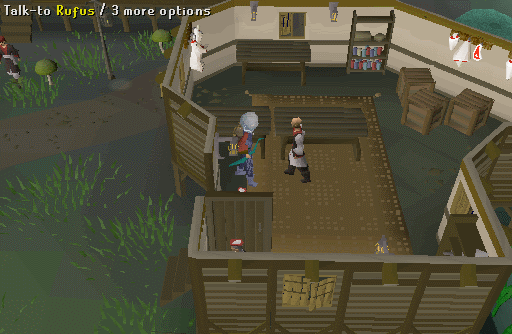
Dr. Fenkenstrain will ask you to smuggle him out of the castle. He will tell you to speak to Rufus, who is in the food store in Canifis. He will give you 6 parts of a crate for a meat shipment. Make sure you see the cut scene, talk to Rufus again if you didn't.
-
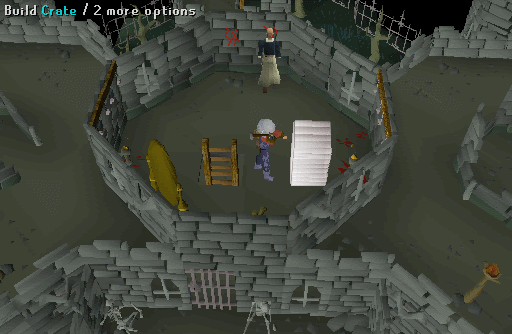
Bring a hammer, nails, and the crate pieces back to Dr. Fenkenstrain. You will see a construction hotspot for the crate. Build the crate, then build the bottom of the crate using 4 more planks, and then head to your house to make 10 wooden cats.
-
You will need 10 planks and 10 fur. Once you have built the wooden cats using a Clockmaker's bench, head back to Fenkenstrain's castle.

-
Put the cats in the crate, speak to Fenkenstrain, and then blow the whistle. You will see a cut scene with Rufus. He will give you a shipping label.
-
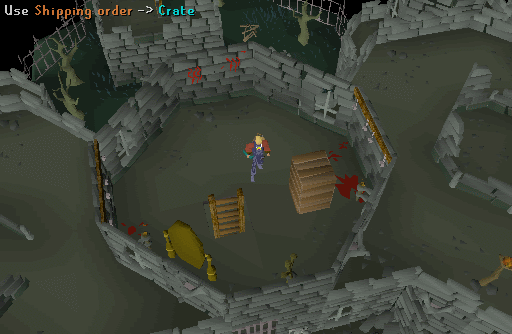
Stick the shipping label on the crate and it will teleport away.
-
Return to the granary on Harmony, then go down the ladder and talk to Fenkenstrain. He will tell you he needs a cranial clamp, a pair of brain tongs, three bell jars, at least thirty skull staples, and a hammer.
-
Head to the north side of the island to find the ship. You will still need to wear your breathing apparatus because of the gas. You will find the fuse, keg, and tinderbox, on the ship.
-
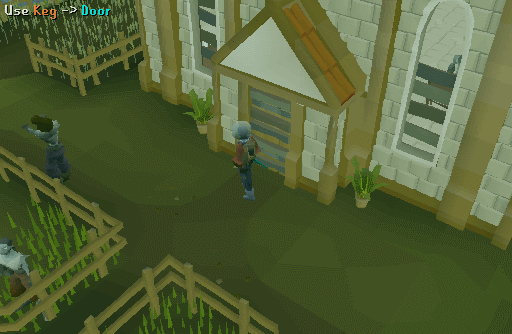
Go to the entrance to the barricaded monastery, just east of the Saradomin statue, and use the keg and fuse on the door, and then the tinderbox on the fuse. There will be an explosion and you will be able to enter.
-
Enter and kill the Sorebones until you have all the items.

-
Return to Fenkenstrain and give them to him. There will be a short cut scene.

-
Go the bank and equip yourself for battle with a level 190 monster. You will not be able to use prayer. Make sure you have good armor and food.
-
Speak to one of the monks to receive a blessing.
-
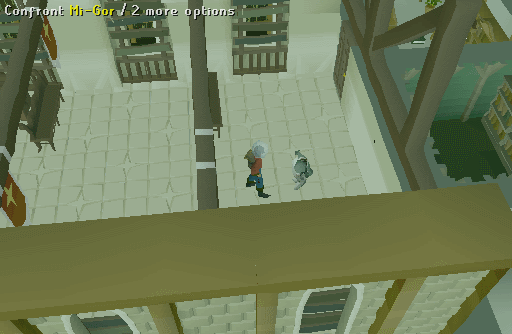
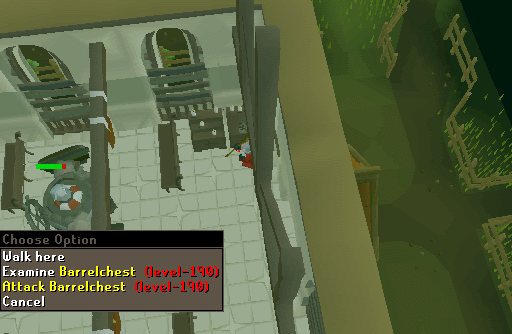
Return to the place where you killed the Sorebones to confront Mi-Gor. He will release a level 190 mechanical monster against you.
-
Kill the monster and then pick up the anchor. Barrelchest uses melee attacks which are although slow, but easily hits for around 20 damage. Your prayer points will also drain faster than usual and eventually turn off. There is a safe spot in the back of the building (shown below), however DO NOT hide directly behind a pew or he will smash the ground dealing a lot of damage.
-
Return to the granary and speak to Brother Tranquility.
Congratulations! Quest Complete!
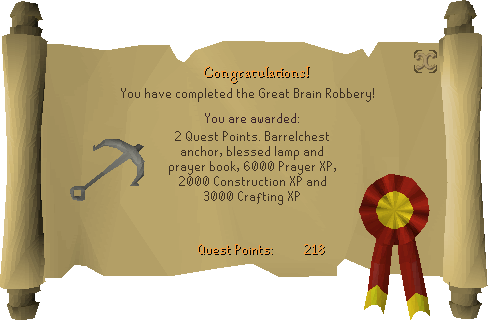
Talk to Smith on the jetty of Mos Le'Harmless and he will smith the anchor into a two handed maul for 230K coins.
The blessed lamp gives you 5000 XP towards the skill of your choice.
Note: Zombies on Harmony will no longer be aggressive to players who have completed the quest
This Old School Quest Guide was written by budmash. Thanks to Jackjekal, Belgarath, Stumbler69, ilikedragonweps, Sheep01, Simply_hard, Evilman06, Im4eversmart, Crypto416, Estrong1, ForDehLolz, Sirius XM, and MegaAmpharos for corrections.
This Old School Quest Guide was entered into the database on Tue, Mar 06, 2007, at 01:56:29 PM by Im4eversmart, and it was last updated on Tue, Feb 21, 2017, at 01:38:39 AM by L1ttleR3d.
If anything is incorrect or missing, or if you have any new information to submit to this database, please submit it to us on our Content Submissions Forums.
If you see this guide on any other site, please report it to us so we can take legal action against anyone found stealing our content. This guide is copyrighted by RuneHQ, and its use on other sites is expressly forbidden. Do not ask if you can use our guides or images, the answer is and always will be NO!
Print this page with images - Back to the Old School Quest Guide Index Page - Back to Top
