

Fishing Contest
Goblin Diplomacy
Big Chompy Bird Hunting
Biohazard
Demon Slayer
Murder Mystery
Nature Spirit
Priest in Peril
Restless Ghost, The
Witch's House
Gertrudes Cat
Shadow of the Storm
Lost City
Monkey Madness
Desert Treasure
Legends' Quest
Horror from the Deep
20 Firemaking
48 Agility
Must have started the Legends quest.
Must be able to defeat high leveled, tough monsters
176 Quest Points
Optional: 2 Lemons, 1 Orange, 1 Pineapple, Cocktail glass, and Cocktail shaker.
1K Cooking, Crafting, and Farming XP (Goblin Generals)
1K Cooking, Crafting, Fishing, and Smithing XP, access to the Morge Camp, and the ability to craft crab claws and crab helmets (Pirate Pete)
2.5K Cooking and Magic XP (Lumbridge Sage)
7K Cooking XP, the ability to train a hellcat, and the ability to make spicy soup (Evil Dave)
1.5K Cooking, Crafting, Ranged, and Woodcutting XP, the ability to hunt jubbly birds, and the ability to use the ogre boat ride shortcut (Skrach Uglogwee)
4K Constitution and Cooking XP and access to the Evil Chicken's Lair (Sir Amik Varze)
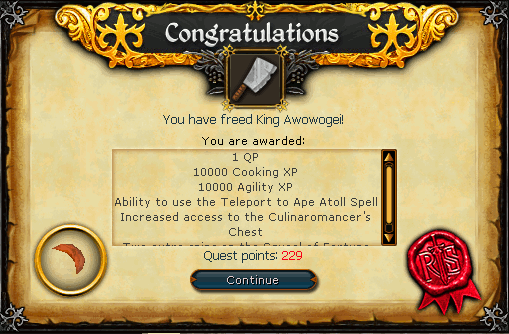
10K Agility and Cooking XP, the ability to cook stuffed snake, and the knowledge of the Ape Atoll teleport (Awowogei)
20K XP Lamp in any skill above 50 and full access to the Culinaromancer's chest (Culinaromancer)
20 free keys for Treasure Hunter.
Table of Contents
Difficulty: Novice
Length: Short
Requirements: 10 Cooking and completed Cook's Assistant.
Items Needed: Eye of newt, Rotten tomato, Greenman's ale, Ashes, and Fruit blast.
Optional: 2 Lemons, 1 Orange, 1 Pineapple, Cocktail glass, and Cocktail shaker.
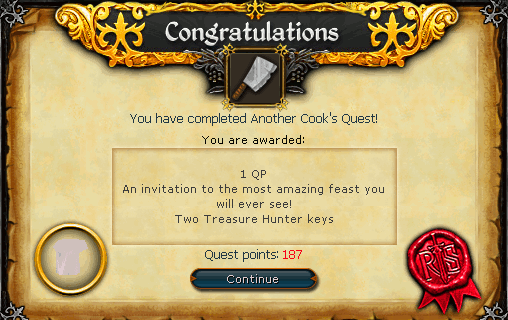
Quest Points Reward: 1
Reward:Ability to finish the sub-quests and 2 Treasure Hunter keys
Start Point: Lumbridge Castle Kitchen
To Start: Speak to Cook
-
When you talk to Cook he will tell you that it wasn't actually the Duke's birthday, and that the Cooks Assistant Quest was a test of your fidelity. The 100th anniversary of a great banquet cooked by his ancestor, Franizzard Van Lumbcook, is coming up and Cook must make a banquet to prove to the world that he is also a great cook. He wants you to recreate the banquet cooked by Franizzard but doesn't have any of the ingredients for it, making it your job to get them.
-
He will give you 100 gp and tell you to get him an Eye of Newt, a 'Dirty Blast', a Rotten tomato, and a glass of Greenman's ale. To get the Greenman's Ale, you can brew it, or purchase it at the Yanille Pub and Light House General Shop. Another option is to buy it from Rasolo the Wandering Merchant, who is just to the east of the Tree Gnome Stronghold, and south of the Waterfall. Some players also sell it, but the price may be high. A newt's eye may be bought from the Taverley herblore store or the Port Sarim magic store. Rotten tomatoes can be made in compost bins, or bought at the duel arena or pillory sites.
-
To make Dirty blast, simply add the ashes to the Fruit blast - which can be purchased easily from the Grand Exchange or made by the player (refer to the note below).
Note: If you do not have a Fruit blast and brought the optional items with you instead then you can make your own Fruit blast. To make it you must use a lemon, orange, and pineapple on your cocktail shaker, and then use that with a cocktail glass. Next, cut the lemon into slices (using Knife on your toolbelt), and then add a lemon slice to the unfinished cocktail.
To obtain a cocktail shaker, you can start or have already completed the Blurberry Bartender mini-game (Gnome Stronghold). You can also buy one from Funch's Fine Groceries (next to the Cocktail Bar, second floor, Gnome Stronghold. You can get a glass by drinking any cocktail or buying one. Lemon and oranges may be bought from a gnome barman, and all three fruits may be bought from the supply store at the Grand Tree.
-
Now take these items back to Cook and he will invite you to the feast.
Congratulations! Quest Complete!
Banquet Guests
You now have the ability to go through the door north of the Cook that takes you to the banquet room. A cutscene will appear and after that you are able to free the guests in any order you please.
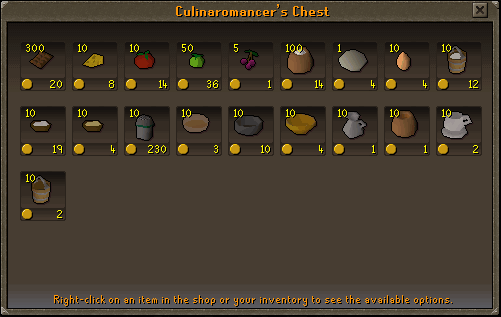
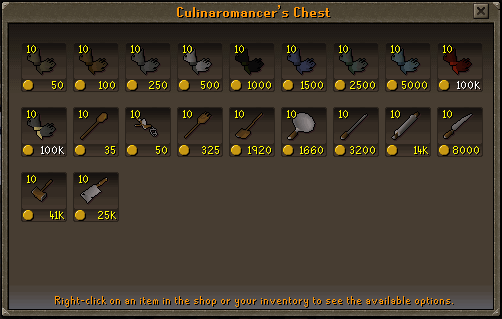
The Culinaromancer's Chest
As you free more of the banquet guests your access to the "Culinaromancer's Chest" will increase. The Culinaromancer's Chest is located in the Lumbridge basement, down the trapdoor in the Cook's room. The chest works as a bank, items store, and a food store. Below is the complete wares of the Culinaromancer's Chest.
Part II: Freeing the Feast Guests
Difficulty: Novice
Length: Short
Requirements: Completion of the Fishing Contest Quest
Items Needed: A minimum of 316 coins, bucket of milk, pot of flour, egg, bowl of water, a minimum of 4 asgarnian ales, and Ice gloves.
Quest Points Reward: 1
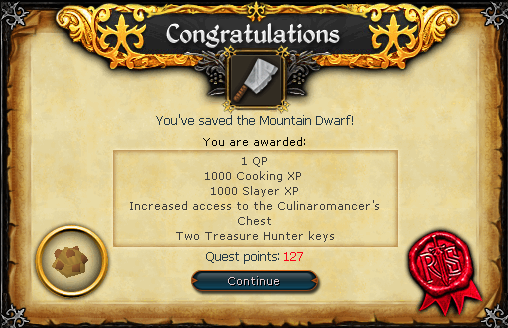
Reward: 1k Cooking and Slayer XP and Increased access to the Culinaromancer's Chest and 2 Treasure Hunter keys.
Start Point: Lumbridge Castle Banquet Room.
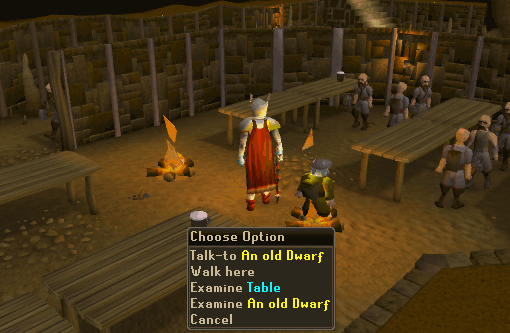
To Start: Inspect the Dwarf.
-
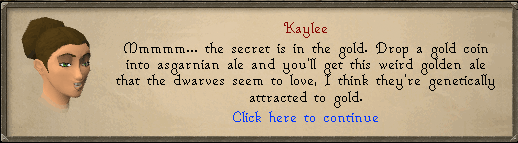
Inspect the Dwarf and the Gypsy will tell you to speak to his Dad, Rohak in the tunnel under White Wolf Mountain.

-
When you go down the tunnel speak to the old dwarf (Rohak) and explain to him what has happened to his son. Unfortunately, when you ask him to give you his secret rock cake recipe he will refuse.
-
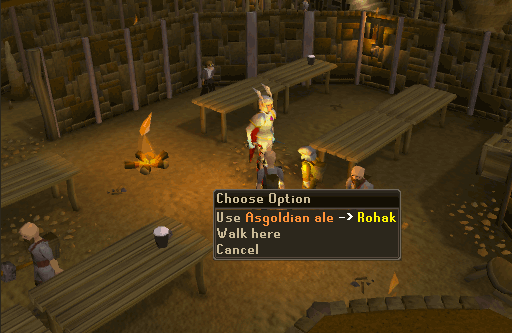
Go to the 'Rising Sun' pub in Falador, and ask about dwarves and ale. You will have to buy the recipe for 200 coins (or for free if you wear the ring of charos). They will tell you to drop a gold coin into an Asgarnian ale. Use a coin with each of your asgarnian ales to make four Asgoldian Ales.
-
Now return to Rohak and give him all four beers in a row. He will eventually tell you the recipe for a price of 100 coins, but only once he is completely drunk. Like before, you have to bring the ingredients. The ingredients are milk, flour, an egg, and a bowl of water.
-
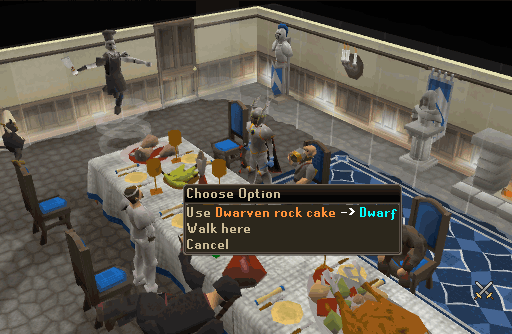
Return to him with the ingredients and he will make a Dwarven rock cake, placing it on the table. Make sure that you are wearing Ice gloves to cool the Dwarven rock cake and take it from the table.
Note: If you cannot obtain Ice gloves, then you must take the Dwarven rock cake to the top of Ice Mountain found west of Edgeville and kill an Icefiend. This will cool down the cake and allow you to give it to the Dwarf.
-
Finally, return to the banquet hall and use the Dwarven rock cake on the Dwarf.
Difficulty: Novice
Length: Short
Requirements:
Must have completed the Goblin Diplomacy Quest
Items Needed: Charcoal, spice or gnome spice, 1 fishing bait, bucket, jug, or bowl of water, bread, orange slices, and any dye other than orange, red, pink, or yellow.
Quest Points Reward: 1
Reward: 1k Cooking, Crafting, and Farming XP, increased access to the Culinaromancer's Chest and 2 Treasure Hunter keys
Start Point: Lumbridge Castle Banquet Room.
To Start: Inspect either goblin.
-
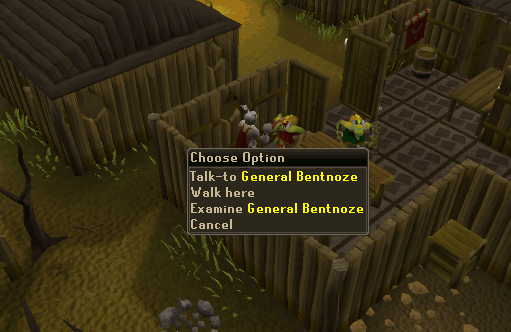
Inspect either General Bentnoze or Wartface and the Gypsy will tell you to go to Goblin Village, which is located north of Falador.

-
Speak to the same goblin you inspected in the banquet room and ask which food they like. They'll tell you to go away.
-
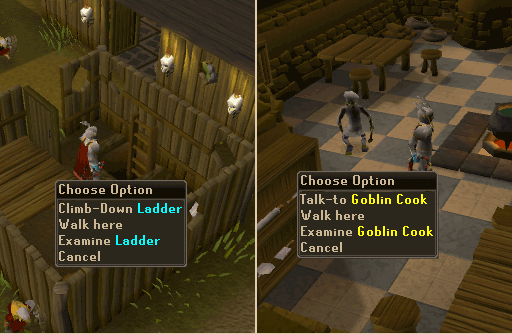
Now go down the nearby ladder and speak to the goblin chef. He'll tell you to get him charcoal for a new food. Give some charcoal to the chef and he will place it in his cauldron and you will get to see a hilarious cut-scene of his 'cooking'.
-
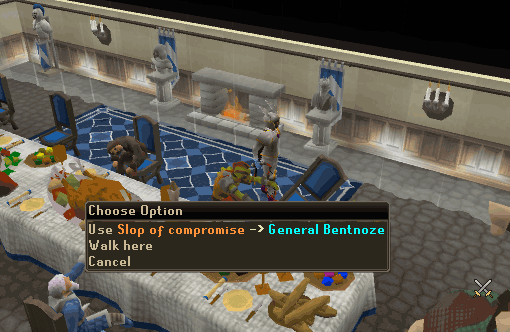
Talk to him again and ask for help. He will ask you to get orange slices that aren't orange, spicy maggots, and bread that isn't crunchy. Use your spice with the fishing bait to make spicy maggots. Use a bucket of water with bread to make soggy bread. Use your dye with the orange slices to get dyed orange. Talk to the goblin chef again. He will make his 'slop of compromise'.
-
Take the slop and use it on the goblin in Lumbridge castle.
Congratulations! You have Freed the Goblins!

Difficulty: Intermediate
Length: Medium
Requirements: 31 Cooking
Items Needed: 3 Bronze wires, Needle (Toolbelt won't work), Fishbowl, Pestle and mortar, Raw cod, Bread, and Knife.
Quest Points Reward: 1
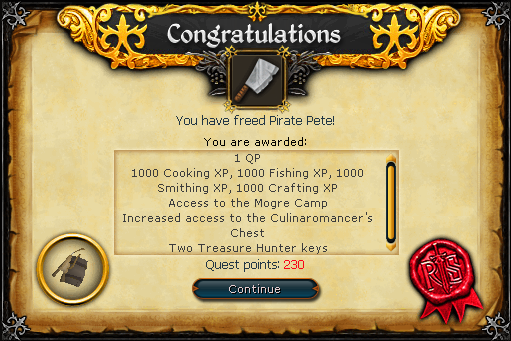
Reward: 1K Cooking, Fishing, Smithing, and Crafting XP, access to the Morge Camp, the ability to craft crab claws and crab helmets, and 2 Treasure Hunter keys.
Start Point: Lumbridge Castle Banquet Room.
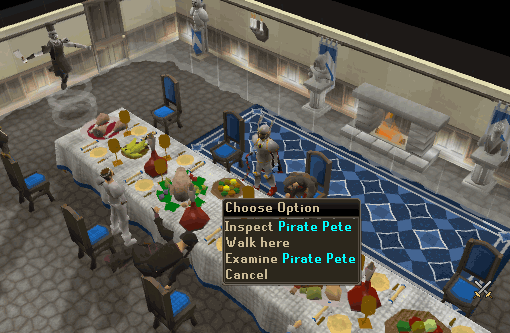
To Start: Inspect Pirate Pete.
-
Upon inspecting Pirate Pete the Gypsy will tell you that only fishcakes will save him. Go to Cook who is in the room south of you and find out the recipe (you have to ask how to make all of the items in the pirate section). You will need ground cod, kelp, giant crab meat, and breadcrumbs. It is advised you get the ingredients for several fishcakes as you might burn the cakes when you cook them.
-
Use a knife on your bread to make breadcrumbs. Then, use a pestle and mortar on your raw cod to make ground cod.
-
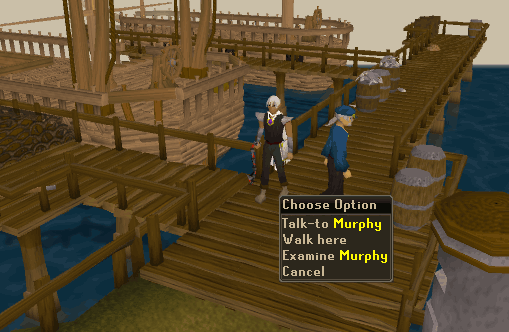
Now go to Port Khazard and talk to Murphy twice. He will turn your fishbowl into a diving helmet and make you some diving gear. Equip these and talk to him again to take a dive, however you cannot dive if you are carrying more than 27kg or carrying any type of a cat.
-
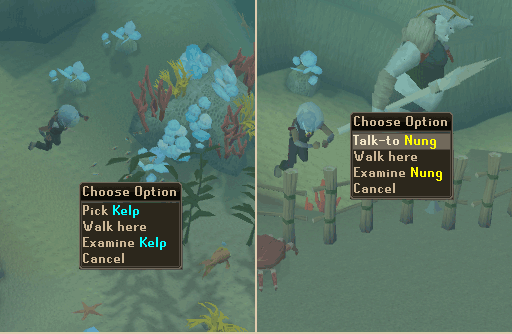
Start off by Picking some kelp, and then swiming north to a crab pen guarded by Morges. Talk to Nung and he'll ask you to get 5 mudskipper skins.
-
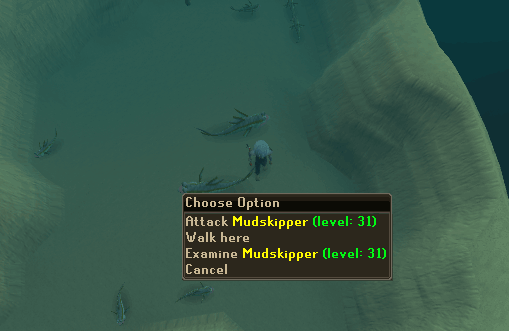
Swim North West and pick up 5 rocks outside the cave entrance, then go to through Underwater Cavern entrance. Kill 5 mudskippers and collect their hides.
-
Now return to Nung and he will tell you to get 3 bronze wires and a needle in exchange for access to the crabs.
-
Speak to him again and give him the items. Then go through the pen door and kill a crab or two in case you burn a fishcake.
-
Cut up your bread in to breadcrumbs, Grind your kelp, raw cod, and crab meat and then return to Cook. Talk to him, use all the ingredients on each other and then cook it.
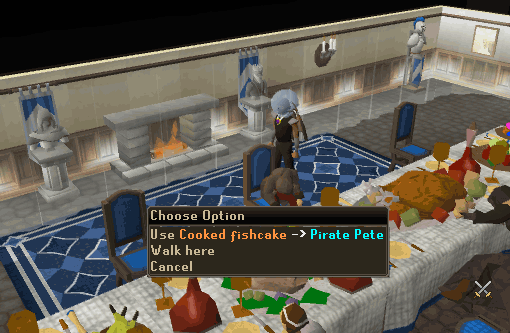
- Finally, use the fishcake on Pete.
Congratulations! Sub-quest Complete!
Difficulty: Intermediate
Length: Short
Requirements:
40 Cooking, and completion of the Big Chompy Bird Hunting, Biohazard, Demon Slayer, Murder Mystery, Nature Spirit, Priest in Peril, Restless Ghost, and Witch's House quests.
Items Needed: Egg, bucket of milk, pot of flour, and a cake tin.
Quest Points Reward: 1
Reward: 2.5K Cooking and Magic XP, and and 2 Treasure Hunter keys.
Start Point: Lumbridge Castle Banquet Room.
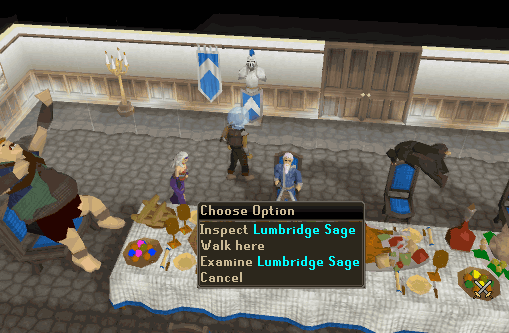
To Start: Inspect the Lumbridge Sage.
-
Upon inspecting the Lumbridge Sage, the Gypsy tells you that you need to go to Traiborn the wizard.
-
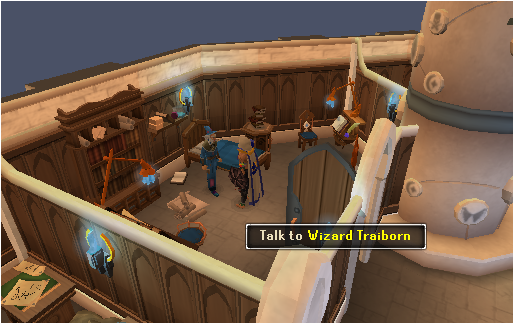
Head to the wizard's tower and speak to Traiborn on the third floor. He gives you some quiz questions. If you have done any of the other sub-quests, then cake supplies may be easily bought from the Culinaromancer's Chest.
In order to enchant the items needed to make the cake, you must first correctly complete Traiborn's quizzes. Below you will find the answers to each quiz.
-
Egg Quiz
You have to identify each person that "hatched" out of an egg.Description Name Green ghostly person Velorina Lady in purple Gertrude Man in white Ali Morrisane Muscleman in purple Unferth Kingly man in white/red outfit King Lathas Man with a ponytail holding a book Reldo Green witch with dark green robes Hetty Man with no face showing in tan robes with a hood Pirate Pete Muscle cladden man in green with a tan vest and white hair Islwyn A man in dark clothes with a monocle Professor Gronigen -
Pot of Flour Quiz
You will be shown a rectangular screen with 10 objects on it, and must answer a question about it once you close the window. You need to answer 3 correctly to move on.Image Items Question Answer 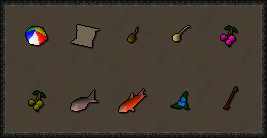
Ball, Flypaper, Potato seed, Onion seed, Cadava berries, Jangerberries, Herring, Salmon, Dwellberries, Mithril arrow Which of the following items were NOT shown to you? Trout 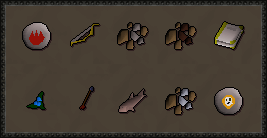
Fire rune, Yew shortbow, Tin ore, Iron ore, Holy Book, Dwellberries, Mithril arrow, Trout, Silver ore, Chaos rune How many types of runes were there? 2 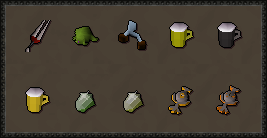
Wolfbane, Bloated toad, Distillator, Cider, Dwarven stout, Chef's delight, Jade, Opal, Chaos talisman, Mind talisman Which item began with the letter "m"? Mind Talisman 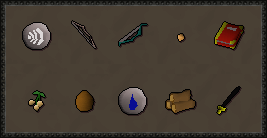
Air rune, Maple longbow, Magic shortbow, Tomato seed, Unholy Book, Poisonivy berries, Coconut, Water rune, Logs, Black longsword How many weapons were you shown? 3 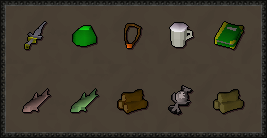
Silverlight, Druid pouch, Ghostspeak amulet, Moonlight mead, Book of Balance, Trout, Pike, Yew logs, Death Talisman, Magic logs Which items were amongst those you were shown? Guthix prayer book, Magic logs, Pike -
Milk Quiz
You will be asked some more questions about RuneScape.Question Answer A gold ring is to 5, as a holy symbol is to... 16 (level to craft) If I'm going to need glass, first I will need Sand, Bucket, Soda ash, Glass blowing pipe What is the nearest guild to the Fishing Platform (as the seagull flies)? Legends I'm in a bar west of Pollnivneach. Where am I? Bandit camp I can hear howling in one direction and buzzing in the other - where am I? Catherby What ingredients are used in a cake? Flour, Eggs, and Milk What doesn't lie between Morytania and Asgarnia? Keep le Faye The River Salve runs from? North to south How much gp does it take to bribe a guard at the toll gate to Al Kharid prior to earning their trust? 10 What is the defence level requirment to wear a Mystic Hat? 50 Which tower is closest to the Crafting guild? Dark wizards The combat level of goblins near Lumbridge is... 2 A glass vial is to 33, as a glass orb is to... 46 Multiply the number of fire runes needed to cast fire strike with the number of air runes needed to cast wind strike before adding the number of earth runes needed to cast earth wave. 5 What is the name of the Toy salesman? Diango
-
Egg Quiz
-
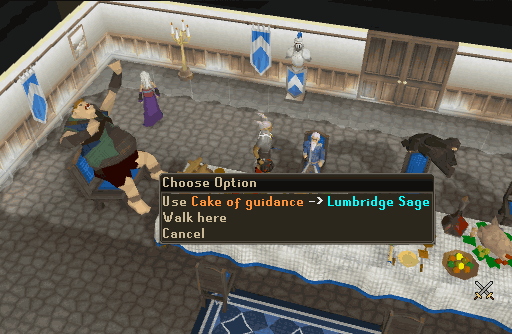
Once all the ingredients are enchanted, use them on a cake tin and bake the cake on a range.
-
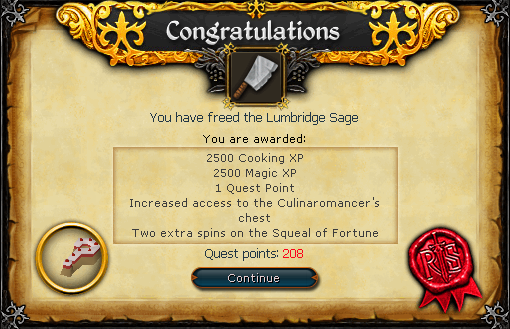
Use the completed cake on the Lumbridge Sage.
Congratulations! Sub-quest Complete!
Difficulty: Intermediate
Length: Medium
Requirements:
Level 25 Cooking
Must have completed Gertrudes Cat, and the Shadow of the Storm quests.
Items Needed: Kitten/Cat/Wily/Lazy Cat, and lots of Stews (you can buy at the Seers' Village pub for 20 gp each or at the Warriors' guild from Lidio for 100 gp each with 10 in stock). You are not recommended to take a kitten down there, it is better to take a Cat or Wily Cat.
Quest Points Reward: 1
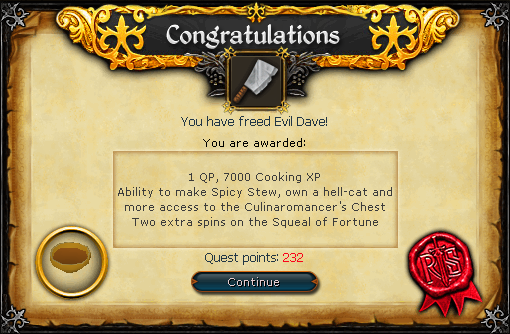
Reward: 7K Cooking XP, the ability to train a hellcat, the ability to make spicy soup, and 2 Treasure Hunter keys.
Start Point: Lumbridge Castle Banquet Room.
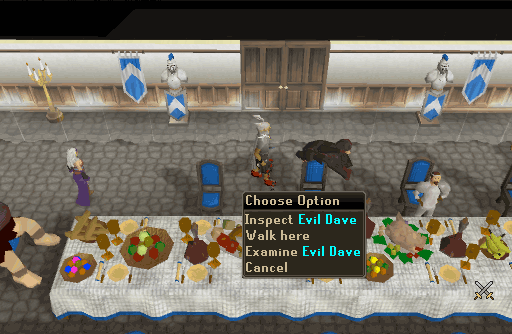
To Start: Inspect Evil Dave.
-
Inspect Evil Dave, and the Gypsy will tell you that in order to free Evil Dave you must make a stew, but that it also must be seasoned in a very particular way.
-
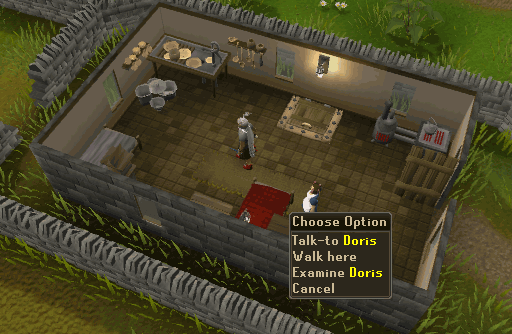
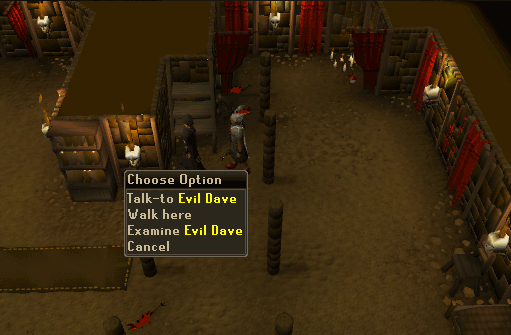
Go to Edgeville and west of the bank speak with Evil Dave's mother, Doris. Ask if Dave is in and she will tell you he is down in the basement (make sure you agree to being evil). Open the trapdoor, and continue down into the basement.
-
Once downstairs, talk to Evil Dave and make him give you the recipe. Dave tells you the stew was like the one his mom makes, so go speak to Doris. She tells you that you need to gather certain spices to make this stew.
-
Go downstairs and use your cat to catch hell rats. Gather around 6 doses of red, yellow, orange, and brown spices and make sure that you have 9 or more stews available for your use.
Strategy: To find out the amount of spice needed for the Evil Stew, do the following: Start with RED spices, add 1 red spice to stew then talk to Dave. He'll drink it then say it's nothing like his stew or one of the spices is right (once it's right, go onto the next color). If it's wrong, just add 2 doses to the next stew. If two spices is wrong then you know that 3 spices is the right amount. Once you figure out RED, then move onto YELLOW, then ORANGE, then finally BROWN. Finally, using all the correct doses of all colors, make the Evil Stew for Dave to taste which he says is "Totally Evil".
Note: If you are using a kitten this process will take a significantly longer time than if you are using a cat. It is highly recommended that you wait to do this step until you have a cat. Also, after a certain amount of hell-rats caught your cat/kitten will turn into a hell-cat. Feeding your hell-cat normal milk will turn it into a normal cat.
-
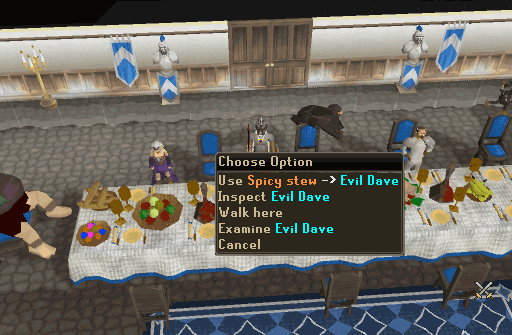
Once you have the correct quantities of each spice in the stew give it to Dave, who should verify that is the correct one.
-
Go back to the banquet hall and use the stew with Dave.
Congratulations! Sub-quest Complete!
Difficulty: Intermediate
Length: Medium
Requirements:
Level 41 Cooking
Level 20 Firemaking
Must have completed the Big Chompy Bird Hunting quest.
Items Needed: Hatchet (Toolbelt won't work), Pickaxe, Any ogre bow, Any ogre/brutal arrows, Iron spit, Log, Tinderbox, Ogre bellows, and Ball of wool.
Quest Points Reward: 1
Reward: 1.5K Cooking, Crafting, Ranged, and Woodcutting XP, the ability to hunt jubbly birds, the ability to use the ogre boat ride shortcut, and 2 Treasure Hunter keys.
Start Point: Lumbridge Castle Banquet Room
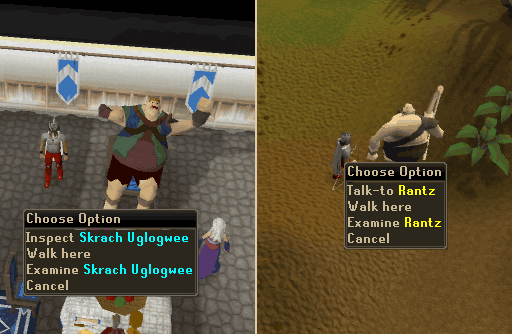
To Start: Inspect Skrach Uglogwee
-
Inspect Skrach Uglogwee and then speak to Rantz in the Feldip Hills about saving Skratch. He will tell you to speak to him again just southeast at the water's edge.
-
Head over there and tell him that you will need a boat to get to Karamja, which is where he points to. He will kick over a tree for you, so use your hatchet on it twice to make a crude boat.
-
Now kill a chompy bird and get a raw chompy. Note that it may be beneficial to kill two, as there is a chance of burning later on. For more information on chompy hunting, see the Big Chompy Bird Hunting Quest Guide. Rantz will shoot an arrow at Tai Bwo Wannai. Be sure you have logs, a tinderbox and an Iron Spit in you inventory along with the raw Chompy birds. You will have to teleport to Karamja and find the arrow, and cook a raw chompy in that spot.
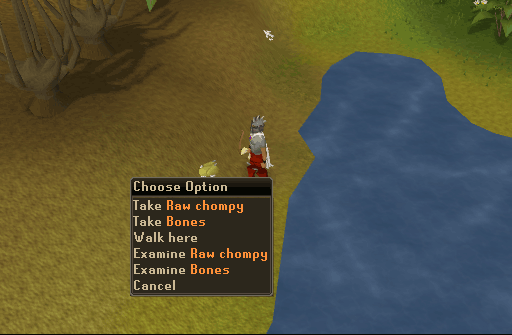
-
Go over to the beach southwest of the Tai Bwo Wannai general store to find the tree with the arrow in it. Make a fire under the palm tree, use your iron spit on chompy, and cook the Skewered chompy on the fire. If you succeed, Rantz's children will come with the boat to bring you back.
Note: Do NOT have a cat with you whilst riding on the boat.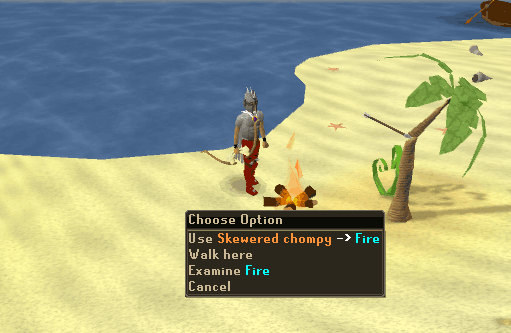
-
Ride on the boat back to Rantz and speak to him again. He will tell you that you need to make toad balloons to bait the Jubbly birds.
-
Go north of the swamp where you fill up your bellows to the little mining area. Mine a rock.
-
Now fill up your bellows and catch three swamp toads, then fill up your bellows again. Move to a clear area (south of Rantz's patch is a good place) to hunt your Jubbly.
-
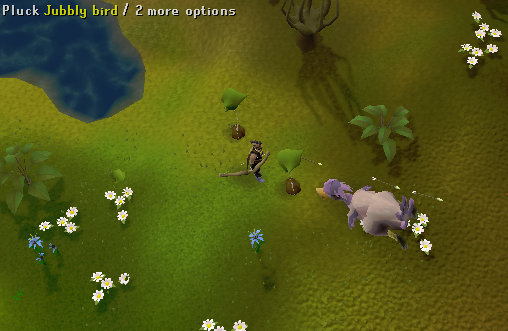
Now, go north of the place where you originally met Rantz. Mine a piece out of the rock a little north east from the cave entrance (marked with a symbol on mini-map) and then use the bellows on the same toad again while having a ball of wool and a rock in your inventory to make a new kind of chompy-bait. Drop them on the ground and move a fair distance away. When a Jubbly bird comes, range it with your ogre bow and pluck the carcass, and then pick up the raw jubbly.
-
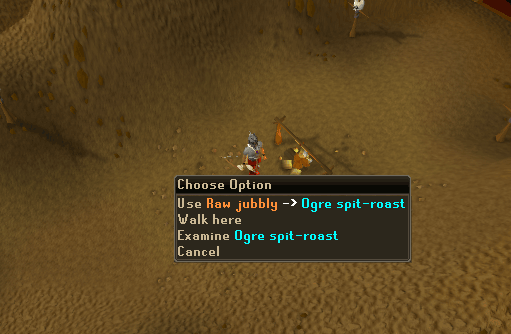
Cook the raw jubbly on Rantz's spit, as yours is too small.
-
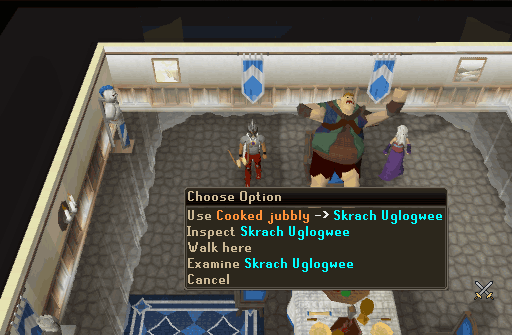
Finally, bring the cooked Jubbly back to Skrach Uglogwee.
Note: As a additional reward you will gain the ability to ride on Rantz's crude boat from the Feldip Hills to the Tai Bwo Wannai Village for the small price of two chompies. To go back to Feldip Hills you must pay two Snake weeds or two Rouges purses. It is advised to pay in Snake weed since it spawns near the boat.
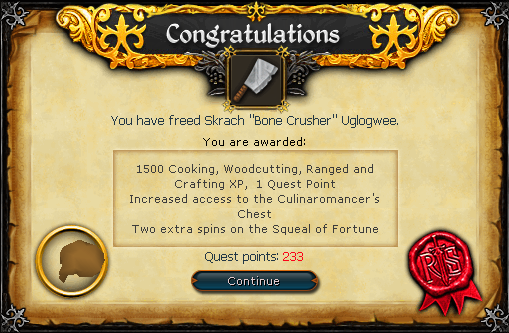
Congratulations! Sub-quest Complete!
Difficulty: Experienced
Length: Long
Requirements:
Must be able to defeat a level 227 monster
Must have completed the Lost City quest
Must have started the Legends quest.
Items Needed: Bucket of milk, Pot of cream, Raw sweetcorn, Hatchet, Machete, Pot, Raw chicken, Dramen staff, Pestle and mortar, Ice gloves or Anti-dragonbreath shield or anti-dragon potion (recommended), Weapon and Armour (recommended), Prayer potions (recommended).
Quest Points Reward: 1
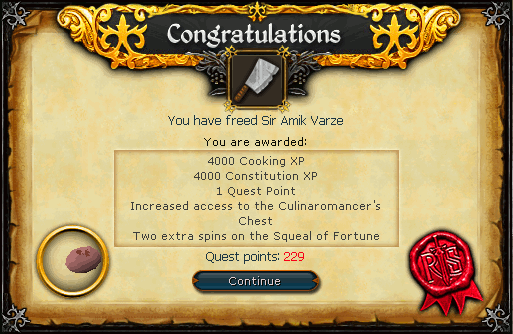
Reward: 4K Constitution and Cooking XP, access to the Evil Chicken's Lair , and 2 Treasure Hunter keys.
Start Point: Lumbridge Castle Banquet Room
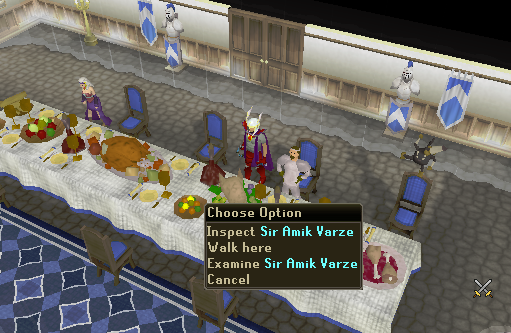
To Start: Inspect Sir Amik Varze
-
Inspect Sir Amik Varze and then talk to the Gypsy who in turn will tell you to speak to the Cook about how to make Sir Amik's creme brulee.
-
Use the milk with the cream to make a milky mixture. Then go to a mill (in Lumbridge or Zanaris), and use sweetcorn in the hopper to make cornflour. Use this with the milky mixture to make a cornflour mixture.
-
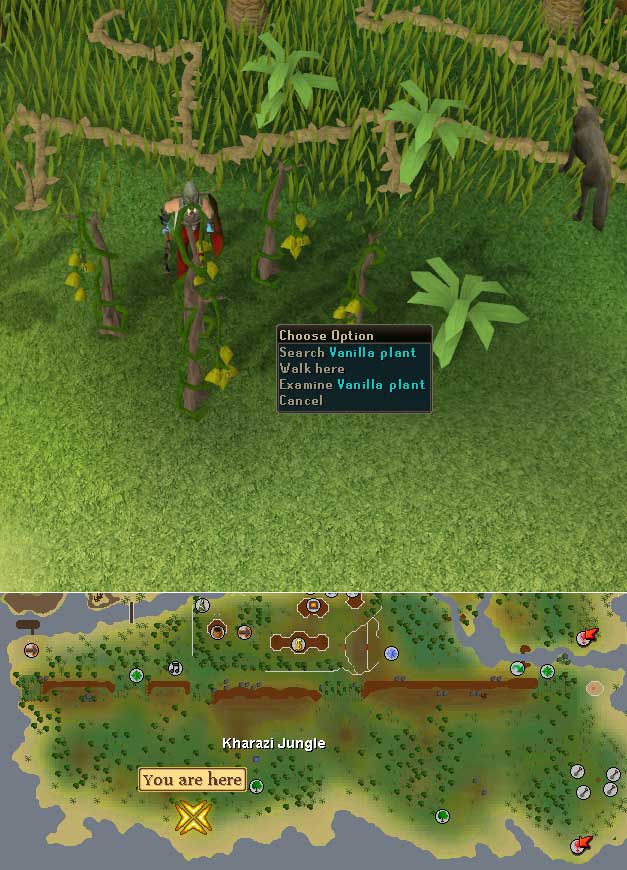
Go to the Khazari Jungle, south of Shilo Village. Pick a vanilla plant, found south of the pool of water on the south beach of the jungle, and add it to your mixture.
-
Store all armor and weapons in the bank, and withdraw a pestle and mortar and the mixture. Travel to Entrana and go to the northwest dungeon. Chop a branch off the Dramen Tree using the hatchet in your toolbelt. Use the pestle and mortar with the branch to make cinnamon.
-
Go to the Wise Old Man's house near the Draynor bank. Tell him you would like to ask him something. Then talk to him about strange beasts, specifically the Evil Chicken. He will tell you to look for it in the land of fairies. Make your way to Zanaris.
Note: For the next few steps you will need the following: a raw chicken, Dramen or Lunar staff, the mixture, anti-dragon shield, good armor, a good weapon, prayer potions, and some anti-fire potions.
-
Head to the shed in the Lumbridge swamp and equip your Dramen or Lunar staff. Enter the shed and you will be in Zanaris. Equip your weapon, armour, and anti-dragonbreath shield. Use your raw chicken with the chicken shrine right behind you to be teleported into the Evil Chicken's Lair.
-
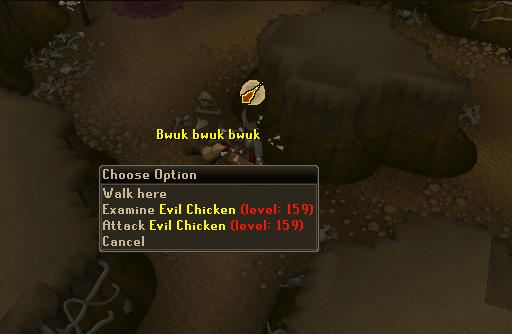
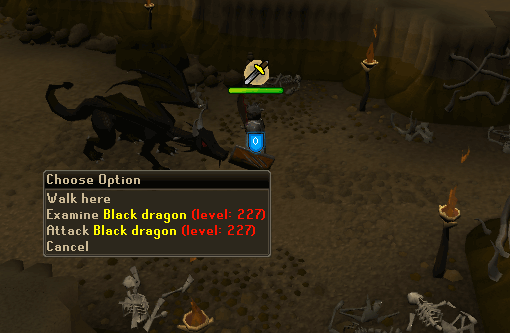
Turn on protect from melee (if you are able to) and run past the black dragons to the Evil Chicken in the back. Switch to protect from magic and kill the chicken. Take his egg and add it to the mixture.
Note: If you, for whatever reason, should die after you have defeated the Evil chicken, you will not be able to fight it again. Instead, search it's nest for an egg and use it for the mixture.
-
Turn on protect from melee and kill a Black dragon. Pick up the token it drops and leave the chicken's cave through the portal located South of the dragons.
-
Equip either Ice gloves (no damage), Anti-dragon shield or Anti-fire potion (some damage), or an Anti-dragon shield and Anti-fire potion (no damage), and withdraw the cinnamon. Use the cinnamon on the Brulee and then rub the token to make a fairy dragon appear. Ask him to flambe your creme brulee. He will breathe on it and the dish will be complete. If you did not use any of the items listed above, you will take very high damage from the dragon's breath.
-
Go back to the Banquet and use the Creme Brulee on Sir Amik Varze.
Congratulations! Sub-quest Complete!
Difficulty: Experienced
Length: Long
Requirements:
Level 70 Cooking
Level 48 Agility
Must have completed the Monkey Madness quest.
Items Needed: Knife, Pestle and Mortar, Rope, M'speak Amulet, 3 Greegrees (Ninja/Archer, Guard, and Zombie), a weapon, and 5gp. Antipoison is recommended.
Quest Points Reward: 1
Reward: 10K Agility and Cooking XP, access to the monkey Agility course, the ability to cook stuffed snake, the knowledge of the Ape Atoll teleport, and 2 Treasure Hunter keys
Start Point: Lumbridge Castle Banquet Room.
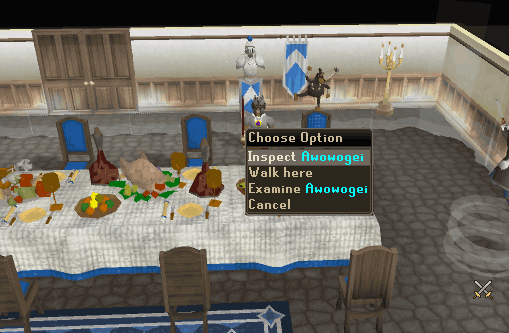
To Start: Inspect Awowogei.
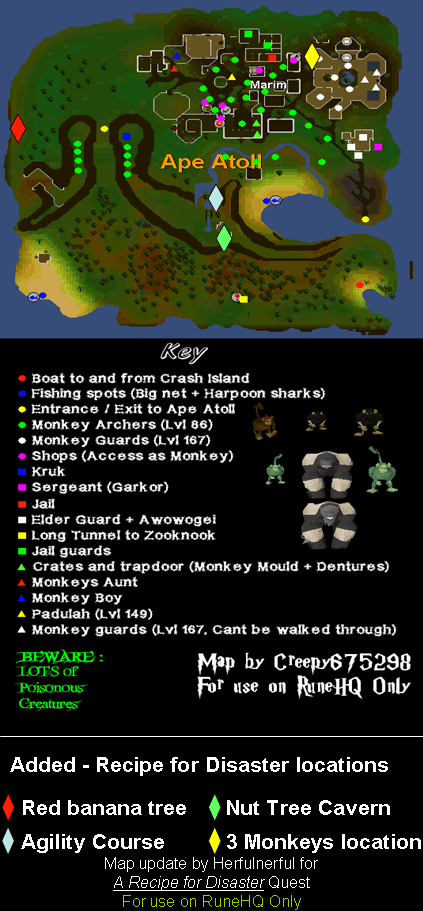
Map Reference:
-
When you inspect Awowogei the gypsy will tell you that she doesn't know what food to give him, so you must go to Ape Atoll and talk to him in his monkey form there.
-
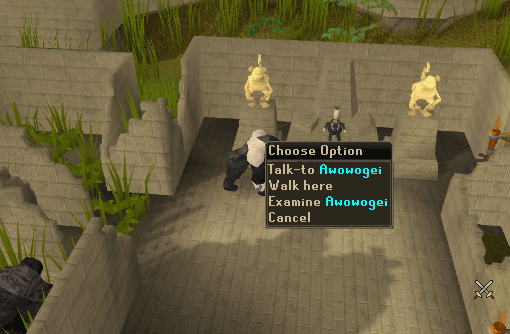
Go to Ape Atoll and ask Awowogei about his favorite food. He is in a building on the eastern part of the island, south of the building with the place you can recharge your prayer. He will not tell you but he mentions the Three Monkeys. They are located in the northwest corner of the temple just north of you.
-
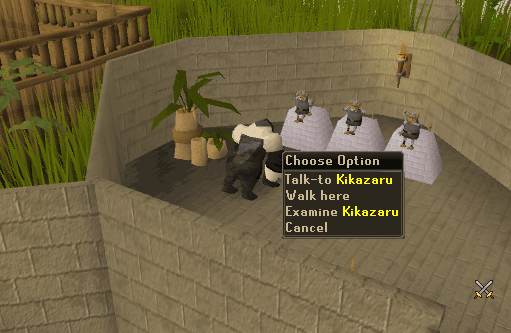
Go to these monkeys in the temple and talk to one of them, the others will join in. They will tell you that King Awowogei's favorite food is roasted giant snake stuffed with sliced banana and monkey nut paste. You will need a giant snake corpse, a banana, and some monkey nuts. All but the snake corpse are purchasable on Ape Atoll. Go west to the food store and purchase the banana and monkey nuts.
-
Return to Lumdo and go to Crash Island. Once you are on Crash Island, head east and go down the pit. Kill a big snake (level 92) and pick up its corpse. It is recommended to use protect from melee as it is a multi-combat area and there are a few of them down there.
-
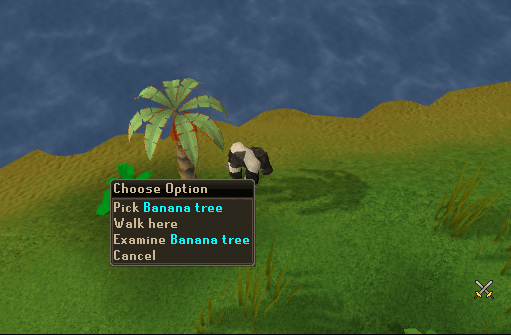
Now return to the Three Monkeys and they will tell you that your banana and nuts are of the wrong type. What you need is a red banana and some tchiki nuts. (You have to talk to them twice to get them to say this.) Transform into a guard monkey and go to the western part of the island and located the banana tree. Use a rope with the tree and pick a red banana. Drop that banana and pick another one so you have two.
-
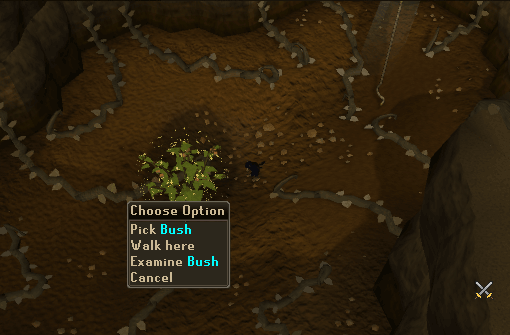
Transform into a ninja monkey and go south of town to the agility arena. Follow through the course and at the end there is a hole. Go down the hole and pick some tchiki nuts from the bush. Again, gather two tchiki nuts the same way you did with the red banana. Climb up the vine and return to the Three Monkeys.
-
Upon speaking to the monkeys they will confirm you have the correct items by eating them. Speak to the monkeys again and they will instruct you how to prepare your items.
Note: If you did not gather two of each item then you will need to repeat the last two steps.
-
Slice your banana with a knife and grind the nuts with the pestle and mortar. Then use them both on the snake.
-
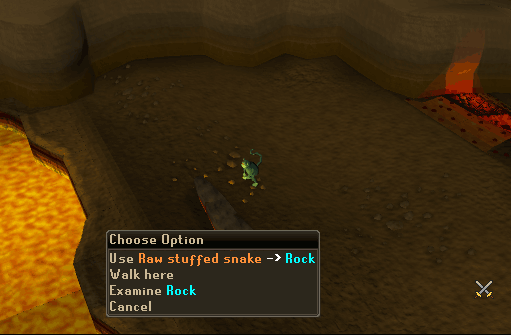
Transform into a zombie monkey and go down the trapdoor in the eastern part of the temple. Once there, go down the stairs and enter the 'exit' between the two flights of stairs. Walk over the lava and use the raw stuffed snake with the rock in the room.
Note: It is possible that you may burn the snake during the process, and will need to gather all the resources to reattempt cooking it successfully.
-
Finally, return to the banquet hall and use the snake on Awowogei.
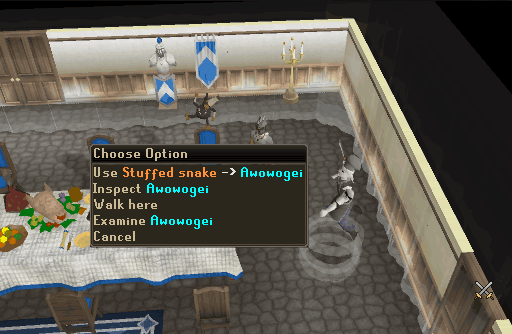
Congratulations! Sub-quest Complete!
Difficulty: Experienced
Length: Medium
Requirements:
176 QP
Must be able to defeat high leveled, tough monsters
Must have completed the Desert Treasure, Horror from the Deep, and all of the previous sub-quests.
Items Needed: Fighting equipment (recommended items mentioned in guide), lots of food, and some super restore potions.
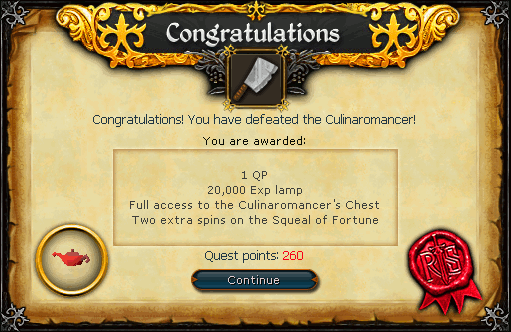
Quest Points Reward: 1
Reward: Full access to the Culinaromancer's Chest, an experience lamp granting 20k exp to your chosen skill that is above level 50, and 2 Treasure Hunter keys.
Start Point: Lumbridge Castle Banquet Room
To Start: Complete all sub-quests
Once you have completed all of the sub-quests you will watch a cut-scene, after this there will be a portal that you can go through to fight the Culinaromancer and his minions.
Prayers do not work in this room, so you will have to bring food. You will be able to exit after each fight if you wish to change equipment or restock on food. The following are recommendations, it is up to you what you should use when battling these monsters.
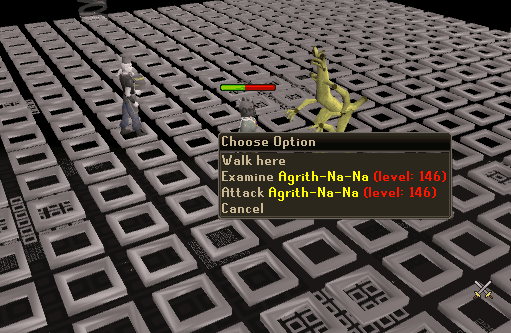
Battle I: Agrith-Na-Na
Agrith-Na-Na (level 89) is weak to bolts.
Setup Recommendation:
- Black or Royal d'hide
- Rune crossbow or above/Black salamander
- Super Ranging potion
- Adamant, Rune, or Broad-tipped bolts
- Lobsters or better
Drink your potions before you go through the portal. He is rather easy and you get a banana for beating him. After you have defeated him, exit the portal and go bank to prepare for the next stage.
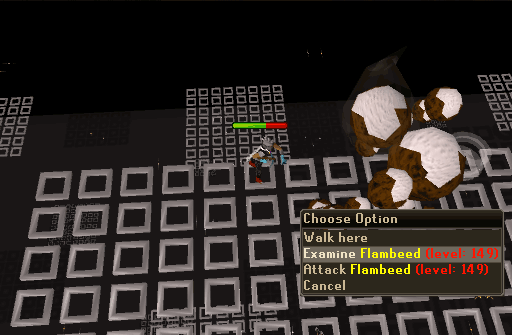
Battle II: Flambeed
Flambeed (level 89) is made out of hot cakes. This monster hits high in close combat and is weak to water spells (it is highly recommended to use ice spells as they stun him). You must wear ice gloves in order to beat this monster.
Setup Recommendation:
- Batwing armor or higher
- Batwing wand or a water staff variation
- Super Magic potions
- Runes for your highest water or ice spell
- Ice gloves
- Lobsters or better food
As with Agrith-Na-Na, drink your potions before going through the portal. He is capable of hitting 5000+ with melee, so try to avoid letting him get near you by simply running along the side, casting a spell, and then running again (this is where ice spells are useful as they will freeze him in place allowing you to deal more damage before running). If you do not wear ice gloves, the heat of the cakes will cause you to unwield your weapon. It will drop some cakes.
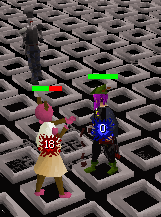
Battle III: Karamel
Karamel (level 89) uses stat reducing and freezing magic. She is weak to crush attacks.
Setup Recommendation:
- Black or Royal d'hide
- Level 60+ Crush weapon (Saradomin sword or Chaotic maul recommended)
- Super potion set
- 2 Super restore potions
- Lobsters or better food
Run up as quickly as you can, once you are in close combat it cannot hurt you. She will drain your adrenaline bar, your stats, and freeze you with her spells. Try to always keep your attack above your regular level by drinking super restore and attack potions when necessary. Eventually she will die and drop a choc ice.
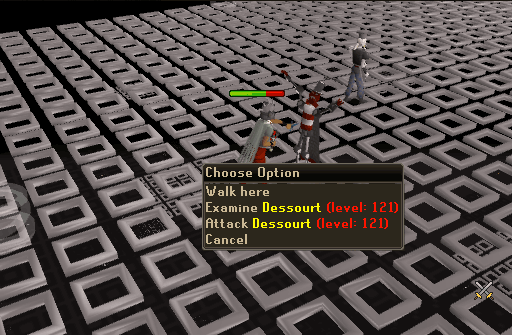
Battle IV: Dessourt
Dessourt (level 92) uses magic and melee. The magic hits rapid 50's each time though, so keep an eye on your health. He is weak to thrown weapons.
Setup Recommendation:
- Black or Royal d'hide
- Sagaie or knives
- Super Ranging potion
- Lobsters or better food
Drink your potions before going into the portal.
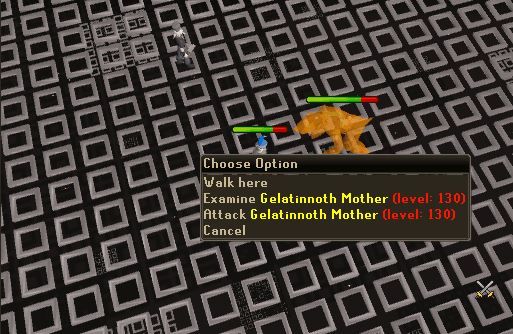
Battle V: Gelatinnoth Mother
The penultimate battle is against the Gelatinnoth Mother, which is a level 91 version of the Dagganoth Mother. It goes through a cycle of colours allowing attacks of certain style and elements to damage it. It starts out white, then changes color to blue, orange, brown, red, and green, then repeats the cycle.
Setup Recommendation:
- Batwing armor or higher
- Enough runes to cast 50 air, water, earth and fire blasts higher
- Sagaie or knives
- Dragon scimitar or Abyssal whip
- Super ranging and magic potions
- Lobsters or better food
When you fight it, cast spells using your menu instead of setting it to auto cast. The weaknesses for each color are as follows:
- White: Air spells
- Blue: Water spells
- Orange: Melee attacks
- Brown: Earth spells
- Red: Fire spells
- Green: Range attacks
Kill it using the attacks from the above list, but remember to watch your health as it is very easy to get carried away here and die.
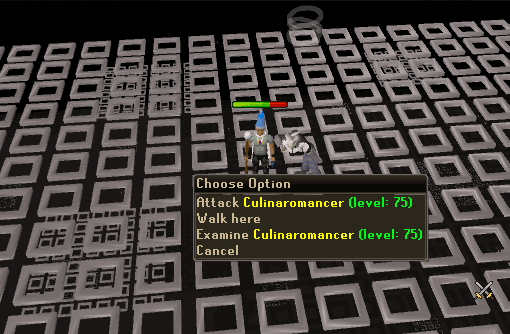
Final Battle: The Culinaromancer
Finally, you are but one enemy away from completing the longest quest in Runescape. You have to fight the Culinaromancer (level 98). He has no weakness and so you can deal with him however you wish. He attacks with both magic and melee, however and his magic is much stonger than the melee attacks and so it is recommended to use dragonhide armor.
Congratulations! You have completed the 100th quest of RuneScape!
This Quest Guide was written by sw1ndla, Fivestar24, SaxRox, Omertality, Cricket55416, and ChaoSpiritZ. Thanks to Brenden, Tenseiken, billy-bob, King-0wnage, T Hero T, yuan43, Maon Zhi, Demonichell, Phat Vanker, xi_panik_ix, Lightz, sksfrontiers, Creepy675298, Zevenberge, Jimmy839, nime9, Frostwing, Fireball0236, Jim694, axeking187, Thanos, Tiffany559, LogGamer, DarkBlitz,mEnter Rift1, Meowmix686, pieman611, darkalice, Gladrig_Thin, count earnil, duct1, Fuvvermukker, The Peleton, Skippmoonray, Aeriwyn, futuredude12, ape aaron, hellmage4492, Jeffer123, eucarya, Krohboy, ssricky, Herfulnerful, Im4eversmart, halk 5, Nuke-Marine, Andro_Girl, spartan1137, im_knoxville, aramegas, Fuzzballs, 0cinderpelt0, Munkey, Shaonic200, spikesummers, Chaosblade77, Alfawarlord, dopod, Senug5, KalphiteKing, Siber170, xlair, macowinner, Drgn_tonbery, jeroenie22, CaptainPwn, Stdavid555, tonystfn, Power0fchaos, arrazzan, pkmyselfnow, QueenSteffieand, Elminstrel, DarkAdvisor, Zidane3838, ECV_Kyle, Javezz, Elrel, Zombiesk8ers, and Mr Style, nashorslayer, Windrazor112, Jarkur, Rose Evil, Gogoman, Dokter Doos, Wisearrow933, and DarkPyroNinja for corrections.
This Quest Guide was entered into the database on Wed, Mar 15, 2006, at 04:33:34 PM by Im4eversmart, and it was last updated on Sat, Apr 06, 2019, at 08:13:08 PM by 3ter1.
If anything is incorrect or missing, or if you have any new information to submit to this database, please submit it to us on our Content Submissions Forums.
If you see this guide on any other site, please report it to us so we can take legal action against anyone found stealing our content. This guide is copyrighted by RuneHQ, and its use on other sites is expressly forbidden. Do not ask if you can use our guides or images, the answer is and always will be NO!
Print this page with images - Back to the Quest Guide Index Page - Back to Top
