

| 6 Ecto-tokens (or 3,900-12,300 coins for chartering ships) | Nettle tea | Bucket of milk | Needle (toolbelt works) | ||||
| Thread | Silk | Knife (toolbelt works) | 3 Blue dyes | ||||
| 3 Yellow dyes | 3 Red dyes | Spade (toolbelt doesn't work) | 500 Coins | ||||
| Oak shieldbow | Bucket of slime | Ghostspeak amulet |
-
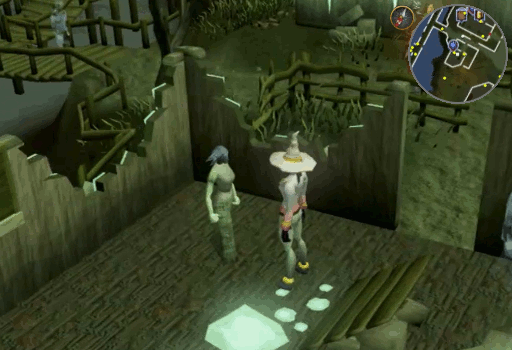
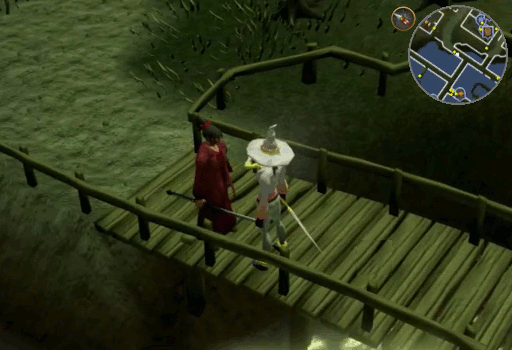
Make your way to Port Phasmatys, East of Canifis. Pay the toll of 2 Ecto-tokens to enter the city. Once inside, head to the small house East of the gate and talk to Velorina inside. Ask her about the history of the town; she will tell you the story of the port and that she and other villagers are unhappy because Necrovarus is not allowing them to pass on to the next world. Agree to help her and she will suggest you speak with Necrovarus.
Note: The easiest way to reach Port Phasmatys is via Fairy Ring code A-L-Q or by chartering a boat. If you choose to charter a boat you will not have to pay the 2 Ecto-tokens to enter, however it will still cost you at least 1,300 coins if you travel there from Port Sarim.
-
Leave the city through the Northern gate and talk to Necrovarus in the Ectofuntus. Ask him to release the ghosts. He will refuse to do it and say that you never should return.
-
Return to Velorina, via charter or Ecto-tokens at the gate, and tell her what was said. She will then tell you of her friend who once was a disciple of Necrovarus, but spoke out against him and fled.
-
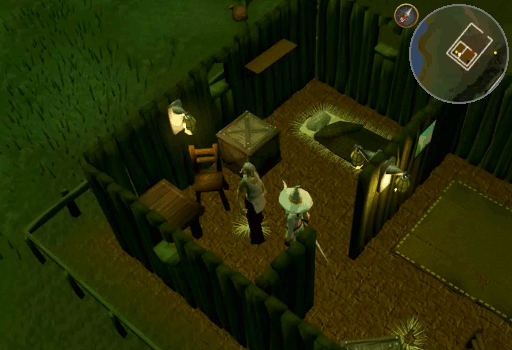
Teleport to Canifis and walk North West toward the Slayer Tower. On the East side of the tower you will find a home with and Old Crone inside. Step inside and speak with her about Necrovarus. She will tell you that she is in need of a cup of Nettle tea to refresh her mind.
Offer her the Nettle tea and she will say that she needs it in her special Porcelain cup. Use the Nettle tea with the cup and talk to her again. Still not satisfied, she will say that she wants milk with it. Use a Bucket of milk with the Cup of tea and give it to her. Now that she has her Cup of milky tea, she will be able to recall the days she was a disciple of Necrovarus.
After lamenting that she hadn't done more, she will tell you that you can temporarily control Necrovarus by enchanting your Ghostspeak amulet, but it will only have one charge. To accomplish this, you will need to gather three items: the Book of haricanto, the Translation manual, and Mystical robes.
Speak with her again and ask if there is anything you can do for her. The Old Crone will tell you about her long-lost son. She will then ask you to find him and give you a Model ship, that belonged to her son. Repair this ship using the Silk, Thread, Needle, and Knife.
-
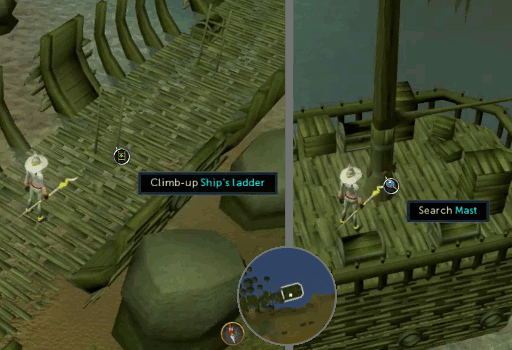
Walk to the old pirate ship North West of the Ectofuntus (North of the farming patch) and enter it through the hole in the hull. Climb up one of the ladders to reach the deck. On the main deck, walk East towards the cabin and climb up one of the ladders attached to the outside wall. Now on the top deck, search the mast when the wind speed is low to learn the colors of the flag's top, bottom, and skull; If you look in the top of your screen you will see a box that indicates the wind speed. Use the dyes one at a time with the Model ship to dye it. Each time, you will get a menu asking to which part you with the apply the color.
Note: The colors differ from player to player, and some colors can be made as follows by mixing appropriate dyes:
- Blue + Red = Purple
- Yellow + Red = Orange
- Yellow + Blue = Green
-
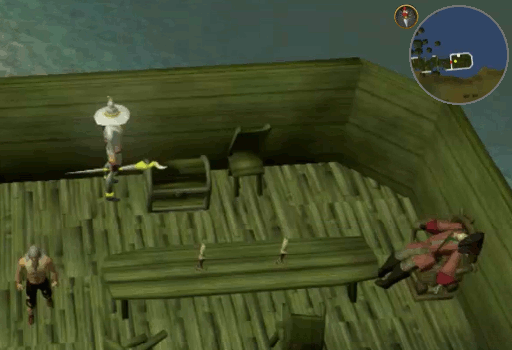
Climb down one of the ladders to the main deck and enter the cabin. Ask the Old man if the Model ship was his. If you have dyed it correctly he will say it is his. Ask him for the Chest key and he will give you it. Open the chest in the cabin using the key and search it to obtain a Map scrap (1).
-
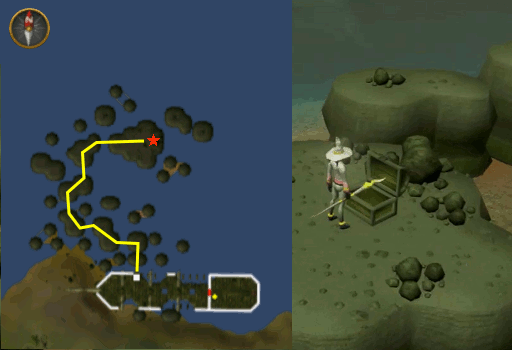
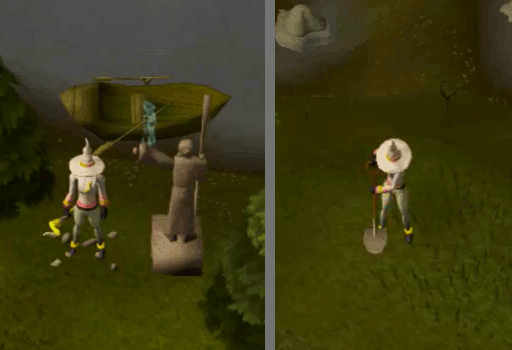
Exit the cabin and cross the gangplank on the West end of the ship to a series of jumping stones. When successfully jumped, you will gain 20 Agility experience; If the jump is failed, you will be dealt up to 400 damage. Jump your way across the stones to a stone with a chest. Open and search it to receive a Map scrap (2).
-
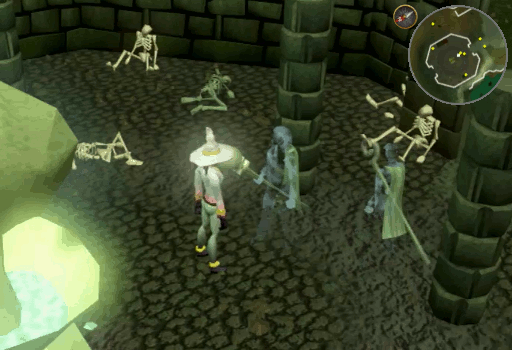
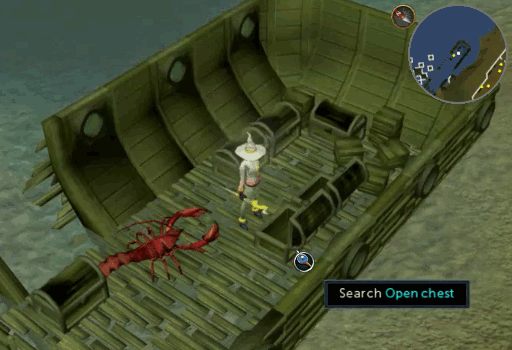
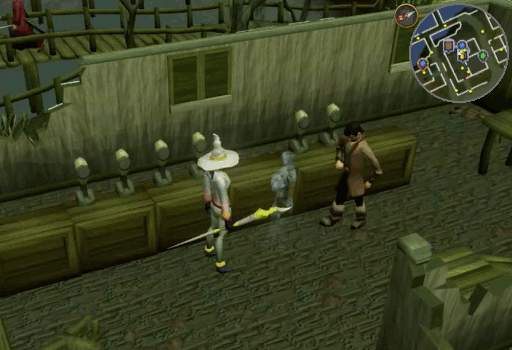
Return to the ship and climb down the ladder. Search the chests to the East until a Giant lobster appears. Kill it and search the exact same chest again to get the third Map scrap. Use the scraps on each other to make form a Treasure map.
-
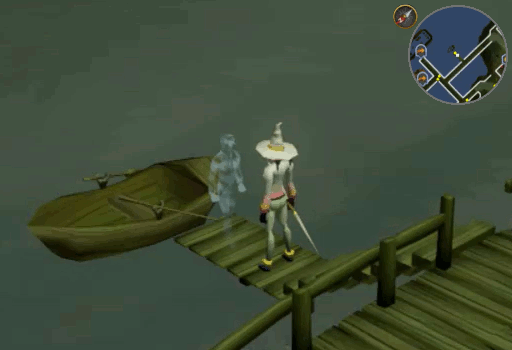
Enter Port Phasmatys once again, via charter or Ecto-tokens at the gate, and go to the Southern part of the docks. Speak with the Ghost captain and he will take you to Dragontooth island.
-
When you have made it to the island, stand West of (in front of) the Saradomin statue. Right-click the map and read it to learn the route to the treasure.
- 6 South
- 8 East
- 2 North
- 4 East
- 22 South
-
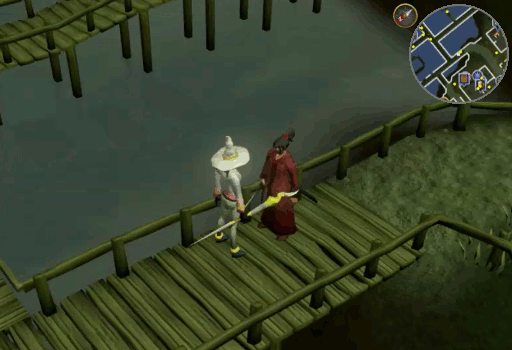
Back in Port Phasmatys, talk to Ak-Haranu wandering around the docks East of the pub. He will tell you that he will give you the Translation manual if you can get your hands on an oak bow signed by Robin.
-
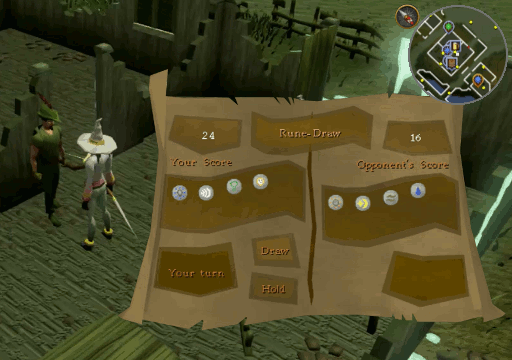
Go to the port's pub in the center of the town and talk to Robin about an autograph. He will say that he no longer does autographs and will then challenge you to a game of Rune-Draw. Accept the challenge and you will give him 25 Coins for each round. Rune-Draw is a very simple game, simply click "Draw" and hope that you receive some good runes. The one with the highest points wins, but whoever draws a death rune automatically loses. An Air rune is worth 1 point, Water 3, Earth 4, Cosmic 7, Chaos 8, and a Nature rune is worth 9 points. Keep playing until you win 4 times and he owes you 100 Coins. You will then threaten to tell the ghosts of his scam. To pay off his debt and to prevent you from telling the ghosts, he will sign the Oak shieldbow
-
Take the Signed oak bow to Ak-Haranu and he will give you the Translation manual.
-
Now return to the pub and ask the Ghost Innkeeper for a job. He will give you a Bedsheet and tell you to hand them over to Robin. Dip the Bedsheet in a Bucket of slime to turn it into a green ghostly disguise.
Note: If you do not have a Bucket of slime at your disposal, then simply use the Bedsheet with the pool of slime in the basement of the Ectofuntus. This green Bedsheet cannot be worn outside of Port Phasmatys.
-
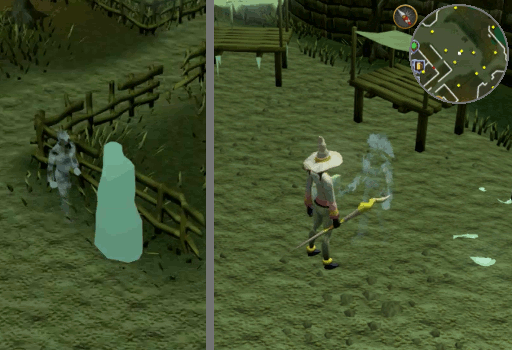
Step outside of the pub and speak with Gravingas, found just South of the Northern gate. Agree to help him and he will give you a Petition form to collect 10 signatures. Put on the Bedsheet and ask the ghosts in the city to sign it for you. Some of them will tell you to go away, some will sign it, and some will ask for 1-3 Ecto-tokens; Simply pay them or ignore them and move on. When you have gathered the 10 signatures, show the Petition form to Gravingas and he will tell you to show it to Necrovarus.
-
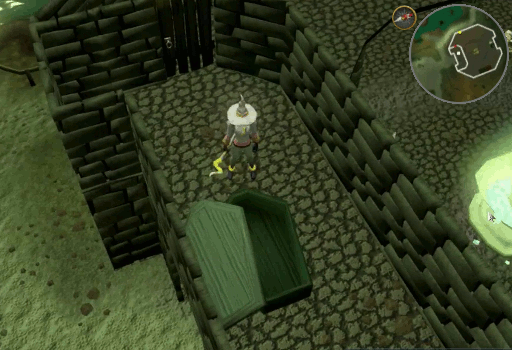
Exit Port Phasmatys and walk into the Ectofuntus. Show Necrovarus the Petition form. He will be furious and turn the petition into Ashes. In his anger, he will drop a Bone key. Pick up the key and walk up the nearby stairs. On the second floor, use the Bone key to open the door to the room on the South side of the building. Inside the room, open and search the coffin in it to obtain the Mystical robes.
-
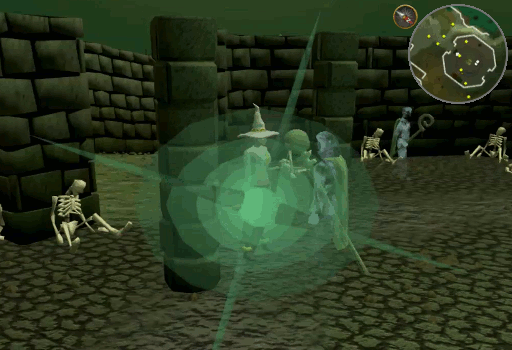
Return to the Old Crone and give her the 3 items so she will enchant your Ghostspeak amulet. Equip the Ghostspeak amulet (enchanted) and head back to the Ectofuntus. Speak with Necrovarus and command him to give the ghosts free will to leave to the other side. From now on the guards will let you pass for free. Report back to Velorina to receive your reward.
Congratulations! Quest complete!
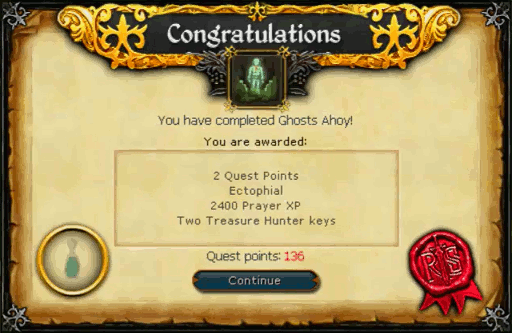
Ectophial:

By emptying it, the Ectophial allows you to teleport directly to the Ectofuntus. Upon appearing at the Ectofuntus, you automatically refill the vial for the next use. If you lose or drop it, you can retrieve it by talking to Velorina. Do note that you cannot have more than one Ectophial at a time. Velorina will sense if you have one in your bank.
This Quest Guide was written by ChathMurrpau. Thanks to Previous guide writers: MuH-K0o0o and Alfawarlord, as well as Scamfighter, DRAVAN, Chaosblade77, Andro_Girl, Fireball0236, Pingu Head, Xtarminator0, Watsermetjou, fieldy409, DeadCorpse99, Giac Jr, meowmix686, Im4eversmart, sheep01, Firk, trekkie, Kazan Jonni , Blaol_tride, March1392, Tim8607, carduel, jubala, Realruth, The-Smore, Lord_Zekka, Kittyhawk816, DarkAdvisor, Pizza Steeve, sonic ya, Jarkur, Alk12, and Meshes for corrections.
This Quest Guide was entered into the database on Wed, Feb 16, 2005, at 04:11:39 AM by pokemama, and it was last updated on Sun, Mar 17, 2024, at 04:07:23 AM by KsbSingle.
If anything is incorrect or missing, or if you have any new information to submit to this database, please submit it to us on our Content Submissions Forums.
If you see this guide on any other site, please report it to us so we can take legal action against anyone found stealing our content. This guide is copyrighted by RuneHQ, and its use on other sites is expressly forbidden. Do not ask if you can use our guides or images, the answer is and always will be NO!
Print this page with images - Back to the Quest Guide Index Page - Back to Top
