

| Food | Armor | Weapon |
-
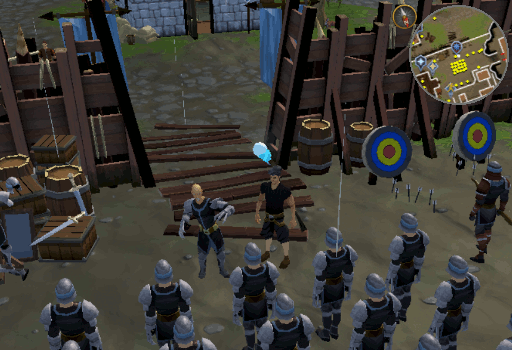
Travel to Burthorpe and speak with Commander Denulth at the Imperial Guard training camp, Easy of Burthorpe Castle. He will ask you to help him find another way up the Death Plateau and suggests you pay a visit to Sabbot, an old dwarf.
-
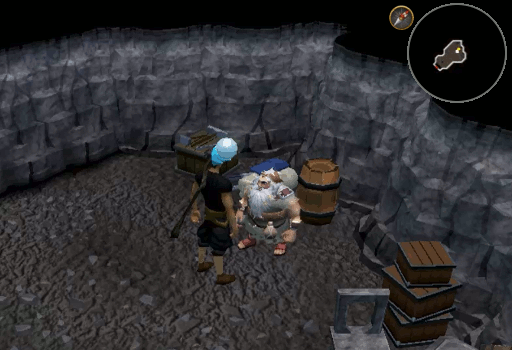
Head North past the Troll Invasion fortifications and into a cave to the North. Once inside, tell Sabbot that you have been sent to look for a route to the Death Plateau and will not move until he helps you. Eventually, he will tell you that you need to break into one of the natural caves to find a way, but does not know the location of it. He then suggests that his wife Freda may know more.
-
Exit the cave and walk North West up the path until the road forks. Take the left fork onto the ramp and then follow the path South until you get to a house. Speak to Freda and go through all of the conversation options until she asks you to have Dunstan repair her Climbing boots. Agree to help her and, while you are gone on this errand, she will work on a copy of the survey of the area.

-
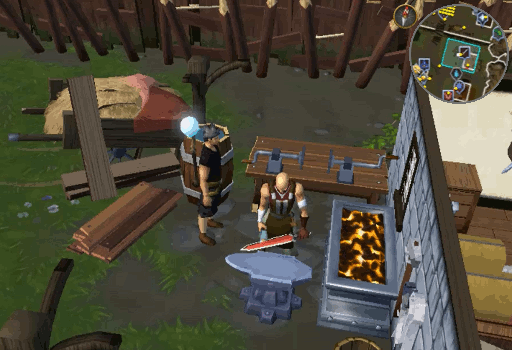
Head to Dunstan, East of the Burthorpe Lodestone, and ask him if he can put some fresh spikes on these Climbing boots. He will re-spike them and hand you the Spiked boots.
Note: If you happen to have your own pair of climbing boots with you too, you will lose both pairs. It's suggested to either drop or bank the pair you're wearing before asking Dunstan to put spike on the pair Freda gave you.
-
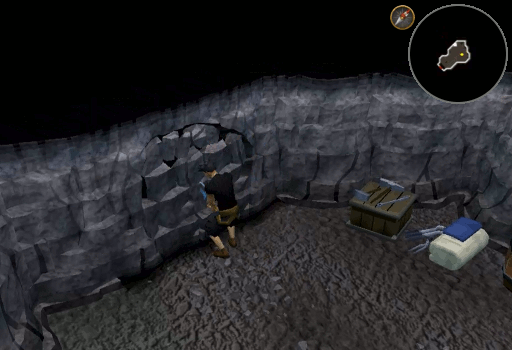
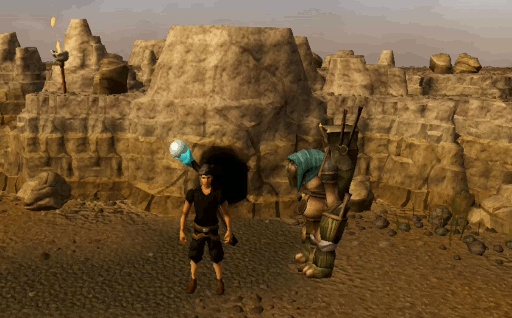
Take the boots back to Freda and she will give you the Survey. Read it to notice that it is a map of Sabbot's cave. Return to the cave and mine the West wall to open up a cavern.
-
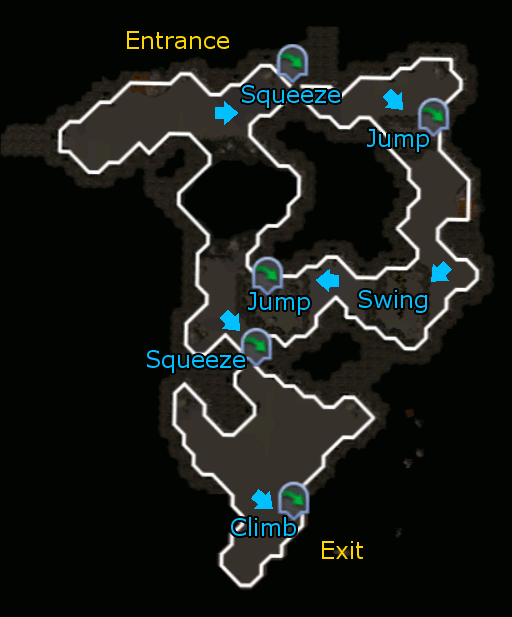
Attempt to enter the cavern and Sabbot will give you 4 Rabbit sandwiches. Once inside of the cavern, jump down the cliffside and then squeeze through the gap to the East. Run further East and jump across the crevice to the South. Once across, swing on the rope to the South. Now, jump across the stepping stones to the West and squeeze through another gap to the South. Once you have squeezed yourself through the gab, climb the cliff to the South and exit the cavern through the hole in the East wall.
-
When you have exited the cavern, a cut scene will occur in which you talk about ambushing the trolls while a troll named The Map approaches you. Tell him that he should prepare to die and then kill him.
-
Return to Commander Denulth and tell him that you discovered a spot where the trolls can be ambushed. A cut scene will occur in which you will take the lead of the ambush.
Congratulations! Quest Complete!

Additional Rewards:
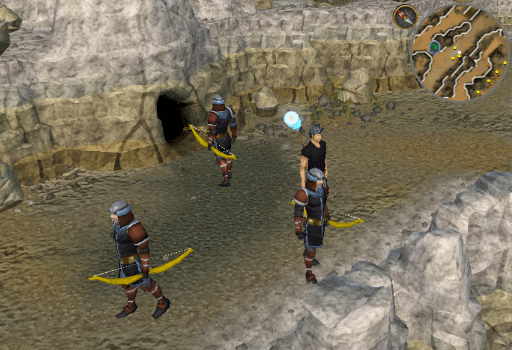
After the quest, you can speak to Commander Denulth again and he will give you an assignment to deliver a box of Supplies to the archers on the cliff overlooking the Death Plateau. To deliver this box, pass through the same cavern in Sabbot's cave as before. Once you have reached the area where you encountered The Map, you will notice an Ambush Commander and some Archers. Give them the supplies and you will be rewarded with 3 Reward lamps, each granting 180 experience in the skill of your choice. You can repeat this assignment up to 5 times.
This Quest Guide was written by ChathMurrpau. Thanks to previous guide writers: Im4eversmart, leaderofdarkness, and Alfawarlord, as well as Henry_n, Nitr021, Bingo_324, Chaosblade77, coolcat-tap, EverettP, dragoon889, Klukers345, QueenSteffie, Mr Style, Mustang, and Davidfanning for corrections.
This Quest Guide was entered into the database on Mon, Aug 09, 2004, at 10:33:21 PM by xxtigurxx, and it was last updated on Fri, Nov 01, 2019, at 10:34:16 AM by Alk12.
If anything is incorrect or missing, or if you have any new information to submit to this database, please submit it to us on our Content Submissions Forums.
If you see this guide on any other site, please report it to us so we can take legal action against anyone found stealing our content. This guide is copyrighted by RuneHQ, and its use on other sites is expressly forbidden. Do not ask if you can use our guides or images, the answer is and always will be NO!
Print this page with images - Back to the Quest Guide Index Page - Back to Top
