

81 Magic
74 Summoning
67 Dungeoneering
40 Divination
Additional Rewards:
10k bonus Xp in a skill of your choice (see Step 8)
Talk to the sunken Mysterious statue (see Step 9) after the quest to obtain 25k bonus Xp in any skill (requires completion of Ritual of the Mahjarrat).
-
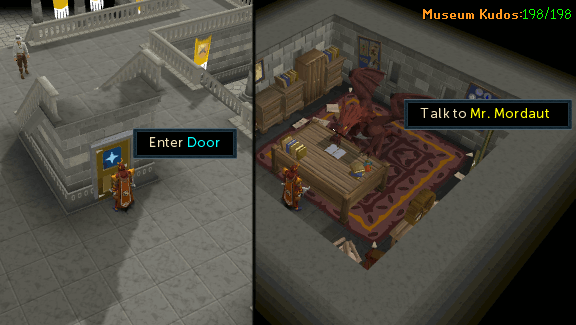
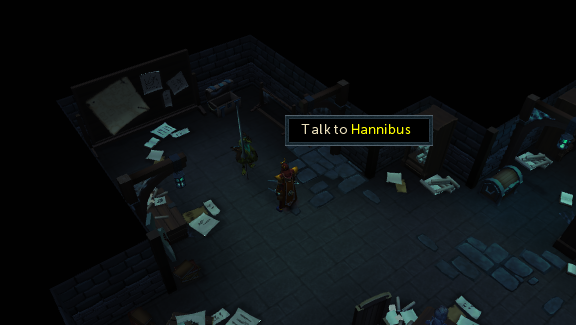
Talk to Mr. Mordaut in his room through the door in the basement staircase of Varrock Museum and ask him about One of a Kind. He'll tell you that he has an interest in the history of the Dragonkin and recently discovered the final journal of a Dragon Rider named Hannibus. This journal may lead to Hannibus' location and Mr Mordaut wants you to investigate. Accept and he will give you a journal entitled Hannibus Hunted.
Read the journal and talk to Mr. Mordaut again. He'll say that he thinks the Mahjarrat Enakhra found Hannibus and turned him into a statue to offer as a gift to Zamorak. He'll then mention that Robert the Strong once discovered a statue that is likely to be Hannibus and took it to his library. He'll now ask you who you think might know some information. Suggest Bob the Cat since he is the reincarnation of Robert and Mr. Mordaut will ask you to find him.
-
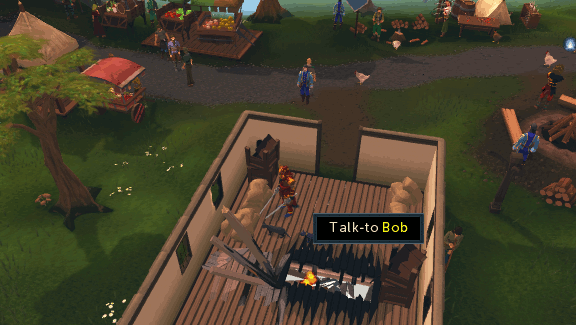
Use your Catspeak amulet (e) to locate Bob and ask him about finding the library of Robert the Strong. He'll tell you that he doesn't remember anything about his past life and that he's now just a cat with a human to look after. Ask him about this human and he'll tell you that Unferth is his pet and that his house has always felt like home. Say that you'll take a look at the house.
-
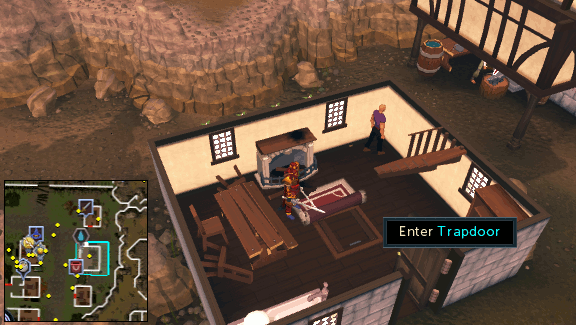
Head to Unferth's house, southeast of Burthorpe castle, and tell him that you want to search his house for a hidden library. Investigate the bookcase, table and fireplace and you'll end up somehow breaking them. Unferth will now shout at you and say you'll want to rip up the carpet next, which allows you to then remove it. Do so and you'll reveal a hidden trapdoor.
-
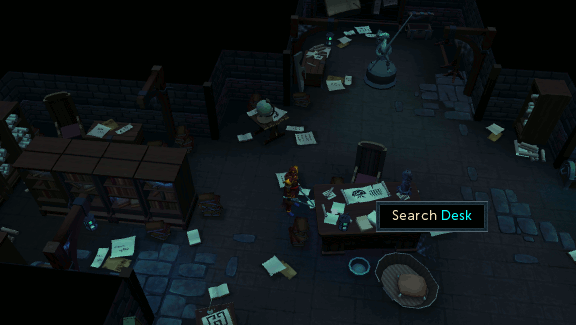
Enter the trapdoor and you'll now find yourself in Robert's library. Search the desk in the center of he room and you'll read a book entitled 'Animate Rock Notes' which contains information on how to create a spell to animate rock. Robert found all parts of the incantation and one of the items required, but the second item requires the riddle on the second page to be solved.
-
Investigate the weapon rack next to the stairs and choose to take some rust to get a bottle of Iron oxide. Use this on your Emerald to get an Animate Rock scroll. Stand next to the statue at the south side of the room and investigate it to find that it appears to be far too detailed to be a real statue. Read the scroll and you'll perform the incantation, setting Hannibus the Dragon Rider free.

-
Now talk to Hannibus to learn that he is from the Second Age and at that time his people, the Ilujanka, were dying out. However, at some point Zaros came to their world and promised a solution to the affliction in return for their service. Once in Gielinor, they discovered that they were able to charm Dragons and so became the dragon riders of Zaros' army. Once done, ask him 'What now?' and suggest that he try to return home. When he asks how, choose the option to search the library for a possible method of transportation between worlds.
-
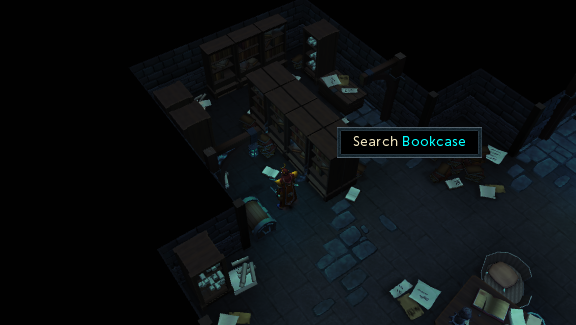
Search the bookcases to find a Dragonkin Primer, which allows you to translate Dragonkin text if you toggle it, and some information regarding strange statues located around the world that could have something to do with how the Dragonkin arrived in Gielinor from Kethsi. Also search the map behind Hannibus to find the names of several locations named in the Dragonkin language which will then be added to the primer and translated.
-
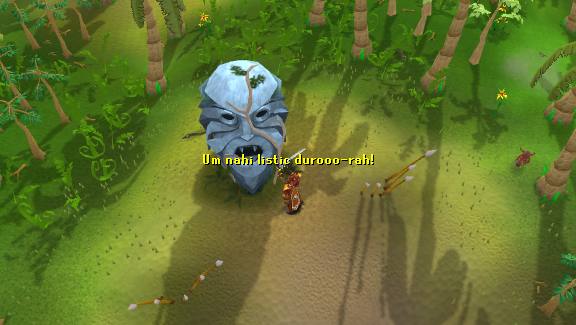
When you find the first statue, stand next to it and read your Animate rock scroll to animate it. The statue will ask what race you are, so say human and the statue will mention something about an entity known as 'The Sleeper' and that there were once many statues positioned in a circle around The Sleeper's location. However, the majority of them have been destroyed or turned away from their original position over the centuries that they've existed. Choose to turn the statue in the correct direction and it will tell you some more about their history and relation to the TokHarr and Elder Gods. Once the conversation has ended, find a second statue and choose to just turn it in the right direction. You can now either find the location they are gazing at or turn the remaining two statues to receive 10,000 bonus experience in a skill of your choice.
Statue Locations:- East of Seers' Village bank.
- West of Brimhaven POH portal.
- North of the Tower of Life (Fairy ring code D J P).
- Southeast of the Fishing Guild entrance.
-
The statues' gaze points to the location of the 'The Sleeper' as being on Entrana, so head to Port Sarim and use the bank deposit box next to the monks on the northern dock to store any armor and weapons you're carrying. Travel to Entrana and walk around to the northwest side of the island. You'll see another Mysterious statue partially submerged in the sea. Read the scroll once more and the statue will warn you about the power of the Dragonkin and tell you some more information about the history of the Creators.

-
Now look at the first page of your primer and you should find that three words in the phrase have been translated as 'Dragon Forinthry Dungeon'. Bank all of your items other than the Dragonkin primer and make your way to the Forinthry dungeon, found northeast of the Dark Warriors' Fortress in the Wilderness (remember to watch out for Player Killers that may be in the area).
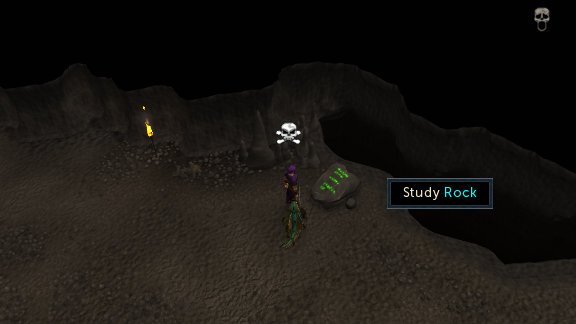
Once inside the dungeon, head directly east and you'll be asked if you want to continue the quest; say yes. Hannibus will now speak to the Green dragon. It tells him that the Dragonkin once visited the dungeon to study them and wrote some runic letters on a stone in the room. Study the rock in the southeast corner of the room and you'll add a new clue to your primer which translates the words 'South Dungeon Brimhaven'.
-
Before going to Brimhaven, get some combat equipment and food for fighting Iron dragons (preferably Mage equipment and don't forget dragonfire protection!). Find the dungeon entrance northwest of the Karamja lodestone and pay Saniboch 875gp to enter Brimhaven Dungeon. Once in the dungeon, head south to the Iron and Steel dragon room and at the entrance you'll be prompted to continue with the quest again. Hannibus will try to talk to a Steel dragon, but needs some time to calm it down first. You'll now have protect him by killing three Iron dragons. When they're dead, the Steel dragon will tell Hannibus that the Dragonkin infused dragon eggs with liquid metal to create the metal dragons and that there is writing on the wall near the Resource dungeon entrance. Search the wall next to the Mysterious entrance to add another clue to the primer which translates the words 'Dragonkin dungeon'.

-
Dragonkin dungeon refers to the Queen Black Dragon, so head to the Grotworm lair west of Port Sarim. Go down to the bottom floor and investigate the Summoning portal to the QBD's chamber to once more be prompted to continue the quest. Once inside, you will find the Queen is asleep and Hannibus will contact her through her dreams allowing you to question her safely. Ask her about the Dragonkin and she will tell you that they stole her children and locked them in a dungeon on Dragontooth Island.
-
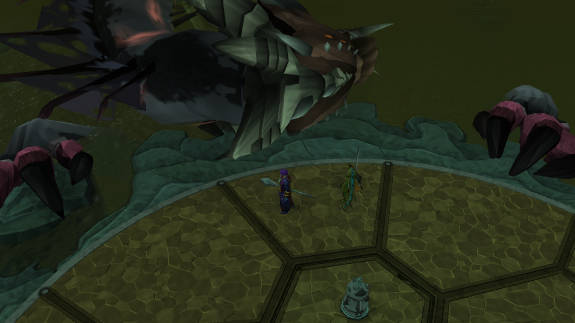
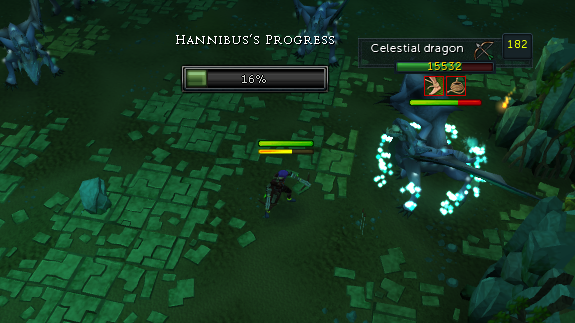
Before heading to Dragontooth Island, make sure you have a Ghostspeak amulet and equip yourself with Ranged equipment, also restock on food if required. Now travel to the island via the Ghost captain in Port Phasmatys and enter the Mysterious entrance on the south side. Inside the dungeon you will find a new species of dragon called Celestial dragons. Hannibus will tell you that these dragons are insane and he will need you to engage one in combat and keep it alive for as long as possible to give him time to understand and influence them. Attack one of the dragons and when it locks you in time, wait until it heals fully before attacking it again. This should give Hannibus plenty of time to reach 100% progress.
Once done, Hannibus will talk to the dragon and find out that its eggs were infused with power from the abyss and that it offered no information on how to travel between worlds. However, he did see a vision of a white dragon passing through portals between worlds and he'll tell you to visit the King Black Dragon for more information.
-
Note: You will need combat equipment and food for the next steps, but make sure it is not something you are willing to lose as you will have to briefly enter the Wilderness.
Go to Edgeville and use the Artefact found at the Wilderness ditch northwest of lodestone to access the King's lair. Once inside, Hannibus will question the King about the White dragon and he will reveal that she is known as Therragorn and is the last of her species. He will then offer to teleport you to her hiding place deep in the Wilderness.
-
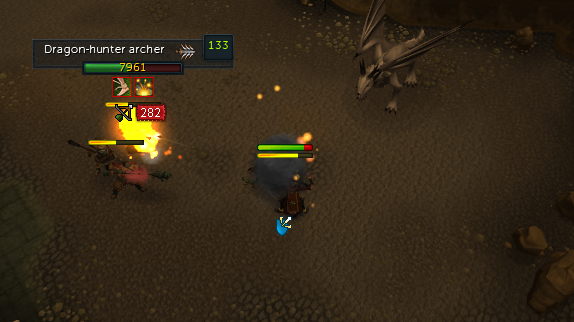
Enter the Mysterious entrance and you will find Therragorn. Tell her to trust Hannibus and ask her if she can help him to get home. She will begin to question him about his homeworld, however during the conversation a group of three Dragon-hunters (level 92-94) will enter the dungeon claiming to have followed you. Kill them to protect Therragorn and after a further short conversation, she will fly you and Hannibus away to safety in a short cutscene. However, while over Daemonheim she will be hit by a fireball and crash land.
-
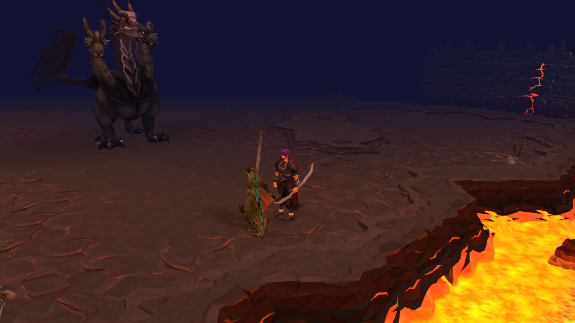
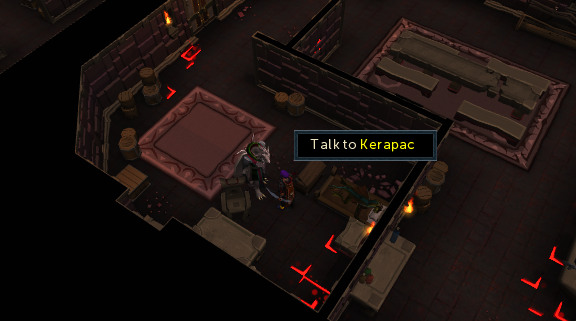
You'll now wake up within one of the floors of Daemonheim and be confronted by a Dragonkin named Kerapac. Go through the chat options and ask him about your companions. He'll inform you that Therragon is probably dead and Hannibus is alive, but badly injured and in need of assistance. However, Kerapac will only provide this assistance in return for a favour.
Agree to help him and follow him to find a room containing another Dragonkin named Strisath locked in a cage. Kerapac will inform you that Strisath was once a philosopher, however the power of the Stone of Jas has driven him mad over the years. Kerapac believes that your power as the World Guardian can be used to reverse these effects by harvesting wisps and using the memories on Strisath.
-
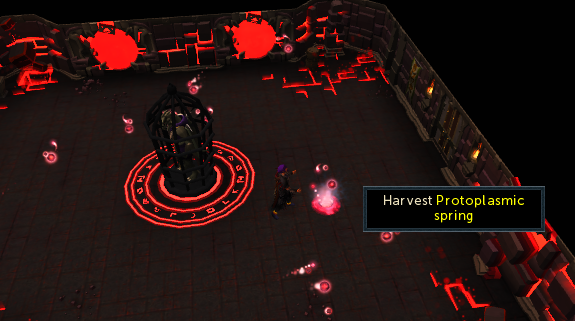
Kerapac will now open the portals in the room, allowing Protoplasmic wisps to enter. Harvest 25 Dragonkin memories from these wisps and channel them into the cage, then talk to Kerpac and he will offer to send you into the contruct when you are ready.
-
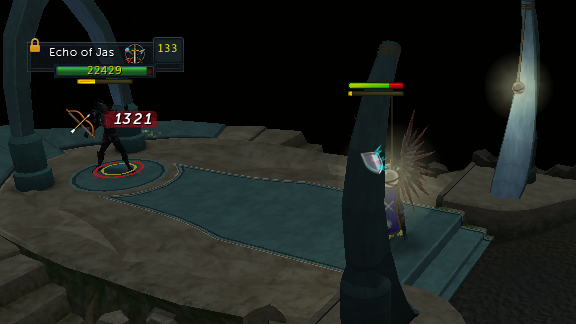
The construct appears to be the Shrine of Guthix and you'll find an Echo of Jas there in the form of a level 133 mage. After a short conversation, the echo will attack you. If you die while fighting the Echo of Jas, you can return to the fight by transporting to Daemenheim. There is a structure southwest of the entry near Talsar where you can talk to Kerapec and return to the battle.
It is surprisingly easy to kill for a level 133 and only uses basic magic abilities. Occasionally a 'False User' will appear and use a special attack. Saradomin will heal the Echo, Zamorak attacks you with a bleeding effect attack, and Lucien launches a powerful ball of energy at you. To avoid these, simply kill them as soon as they appear (they only have 1 life point each).
-
When you've finished off the Echo of Jas, talk to it and you'll return to Daemonheim and find that Hannibus is fine. Kerapac will now offer to experiment with Hannibus to try and find a cure for the afflication his people suffer, however this may take many decades and is not guaranteed to be successful. Hannibus will now ask for some time to think about it and requests that you take a walk with him.
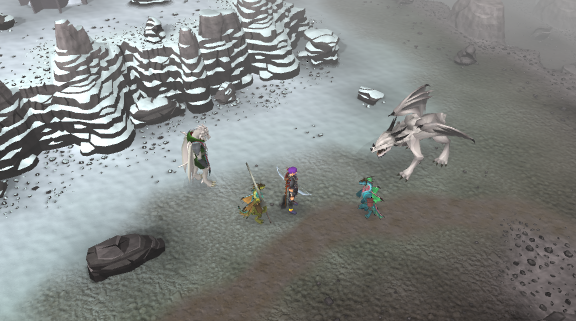
Once outside, you'll find that Therragorn survived the attack and visited Hannibus' homeworld to bring back his great-granddaughter, Sharrigan. He informs Hannibus that the decline of their people is still occurring, but they have now accepted their fate and are ready to pass on to the next world. You now have the choice of convincing Hannibus to go back to his world with Sharrigan or stay in Gielinor and try to find a cure with Kerapac.
Congratulations! Quest Complete!
Additional Rewards:
10,000 bonus Xp can be gained in any skill by rotating all four of the Mysterious Statues. This can be done during or after the quest.25,000 bonus Xp can be gained in any skill by talking to the Submerged Statue on Entrana after the completion of Ritual of the Mahjarrat
This Quest Guide was written by Javezz. Thanks to CapuDie, Mr Tudjay, iJuicyMango, Josh Davis, Lt Jean Paul, Amoa, Anihalation, and Sumurai8 for corrections.
This Quest Guide was entered into the database on Mon, Mar 10, 2014, at 07:53:12 PM by Javezz, and it was last updated on Tue, Oct 15, 2019, at 10:49:56 AM by Alfawarlord.
If anything is incorrect or missing, or if you have any new information to submit to this database, please submit it to us on our Content Submissions Forums.
If you see this guide on any other site, please report it to us so we can take legal action against anyone found stealing our content. This guide is copyrighted by RuneHQ, and its use on other sites is expressly forbidden. Do not ask if you can use our guides or images, the answer is and always will be NO!
Print this page with images - Back to the Quest Guide Index Page - Back to Top
