

-
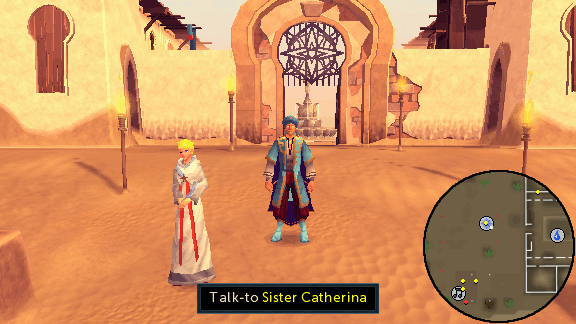
Travel to Al Kharid and leave the city through its eastern gate. From there, head further east past the Desert strykewyrm area until you reach the abbey. Talk to Sister Catherina, right outside of its entrance gate, who suggests that you speak with Abbess Benita inside the abbey.
Note: The easiest way to reach Al Kharid is by using the Al Kharid lodestone, the Amulet of glory (4) teleport option, or the Ring of duelling (8) teleport otion. If this is the first time you set foot on the ground of the abbey, you will be stopped by the Strykewyrm hunter when you walk past him. He will recommend to turn on your music settings, if it's not the case already, as this quest is rich musically and vocally.
-
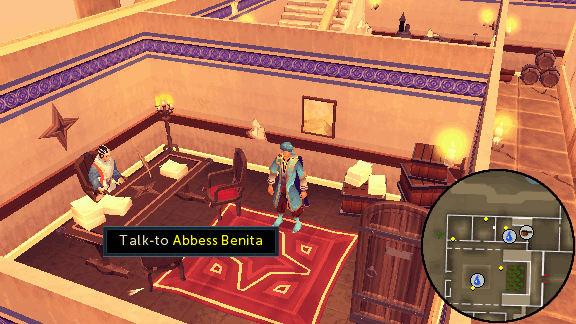
Enter the abbey and talk to Abbess Benita at her desk in the northern quarters. She will explain to you that a member of the abbey, Sister Anna, has been murdered and ask you to investigate the matter. The abbess will suggest that you take a peek in Sister Anna's cell and give you Sister Anna's cell key. She will then ask you to question possible suspects around the abbey and to keep track of the
murder investigation in an Investigator's notebook.
-
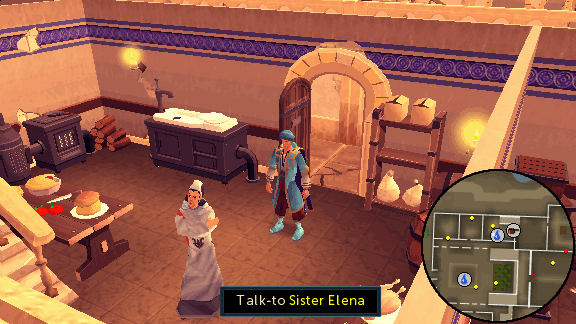
Start the investigation by questioning Sister Elena in the room just to the east of the abbess. Use all of available conversation options to discover 3 clues.
- Sister Elena disliked Sister Anna. She claimed that Sister Anna argued with Abbess Benita.
- Sister Elena claims she was in the kitchen at the time of the murder.
- Sister Elena claims that food has been stolen from the cellar.
-
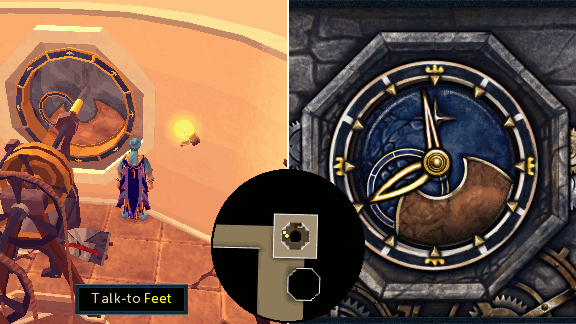
Head east up the stairs and then follow the spiral stairs two stages up to a room with a clockwork machinery. Talk to the feet sticking out from under it and say you are an adventurer. The sister will ask you to set the right time on the clock. Operate the clock mechanism south of her feet to set the timer 20 minutes further so that the clock shows 12 o'clock. Close the window and the abbey bell will ring. Now ask Sister Debora all of the available questions to obtain the following 2 clues.
- Sister Debora claims she was in the clock tower at the same time of the murder.
- Abbess Benita was planning to retire and Sister Anna would have succeeded her as Abbess.
-
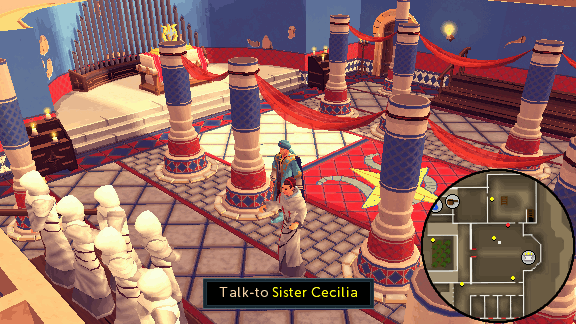
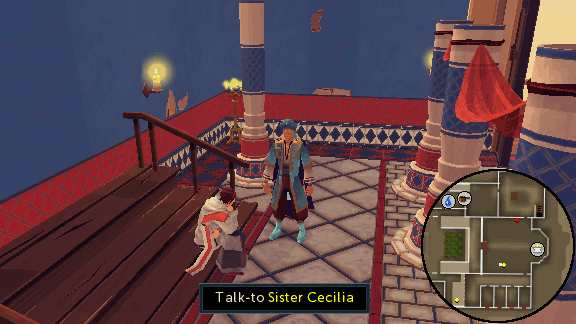
Climb down the spiral stairs and head into the chapel to the south. Inside, you will find two sisters to question. Start by interrogating Sister Cecilia, who is directing the chapel's choir, about the murder to obtain 3 clues.
- Sister Cecilia's hymn is to Saint Elspeth.
- Sister Cecilia claims she was in the oratory at the time of the murder.
- Sister Cecilia told me about the Ripper demon.
-
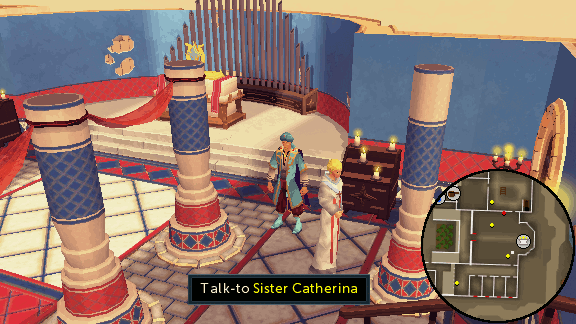
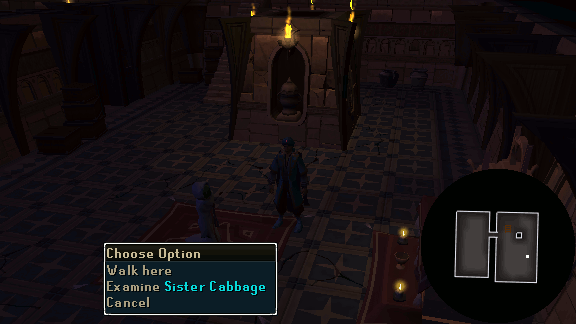
Move on to Sister Catherina, who is in the chapel as well south of the altar, and question her to obtain 2 more clues.
- Sister Catherina claims she was in the scriptorium at the time of the murder.
- An applicant visited the abbey recently but disappeared.
-
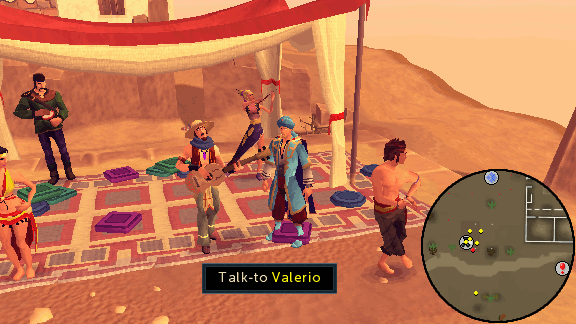
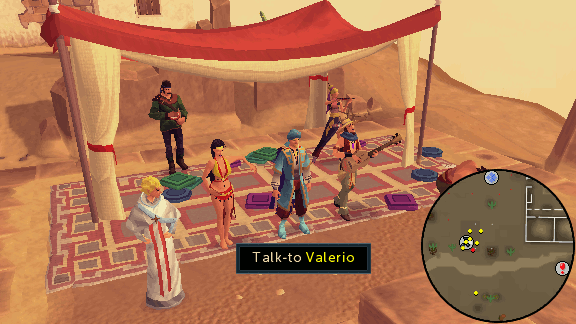
Leave the abbey through its gate and walk southwest towards the camp with dancers and a musician. Interrogate Valerio the musician to discover 3 new clues.
- Valerio claims he was in Al Kharid at the time of the murder.
- Valerio's love song.
- Valerio had a history with Sister Anna.
-
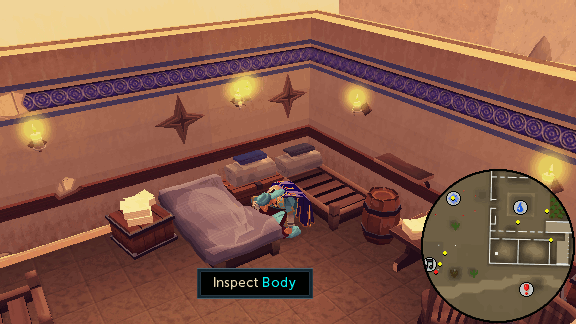
Return to the abbey and enter the infirmary, the most southwestern room. Inspect Sister Anna's body to obtain 4 more clues.
- Facial mutilations.
- Blunt wound on the back of the victim's head.
- Stab wounds in the victim's chest.
- Victim's feet mutilated.
-
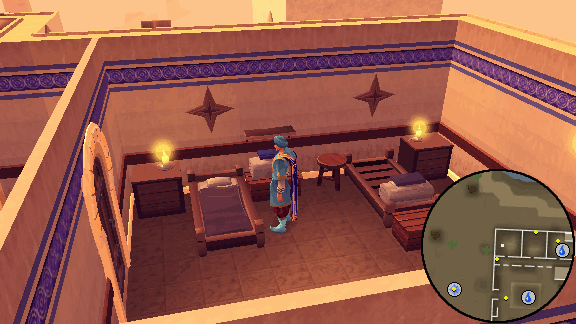
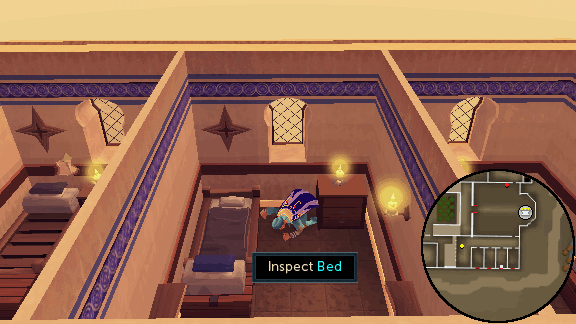
Now, it is time to take a peek into Sister Anna's cell. The rooms of the sisters are found south of the chapel, in the southeast corner of the abbey. Enter Sister Anna's cell, the most western cell, using Sister Anna's cell key. Inspect her bed, to obtain a Cloth fragment, and her window to discover 2 new clues:
- Cloth fragment under Sister Anna's bed.
- Sister Anna's window was broken from the inside.

-
Report back to Abbess Benita and ask her about the Cloth fragment you have found. Then, question her about applicant to discover that the applicant was Isabella and that she had stayed in the room just west of the abbess. Enter Isabella's room and search the bed just in front of the room's entrance to obtain another Cloth fragment and a clue.
- Cloth fragment under a bed in the applicant dormitory.
-
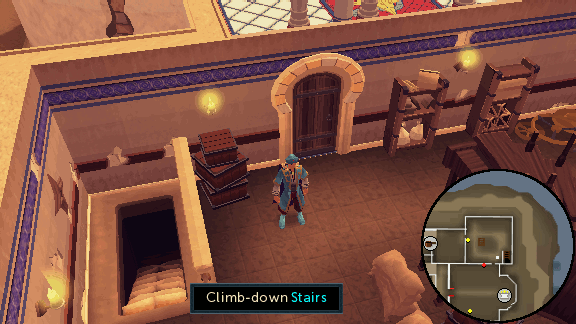
Return to the Abbess Benita once again and inform her that you have finished investigating for now. When she asks you to tell her who you suspect, make a choice and you will hear a scream. The abbess will request that you follow the sound of the screams to find out what is going on. Head to the northeastern room via the chapel, since the door to the kitchen has been locked, and descend down the stairs into the cellar.
-
You will find Sister Cecilia crying over the corpse of Sister Elena. Abbess Benita will appear and ask you to look into Sister Elena's death, just as you did for the murder of Sister Anna. Start by investigating the bloodstains and the body to obtain the following 6 clues.
- Second victim's body moved from the reliquary to near the stairs.
- Stab wounds on the second victim's body.
- Claw marks on the second victim's arms and hands.
- Second victim's face not mutilated.
- Scratches on second victim's feet.
- Wound on the back of the second victim's head.

-
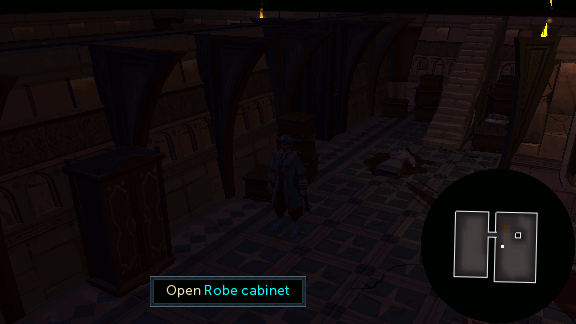
Still in the cellar, open and search the robe cabinet to the south of Sister Elena's corps to discover a clue
- Killer may have hidden in the robe cabinet.
-
Return to the surface and enter the chapel to question Sister Cecilia, who is now sitting on a bench in front of the choir, to obtain a new clue.
- Sister Cecilia claims she saw the Ripper demon.
-
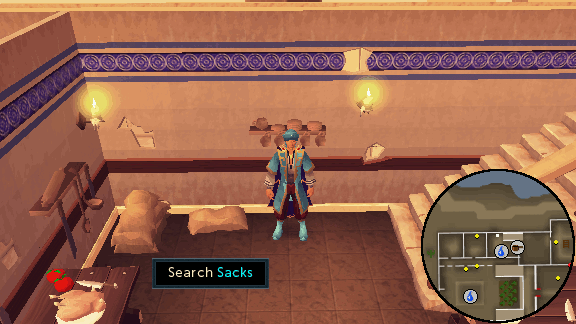
Run into the kitchen, northwest of the chapel, and search the sacks along the northern wall to discover a hole in the wall and obtain a clue
- Secret passage from the kitchen to outside the abbey.
-
Once again, talk to Abbess Benita and ask her for the Key to Sister Elena's room. Head back to the rooms south of the chapel. From west to east, Elena's cell will be the third room. Search her bed to find a bundle of Letters and read them to obtain another clue.
- Love-letters between Sister Elena and Valerio.
-
Leave the abbey and question the musician Valerio, at the camp southwest of the entrance, about Sister Elena to obtain the clue below. Report back to Abbess Benita and interrogate her about Sister Elena and Valerio. Then, inform her that you have finished your investigations for now and tell her whom you suspect. After you have made her choice, she will announce that the abbey needs to be secured and ask you to bring Sister Catherina, who is dancing near Valerio, back inside the abbey.
- Valerio confirms he was seeing Sister Elena.
-
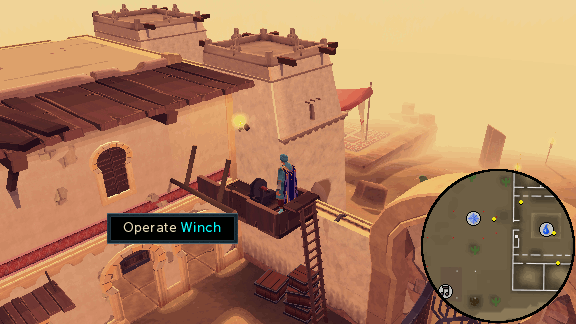
Return to the troubadour camp and ask Sister Catherina to come back with you to the abbey. She will agree as long as you dance with her first. Comply with her request and then tell her again that Abbess Benita wants her to return to the abbey. A cut scene will occur in which Sister Catherina is locked outside and murdered right as you enter the abbey. Climb up the ladder near the entrance gate and operate the winch to open the gate
-
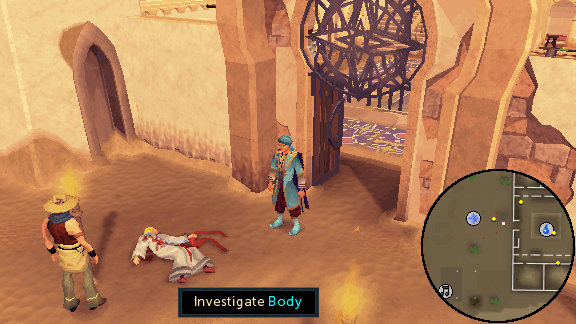
Climb back down the ladder and investigate Sister Catherina's body. Valerio will mourn over her death and Abbess Benita Abbess Benita will approach the corpse. She will request that both of you meet her in her office for an urgent meeting. Return to the Abbess' office and speak with her and Valerio in order to devise a plan to catch the killer. Pick a suspect and suggest to lay a trap for the killer using another potential new victim as bait. Then, tell the abbess that they were all associated with Valerio. The musician will suggest that you create a dummy victim, and the abbess will instruct you to put the plan into action.
-
Begin by picking a Cabbage from the patch in the center of the abbey and head back to the cellar. Now, move the candelabrum, north of the reliquary, and you will place it on the floor. Put the Cabbage on top of it and then search the robe cabinet to the west for some Citharede robes. Use the Citharede hood, Citharede robe top, Citharede robe bottom, and Citharede symbol on the candelabrum to complete the dummy victim.
-
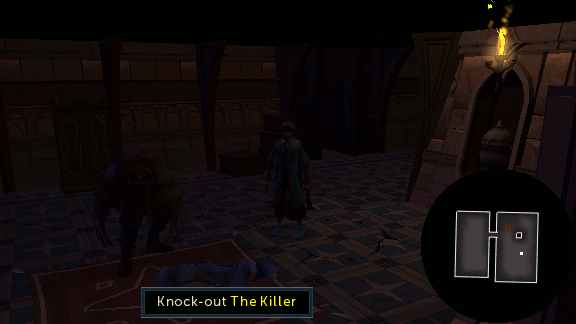
Once done, hide inside the robe cabinet to wait for the killer. A cut scene will occur in which the killer appears and attacks the dummy. Then, attempt to knock-out the killer and he will run away up the stairs. Head to the abbey's entrance, and another cutscene will occur. The killer will now run away to the chapel. Follow him inside and another small cutscene will occur.
-
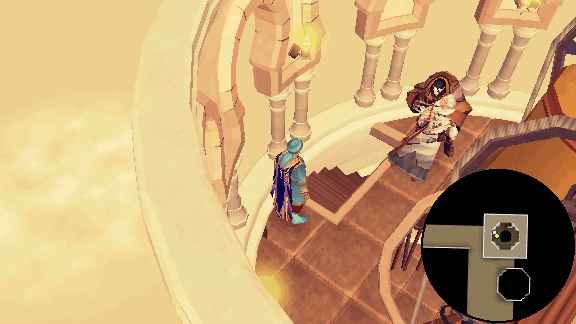
Climb up to the top floor of the clock tower, north of the chapel, to discover that the killer is Sister Anna. Go through all the conversation options and then go down one floor. Operate the clock mechanism and move the arrow back until the clock shows 12 o'clock. Return to the top floor and ask Sister Anna if she can hear the bell ring. After a short cutscene, you will find Sister Anna laying on the floor. Talk to Sister Debora who will then leave. Talk to Sister Anna and pick any option on how to treat her. You will either throw her off the tower or let her jump.
-
Speak with Abbess Benita and choose to reveal that either Sister Anna or The Ripper demon was the murderer.
Congratulations! Quest Completed!
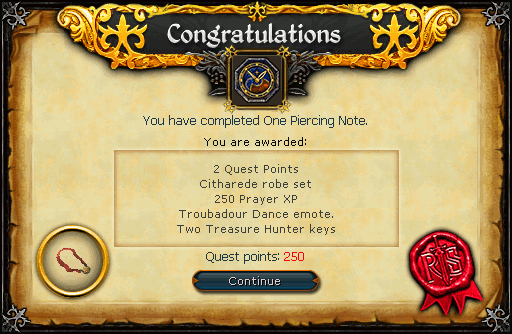
Additional Rewards:
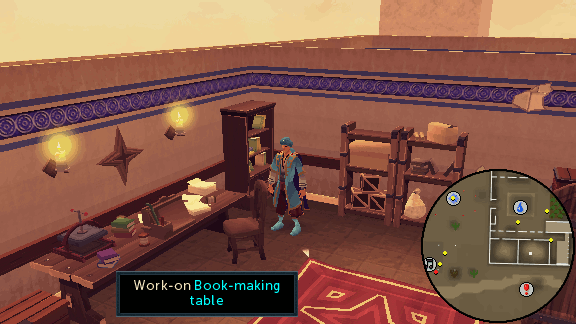
With 60 Crafting and 60 Prayer illuminated god books can be created by using a completed god book on the book-making table in the scriptorium, in the southeast corner of the abbey. Follow the instructions in the correct order: copy the text, embellish the initial capitals, add color, and finally add a gold leaf. One book require up a total of 800 Prayer points to be created (200 points per option). If you do not follow the instructions in the correct order or if you try to perform any of the options with less than 200 points, you will have to start again. You can recharge your prayer points at the nearby altar in the chapel.
Once you have copied the book, you gain an illuminated version as well as retaining the original. For the first illuminated book of each type, you will receive 10K Crafting XP and 10K 60 Prayer XP (potentially 60K XP in both Crafting and Prayer if you have the Saradomin, Zamorak, Guthix, Armadyl, Bandos, and Zaros god books). Illuminated god books have a +3 prayer bonus over their previous version.
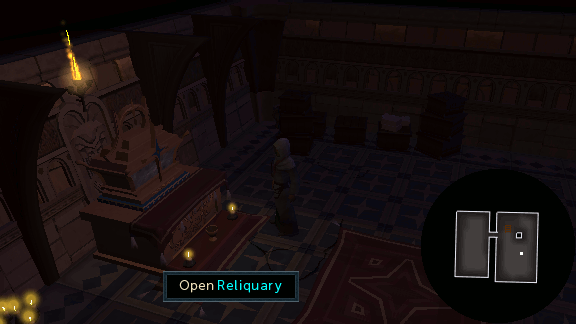
Upon completing the quest, you can obtain the Saint Elspeth's Holy cithara and 50K Prayer by searching reliquary in the cellar of the abbey. You must be wearing nothing else besides 6 Saradomin items along with a Ring of visibility and a Ghostspeak amulet/Cramulet in order to obtain it. Make sure you have full prayer points (Normal spellbook only), full energy, and nothing in your inventory. If you do not meet these requirements when attempting to obtain the cithara, lighting will strike and leave you with only 1 Life point left.
This Quest Guide was written by Ralkal and Capudie. Thanks to Mistress Vane, Zidane3838, Numerous One, Tenseiken, Steve, Alfawarlord, and Jarkur for corrections.
This Quest Guide was entered into the database on Mon, Nov 07, 2011, at 08:14:05 PM by Double_D_Edd, and it was last updated on Wed, Jan 17, 2018, at 10:40:16 PM by DRAVAN.
If anything is incorrect or missing, or if you have any new information to submit to this database, please submit it to us on our Content Submissions Forums.
If you see this guide on any other site, please report it to us so we can take legal action against anyone found stealing our content. This guide is copyrighted by RuneHQ, and its use on other sites is expressly forbidden. Do not ask if you can use our guides or images, the answer is and always will be NO!
Print this page with images - Back to the Quest Guide Index Page - Back to Top
