

While Guthix Sleeps
Hazeel Cult
Enakhra's Lament
Slug Menace
Fairy Tale Part III - Battle at Orks Rift, A
Tail of Two Cats, A
Rocking Out
Fight Arena
-
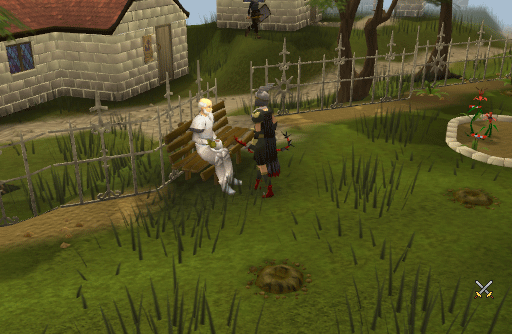
Head to Falador park and speak to Sir Tiffy Cashien sitting on the park bench. Ask him about the Ritual of the Mahjarrat and he will inform you of the worrying information from his contact, Sir Tendeth, currently located in The Other Inn on Mos Le'Harmless.
NOTE: If you accept the quest and continue with the conversation Sir Tiffy will offer you a free teleport to Mos Le'Harmless. If you walk away after starting the quest you will have to make your own way to the island. The fastest way to do this is the Ectophial teleport to the Ectofuntus, followed by Captain Teach's ship from Port Phasmatys.
-
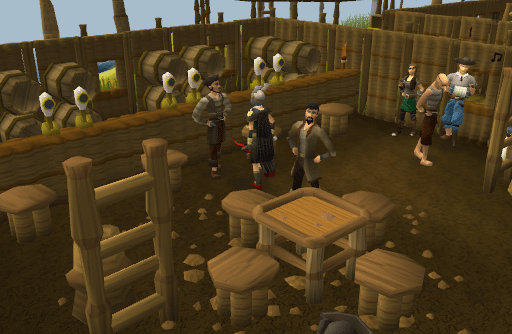
Speak to Sir Tendeth in the inn and he will tell you that this has nothing to do with pirates but a greater foe. A small cut-scene will occur once you select to continue with the quest.
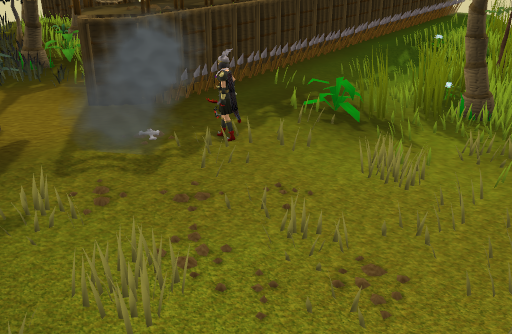
- Head north towards the jungle to try to discover the mysterious beast that has been causing the destruction - food and energy restore methods are recommended for this part. Upon entering the jungle a cut-scene will occur, causing Sir Tendeth to be killed by a ball of fire from the east.
- Using the vegetation as cover, move in an easterly direction, following the trail of scorch marks. Valid cover includes the large tropical trees, small trees and the burnt trees (these last show only as tiny white dots on the minimap). You have to be on a square directly to the west of these trees to be safe from the fireballs. If you are hit by a fireball you will be dealt around 275 LP of damage and be returned to the entrance of the jungle to start all over again.
Note: Ensure you stand behind the tree and wait for a couple of seconds before moving onto the next one, or else the game will assume you didn't reach coverage point and the fireballs will begin to strike you randomly.
-
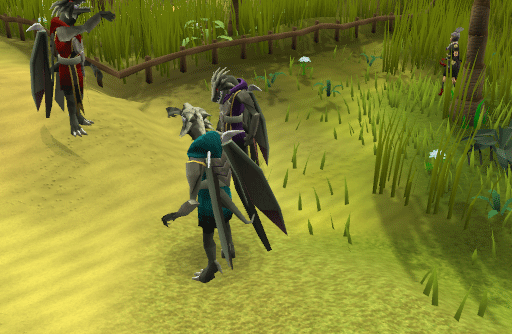
The attacks are originating from a triangle of trees just past the Trouble Brewing minigame. Once you reach this area a cutscene will occur showing three beasts planning their assault on a greater population of people. You must notify Sir Tiffy of what you have seen, so teleport back to Falador and speak to him in the park.
-
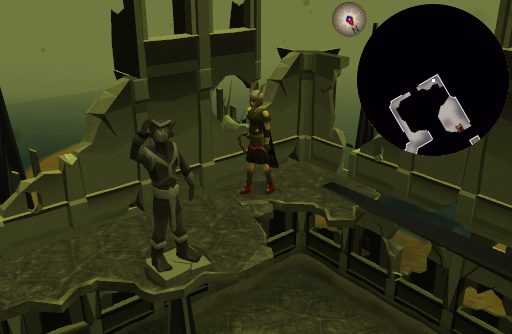
Sir Tiffy will ask you to describe the creatures you saw, before teleporting you to the research area of the White Knights. Speak to Sir Tiffy or Lady Table and a discussion will ensue where Lady Table will research your description and confirm the creatures to be Dragonkin. She also has notes about the Dragonkin referring to Robert the Strong, who you know to be now reincarnated as Bob the Cat, and also of a Stonetoucher, who you know to be yourself after touching the Stone of Jas during While Guthix Sleeps. They suggest you go find Bob the Cat and borrow his collar to find out how to access the plain of Kethsi.
-
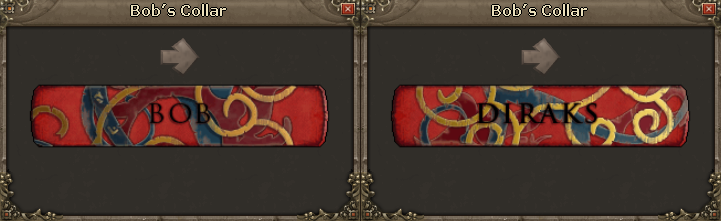
Bob the Cat can be located anywhere on the mainland of Gielinor. Use your Catspeak amulet (e) to track him down. Once you have tracked down Bob, speak to him whilst wearing your amulet and ask to see his collar. Study the collar and flip it over to find the code: DIRAKS.
-
Head to the nearest or most convenient fairy ring and enter the code D I R followed by A K S to arrive in Kethsi.
-
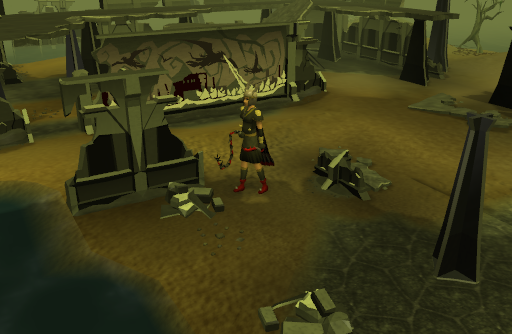
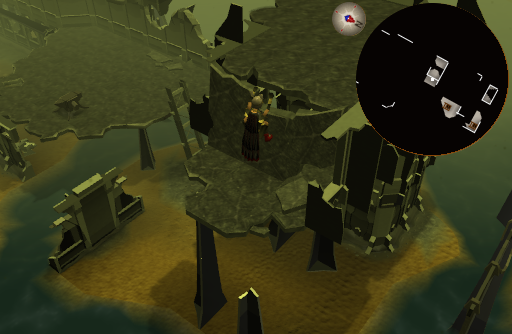
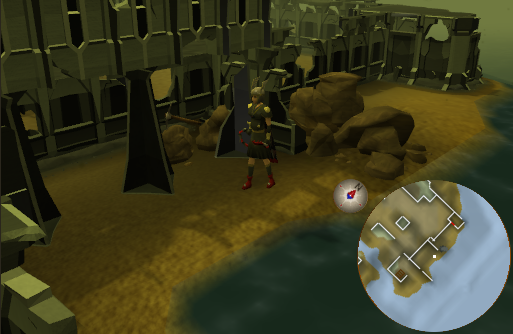
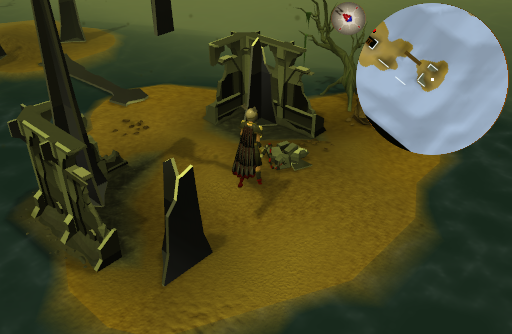
Head north west and search the rubble next to a wall mural to find Tetrahedron 4.
-
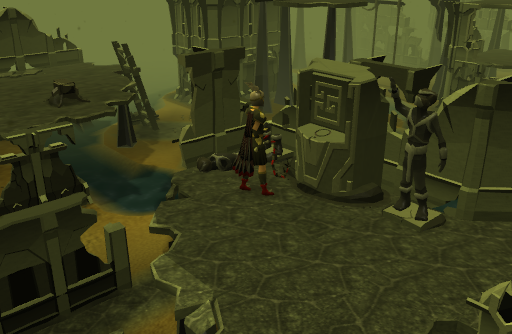
Climb up the ramp towards the eastern side, and head north to find a wall design. Investigate this to view the design in detail and notice that the patterns match those on Bob's collar.
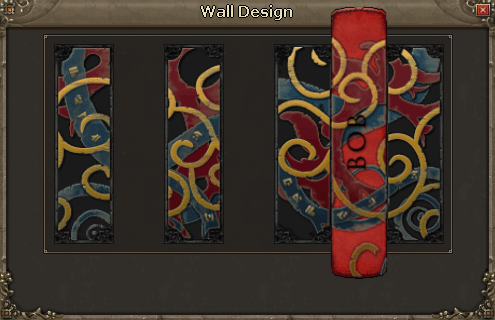
- Use Bob's collar on the wall design to start a small puzzle where the collar is a missing piece and the patterns have to match up. The collar should be placed between the two decorative panels on the right by being flipped and rotated until correct. After this a secret compartment will open up giving the player five new items: Note to you, Note to Robert, Tetrahedron 1, Robert's necklace, and a statue arm.
-
Head south west by jumping over the ledge near the ramp.
-
Use the statue arm on the broken statue nearby. A fallen spire should appear allowing you passage to the other side.
-
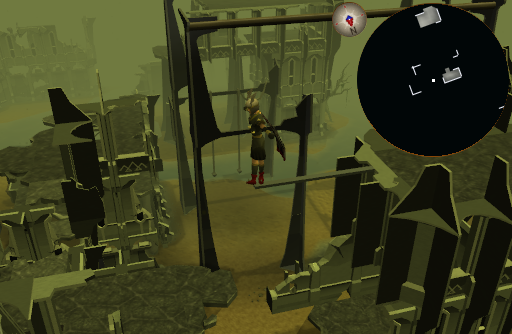
Head down the ladder and run up the wall to the east. Once on the platform, climb up the wall to the top of the tower.
-
Swing on the poles to the other side before cartwheeling along the beam and jumping the gap to the next ledge.
-
Jump across another gap and climb down the ladders to ground level. Crawl through the pipe to the north.
-
Take the nearby pickaxe and mine through the rocks blocking your path, before climbing up the wall to the platform.
-
Run across the northern wall and repeat to cross a second one after you land. Climb across the handholds and head down the ladder to the sand.
-
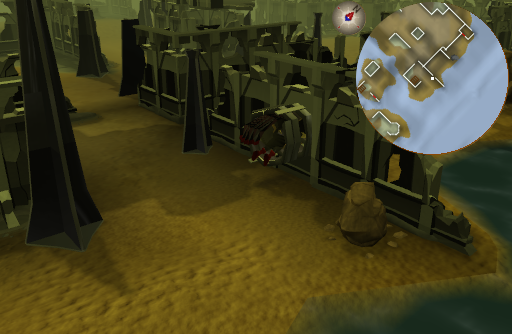
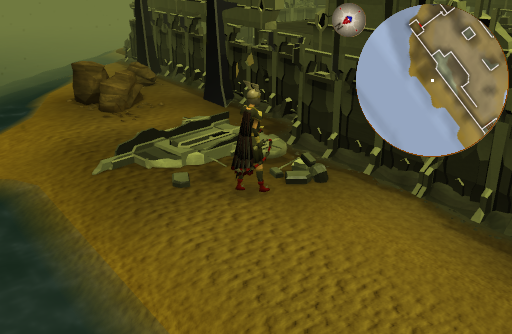
Run northwest out of the ruins and then east along the coastline until you find some rubble. Search it for Tetrahedron 3 and a Strange device.
-
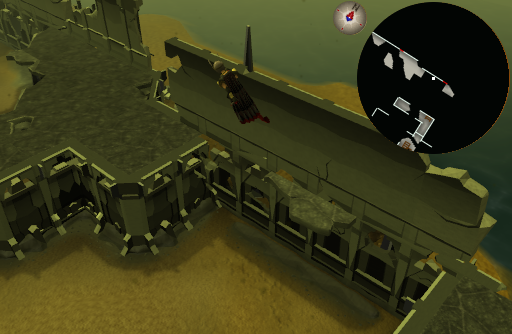
Head back to the northwest ruins, climb up the ladders to the top of the tower, jump across the gap and finally slide down the roof.
-
Head south and ignore the steps leading underground for now. Cross the plank to the small island and search the rubble for Tetrahedron 2.
Note: Take the Spade beside the stairs if you do not already have one.
-
Head back across the plank and enter the foyer of the underground area. Use all 4 of your Tetrahedrons on the indentations on the wall and note down the code you are given. You can open your quest journal to find out the code at any time if you forget it.
- Go outside and use the check-output option of the strange device. You will see different code readings at different locations. Walk around the area of Kethsi checking the output as you go along until it matches to your quest journal. Once you've found the location, use your Spade to dig and receive a Kethsian key. Head back to the cave by redoing various parts of the course.
-
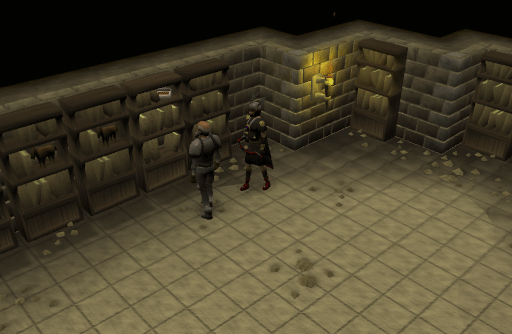
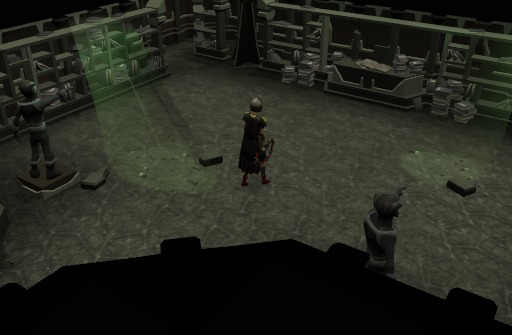
Open the door with the key, head inside, and search the south bookshelves for a book and the southeast corner for a scroll. Reading the scroll will unlock a new lunar spell: Tune Bane Ore. Next read the book titled Dathana's message.
- When you are finished, teleport back to Sir Tiffy Cashien in Falador park to report your findings. He will tell you to involve the While Guthix Sleeps crew into your findings as they know about the Stone of Jas and may be able to help you.
-
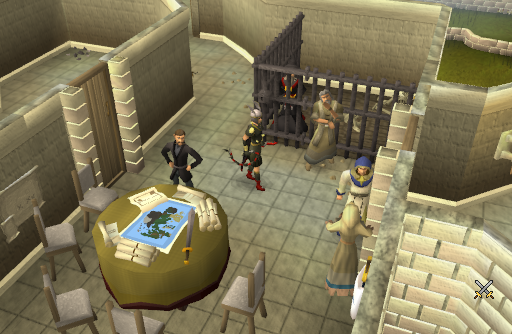
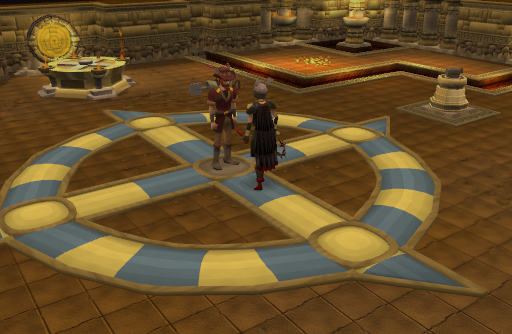
Head to Falador castle and speak to Akrisae, Idria or Thaerisk. The group will try to work out a way to stop Lucien and the Dragonkin. Ali the Wise arrives on the scene during the discussion. He interrupts you to suggest using one Mahjarrat to defeat and trick Lucien, another Mahjarrat. Akrisae will oppose this plan and you must convince him to follow through with it. They suggest you head to Ghorrock and give you some teleorbs to plant on the Stone the Jas. Ali the Wise will suggest you hide Arrav's heart somewhere on the ritual site for later use.
-
Before heading to Ghorrock, travel to Senntisten located at the Digsite and speak to Azzanadra. He will accept the offer of you aiding not only him, but him also aiding you and your team against Lucien. He will give you four Beacons.
-
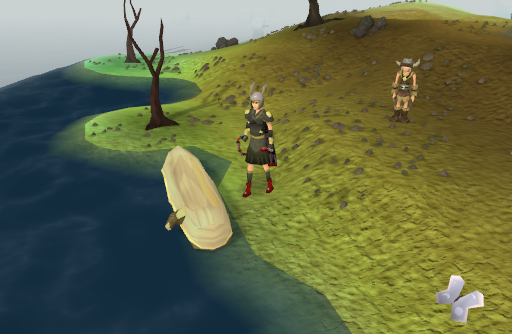
The safest route to your location is to travel to the Fremmenik hunter area using the fairy ring code D K S and take the canoe that's located northwest from the fairy ring. When the canoe journey ends, head east past the ice block to enter Ghorrock castle. This route enables you to avoid the Wilderness and any potential dangers it may hold.
-
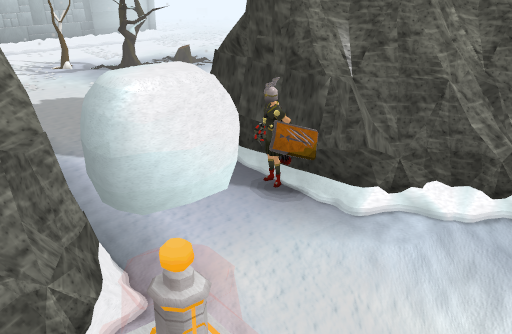
Alternatively, if you are feeling brave, you can travel through the Wilderness to the temple located in the Ice Plateau and squeeze past the ice block.
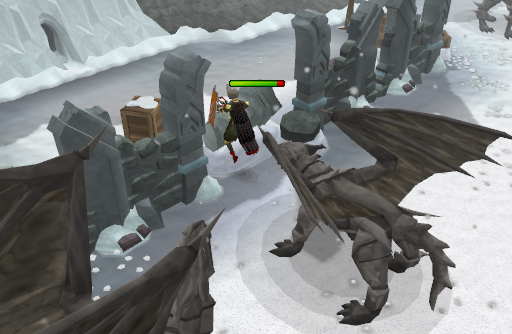
NOTE: An anti-dragon shield or dragonfire shield and an Antifire potion is recommended once you pass the ice blocks as there are metal dragons in this area.
-
Once inside head towards the middle of the south wall. Climb over the fallen pillar and enter the tunnel beyond.
- You will end up in an ice area with undead broavs patrolling and you must avoid them by staying hidden. If you get caught you will be teleported to a prison. To escape, search the bed to find a Chisel and Spade. Lift the floor tile, dig the soil, and climb through the hole.
-
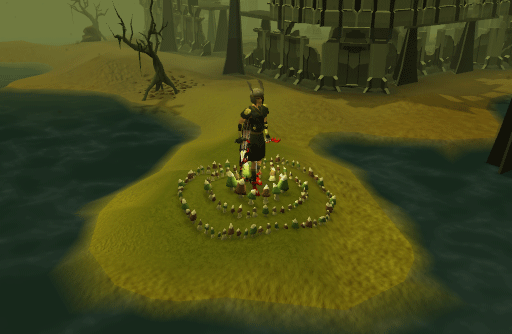
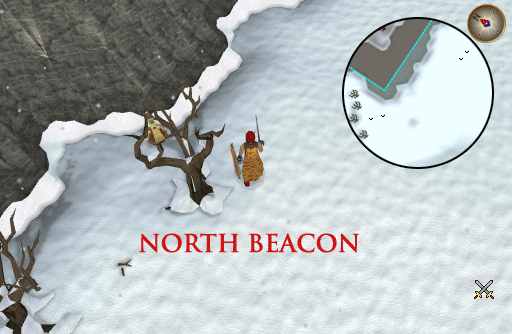
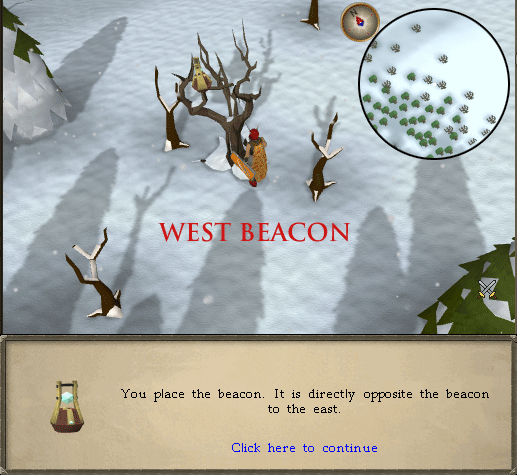
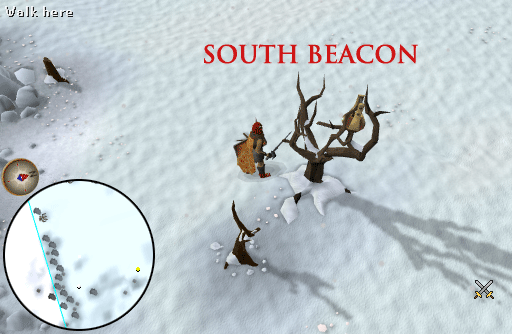
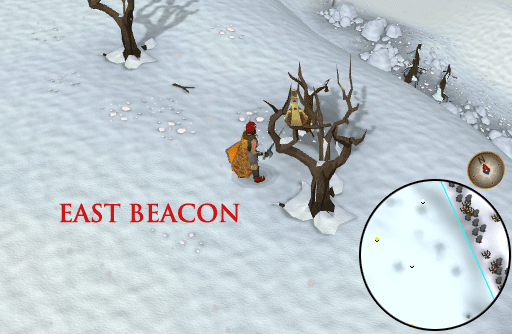
Head east to where you were captured. You must run around the area placing the four beacons at exact opposite ends of each other on the northern, eastern, southern and western side in the dead trees in the area.
-
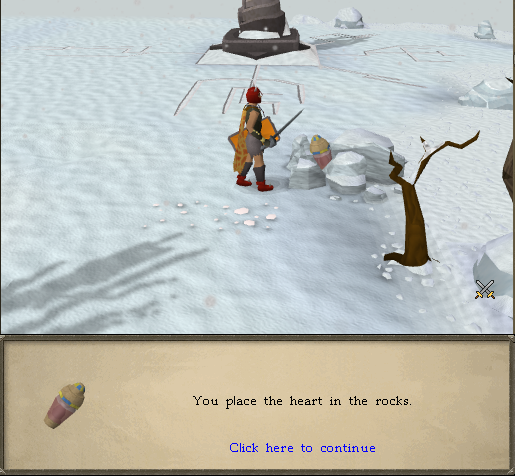
Next place Arrav's heart in a rock south of the ritual stone at the center of the area.
-
Head north west and tie the Rope to the overhanging tree to allow the rest of your team to safely gain access to the area.
-
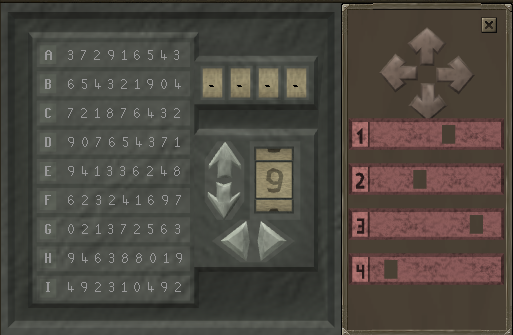
Head south towards the castle and kill the Armoured zombie near the entrance to obtain Decoder strips and Code key (Main entrance). You need to use the strips and code to deduce the pin to the door. Use the strips on their corresponding letters and enter the 4 digits that are highlighted, first from strip 1, then strip 2 etc. This is the same puzzle that you faced in The Curse of Arrav. Once unlocked, enter the door and you will be inside the base.
-
Head north east and search the crate to obtain Code key (Storeroom) and then go west and open the door, this time using the letters from the newest code key. Head north into the next room and search the crate to find Code key (reliquary) and Heart magic notes. Then, read the Heart magic notes.

-
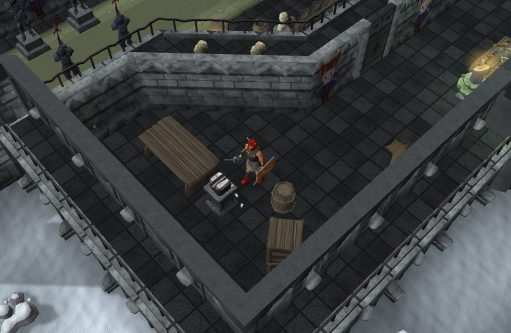
Leave the storeroom, head up the eastern staircase, and open the door using your reliquary key code. Enter the room and head south to find a black stone on a pillar. Smash this stone and leave the room.
-
Leave the castle and head to Movario who is located far east of the castle. He will inform you that he senses some shadow magic in the area, which may be concealing the Stone of Jas.
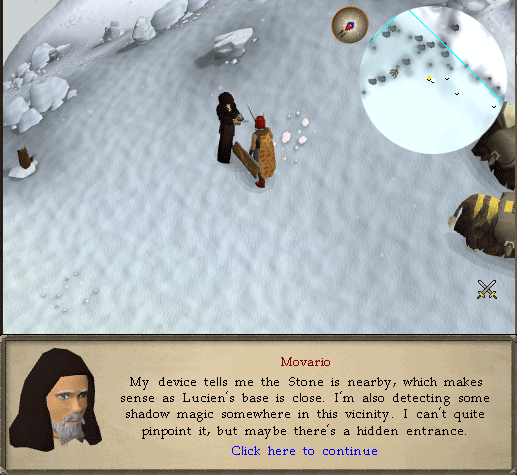
- Head west of Movario while wielding a Ring of visibility and you will see a Shadow pedestal. There is a cave, it's entrance blocked by a wall of ice, to the south of the pedestal.
- Head north, leave the area, and run north into Ghorrock castle. Climb up the western stairs and down stairs on the other side. Climb up the eastern wall, walk around to the northwest corner and climb down the western wall. Turn on Protect from Magic as you enter the castle. Run all the way west, then all the way south to pick up the Heat globe on the floor.
-
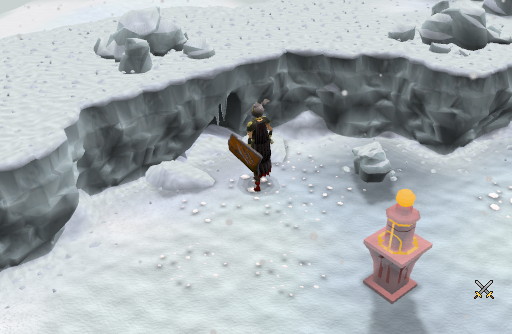
Return to the Shadow pedestal and use the Heat globe on it. The wall of ice blocking the way will thaw. Do not enter the cave until you have read the section below and are ready to fight.
- The Battles:
Now is the time to go and get ready for combat. Once you touch the Stone of Jas you will trigger a series of cutscenes alternated with battles. You cannot leave the area and will die if you aren't prepared to fight.
Please read the following steps BEFORE you engage in combat with Lucien's minions!
You will find yourself in an ice cave. Head south to discover the Stone of Jas, touch it, and a very interesting cutscene will play with its own cinematic music! The Stone of Jas boosts your combat stats significantly, so super sets are NOT needed. It is recommended to use Rocktails or Sharks. If you have a familiar that can attack, it will be able to deal high damage as well due to the boost from the Stone of Jas. It may be highly beneficial to bring a Spirit Kyatt with Ambush scrolls, as its attacks will most likely deal a lot of damage. For those with 88 summoning and above, Unicorn Stallions are useful for healing, otherwise, rocktails or sharks will do just fine. Finally, do bring a couple of Prayer potions, as you will be using Protect from Melee and Protect from Magic in different fights.
You will go through four waves of combat against Lucien's minions. If you happen to die during one of these waves, you will be able to resume fighting from that battle; in other words, you won't have to start over. Furthermore, your gravestone will appear in the area you arrived by. If you arrived at the Ice Plateau by canoe, your grave will appear at the base of the rope tied to the overhanging tree. - Boss Fight I - General Khazard (level 105):
After the cutscene ends, an alarm will be activated around the Stone of Jas causing you to be teleported out of the cave to your backup, where you will be ambushed by General Khazard. He reveals Ali the Wise to be a Mahjarrat known as Wahisietel. You must decide whether or not you suspected Ali the Wise. You must now fight General Khazard, and although you are aided by the Stone of Jas, you will still face great danger.
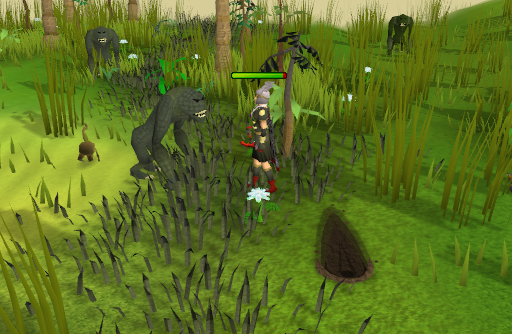
General Khazard's combat level is 105, and uses magic attacks; therefore, using Protect from Magic prayer is recommended. General Khazard also occasionally summons a dog familiar, Bouncer, to attack you. You will NOT be able to attack Bouncer, but you can lure it towards one of your NPC allies, preferably Wahisietel, who will be able to kill Bouncer in one hit. Once General Khazard is nearly dead, a short cut-scene will occur that shows him teleporting away, and allowing you to continue your journey. - Boss fight II - Enhanced Ice Titans (level 98):
It is not long before you bump into Lucien himself, who is extremely difficult to defeat due to him summoning four Enhanced ice titans to aid him. These titans have devastating attacks, but you are only required to kill TWO of them. You can ignore Lucien, but avoid his shadow spell as it can deal consistant damage. To avoid his magic, move two or more steps away from the spell before it lands on you. The shadow spell can hit up to 150 life points five times. While attacking the titans, be sure to move around a bit to avoid any close calls.
You can attack the two titans with either melee or range. If using melee, be sure to use Protect from Melee while facing them. You will be frozen randomly by the giants in a big block of ice. As soon as you are frozen, try to move around as quickly as possible in order to break through the ice. If successful, you will not take any damage. If using range, you can lure the titans into the trees nearby to trap them. Long-ranged style of attack is recommended. Do keep an eye out for Lucien's shadow spell! Once the two titans are killed, a cut-scene will occur. - Boss fight III - Ice Demons (level 98):
Lucien will now summon a horde of Ice demons to kill you. Two of these demons will attack you, while the Barrows Brothers, Sir Tiffy and Idria hold off the others. They use magic and ranged attacks, and it's strongly recommended to use Protect against Magic, as their magic attacks are dangerous. Because you are Praying against Magic, make sure your armor has good range defence. The demons can shoot icicles from the ground to trap you. They do not hurt you, but they can hinder your movement. You can attack the icicle traps within 1-3 hits, but if trapped and hit by Lucien's shadow spell, you will take a lot of damage! Keep moving to evade Lucien's spell and stop yourself getting trapped by the icicles. Once you have defeated the two demons, finish off the other remaining demons and a cutscene will occur. - Boss fight IV - Arrav (level 101):
In the cutscene, Lucien will decide who to sacrifice in the ritual. A lot of Mahjarrat will appear and an argument will break out. Lucien decides Jhallan shall be the one to die, but a fight breaks out again. Kill the Armoured zombies that are summoned and another cutscene will occur, showing Arrav being summoned to fight the Barrows brothers. You must attract Arrav's attention by attacking him until he decides to attack you, and then lead him over towards the rock where you earlier concealed his heart. Run around the rock until a chat box occurs where he will realize who he really is and attack Zemouregal. -
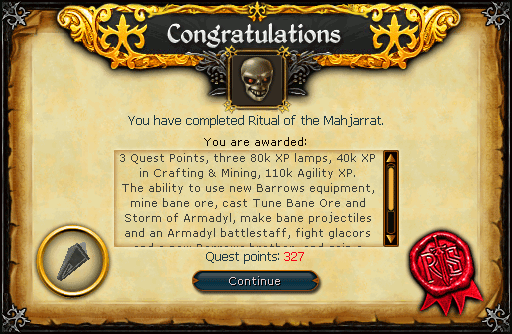
As Zemouregal is being killed, he will realize that Lucien will not save him, thus he will turn on Lucien. Azzanadra will tell you that the southern beacon is broken and you have to fix it and put it back in position. Lucien will summon a level 112 Glacor that uses magic attacks. Turn on protect from magic, go south and pick up the four beacon parts. Then assemble the beacon parts and put it back in the tree. Additionally, he will start the ritual to rejuvenate the Mahjarrat. Together the Mahjarrat will attack Lucien but will not fully succeed. A cutscene will show the Dragonkin come back and become angry at Lucien for abusing the Stone of Jas. They destroy him and warn the rest of the Mahjarrat who will panic and teleport away. Idria will also be killed. The cutscene continues with Sliske turning Akrisae into a Barrows brother. Sir Tiffy suggests that the stone be hidden so it cannot be found again, and will summon Thaerisk Cemphier to help hide it. The cutscene then continues with you entering a trance and being chased through Draynor Village by the Dragonkin with Sir Tiffy, while those who have fallen to Lucien watch on. Finally the cutscene will end and you will arrive in Falador park. Speak to Sir Tiffy Cashien to claim your reward. After the quest is over, go back where the final battle took place. walk north from there till you see Arrav wandering along the southern wall of the castle. Talk to him and he will give you 3,000 xp prayer.
CONGRATULATIONS, QUEST COMPLETE!
This Quest Guide was written by Heavens Soul. Thanks to Greg, Vane, DarkBlitz, Ralkal, joshyboi01, Masterwork20, Double_D_Edd, Cobus469, Mr Tudjay, Nite7Nite, Boomer Man, KaoticEffigy, and ChathMurrpau for corrections.
This Quest Guide was entered into the database on Wed, Sep 14, 2011, at 11:20:53 PM by Lilroo503, and it was last updated on Sat, Jun 06, 2020, at 04:40:23 AM by Chath.
If anything is incorrect or missing, or if you have any new information to submit to this database, please submit it to us on our Content Submissions Forums.
If you see this guide on any other site, please report it to us so we can take legal action against anyone found stealing our content. This guide is copyrighted by RuneHQ, and its use on other sites is expressly forbidden. Do not ask if you can use our guides or images, the answer is and always will be NO!
Print this page with images - Back to the Quest Guide Index Page - Back to Top
