

78 Attack
78 Strength
71 Firemaking
70 Construction
70 Crafting
70 Smithing
55 Summoning
25 Defence
Recommended completion of Conquest tutorial.
A combat level of 100 or higher is recommended.
Ability to use Protect from Magic (level 37 Prayer)
Ability to use Protect from Melee (level 43 Prayer)
*Note: If using Range or Magic, it is highly recommended to bring melee attack style due to use of overhead prayers from the monsters in Step 5!
-
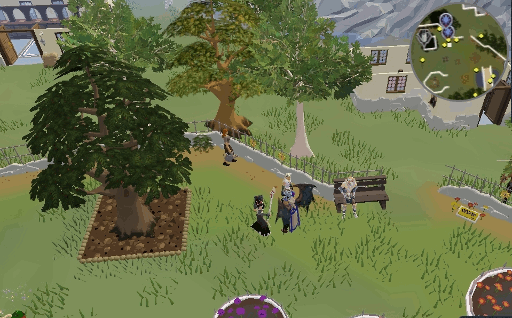
Talk to Captain Korasi in Falador Park and she tells you that the Temple Knights efforts to find the cubes have been less than successful. Korasi wants you to enter the Black Knights Fortress, she gives you specially modified Black Knight armor. She will follow your progress via the Savant.
-
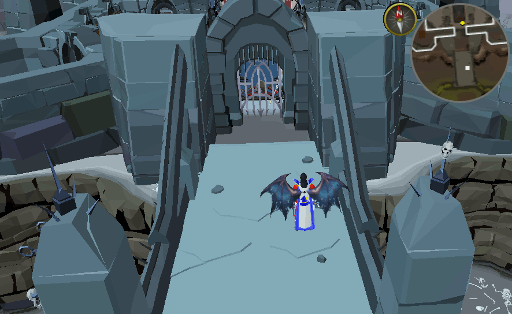
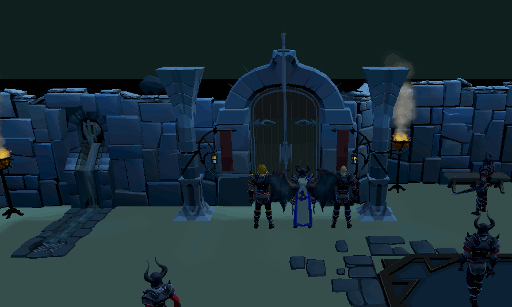
Equip the bugged Black Knight armor as well as a weapon and some food and go north from Falador to the Black Knights' Fortress. Once you enter, you will be accosted by Commander Colby, who thinks you are a new recruit and teleports you to the storage entrance in the Black Knight Stronghold within Taverley Dungeon.
-
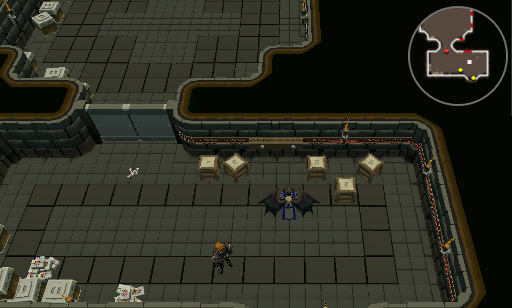
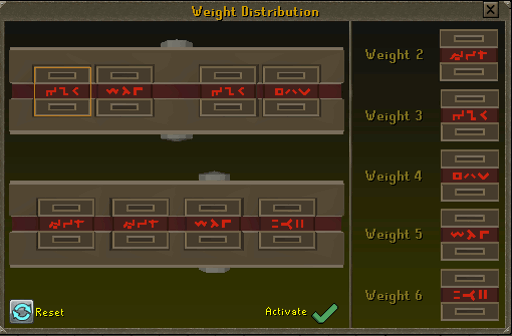
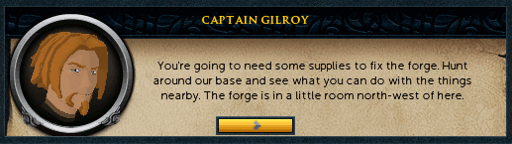
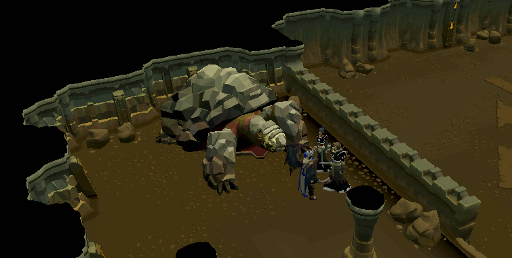
Talk to Captain Gilroy. You see a cut-scene where a Black Knight tries to open a door to the Black Knight Hideout but it has been electrified. You are nominated to make the next attempt. Examine a crate in the room and you realize that the labels have all been switched on the numbered crates. Take a key block from each crate and determine the weight of each from lowest to highest. Captain Gilroy will be able to determine which of two key blocks weighs most if you use two blocks on him. The block labeled 2 weighs 4, label 3 weighs 2, label 4 weighs 6, Label 5 weighs 3, and the block labeled 6 weighs 5.
-
Once you are confident you know the weights of each mislabeled block, speak to Captain Gilroy again and tell him I think Ive got it sir and tell him the actual weight of each key block. Captain Gilroy switches the labels on the crates to the correct ones. The code he tells you is 15. Select balance on the wall between the crates and select weights so that you get a total of 15 both the top and bottom. Each balance has a pivot point around which it should also be balanced.
-
Open the security door and continue into the next room. You will be attacked by void pests and you will need to kill a spinner, torcher, brawler and shifter. Kill the spinner first so it does not heal the other monsters. Protect from melee or deflect melee will help. Each drops a Security block and one drops a Broken security block. Pick all four up. Speak to Captain Gilroy who tells you that you must repair the Broken security block, but the forge that was used to make them has been destroyed and it is up to you to repair it.
-
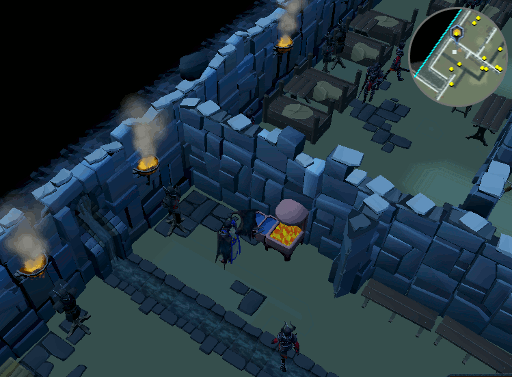
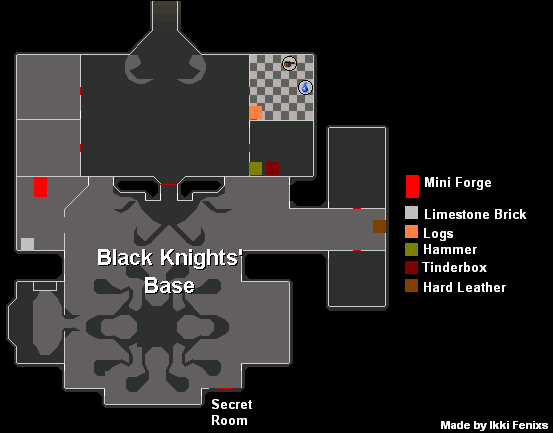
Go north to the kitchen of the Black Knights' Base, search the crates until you find some Logs. Search the crate in the room to the south of this and you will find a Tinderbox and a Hammer. Head south to the main room and to the east between the two jail cells you will find a crate with Hard leather. Go west to the room with the mini forge and search a final crate for a Limestone brick. Use the Limestone brick on the tiny forge to repair it, along with the Hard leather. Use the log on the tiny forge and light it with the Tinderbox. Now use the Broken security block on the lit forge to repair it.
-
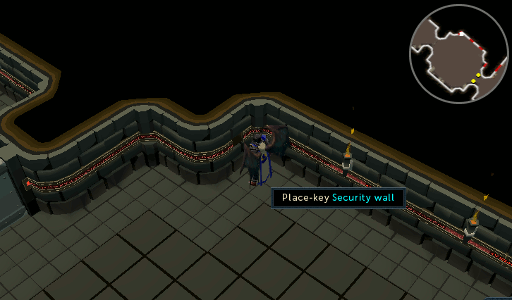
Return south to where you left Captain Gilroy and use the 4 security blocks on the slots in the wall to power up the next door. Proceed through the security door and click on the control panel on the west wall. Captain Gilroy warns that the panel may have a trap and when given a choice choose the option to disarm the magical traps.
-
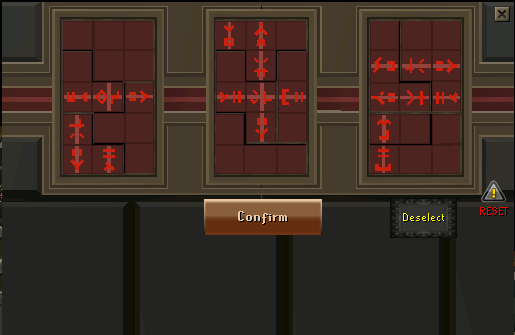
Once the trap has been disarmed speak to Captain Gilroy and he explains that you need to move the pieces onto the grid so that one continuous line is formed to allow the current to flow. Each piece needs to be placed in the puzzle, but there has to be one straight line from left to right. There are several possible solutions.
-
The final room has a portal, and Captain Gilroy calls on Lord Daquarius to tell him about the sabotage in the storage rooms. He will ask you to remove your helm so that he can recognize his recruit. Once your identity has been revealed, he demands your arrest but as you explain Captain Korasi, Jessika and Sir Tiffy appear. They all agree to proceed under your leadership. Talk to Captain Korasi who gives you her sword to lead the army into battle. When you are ready, enter the portal.
-
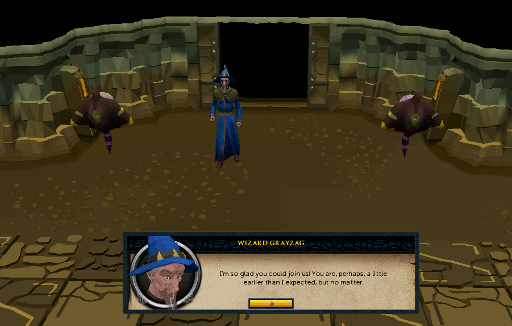
A cutscene reveals Wizard Grayzag is the cause of the portals on the Void Knight Outpost. He is almost ready to summon the Pest Queen and sends a small force of splatters to corner everyone but Jessika in a small side cave. Savant sends a Conquest Squad to assist while she attempts to free everyone.
-
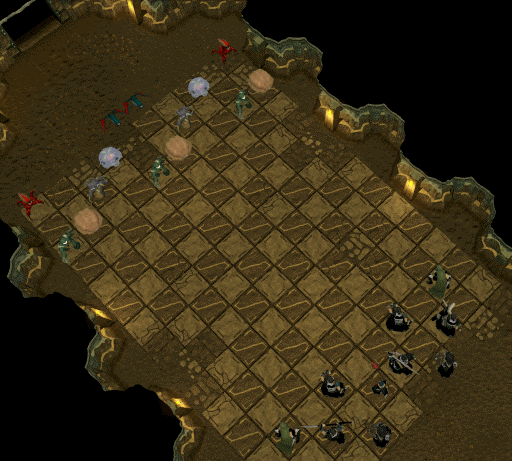
Using the same tactics as in the Conquest minigame, defeat the opposing force of void pests. Here are some things to remember:
- The Spinners act as Champions and are very powerful, but cant heal their units.
- The Ravagers move as Scouts.
- The Shifters are weak, but you need to take care of your 100 LP units.
- The Torchers and Defilers act as Mages and Archers.
- The splatters explode, causing 100 LP of damage to any foe in an ajoining square.
-
WARNING: Your chances of dying to the Pest Queen are high if you do not have a high enough Combat Level! Be sure to stock up for the battle before proceeding with the following step.
Korasi rushes after Jessika into the final chamber to save her. Follow her through the door and you will find Jessika and Captain Korasi captured. Wizard Grayzag is ready to summon the Pest Queen. You need to choose to save Jessika or Captain Korasi. When you have made your choice the portal opens and the Pest Queen appears.
-
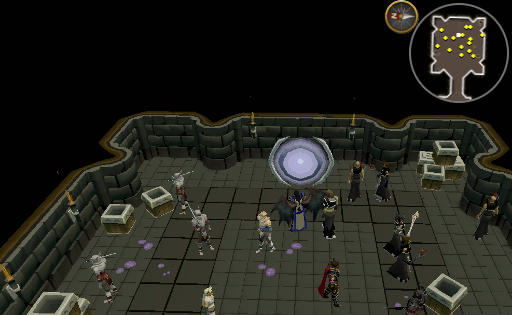
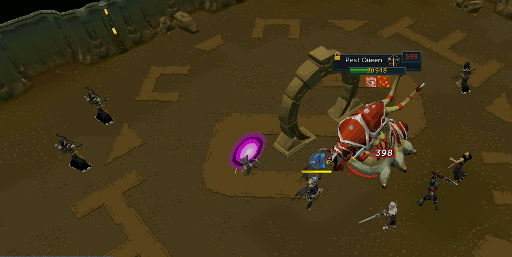
When you engage the Pest Queen make sure you have Korasi's sword equipped and Protect from/Deflect Melee turned on. When killing an Elite Defiler, use Protect from/Deflect Magic. Your first goal should not be hitting her for as much as you can. The drones will heal her more than you can hit (purple circles indicate healing). Upcoming Void Archers will attack the drones, so your first goal should be building your team of void knights and white/black knights. However, Void Archers can take damage from Elite Defilers and the Queen's special attack. When you see an Elite Defiler, kill it as quickly as you can. Important: When the Queen raises her body and stands in the air, you must use either the Backhand ability, or Kick ability, or Special attack (Legacy) to stun her while wielding Korasi's sword, otherwise you and your team can be hit for over 4,000 damage. Note that the ability may miss in which case you'll need to immediately use the other ability. The fight will be long, but once you've got the hang of it and your team is complete, it should be a breeze.
Note:An Adrenaline potion is recommended during the fight to replenish your adrenaline/special attack energy if required. If you die, talk to Sir Tiffy in Falador park and he will teleport you back to the portal.
-
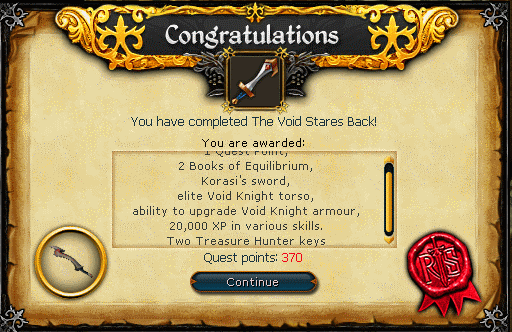
After you have killed the Pest Queen, Valluta will thank you and you will need to decide the fate of Wizard Grayzag. Once you have decided his fate, speak to Commander Tyr to obtain your reward.
Congratulations! Quest Complete!
This Quest Guide was written by Clamball and diamondi3ack. Thanks to ikki fenixs, Terr, Rowan, Ralkal, Rahhnana, xizorandy, GD3, Sumurai8, and Rooskii for corrections.
This Quest Guide was entered into the database on Thu, Oct 14, 2010, at 06:34:20 PM by Double_D_Edd, and it was last updated on Fri, Jan 19, 2018, at 04:41:07 AM by ChathMurrpau.
If anything is incorrect or missing, or if you have any new information to submit to this database, please submit it to us on our Content Submissions Forums.
If you see this guide on any other site, please report it to us so we can take legal action against anyone found stealing our content. This guide is copyrighted by RuneHQ, and its use on other sites is expressly forbidden. Do not ask if you can use our guides or images, the answer is and always will be NO!
Print this page with images - Back to the Quest Guide Index Page - Back to Top
