

-
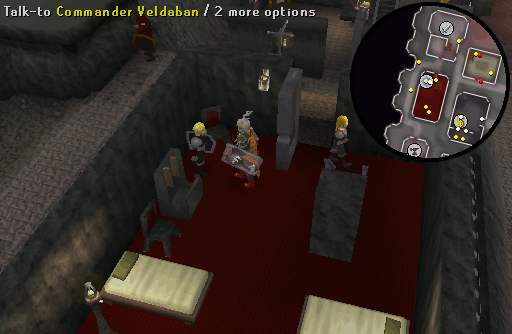
Go to West Keldagrim and speak to Commander Veldaban in the Black Guard HQ. Be sure that you have armor and a weapon equipped before you do so. During the conversation, a Black Guard will interrupt and inform the Commander that trolls have attacked the mines wielding a special weapon. You will then follow the Commander to the mines.
-
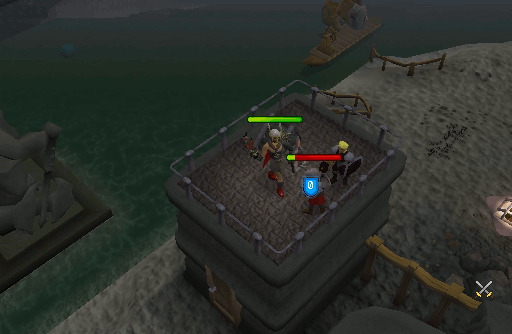
After a bit more conversation, you will then have the option to help to fight the mysterious attackers, or go and get prepared. Once ready, follow Commander Veldaban up the stairs up the small building to the north. You will now have to face a Level 70 Chaos dwarf. Kill it and it will drop a Mysterious slip.
-
Speak to Commander Veldaban again and you will learn that it is a Grand Exchange holding slip. He requests you to go to the Grand Exchange and investigate.
-
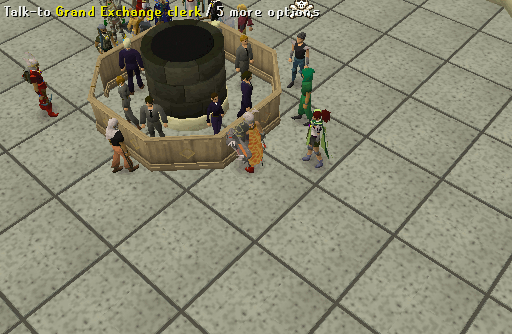
Go to the mine carts on the south-eastern side of the city. Get in one of the carts and select to travel to the Grand Exchange. Once there, speak with a Grand Exchange Clerk.
-
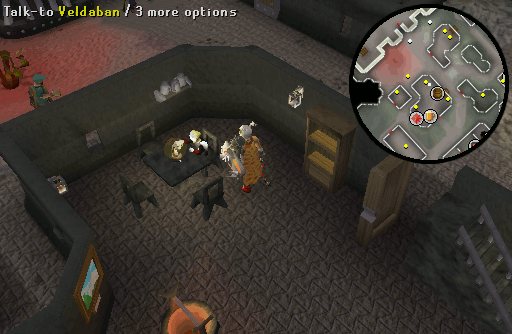
The Grand Exchange Clerk will then inform you that the order has been completed and hand you a package. Go back though the trapdoor on the western side of the Grand Exchange, and return to Commander Veldaban in Keldagrim. He will be on the eastern side of the town, in the Laughing Miners Pub.
-
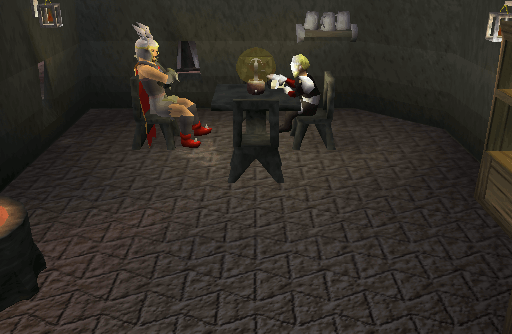
Speak to him about the package and ask him what he is doing here. You will be treated to further details, and he will ask you to get him a Guardman's stout from the barmaid. Speak to the barmaid who will ask about the Commanders lady friend, and give you the stout. Speak to Commander and after some more dialog, he will ask you to walk him back to Headquarters. Another cut scene will show him having drunken words with Supreme commander Bisi, and later sleeping it off.
-
Go back to the mines next to the building where you fought the dwarf. It is a short walk south-east from the HQ. Investigate the footprints to the south of the building and use the boot found in the package with the footprints. You will be able to follow a trail made by that particular boot.

-
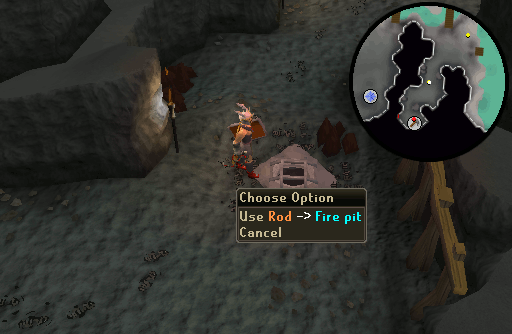
Follow the path to the south and across the bridge until you get to a fire near a dead end. Use your bowl to cap the fire, then remove it after a short time. Now examine the fire and use your rod on the fire. Turn the rod and walk west through the doorway that opens.
-
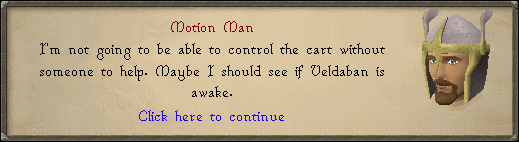
Enter the door and go through the large room to the door opposite. You will come out at a set of cart rails. Try using one of the blocks on the controls and getting into the cart. You will not reach the end and decide to get the Commander for help. Go back though the doorway you came through and select to go back to Keldagrim.
-
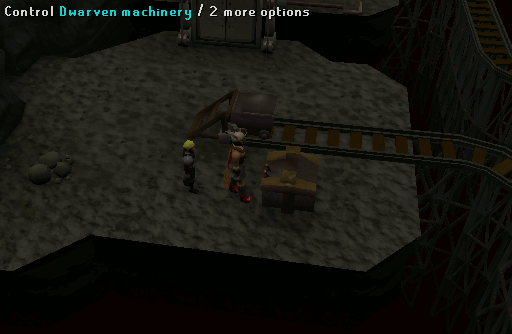
Talk to the commander and he will agree to follow you back to the tracks. Return to them. Try to use the command console and the commander will take the blocks and direct them for you depending on the order you tell him. Telling him to use the green block turns you left, the yellow block turns you right. Get into the cart and you will automatically start rolling along the track.
The order of blocks to tell the commander is:
- Yellow
- Green
- Yellow
- Yellow
- Green
- Yellow
- Yellow
- Yellow
- Yellow
-
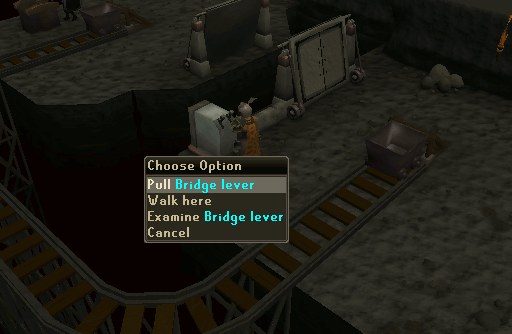
Once you are off the cart, lower the bridge and let the Commander across.
-
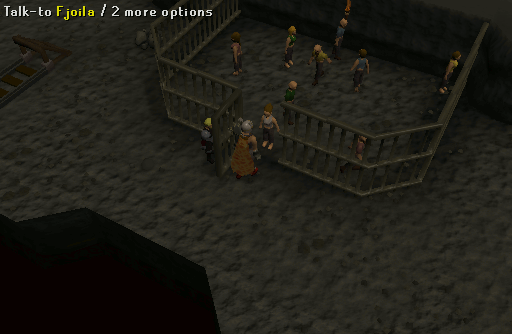
Head towards the cage, open the door, and talk to Fjoila. She will beg you to save her husband and after a few options you can set all the dwarfs free.
-
Approach the large door near the cage and open one of the locks. Veldaban will open the other and you both can enter. Once inside the room, watch the cut scene of the Chaos Dwarfication process. Caution! At the end of the cut scene you will be attacked by a level 70 Chaos dwarf.
-
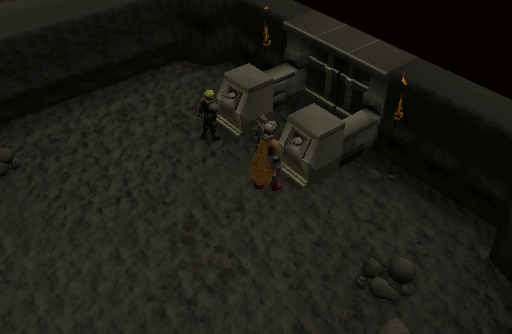
Retreat into the office behind you and talk to Veldaban. You will discover that Hilda has died and that you were the one who killed her. After you have finished the talk, head over to the machine.
-
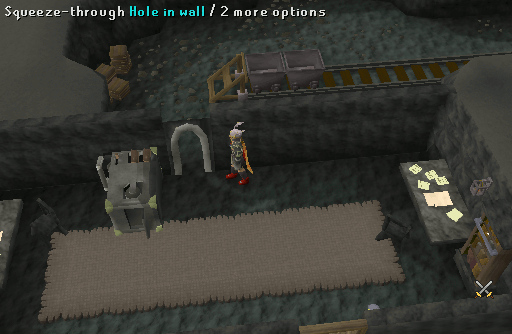
Use the metal rectangle on the machine to break it, then use the turn screw on the machine to break it off from the wall. Enter the hole created and get into the mine cart.
-
A cut scene will start revealing that the consortium directors still don't believe they need to do anything. Commander Veldaban will resign in disgust upon hearing this.
Congratulations! Quest Complete!
This Quest Guide was written by Lanka, Clamball, and Greendonkey. Thanks to Motion Man, Dark, Egekalaycan, Jarkur, 2003 Veteran, and Olllivander for corrections.
This Quest Guide was entered into the database on Wed, Sep 09, 2009, at 10:17:14 AM by Motion_Man, and it was last updated on Sun, Jul 12, 2015, at 11:12:51 AM by Jarkur.
If anything is incorrect or missing, or if you have any new information to submit to this database, please submit it to us on our Content Submissions Forums.
If you see this guide on any other site, please report it to us so we can take legal action against anyone found stealing our content. This guide is copyrighted by RuneHQ, and its use on other sites is expressly forbidden. Do not ask if you can use our guides or images, the answer is and always will be NO!
Print this page with images - Back to the Quest Guide Index Page - Back to Top
