

35 Hunter
37 Woodcutting
45 Mining
47 Firemaking
55 Prayer
High Constitution, Prayer and Woodcutting levels are recommended.
Must be able to evade and withstand attacks of a level 200 beast.
NOTE: Should you leave at any time, to re-enter the spirit realm, right click on the ring and use "operate", which will allow you to enter the realm once again.
-
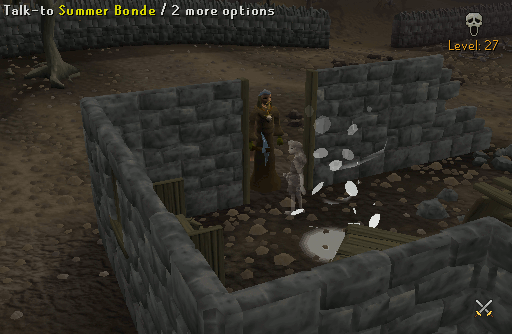
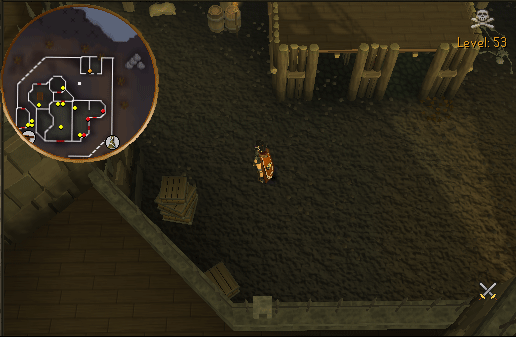
Head to the Wilderness wall northeast of Varrock's northern gate and talk to Summer Bonde. She will insist that you go with her to the veil between the Spirit world and the Real world.
Note: Make sure you have a Ghostspeak amulet, Jennica's ring, and a Blue charm pouch with you.
-
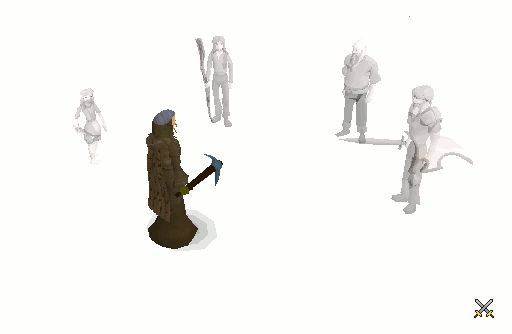
Once you arrive at the veil, you will make the acquaintance of four spirits: Summer, Erik, Meranek, and Jallek. The elders will explain to you that the link between the two worlds is weakening and that the Beast is trying to get through to the Real world. Erik will ask you to help defeat the Beast and tell you about a cave to the north where they plan to attack it. It is up to you to lure the Beast toward the inner side of cave using the souls from Spirit Pouches. Since the Beast will have learned from your previous encounter, it will not fall for the same thing again. You will have to find a new kind of Spirit.
-
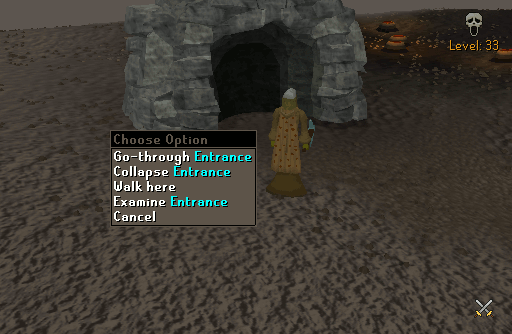
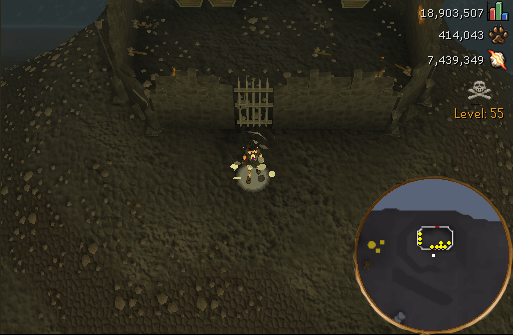
Go back to the Real world and head toward the cave in level 33 Wilderness. Enter the cave to find a corpse. Loot this corpse to receive a Bronze pickaxe, a Mithril axe, a Tinderbox, and a Spade. These items will be used throughout the quest. Leave the cave, and hit the cave entrance with your pickaxe (use its "Collapse" option) in order to unblock the entrance in the Spirit world.
Note: Players can return to the Real world by operating Jennica's ring while standing on the portal. You must have the ring equipped in order to operate it.
-
Enter the Spirit world and run north toward the Beast. This is the moment where you need to summon your blue charm spirit. Try to lure the Beast to the cave's entrance. When the Beast is close to the cave, enter the cave. The Beast will follow you and a cut scene will appear. Talk to Meranek to find out how to harm the Beast.
Note: The beast can devour you familiar, it is suggested to bring multiple pouches.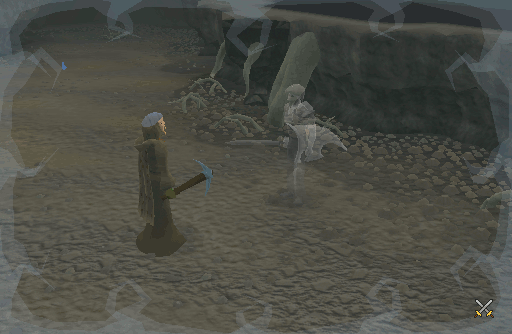
-
Teleport to Varrock and withdraw food and energy portions from the bank. Armor and Weapons are always a wise to take with you as well. Once you have your items, head back to the cave in the Spirit world.
Note: If at any point you die while you are in the Spirit world, your grave will appear with Summer in the north of Varrock.
-
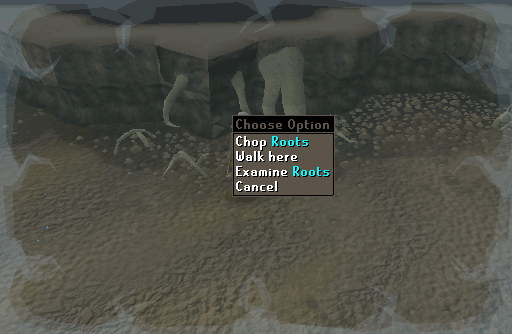
In this first room you will see Roots growing on the walls of the cave. In the middle of the room you will see Fire pits. The goal is to light three of them. You accomplish this by placing five logs on each and light them with a Tinderbox.
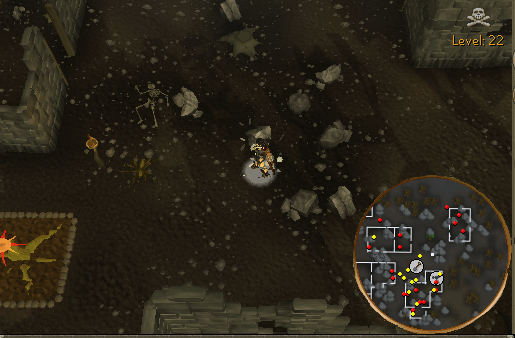
Now you must run around and cut 15 Cursed willow logs from the Roots around the edges of the cave. While you are trying to cut the roots, the Beast will attack with blows, which break into several more attacks when they hit the ground. These smaller attacks can deal up to 250 damage each. As you pause to cut, as soon as the screen shakes (or you hear the shot) run to the next tree. (Another method is to run under him to the other side of the room to evade the attacks. Do not be afraid as the Beast cannot attack you with melee.)
Once you have 15 logs, a good strategy for lighting the pits is to light one pit at a time.
- Stand about 8 paces from a pit.
- Click 'Use' on a log.
- Wait for the screen to shake.
- 'Use' the log on the pit.
- Again, wait for the screen to shake.
- Run to about 8 paces from the pit. (You may have to run around the room to gain the right spot.)
- Repeat until you have five logs on one pit.
- Light the pit.
Do this until you have three pits lit. The Beast will then move further into the cave.
Note: Eat when you need to and replenish your run energy when it gets too low. When all 3 Fire pits has been lit, your progress will be saved and you may leave the cave to access a bank if necessary. Any unlit Fire pit with logs will be empty when you return. Therefore make sure you have the Fire pit(s) lit if you need to leave the cave to restock on food and energy potions. Due to a magical force, you cannot bank these Cursed willow logs.
-
When needed, head back to a bank in the real world to restock on food and Energy potions.
-
Make your way to the second room of the cave. In a cut scene, Jallek will inform you that the elders have succeeded in breaking through the shield protecting the Beast's chest. This shield held the energy the beast absorbed when devouring a soul. Within the containment of this shield a creature called the Dark Core has come to life. Your next objective is to trap the Dark Core in the holes scattered around the floor.
-
Run around the room until the Beast releases the Dark Core out of its containment. Once it is out, stand behind a mound and dig the hole out. Make sure the hole is empty when the Core comes to you, as the holes will refill quickly. Each time you trap the Dark Core, the beast will try to get it back. This is when Jallek will appear and hit the Beast with a mighty spell. After you have trapped the Dark Core in 3 holes, the Beast will move deeper into the cave.
Note: Do not stand too close to the Dark Core for too long, as it will hurt you every second. If you fail to trap the Core in one of the holes, then wait for it to pop out of the Beasts central cavity again. While trying to trap the Dark Core, the Beast will keep attacking with its blows. There are 2 alcoves on either side of the entrance to the third cave. Use these spots as safe spots to avoid the Beast's attacks and to recuperate. The monster will get stuck behind a jut and will not be able to attack you. The trick is to wait 2-3 minutes before you leave the spot. If you wait long enough, it will only take 1 to 2 of the Beast's attacks before the Core is released. This strategy saves you a fair amount of food and energy potions.

-
Again, you may leave the cave to restock on more supplies if necessary. You will take a lot of damage in the final part of this quest, especially since you will be fighting in a confined area, without much space to dodge, so be prepared!
-
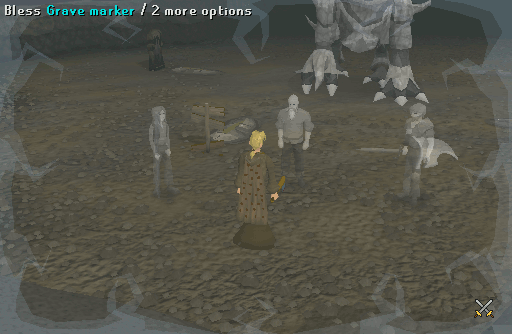
Upon entering the final part of the cave, the Elders will be there and instruct you about what to do. When you are ready to start, they will all turn into different colored lights and fly toward the graves. Make note of ONE of the three colors and see where it goes. The Beast will start charging an attack which will match one of the colors of the spirits. (This attack is faster and has a length much further than normal attacks. After its second strike, the attacks will be constant every second.) When the Beast releases the color you are waiting for, run toward the grave with that same colored-spirit and 'Bless' it before the beast hits it with its blow. If you succeed, the attack will backlash and hurt the Beast. Make note of another color, and repeat.
During the fight, the spirits will change graves, so make sure you are blessing the correct grave. Do not bless an empty grave, as the Beast will use this moment to drain your Life points. In total, each of the three spirits must have backlashed an attack at least once. The Beast will attack each grave in succession.
Note: Recharge your Prayer when necessary on the altar in the cave. If you do not bless the grave before the Beast finishes charging its attack, it will shoot the charged attack, which breaks into several smaller attacks when it hits the ground. These smaller attacks can deal up to 300 damage each. To evade its attacks, you must run under it to the other side of the room as soon as it charges the color of a spirit that has already backlashed its attack.
- After the three backlashed attacks, the Beast will die and Summer will appear by the altar. Speak to her and then to the Elders, who are at the entrance to this final part of the cave. They will thank you and ask you to meet them outside of the cave. Leave the cave and talk to the Elders again to receive your reward.
QUEST COMPLETED!

Jennica's Ring:
After completing the quest you receive an upgraded version of Jennica's ring. This ring can be used to access different portals across the Wilderness. To access a portal, stand on it, equip the ring, and then operate it. It also makes Revenants more generous when it comes to drops.
-
Chaos Temple Portal (Level 15 wilderness)
The portal at the Chaos Temple will grant you 7,500 Prayer XP when you enter that portal with at least 50 prayer. In that part of the Spirit world you may talk to a spirit about the God Wars, if you are wearing a Ghostspeak amulet.
-
Dark Warrior's Fortress Portal (Level 19 wilderness)
The invisible portal in the center of the Dark Warriors' Fortress will grant you 15,000 Defence XP when you enter it. You must have a Defence level of 80 to receive the XP. If you are wearing full set of black armor (full or med helm, platebody or chain, platelegs or skirt, kite or sq shield or 2h sword, and a weapon) then you will find a Tormented wraith. The Tormented wraith can drop spirit shields and Holy elixirs.
-
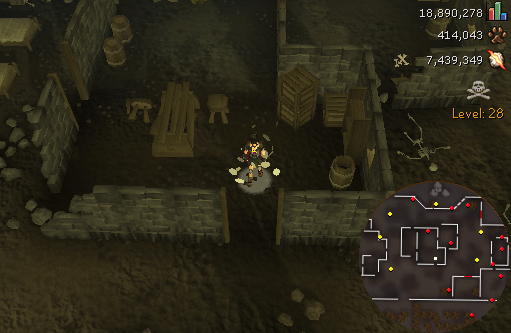
Ruins Portal (Level 30 wilderness)
The Portal at the ruins (where you planted the diseased limpwurt for the quest) will grant 15,000 farming XP to anyone with 50 farming. It also contains a cursed magic tree, which when cut down will appear as a normal magic tree in the real world.
-
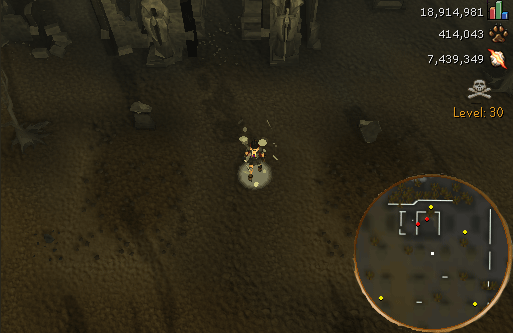
Summer's Farm Ruins (level 37 wilderness)
The portal at the Farm Ruins will grant you 7,500 Farming XP when you enter. You need to have 46 farming to receive this experience.
-
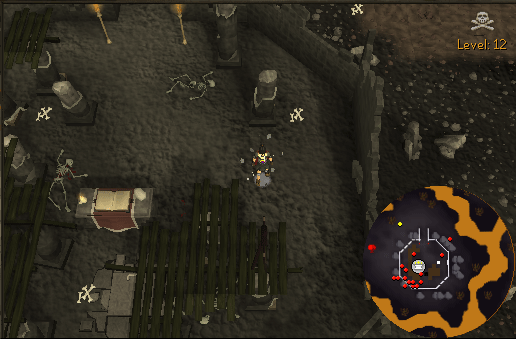
Forgotten Cemetery (Level 40 wilderness)
The portal at the Forgotten cemetary grants 15,000 prayer XP to anyone with level 50 prayer.
-
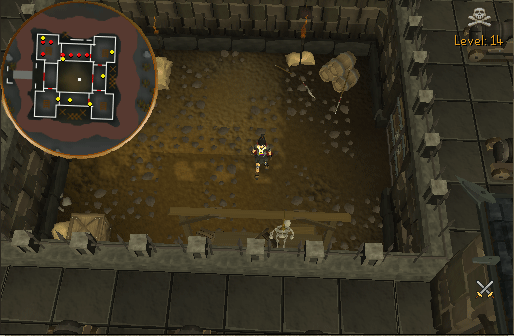
Abandoned Castle (Level 63 wilderness)
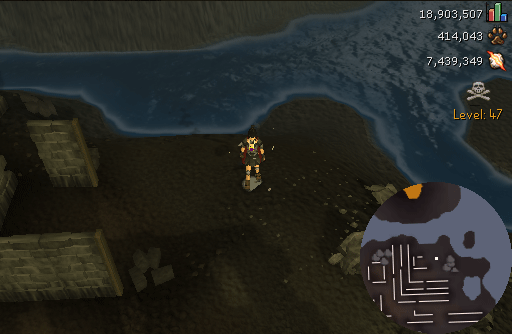
The portal at the Abandoned Castle will grant you 7,500 Smithing XP when you enter that portal. The portal is far east of the demonic ruins, at the water's edge.
-
Rogue's Castle (Level 70 wilderness)
The invisible portal at the Rogue's Castle will grant you 15,000 thieving XP when you enter it. You must have a thieving level of 60 to receive the XP. When you close the prison doors of the castle in the Spirit world, they will open up in the real world and free the rogue. As a reward for setting him free, you may visit him behind Lowe's Archery Store in Varrock. He will buy your unenchanted jewelery for around their high alchemy value.
-
Axe Hut (Level 73 wilderness)
The portal at the axe hut gives 11,250 attack XP to anyone with 50 attack or higher. This portal gives access to level 61 Ghostly warriors.
From the moment you enter in the Spirit world you are no longer considered to be in the Wilderness, and can therefore teleport from there out of the the Wilderness.
If you lost or destroyed the ring, you can get another one by searching through the rubble next to the wilderness wall where you started the quest.
Games Necklace
After you have completed the quest you will be able to use the Games Necklace to teleport near the Corporeal Beast's cave entrance.
This Quest Guide was written by JoeC and Alfawarlord. Thanks to I M Bad13, diamondi3ack, Saad786, Clamball, Eragon7985, lanka, Realruth, Runer112, Queen Cheli , halk, Avoricofgol, MysterySkater77,Tinychris1, Avoricofgol, Mandos Valar, Alizia, Goden engel, lildude, Motion Man, Aaron, King_of_Alba, papajohns777, Zameraz, and Jarkur for corrections.
This Quest Guide was entered into the database on Mon, Sep 15, 2008, at 05:07:24 PM by Alfawarlord, and it was last updated on Tue, Dec 06, 2016, at 08:14:57 AM by Jarkur.
If anything is incorrect or missing, or if you have any new information to submit to this database, please submit it to us on our Content Submissions Forums.
If you see this guide on any other site, please report it to us so we can take legal action against anyone found stealing our content. This guide is copyrighted by RuneHQ, and its use on other sites is expressly forbidden. Do not ask if you can use our guides or images, the answer is and always will be NO!
Print this page with images - Back to the Quest Guide Index Page - Back to Top
