

-
Head to the Grand Tree in the Tree Gnome Stronghold and ask King Narnode Shareen why he seems worried. You will then follow him down into the foundations of stronghold, where he will tell you that the Grand Tree's health is deteriorating for some reason. Offer your help and he tell you to take a Bark sample and a Translation book, which he gives you, to one of the Grand Tree's creators named Hazelmere.
Note: The easiest way to reach the Tree Gnome Stronghold is by using the Spirit Tree transportation system (requires completion of the Tree Gnome Village quest) or the Hot Air Balloon transportation system (requires completion of the Enlightened Journey quest).

-
Hazelmere can be found on the top floor of his house, on the small island east of Yanille. Although you cannot understand him at first, you will still give him Bark sample. Upon your request, Hazelmere will then give you a message. Use the Translation book to translate the Hazelmere's scroll. The message when translated says: "A man came to me with the King seal. I gave human Daconia rock and Daconia rocks will kill trees!"
Note: Beware of Jungle spiders (level 86) near Hazelmere's house. The easiest way to reach the small island is by using the Fairy Ring code CLS (after the completion of Fairy Tale Part II quest). Other options are to teleport to the Castle Wars arena using a Ring of duelling, or to teleport to Yanille using the Watchtower teleport spell (requires 58 Magic and completion of the Watchtower quest), Yanille/House tab and Lunar Port Khazard spell.

-
Return to King Narnode Shareen at the Tree Gnome Stronghold and tell him what the message says by picking each line from the list of lines. You may have to select "none of the above" if you cannot find the line on the list. The king will then send you off to Glough to inform him about the situation
Note: The easiest way to reach the Tree Gnome Stronghold is by using the Spirit Tree transportation system (requires completion of the Tree Gnome Village quest).
-
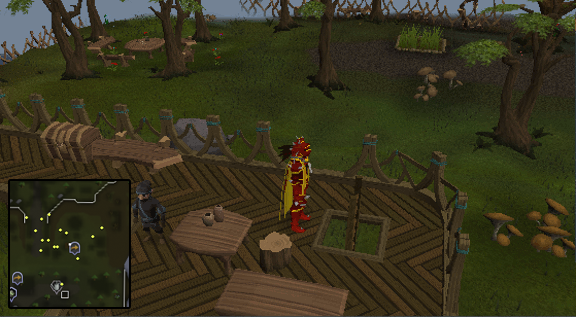
Walk down the ramp to the south of Grand Tree and climb up the ladder to the east of it to reach Glough's house. Inform him of what the king said. He will say that he will take care of it and that you should report back to King Narnode Shareen.
-
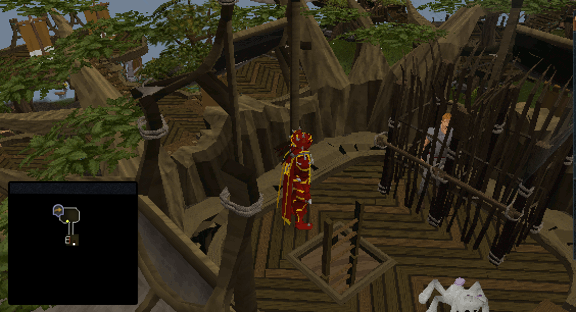
Head back to the Grand Tree where King Narnode Shareen will tell you that they have already caught the perpetrator. Ask him if you may see the prisoner. The king will then give you permission to visit him and tell you that the prisoner can be found on the top floor of the Grand Tree. Climb the nearby ladder to the top floor and talk to Charlie, the prisoner. He will tell you that he did what Glough told him to. Charlie will then suggest that you search Glough's house for evidence.
-
Open search the cupboard in Glough's house to find Glough's journal. Read it and accuse Glough of killing the tree. He will be furious and imprison you. Whilst in the prison, Charlie will suggest that you to talk to the Foreman of the Shipyard and will give away the password to "Ka-Lu-Min" to make the Shipyard workers think that you are working for Glough. King Narnode Shareen will appear and apologize for you imprisonment. He will then tell you to escape using the Gnome Glider.
-
Walk up to the Gnome Glider to the north and ask Captain Errdo to take you to Karamja. The glider will crash in the jungle just west of the Shipyard. Now, run east to the Shipyard and try to open the gate. A Shipyard worker will stop you and ask you for the password. Tell him that Glough send you and give him the password "Ka-Lu-Min".
Note: Beware of Jogres (level 57) in the jungle.
-
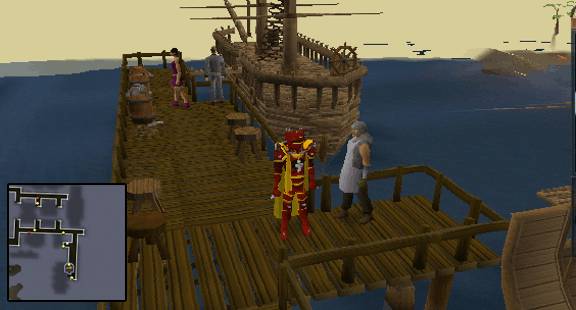
Once inside the Shipyard, find the Foreman on the docks to the east. You can now either kill him or answer his questions to show that Glough send you (see below). Once you have killed him or answered his questions, you will obtain a Lumber order to hand over to Glough.
- By the way how is Glough? Still with his wife? - Sadly, his wife is no longer with us!
- What's Glough's favorite dish? - He loves worm holes.
- What's the name his new girlfriend? - Anita
Note: If you get any of the answers wrong he will attack you. If you choose to talk to him, he will reveal Glough's plan to you.
-
Now, you will have to find a way to return to the Grand Tree. Since you cannot use the Gnome Glider as it broke down when you landed, you will have to find another way reach the mainland. It is advised that you use the teleport to East Ardougne, because you will end up not that far from the Tree Gnome Stronghold. Once you have made it to the mainland, there are 2 ways to get back into the Tree Gnome Stronghold. If you have completed the Tree Gnome Village quest, then the easiest way reach the Grand Tree is to teleport to the
Mobilising Armies area, using a Ring of duelling, and then use the nearby Spirit Tree to teleport to the Tree Gnome Stronghold. Otherwise you will have to make your way to the Tree Gnome Stronghold's gate. When you try to open the gates, the Gnome guards will not let you in because they think that you are a spy. Tell Femi, near the cart in front of the gate, that you need to get in and she will sneak you in by hiding you in her cart. If you have helped her before with getting her sacks through the gate, then she will sneak you in for free. Otherwise, she will charge you 1K Coins for her help.

-
When you have made it to the inside of Tree Gnome Stronghold, head over to the Grand Tree in the northeastern corner and talk to King Narnode Shareen. The king will yet again refuse to believe your accusations against Glough. Climb up the ladder to the prison and tell Charlie that you need proof to convince the King. He will then tell you that Glough left the key to his chest is at the house of his girlfriend Anita.
-
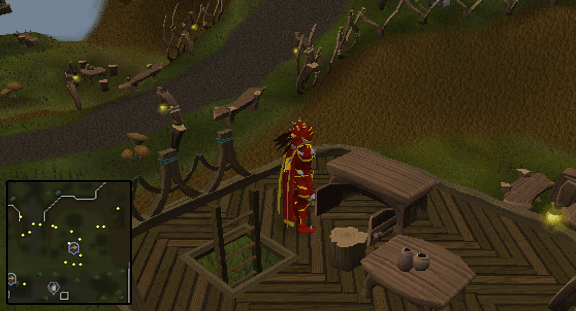
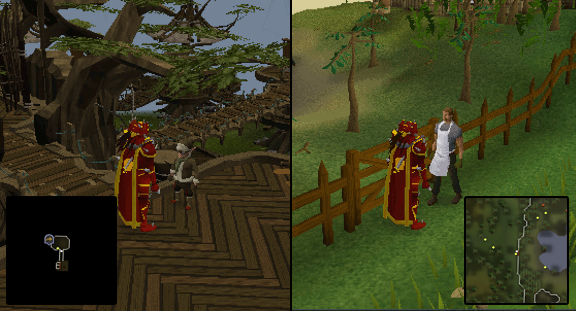
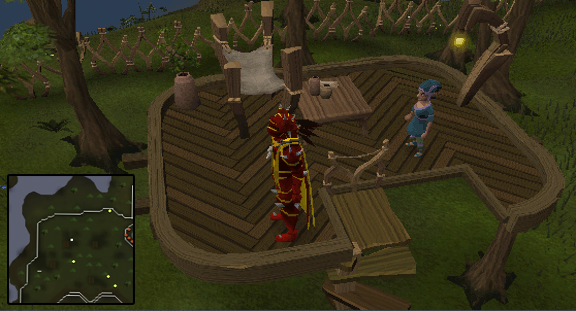
Head to Anita's house near the toad swamp, northwest of the Grand Tree, and talk to her. She will give you Glough's key and request that you return it to Glough.
-
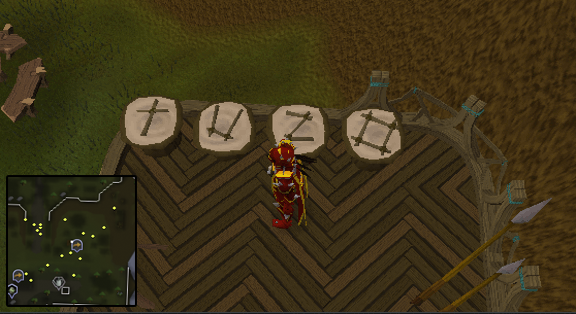
Go to Glough's house and open the chest to find his Invasion plans. Take this evidence to King Narnode Shareen. Once again he does not believe you and says that all they found when they searched Glough's house were 4 Twigs. The King will then give you these Twigs, which spell the word T-U-Z-O. With the help of the Translation book, you will discover that this word means O-P-E-N.
-
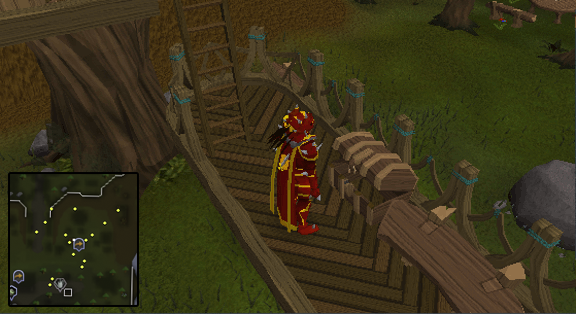
Return to Glough's house and climb up the tree to the watchtower. There, you will find a number of wooden pillars. Place the Twigs on the pillars in the following order: T on the far left pillar, U on the center left, Z on the center right, and the O on the far right pillar. Now, prepare yourself to battle a Black demon (level 98) using Melee/Magic/Ranged, before proceeding to the next step.
Note: If you have placed the Twigs on the wooden pillars in the wrong order, then simply pick them up from the pillars and try again.
-
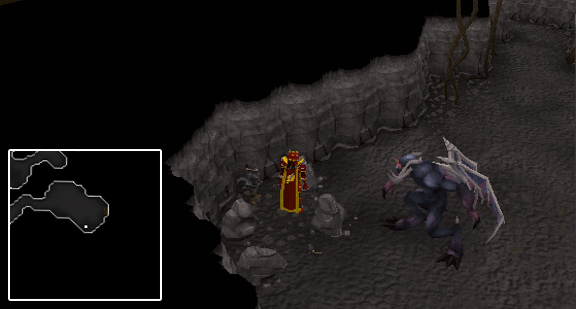
When you have geared yourself up, open and climb down the trapdoor to the south of the wooden pillars. You will end up in the Tree Gnome Stronghold's foundations where a conversation with Glough will commence. As soon as the conversation ends a Black demon (level 98) will appear which you must defeat.
Strategy: If you wish to kill him using Melee, then it is advised to turn on Protect from Melee. If you wish to use Magic, Ranged, or a Halberd to kill the demon, then run to one of the 2 safespots (see image below). The first option is to hide behind the blue rocks to the south. For the second safespot, run west into a narrow corridor where you will be safe for the demon's attacks.
-
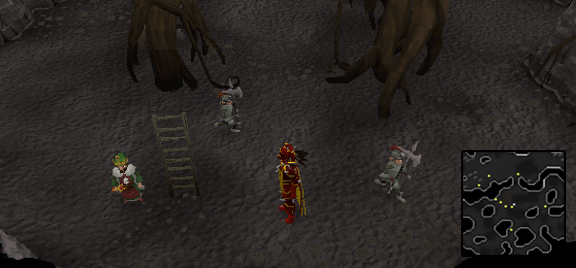
Once you have defeated the Black demon, Glough will flee. Follow the passageways until you spot King Narnode Shareen. Talk to him and he will express his concern that you are hurt. At this point you once again accuse Glough. He then sends a guard to check out your story. Once confirmed, he will ask you to help him one last time by finding the last Daconia rock. Search all of the roots in the area until you find it.
-
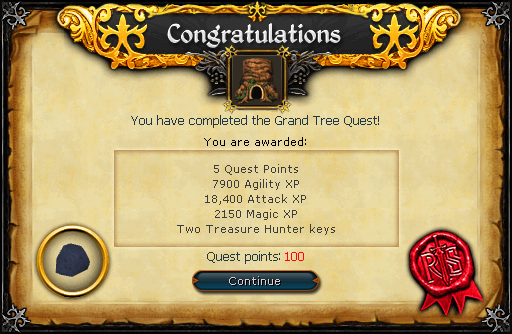
Give the Daconia rock to King Narnode Shareen to claim your reward.
Congratulations! Quest Complete!
Gnome Gliders:
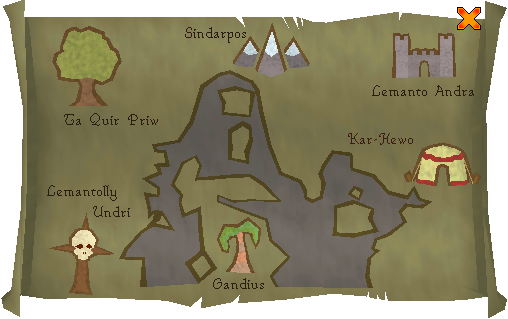
Upon completion of the quest, you unlock the ability to use the Gnome Glider transportation system. To use a gnome glider, talk to the Gnome pilot near a glider and select the destination you wish to fly to. Do note that you must first fly to Ta Quir Priw (Grand Tree). From there on, you may fly to any of the available locations. Sometimes, however you may crash and land short of where you were heading to.
Below is a list of the places you can fly to:
- Ta Quir Priw - The Grand Tree
- Lemantolly Undri - Western part of the Feldip Hills (requires completion of the One Small Favor quest)
- Gandius - South of the Ship Yard on eastern Karamja
- Kar-Hewo - Al Kharid
- Lemanto Andra - West of the Digsite
- Sindarpos - White Wolf Mountain
- Crash Island - East of East of Ape Atoll (requires completion of the
Monkey Madness quest)
Gnome Translation Guide:
-A-
Arpos: Rocks
Ando: Gate
Andra: City
Ataris: Cow
-C-
Cef: Threat
Cheray: Lazy
Cinqo: King
Cretor: Bucket
-E-
Eis: Me
Es: A
Et: And
Eto: Will
-G-
Gandius: Jungle
Gal: All
Gentis: Leaf
Gutus: Banana
Gomondo: Branch
-H-
Har: Old
Harij: Harpoon
Hewo: Grass
-I-
Ip: You
Imindus: Quest
Irno: Translate
-K-
Kar: No
Kai: Boat
Ko: Sail
-L-
Lauf: Eye
Laquinay:Common sense
Lemanto: Man
Lemantolly: Stupid man
Lovos: Gave
-M-
Meso: Came
Meriz: Kill
Mina: Time(s)
Mos: Coin
Mi: I
Mond: Seal
-O-
O: For
-P-
Por: Long
Prit: With
Priw: Tree
Pro: To
-Q-
Qui: Guard
Quir: Guardian
-R-
Rentos: Agility
-S-
Sarko: Begone
Sind: Big
-T-
Ta: The
Tuzo: Open
-U-
Undri: Lands
Umesco: Soul
This Quest Guide was written by pj and Alfawarlord. Thanks to Shinraz, Swaty, Koppen, micka190, Pingpong7172, kang227, Your Homey 1, jacobzcoool, Pirate Bob49, faital03, xxtigurxx, Hafling, Tim8607, Ju Juitsu, flatlander20, T man300, pokemama, acdcfreak64, Keystone, amiele, Poofy, Robin Hewd24, dragoon889, Burtybob, BeastLordZor, Hilwin1, Toeby, Jarkur, and Xenocrime. for corrections.
This Quest Guide was entered into the database on Sat, May 08, 2004, at 02:19:43 PM by Freakybat, CJH, Headshot, and it was last updated on Sun, Jun 17, 2018, at 01:09:07 PM by Ksb Single.
If anything is incorrect or missing, or if you have any new information to submit to this database, please submit it to us on our Content Submissions Forums.
If you see this guide on any other site, please report it to us so we can take legal action against anyone found stealing our content. This guide is copyrighted by RuneHQ, and its use on other sites is expressly forbidden. Do not ask if you can use our guides or images, the answer is and always will be NO!
Print this page with images - Back to the Quest Guide Index Page - Back to Top
