

Note that you only need to have completed the Evil Dave section of Recipe for Disaster, not the entire quest.
-
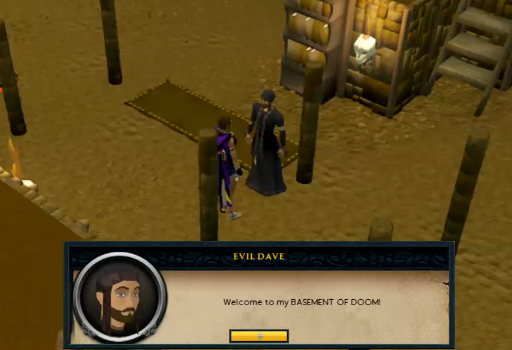
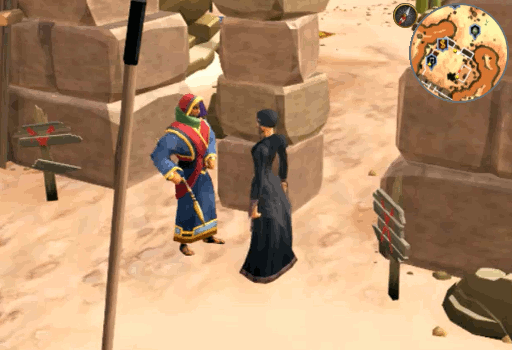
Travel to Edgeville, climb into the basement of Doris' home, and speak with Evil Dave. Talk to him about quests and he will tell you that he has no time for them because Zamorak has returned to Gielinor! Despite having sent Zamorak an obscene amount of letters, that were never replied to, it would seem that Dave cannot get Zamorak's attention. In another attempt to do such, Dave has decided to conduct a RITUAL OF ULTIMATE DOOMLEY EVIL and he requests your assistance.
-
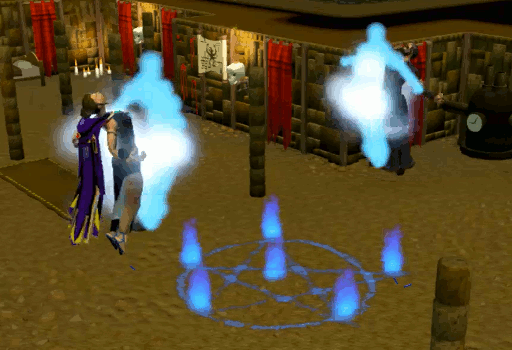
Resigned to helping Dave, he will hand you the TOME of UNSPEAKABLE EVIL and instruct you that you must say the words exactly as they appear in the book because "Should you misspeak but a single syllable, the consequences could be catastrophic indeed!" With this in mind, a cutscene will occur and the ritual will take place. Unfortunately, because Dave has horrible handwriting you can't read the words correctly and the ritual is a disaster.
-
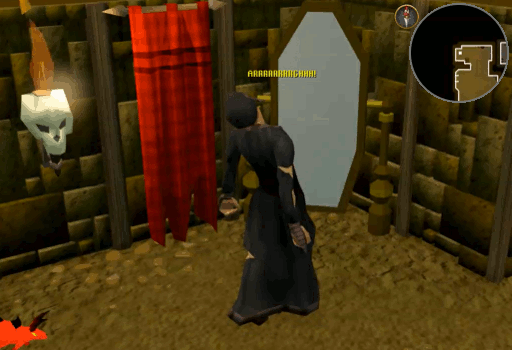
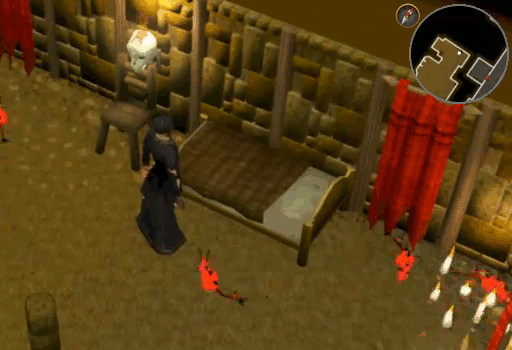
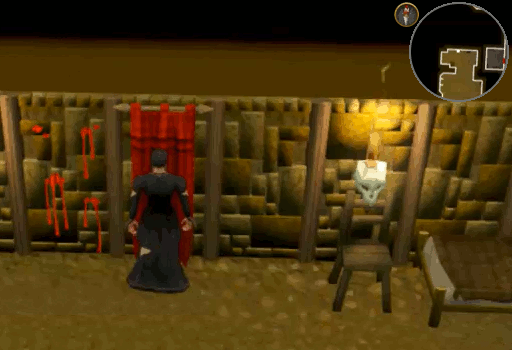
After a bunch of spinning and flashing lights, you will awaken feeling groggy with Dave no where in sight. Ever concerned that you're looking good, you will want to check them in a mirror. Luckily, Dave has one in the North West corner of his room. Walk over and admire yourself and you will come to the realization that the two of you have switched bodies.
-
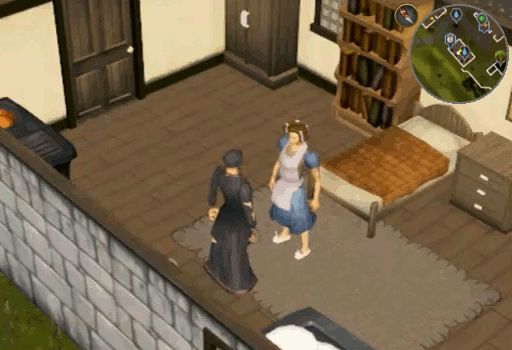
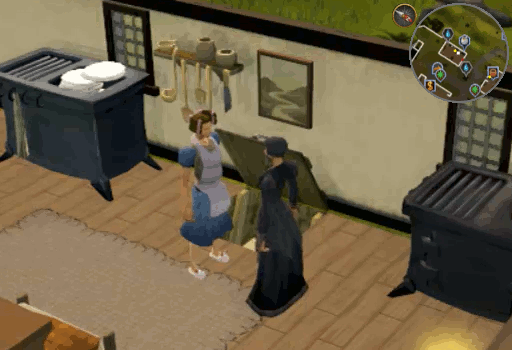
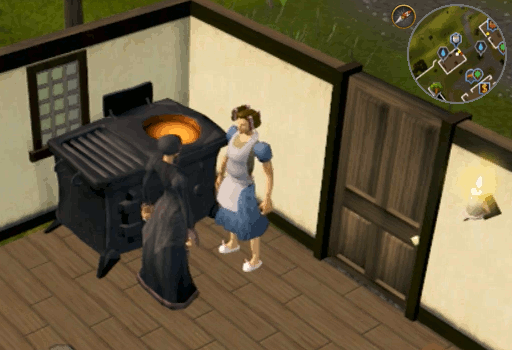
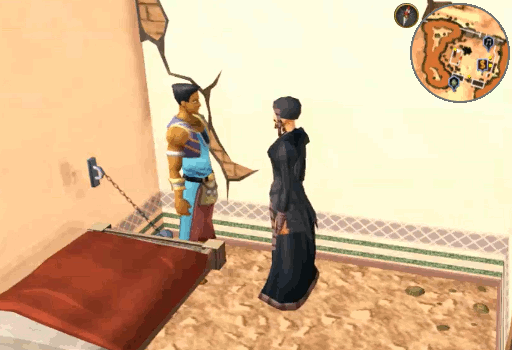
As you're drawing your conclusions that this isn't a dream and you very much need to find Dave, Doris will call for Dave from upstairs. Climb the stairs slightly South of the mirror and speak with Doris. After a tangent about how you are a bad influence on Dave, Doris will be fed up with your "lie" about not being Dave then will ground you and insist that you do your chores: sweeping, washing dishes, chopping vegetables, and cleaning your bed.
-
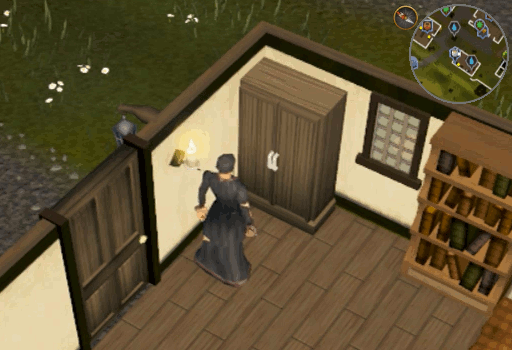
Walk to the wardrobe in the North East corner of the room and search it. Inside you will find a Tattered old broom and some Bed bug cleaner. Remove both then search the shelves just North of the sink to find Dishwashing soap.
-
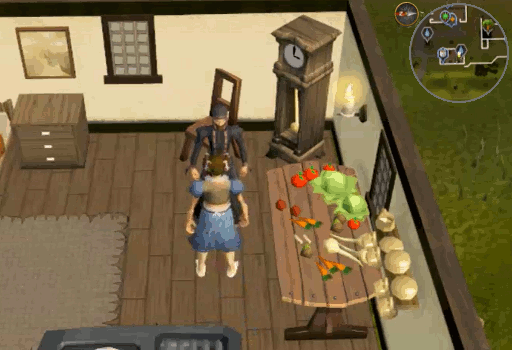
Now to begin your chores. Clicking each one of the areas will open an interface where you can see the items needed to complete the chore and possibly humorous other options that you will not always be able to complete.
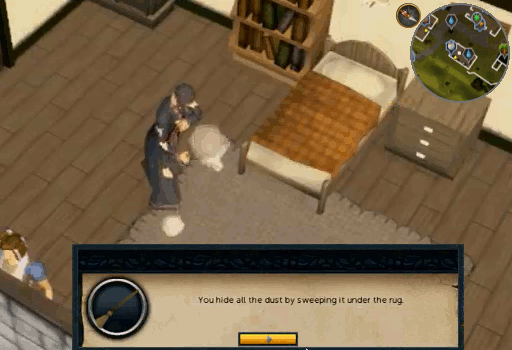
- Start by sweeping the rug in the center of the room. Cunningly you will sweep the dirt beneath it and be done with the task.
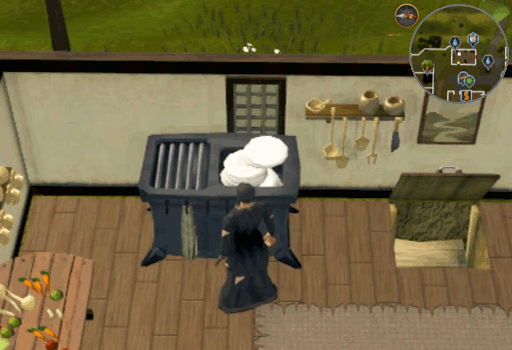
- Next walk to the sink on the West side of the room and wash the dishes. With the dishes done, you will be able to search the sink for a knife by right-clicking and selecting "take knife".
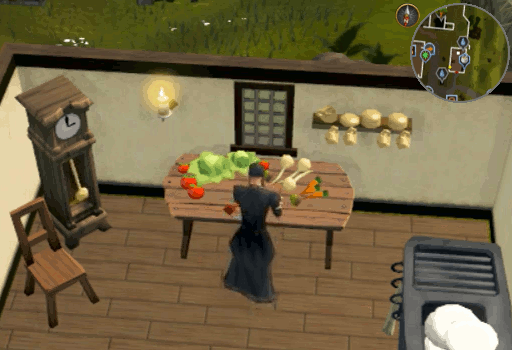
- Walk South to the table covered in vegetables and chop them up for a stew. With all the chores in the kitchen complete, you will be able to finish the last one.
- Enter the basement and walk to the bed along the North wall. Choose to create the Incredibly shiny bed and you will clean it before laying down to take a nap.
- Start by sweeping the rug in the center of the room. Cunningly you will sweep the dirt beneath it and be done with the task.
-
A cutscene will begin showing your dream. It's Evil Dave masquerading in your body, trying to win Zamorak's favor by doing a task for him. Not quite able to put his finger on it, Zamorak realizes something is up and asks Moia to ensure that things go according to plan.
-
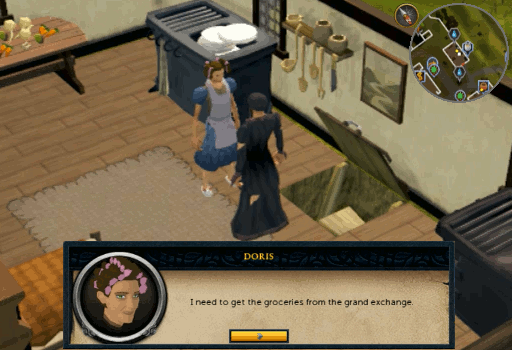
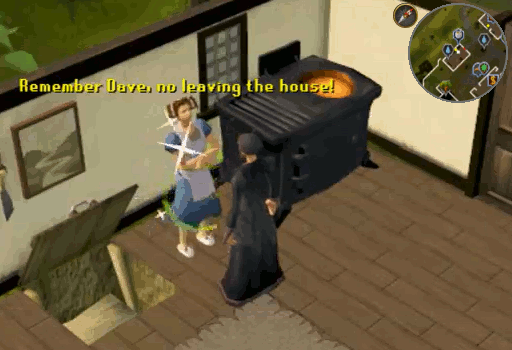
Waking up from your nap, you will decide that you should check in with Doris since the chores have been completed. She will tell you that she is going to go to the Grand Exchange to buy some groceries. Because you are grounded, you need to stay inside the house; should you leave while she is gone, she will know and you will be double grounded.
-
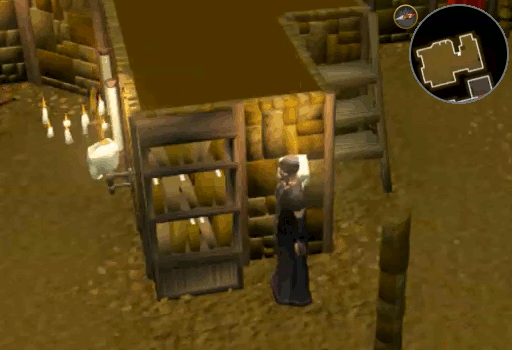
Once she has left you will finally be free to find Dave's spellbook. Return to the basement and search the bookcase just South of the stairs. Note that choosing the 2nd chat option here, "No, I need to find the spellbook", will allow you to skip extra dialogue that is unnecessary. Having located the book, you will find that it is locked and will require a special phrase to open it.
-
Walk North and search the curtains on the West side of the bed. Behind it you will find a note explaining that Dave is banned from Falador due to the "Hugs for Zamorak" incident as well as 1 Law, 1 Earth, and 1 Air rune.
-
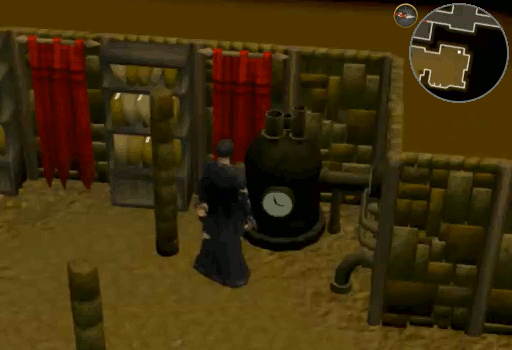
Go to the South Eastern corner of the basement and search the Southernmost boiler. Behind it you will find a note with a tiny spider on it. After freaking out about the spider like Dave would, you will read the note to find that it says "Evil is the best!" Investigate Dave's spellbook and you will try to use this phrase to open it. Luckily it works and you will skim through it to discover that you will need him to be present for the ritual to properly work. Thanks to your dream vision you know that he will be heading for Falador, unfortunately Dave's body is not welcome there so you decide to visit the Make-over mage to help disguise you. When ready, investigate the spellbook and choose "Yes" to teleport to the Make-over mage.
-
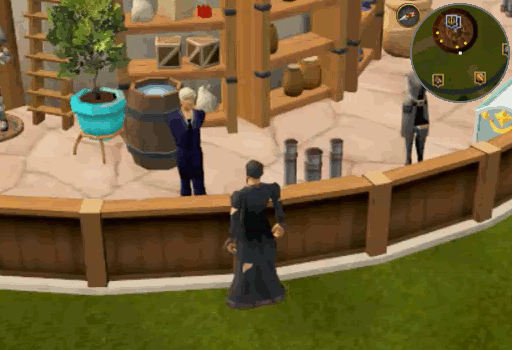
When you cast the spell, you will unfortunately not find yourself where you intended, you will be in the Grand Exchange with Doris mere steps away! Quickly you teleport behind a nearby pillar and realize that the spells for the Grand Exchange and Make-over mage are swapped. Having solved that problem, you now have a new one: no runes to cast the spell with.
-
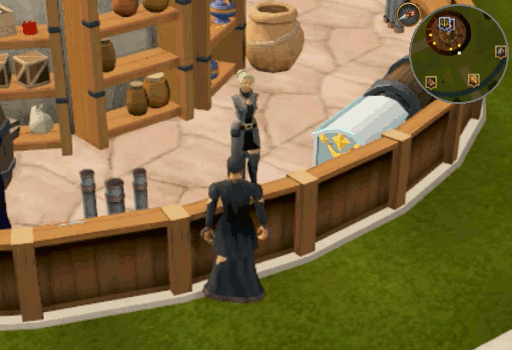
Walk to the center of the Grand Exchange and speak with one of the bankers. You will find that Aubury's Rune shop is holding a competition of sorts and the prize is just what you need: an Earth rune. Continue through the conversation and you will correctly guess that there is only one within the jar. Speak with the banker again to access your bank. Make sure you withdraw the Law rune, the Emergency flask of stew, and the Old rug. The rest can also be taken, but are not used and thus unnecessary.
-
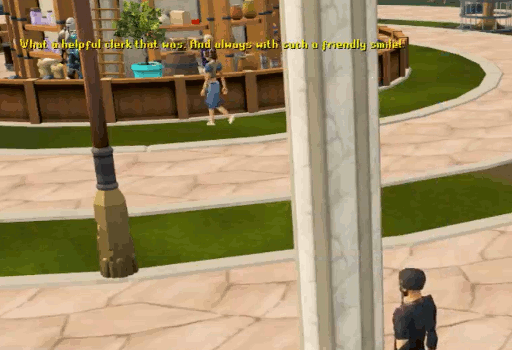
Speak with a nearby Exchange clerk and they will remind you that due to the Shadow dye incident, you are not allowed to use the Grand Exchange. With a little convincing the clerk will agree to allow you get some Air runes, but they need something to drink in exchange. Use the Emergency flask of stew on them and you will be told that it is too spicy so they cannot drink it.
-
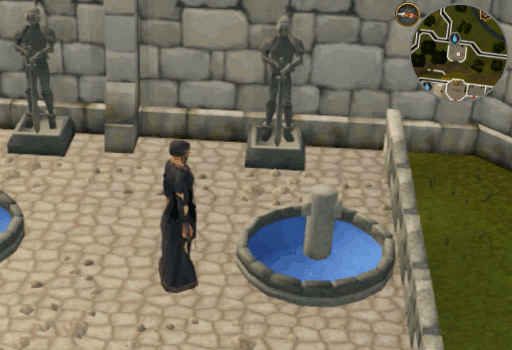
Exit the Grand Exchange to the East and walk slightly South to the fountains. Drink the stew yourself then use the Empty flask of stew on the fountain to obtain a Flask of stew-water. Return to the clerk and give them the water. They will happily drink it and give you 3 Air runes.
Note: The fountains located in the Grand Exchange can now be used as a source of water.
-
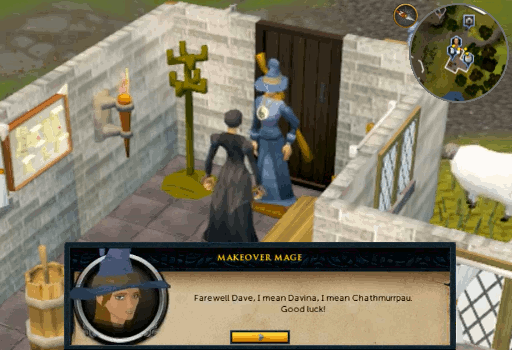
With the rune issue solved you will automatically teleport to the Make-over mage. After the expected confusion and explanation, she will agree to help transform you into a woman. Once you have been transformed and your female name decided, she will teleport you home just in the nick of time.
-
As you are returning so is Doris and she smells something amiss. It seems that you smell unusually fresh. Choose whichever lies you like during the questioning and in the end, you will admit to Doris that you left the house to be transformed into a female. Unphased by your gender-swap, Doris is more upset that you left the house when grounded and as a result double grounds you.
-
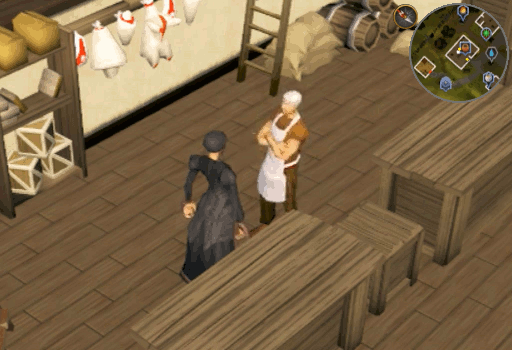
Being grounded again, you will now need to perform your chores once again. Unfortunately, as you are attempting to complete the kitchen chores, all of your items will break. Speak with Doris and she will tell you that the items can be replaced at the General store just North of the house.
-
When you have finished talking with her walk to the front door and choose the "Go to shop" option. You will then be able to leave the house and walk North to the General store. Once inside, speak with the Shop keeper and throughout a conversation he will replace all of your broken items.
-
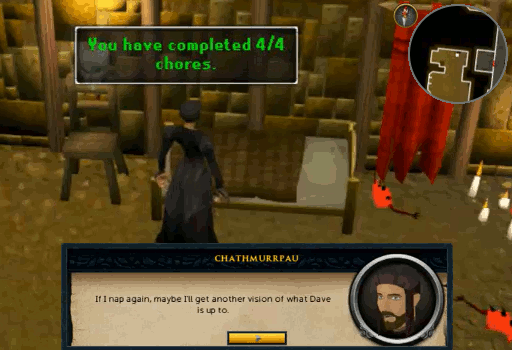
With new tools for your chores, return home and complete them. Sweep the floor, wash the dishes, chop the vegetables, and clean your bed. Since you intend to take a nap this time, you will make sure it is extra clean before laying down.
-
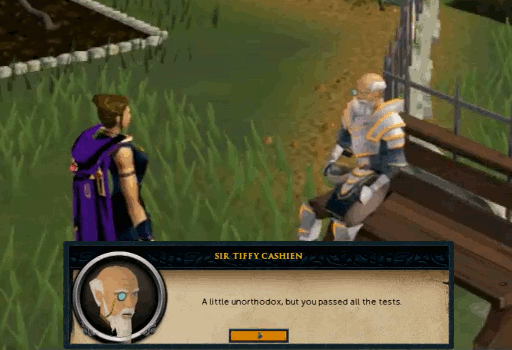
Within your dream vision, you observe Dave speaking with Sir Tiffy and completing the tasks to become an Elite White Knight. As it concludes, you discover that there will be a meeting at the Castle.
-
Waking from your dream vision, it is apparent that you need to make it to the castle to try and stop Dave. Since your chores are completed, you will need to inform Doris. Walk up the stairs to the main floor and speak with her. She will tell you that she is going to see Gertrude and that you are to remain in the house because you are double grounded. As soon as Doris leaves you will ignore her warning of triple grounding. Exit through the front door and continue the quest.
-
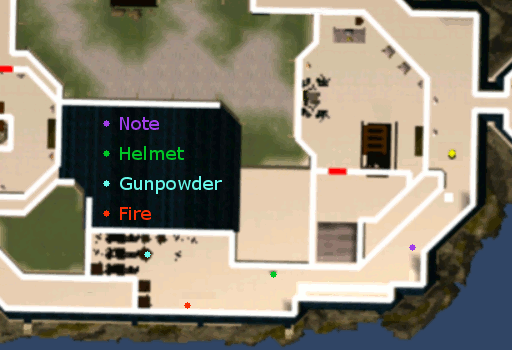
You will now find yourself high upon the castle and in need of a way to finish sneaking in. Pick up the Hand-written note just North of you, then walk West around the building. Just around the corner you will find a suit of armor, search it to find a Knight's helmet. Continue West and search the crates to find a Lump of gunpowder. Use the helmet with the gunpowder. Then use the note with the Knight's helmet filled with gunpowder to create a Knight's helmet filled with gunpowder and a fuse. Use the helmet with the torch on the Southern wall to and you will now have a Lit decoy bomb.
-
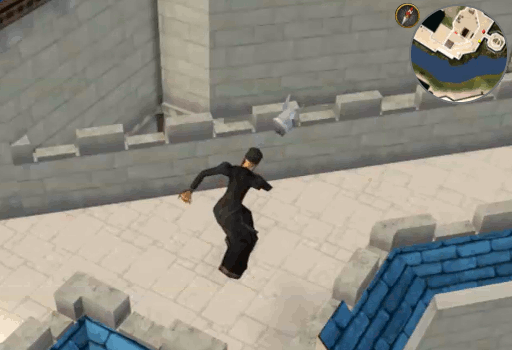
Walk East to the corner where you found the note. Throw the decoy and it will distract the guard before blowing him up, leaving only Charred white boots which you can pick up. Oops.
-
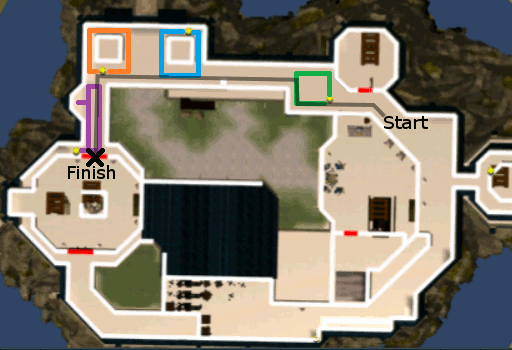
Walk North West around the end of the building and you will discover 4 guards making their rounds in specific patterns. You will need to make it past all of them to the doors at the far Western end of the building. This can easily be done with good timing, just wait for the guard to face away from you and run behind him. Note that getting caught by the guards will reset your location, causing you to have to sneak past them all again.
-
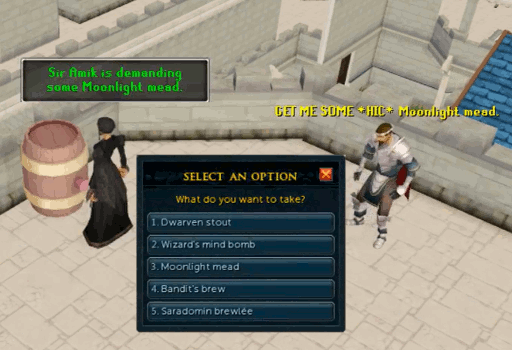
When you enter the doors, you will find yourself at the top of the tower at the Barbeque party of the White Knights with Sir Amik Varze in a rather tipsy state. In order to get any information out of him, you conclude that you must first get him even more drunk. Walk to the keg along the South wall and wait a moment. Sir Amik Varze will begin to yell out drinks that you must now fetch for him. Remember to be quick as he will call out a new beverage within 10 seconds! Failing to bring him the correct drink or taking too long will force you to leave the area and make it so you have to sneak past the guards again.
-
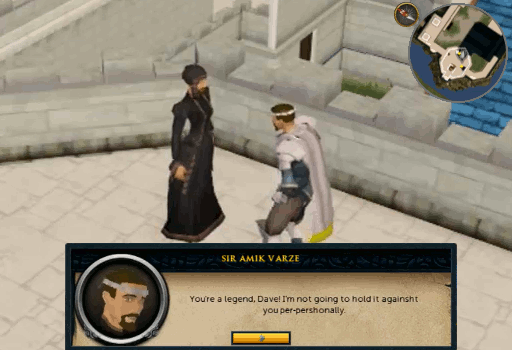
After getting Sir Amik Varze fully intoxicated, he will recognize you as Dave and still manage to inform you that there is to be a secret meeting held within the desert and that "you" have just left for. With the information you came for, you will make a hasty exit in an attempt to get home before Doris does.
-
Unfortunately, as you return home you hear Doris in the basement. When she comes upstairs she will hug you in greeting and notice that you are covered in mud. Choose whichever lies you like when she asks where it came from, once again, in the end you will tell her the truth and end up triple grounded.
-
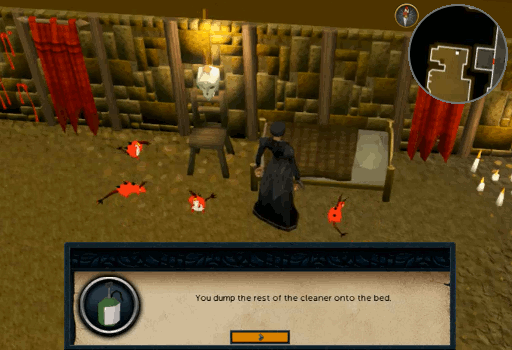
Complete your chores yet again: sweep the rug, wash the dishes, somehow cut the vegetables smaller, and clean your bed. You will decide that the extra fumes from the Bed bug cleaner may assist with your visions so you dump the remaining liquid on the bed before laying down.
-
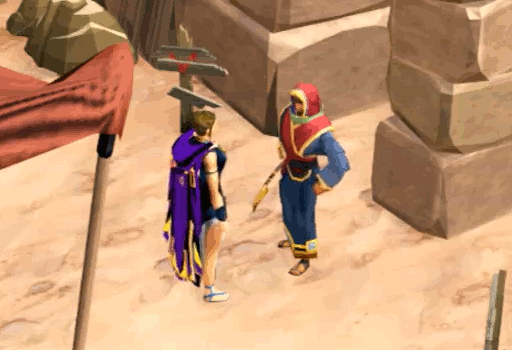
A cutscene will begin and show you Dave getting past Shantay on his way to the secret meeting in the desert. As he actually goes through Shantay pass, Doris will wake you up to tell you that she has to leave again and that you need to be good while she is gone.
-
Now that she has finally left, you're ready to head to Shantay pass and the desert beyond, but before you can go you hear a loud crash. It seems that Margaret has brought her children for a visit and Kevin says that you should go say hello. Walk to the South West area of the room where you will find the Hell-Rats Margaret and Felicity talking.
-
Speak with the 2 Hell-Rats for a bit and you will agree to watch 3 of the rats for a while and take them with you to the desert for your mission. Now you must assemble your team. There are several Hell-Rats scurrying about the Southern wall of the basement. Choose any 3 you can manage to click. Once "Dave's Doom Squad" has been assembled, walk up the stairs and you will walk to Shantay pass.

-
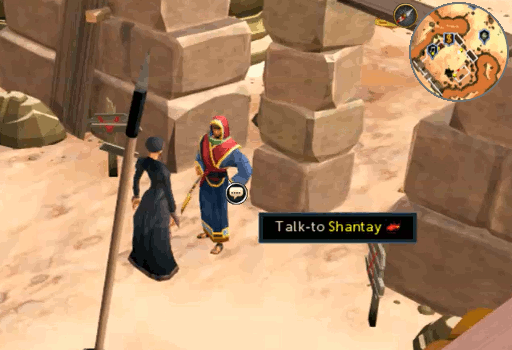
Speak with Shantay and try to travel through the pass. Unfortunately, he will stop you because you are carrying contraband. He will then take all of your cleaning supplies and attempt to take the Hell-Rats as well. Unable to part with them, you must find another way to get them past.
-
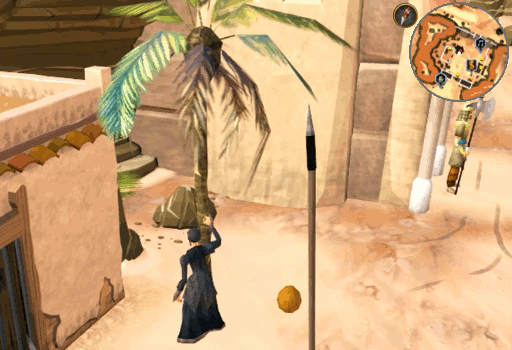
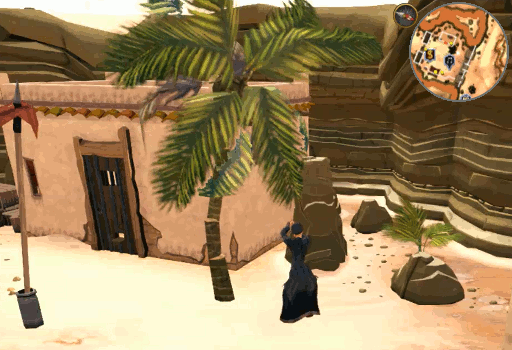
Walk North West to the coconut tree and shake it to get a Coconut, then speak with the person in the jail cell. He will agree to opening the door if you get him a tropical drink. Take your Coconut to Shantay and ask him to demonstrate his sword skills on it. He will do so and you will receive a Coconut shell and a Coconut drink.
-
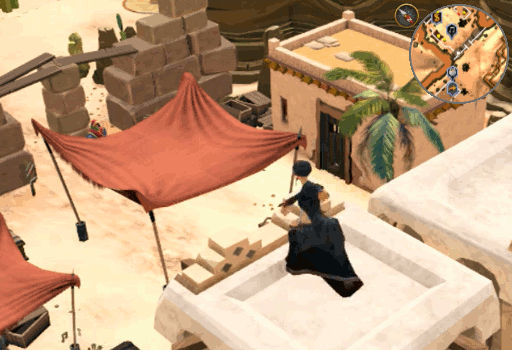
Add a Hell-Rat to the Coconut shell then climb the rope on the North East wall. Once to the top, throw the Shell-rat. Your tiny companion will be tossed onto the nearby awning and bounced across the Shantay Pass. 1 rat down, 2 to go.
-
Climb down the rope and return to the jail cell. Click the door and you will give the Shady man the Coconut drink before being allowed inside. Speak with him and he will inform you that he is addicted to staking. In his attempt to break this addiction, he is getting rid of all of his worldly possessions and gives you a Jewel.
-
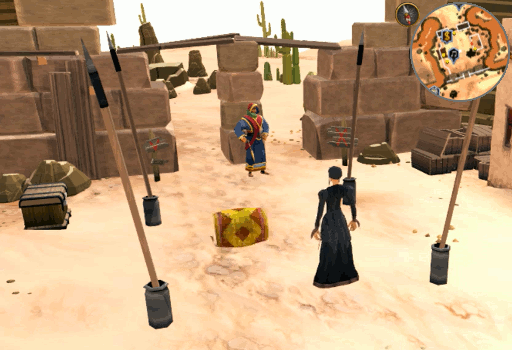
When your conversation finishes, search the barrel in the South East corner and you will pick up one. Add a Hell-Rat to the Barrel then step outside and attempt to roll it through the pass by standing North of the gateway and rolling the Barrel. Shantay will stop you from rolling it through as barrels are not allowed through the gateway. Use the Old rug to disguise it as a Carpet roll then attempt to roll the Barrel again. This time you will be successful. 2 rats down, 1 to go.
Note:If for some reason you did not grab the Old rug from the bank before, or have since lost it, use the bank chest near Shantay to get it now.
-
Speak with the Boarder guards to the North and you will offer to give them the Jewel if they can trade you anything useful for it. After listing off several items that he can trade you for, he will mention that he has a rope. You will gladly trade him for this as it's just what you need. Return to the coconut tree and use the rope on it. You will then turn the coconut tree into a catapult and use it to fling the remaining Hell-Rat to the other side of the pass.
-
Task complete! Return to Shantay and speak with him. Now devoid of any contraband, he will allow you to pass into the desert.
-
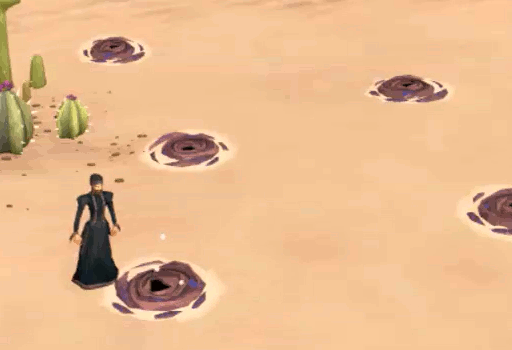
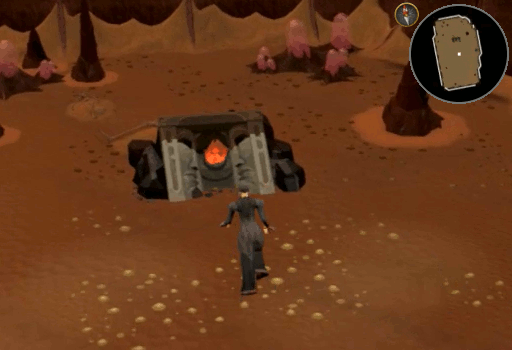
On the other side of the pass you will find yourself near a bunch of holes. Look for the one with a slight shimmer above it and click to reach inside. You will deposit one of the Doom Squad in to investigate. The Hell-Rat will hear voices farther in and you will ask it to see if there is a way for you to get in.
-
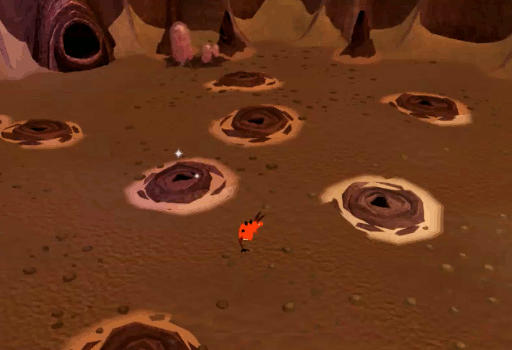
The Hell-Rat will climb farther into the hole to look around. You will now have control of the Hell-Rat and must again find the hole that shimmers.
-
As you make it though the 4th shimmering hole, you will find your Hell-Rat self with 3 White Knights in front of a Resource Dungeon entrance. Once they have entered, walk over and click the entrance. You will then place your Hell-Rat ear against it and listen to Saradomin conversing with the knights. After hearing a bit, the Hell-Rat will decide it is time to go fetch you.
-
Once the Hell-Rat leaves, a cutscene plays showing Saradomin and the White Knights conversing in Daemonheim with Dave spying on them. He will manage to give away the fact that he is there and cause a bit of a commotion among the meeting.
-
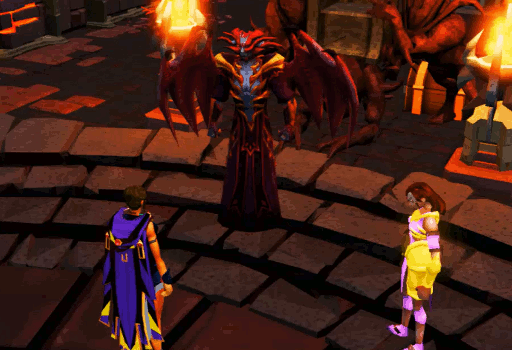
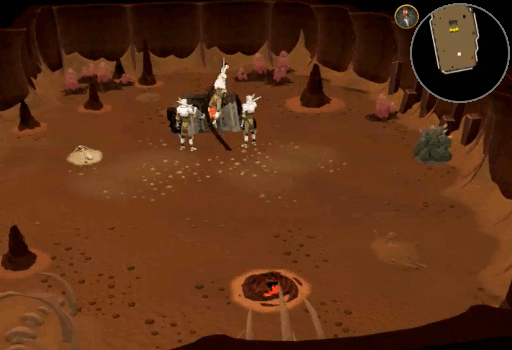
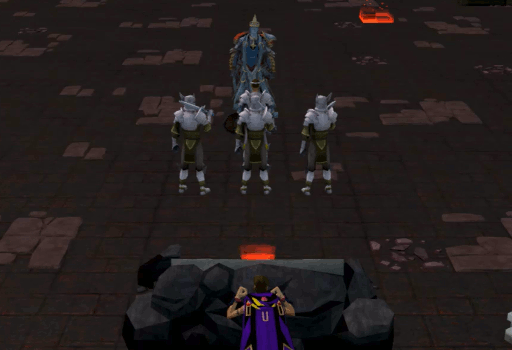
The cutscene ends and you find yourself at the entrance of the Resource Dungeon. Enter and confront Dave. He will refuse to bend to your demand of completing the ritual and tie you up. A conversation will continue between Saradomin, the knights, and Dave until Zamorak shows up and kills a Knight. This will freak Dave out and he will run and hide.
-
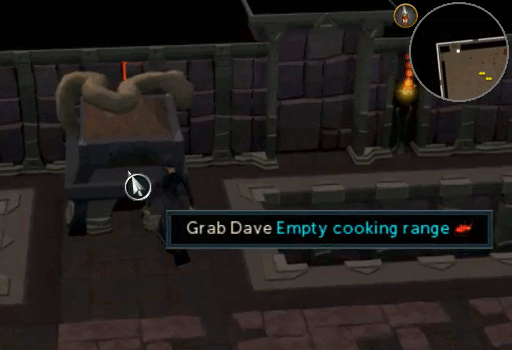
A Black knight will untie you and a fight will commence between the Black and White Knights. Run South and grab Dave from the empty cooking range. He will explain that the fact someone died is far from what he had anticipated happening and not evil at all.
-
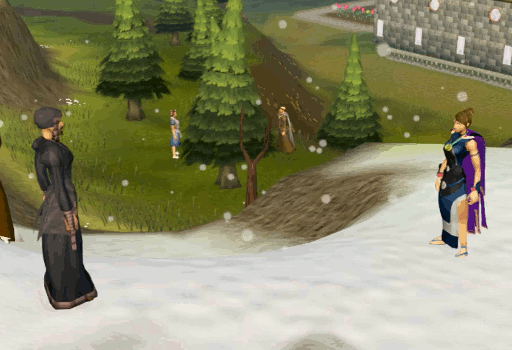
Finally pulling him out of the cooking range you guys will attempt to teleport home. Unfortunately, you both cast a teleport spell and it seems that you ended up in the Goblin Village where Dave teleported you. To make matters worse, Doris is right there and spots the two of you, one of which is a bad influence and the other triple grounded. She will drag both of you back to the house. You are banished to the basement and Dave is cornered upstairs where Doris intends to give "you" a piece of her mind about your interactions with her son.
-
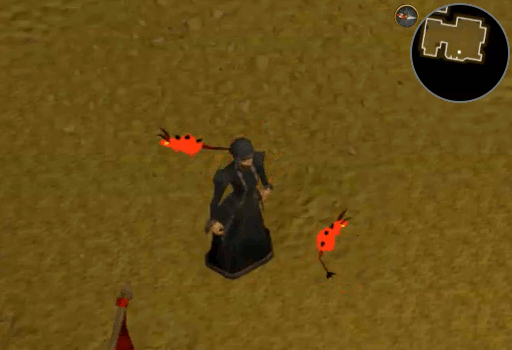
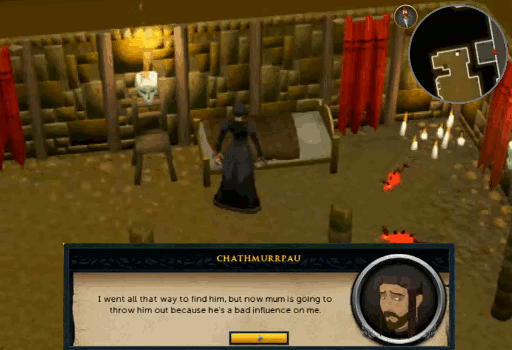
Now in the basement, the Doom Squad will scatter, except for the first recruit. This Hell-Rat will ask what is wrong before suggesting you sit on the bed to discuss it. Walk to the bed and click on it to prompt the conversation. After explaining the situation to the Hell-Rat, you will decide that you might be able to swap bodies back with Dave still in the house before Doris throws "you" out. But you will need someone unspeakably evil to perform the ritual with.
-
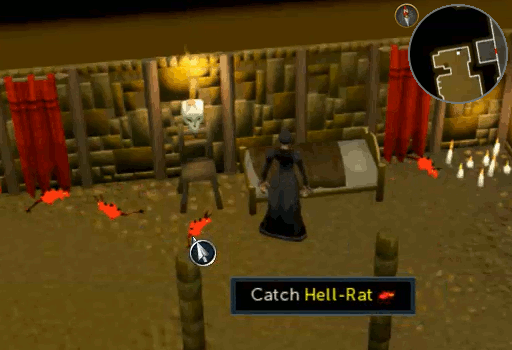
The recruit will inform you that Hell-Rats are just that. Walk around the basement and catch Hell-Rats. When you've gotten 5 you will have collected all that you need to perform the ritual, however, you will need to catch 1 more for it to begin.
-
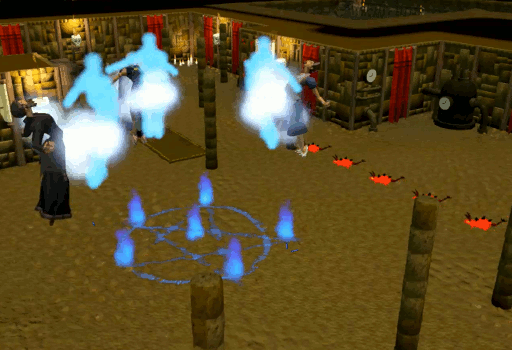
A cutscene will begin as the ritual starts. You and the rats perform the ritual as intended. Unfortunately, Doris and Dave will interrupt as it is coming to the end. A bunch of flashy lights and spinning will happen like before and you will all pass out.
-
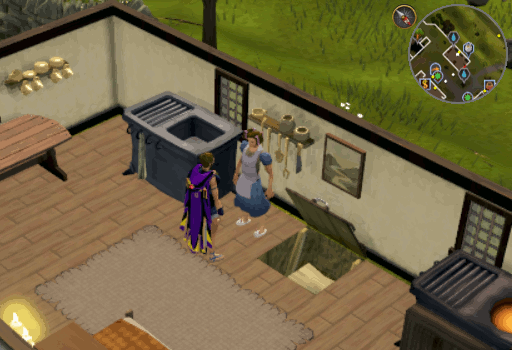
When you wake up, you will find yourself in the kitchen and in your proper body. Doris will be standing next to the basement. Speak with her and you will discover that it is actually Dave. Apparently, this is a good thing for them as it means Doris gets a break from the aches and pains of her body, so all's well that ends well.
QUEST COMPLETE!
This Quest Guide was written by ChathMurrpau. Thanks to Flama and 3ter 1 for corrections.
This Quest Guide was entered into the database on Tue, Nov 28, 2017, at 07:05:56 PM by ChathMurrpau, and it was last updated on Sun, Jul 16, 2023, at 04:13:46 PM by 3ter1.
If anything is incorrect or missing, or if you have any new information to submit to this database, please submit it to us on our Content Submissions Forums.
If you see this guide on any other site, please report it to us so we can take legal action against anyone found stealing our content. This guide is copyrighted by RuneHQ, and its use on other sites is expressly forbidden. Do not ask if you can use our guides or images, the answer is and always will be NO!
Print this page with images - Back to the Quest Guide Index Page - Back to Top
