

-
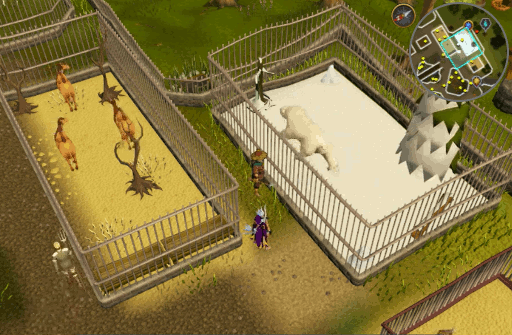
Talking to Chuck you discover that the Penguins are up to no good as usual. He asks you to find Mundsen and Skot in Rellekka to obtain more information. He will give you a secret phrase so that they will know it is safe to talk with you. This phrase differs for everyone, so be sure to make note of the words in blue. They will be a location, weather, and a food. "The weather on the (location) is (weather) and the (food) are to die for."
-
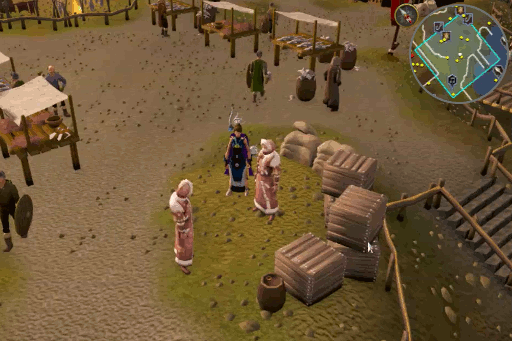
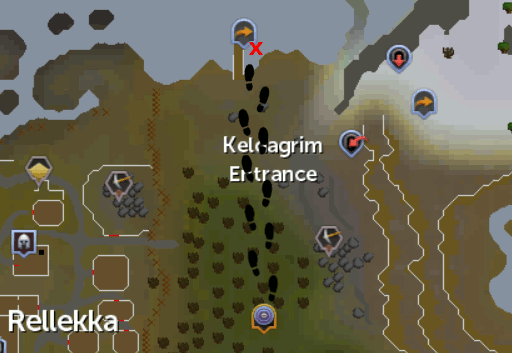
Teleport to Rellekka using the Fremennik lode stone. Walk inside the city to the South Eastern most pier and talk to Mundsen or Skot. After giving them the code phrase, they will inform you that the penguins have been making a lot of suspicious noise as of late and someone is needed to investigate. As you are talking with them, things will begin to rumble. A cutscene will occur culminating in a strange blue machine landing in the desert.
-
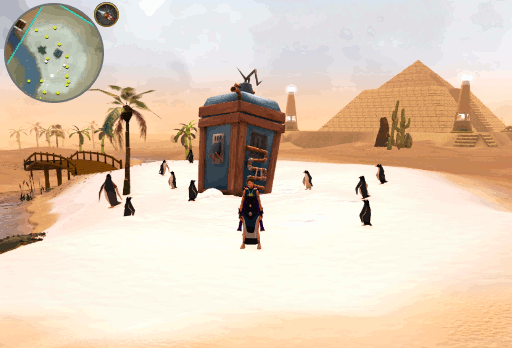
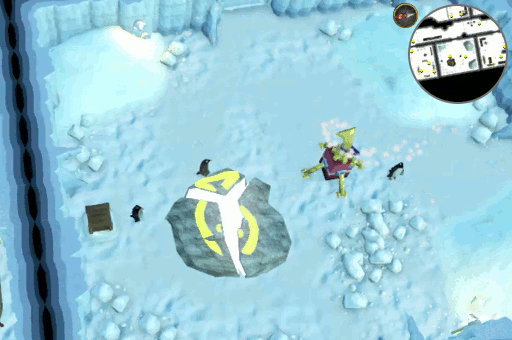
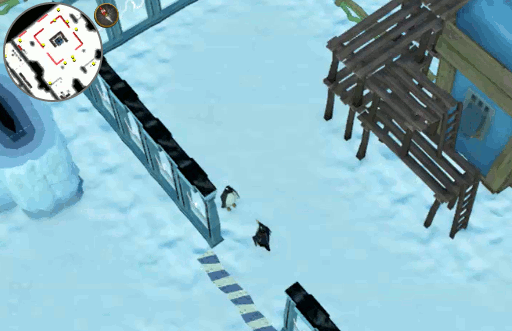
Since Mundsen and Skot won't go, it is up to you to investigate. Travel to Pollnivneach using your method of choice. Some suggestions include: using a Desert amulet (2, 3, or 4) to Nardah then taking a carpet ride; using the Al Kharid lode stone, walking South to Shantay Pass and taking a carpet ride; or using the Bandit camp lodestone and running East. South West of Pollnivneach you will find a large blue machine sitting near the edge of the river. Investigate it and you will learn that it is a Terraforming Arctic Refrigeration Dispersing Ice Spreader, or T.A.R.D.I.S. for short.
-
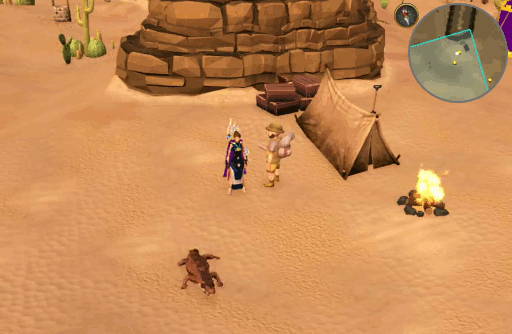
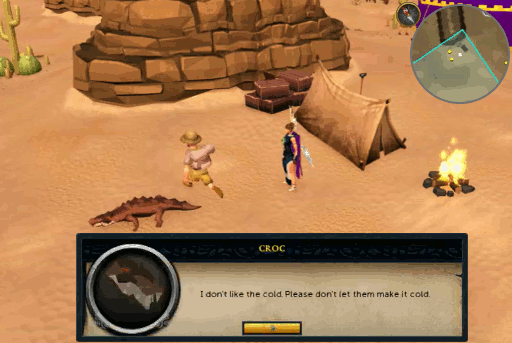
North East of the T.A.R.D.I.S. you will find the person most likely to have witnessed the landing and anything else that may have occurred. Unfortunately, it seems that Dundee wasn't looking when the T.A.R.D.I.S. landed. He was busy talking to the local crocodiles. He will give you a Crocspeak amulet so that you can converse with the nearby Croc.
-
After a panicked complaint about what the penguins are doing and how it would be great if someone could time-travel to prevent it from happening, you will learn that he used to know Chuck. Croc will seem pretty convinced that he should know what to do, with no other leads at the moment, returning to Chuck seems like your best option.
-
Return to Chuck using the lodestone network or an Ardougne cloak (1,2,3, or 4). He will inform you that there was once a spy placed within the penguin network that is so secretive that even he doesn't know their name! He is at least able to provide you with the agent's favorite food, in case this is helpful. Note that the favorite food, written in blue, is different for everyone. Because the spy is so deeply entrenched within the network you will be required to go undercover to talk to him. Thankfully, Chuck can provide you with another Clockwork suit (if you are not carrying one at the time) and inform you that the agent should have a device with him that will allow you to shrink down into the suit simply by being near him.
-
With the Clockwork suit in your inventory, no cape worn, and both hands free, travel once again to the T.A.R.D.I.S., and talk to the Penguins nearby. They will trigger you to enter your suit.
-
Now that you are in your disguise, walk around the snow and talk to Emperor Wing, Gordon, Hugh, and Elon to gather information for locating the secret agent. When asking about the party, some of them will reveal what kind of fish they like while others will reveal what a comrade likes or what kind of fish they don't like. Once you have talked to all of the necessary penguins, you will have the ability to ask any one of them if they are the spy. Confront Gordon and he will tell you that he has been working on a De-lore-ing device that will allow you to go back in time and fix the current problem. However, this device is hidden back at the Penguin base in his locker. To locate the secret bunker, he will give you a G.P.S. that looks rather similar to a trowel. He will also give you his CHIP and FIN number required to enter the bunker. This is once again different for each player and written in blue.
-
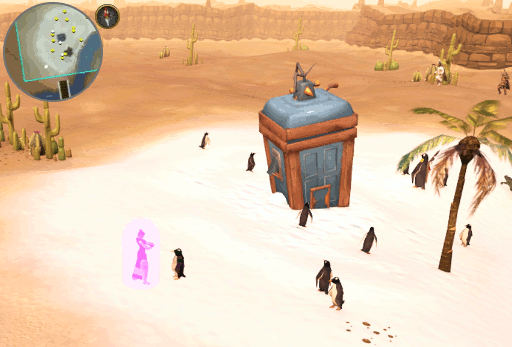
You will now need to go to the iceberg that houses the penguins' headquarters. To get there, use the lodestone network and travel to Fremennik. From here, go to the pier directly North and travel on the Eastern boat.
-
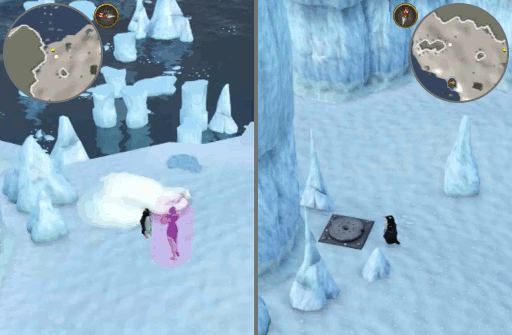
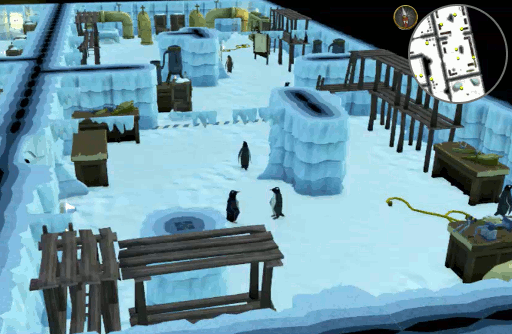
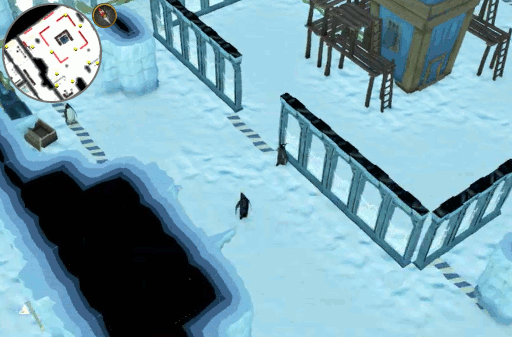
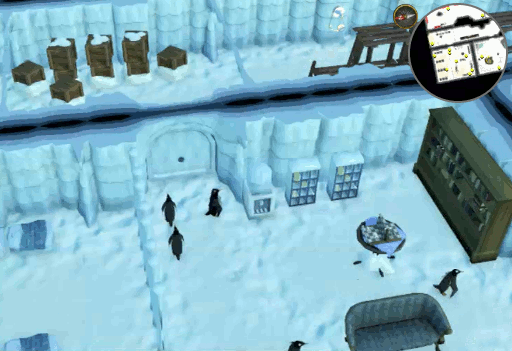
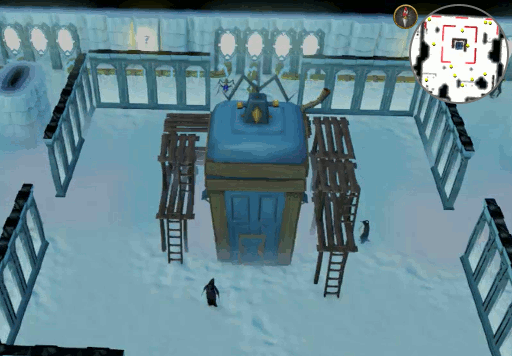
Now that you are on the iceberg, choose the "tuxedo time" option with Jim to climb into your suit. Then use the G.P.S. to locate the secret bunker. While searching, you will come across several items; the highlights of them being a Baron shark and an Antique lamp. Once you have located the secret bunker, enter the code and then climb inside.
-
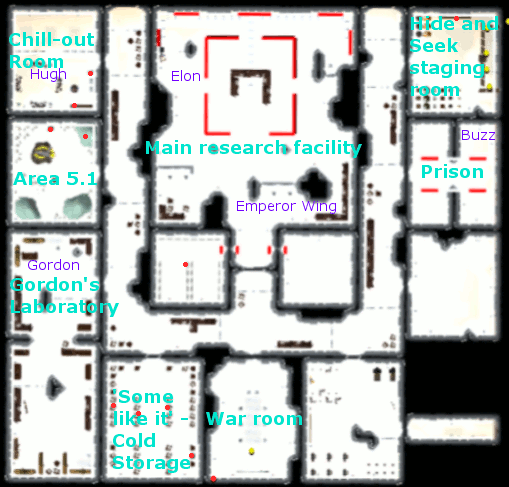
In the secret base, you will need to collect several items.
- Within Gordon's locker, you will find both his De-lore-ing device parts list as well as the De-lore-ing device (incomplete).
- In the Chill-out room to the North West, you will search the shelves for The Penguin Book of Gielinor and collect Ice cubes from the ice maker next to the door.
- South and slightly East of this room, you will need to search various crates to locate Flax and a Hammer in the 'Some like it' - Cold Storage room.
- The last item you will need now is something to cap it off. Go to the Hide and Seek staging room, located to the far North East, and search the cupboard to find a Hat.
Now that you have all the parts needed, use the Flax on the Ice cubes to create a Flax cap-ice-i-tor. Use this on the De-lore-ing device (incomplete) to create a finished De-lore-ing device. Operate the now complete device and your journey through time will begin.
-
Unfortunately, it seems that the device needs a bit of tweaking still as you find yourself on a deserted island with 4 monkeys. Collect the nearby coconuts and Monkey wrench, then use them on the De-lore-ing device.

-
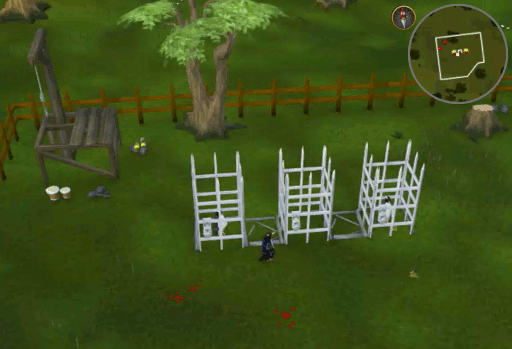
Operate the device and you will find yourself in a fenced off area with Ping and Pong in pillory cages. Talk to the penguins and you'll learn that they seem to have gotten into a bit of trouble at their last show and are now stuck in the cages with their instruments nearby as torment. Walk North West of the cages to grab the Cowbells and Penguin bongos. Use these on the De-lore-ing device to tune it before operating it.
-
This time you will find yourself in a huge cabbage patch with the Gower brothers (Ian, Andrew, and Paul) wandering around. Harvest any Cabbage and prime the device by using a cabbage on it.

-
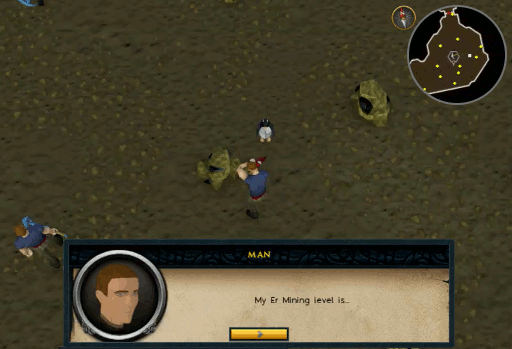
Operate the De-lore-ing device and you will find yourself in an area resembling the Mining guild where there are a bunch of men wandering around that only seem to be interested in mining. Except for one man. Locate the guy to the East who is the only one wielding a Dragon pickaxe and talk to him. You will find out that he is undercover and trying to figure what is up with the other people. He will suggest that his mother used to say "If it's not working, give it a kick" before giving you a pair of Worthless old boots. Use them on theDe-lore-ing device in order to reboot it, then operate it one last time to arrive at your proper destination.
-
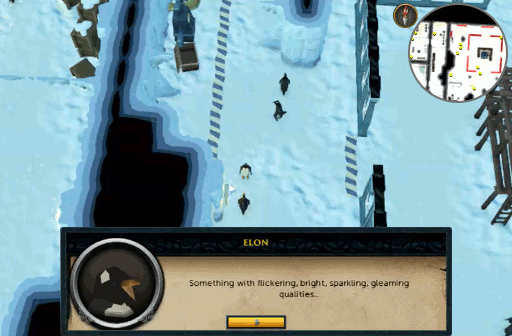
Now that you have finally made it to the bunker in the past, go to the South Western most room and talk to Gordon. He will tell you to talk to Elon, who can be found in the North-Western corner of the large central room.
-
Talking to Elon, you will offer to help with the T.A.R.D.I.S. preparations and be given a list from him. Most of these items can be found within the bunker, but he warns that some will need to be found in the human world so you must be careful.
-
Exit the central room and enter the War room directly South to grab the Fishing rod. Next go to the search the crates in the 'Some like it' - Cold Storage room just to the West to find a Cog and a Coolant holder. Use the cog on the Fishing rod to create a 'fishvention rod'.
-
Leave the Cold Storage room and travel North to "Area 5.1" with the large Mysterious ice block that looks rather similar to Rune altars. Take a Lemon from the crate on the North wall and use it on the Mysterious ice block. Gather 2000 bits of Pure S-now and use them on the ice block to create Lemon sole runes.
-
With an Ice cooler and the Coolant holder in your inventory, leave Area 5.1 and enter the Chill-out room to the North. Get ice from the ice maker and you will create an Ice box and Cool-ant.
-
Leave the Chill-out room and head toward the exit of the bunker. On your way out, you will pass by a prison where a Killerwatt named Buzz is being held. Talk to him and you will receive 21 Killerwatt energy.
-
Exit the bunker and talk to Jim to get assistance out of the Clockwork suit. Make sure you are wearing Insulated boots, grab your combat gear and any food needed, then head to the Killerwatt plane. To get there, go to Draynor Manor, climb the first set of stairs, then the ladder to the West, and enter the portal near Oddenstein. Inside the portal kill 10 Killerwatt to obtain the remaining 100 Killerwatt energy necessary.

-
With the final item on Elon's list collected, make sure you have 50 of the each of following energies before returning to the bunker: Flickering, Bright, Sparkling, and Gleaming. Talk to Jim to once again don your Clockwork suit then enter the bunker and go to the central chamber to talk to Elon. He will be pleased that you have collected the parts needed and ask you to calibrate the T.A.R.D.I.S after filling it with some stronger more concentrated energy than they had been using before.
-
Just North West of Elon, you will find the Battery control station. Fill the container to the South of it, then calibrate the machine. To do this, you must guess the order of the four energies used. There are ten rows with each four positions, so you have ten chances to get the right combination before you have to reset the puzzle. Click the chosen energy below row 1, then the blank spot(s) in the row where you wish to use that kind of energy. If you choose to reset the puzzle, the solution you are searching for will also change. Checking your answer will provide you with colored pegs to the right of your guess which inform you how close to the solution you are. Note that this solution is different for everyone so keep trying, you can get it!
- Gray peg - right color energy in the right spot
- White peg - right color energy in the wrong spot
- No pegs - no energy of the correct color present

-
When you have properly calibrated the machine, talk to Elon again. He will tell you to talk to Gordon and Hugh before reporting to Emperor Wing that everything is ready to go. Exit the central room and head to the Chill-out room in the North-Western most corner to talk to Hugh. From there go two rooms South to Gordon's lab to inform him. And finally return to the central chamber where you will find Emperor Wing just North of the entrance.
-
While talking with Emperor Wing, there will be a sudden Coolant leak and everyone will need to hop into the T.A.R.D.I.S. to make a speedy escape. A cutscene will occur and you will find yourself crash-landed South West of Pollnivneach. Once it lands, you will scuttle off to a nearby tree and exit your disguise.
-
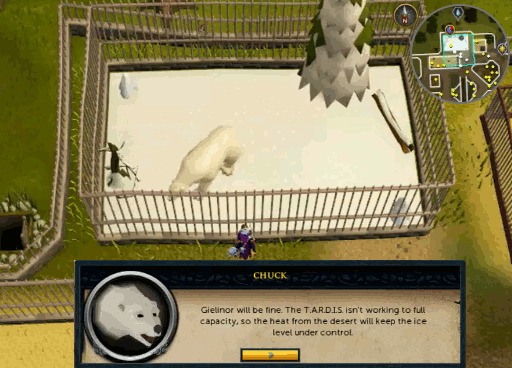
Travel to East Ardougne zoo and speak with Chuck. While you are concerned that nothing has been changed and Gielinor is still in danger, he will inform you that you guys sabotaged the T.A.R.D.I.S. before it even took off.
Congratulations, quest complete!

This Quest Guide was written by ChathMurrpau. Thanks to 4EverAweSome and Alk12 for corrections.
This Quest Guide was entered into the database on Tue, Feb 28, 2017, at 06:31:55 PM by ChathMurrpau, and it was last updated on Thu, Dec 03, 2020, at 08:28:47 PM by Alk12.
If anything is incorrect or missing, or if you have any new information to submit to this database, please submit it to us on our Content Submissions Forums.
If you see this guide on any other site, please report it to us so we can take legal action against anyone found stealing our content. This guide is copyrighted by RuneHQ, and its use on other sites is expressly forbidden. Do not ask if you can use our guides or images, the answer is and always will be NO!
Print this page with images - Back to the Quest Guide Index Page - Back to Top
