

Be able to kill the level 83 Green dragon Elvarg.
-
Talk to the Champions' Guild Master south-west of Varrock. Ask him about Rune plate armour and he'll tell you about Oziach. Oziachs house is North-west of edgeville.
-
Talk to Oziach and ask him about the Rune platebody. He will tell you that to buy a Rune platebody from him, you will have to defeat Elvarg the dragon on Crandor island.
-
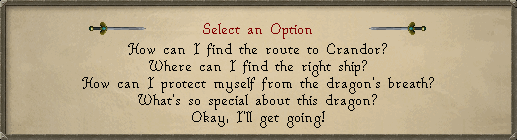
Head back to the Champions' Guild and talk to the master again. He will tell you that you need to obtain the three pieces of the map to Crandor. Before you leave, ask him every available option (if you miss any of the options you will not be able to finish step 9, make sure you click through all options). During the conversation you will receive a Maze key.
-
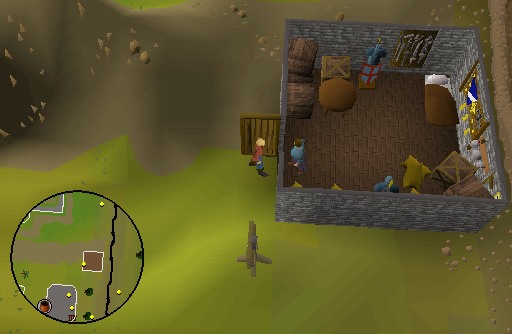
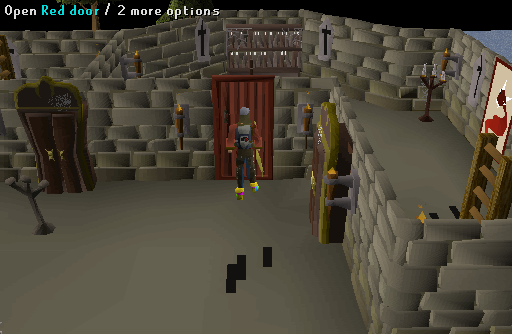
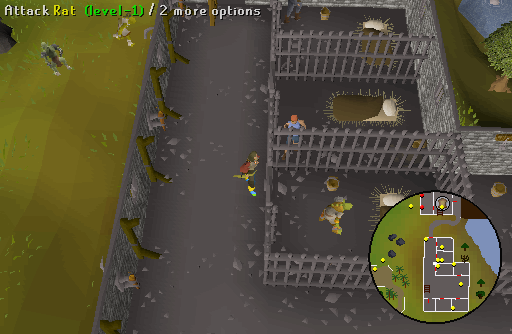
To get the first map piece, grab some food and go to Melzar's Maze (it's south of the Crafting Guild). Use your Maze key on the door. Kill some Zombie rats until you get a Red key. Use it on the Northwest door and go up the ladder.
-
Kill ghosts wearing a hood and no cape until you get an Orange key. Use it on the door SECOND FROM THE EAST and go up the ladder.
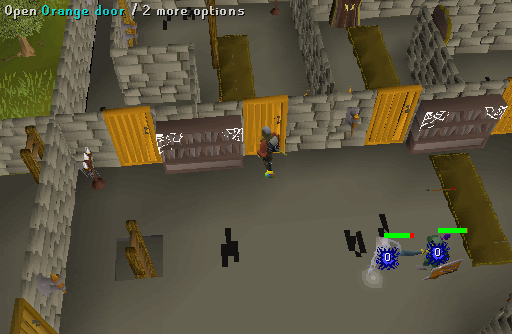
-
Kill skeletons holding a round shield until you get a Yellow key. Use it on the MOST southwest door. Go down the ladders until you get to some zombies.
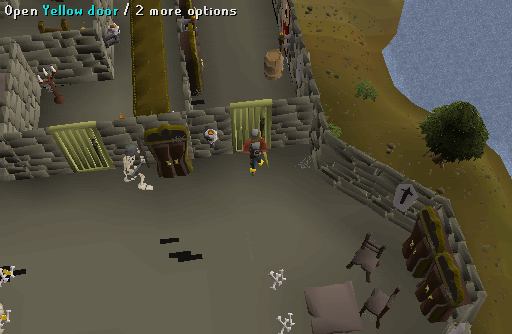
-
Kill zombies until you get a Blue Key. Use it on the northwest door. Then kill Melzar the Mad until you get a Magenta key. Melzar the Mad uses fire strikes, weakening spells, and bare hand fighting. Lower levels are recommended to use armor that has a good magic defence. Go through the northern door.
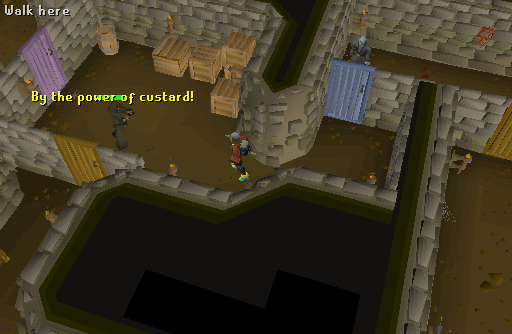
-
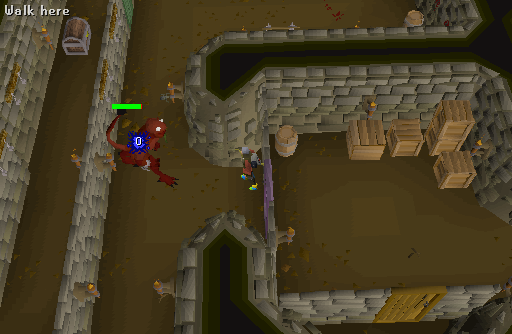
Kill the Lesser Demon and he'll drop the final key, which is Green. There are a few places to range/mage the Lesser Demon. Use the key on the door. Check the chest and get the first Map piece.
Note: It is easier to kill the demon using a Silverlight or a Darklight.
-
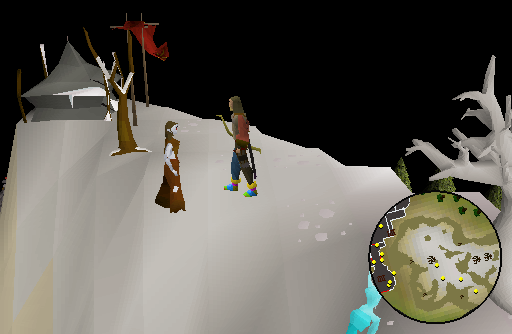
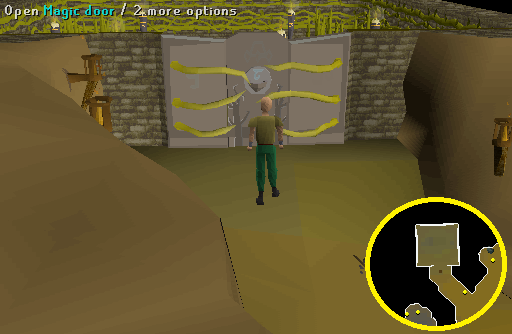
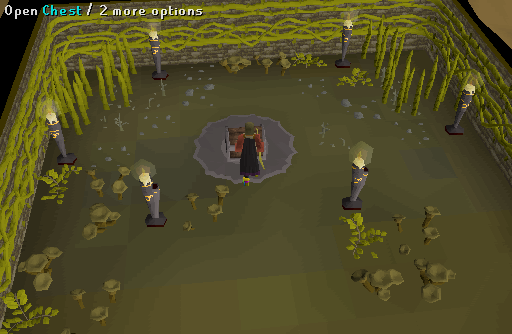
To obtain the second map piece, go to the Oracle located above the Dwarven Mines on Ice mountain with your Silk, Wizard's mind bomb, Unfired bowl and Lobster pot. She'll tell you about a door in the mines. Go down to the mines and the door is near the northeast part of the mine. Use the Wizard's mind bomb, Silk, Lobster pot and Unfired bowl on the door to open it. Check the chest in the room and you'll get a Map piece.
- Drop by a bank and take out either A) A bow and arrows B) Some runes to mage Wormbrain to death or C) 10k. If you brought the 10k, you don't need runes for telegrab. If you plan to kill Wormbrain (Located in Port Sarim Jail), you'll need to telegrab the Map piece.
-
A. Mages/Archers need to just attack Wormbrain in the Port Sarim jail. When he's dead, use telekinetic grab on the map piece he drops. Use the map pieces on each other to form the complete map.
B. Melee Pures/People unable to telegrab need to talk to Wormbrain. Ask him about the map piece. He'll eventually tell you he'll sell it to you for 10k. Talk to him again and pay him. He should give you the last Map piece. Use the Map pieces on each other to form the complete map.
- Before going to the Duke, return to the guild master on how to obtain a shield that will protect you from the dragon's flames.
-
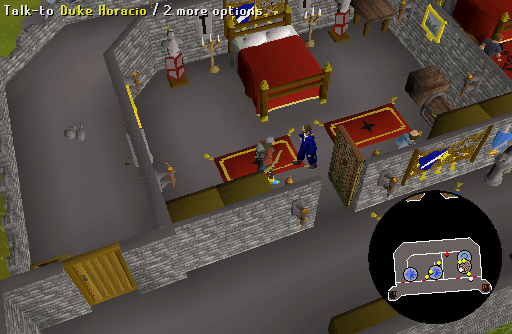
Go to Lumbridge and talk to Duke Horacio in Lumbridge Castle. Ask him about a shield to protect you from a dragon's fire breath. He'll give you the Anti-dragon shield. It's advised that you drop this one, get another one, and pick up the first one. If you ever need more shields just follow the procedure again.
-
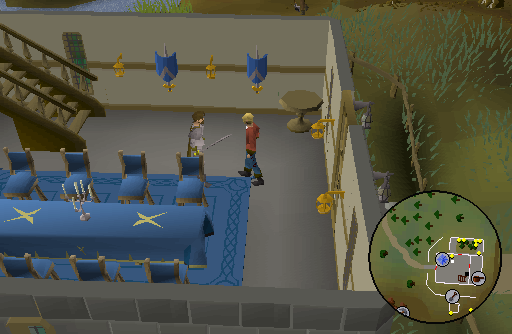
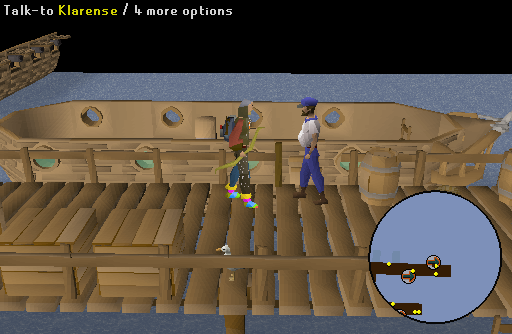
Pick up your 2000 coins, a Hammer, three Planks, 90 Steel nails, and your completed Map from a bank. Head back to Port Sarim. Go to the dock east of the food store. Talk to the guy on the dock named Klarense. Keep talking until you can offer to buy the ship. He'll tell you the price. Buy it. Now, go on board and go down a deck. Use a plank on the hole near you. Keep using planks until the hole is filled. Talk to your swabbie to go off the ship.
-
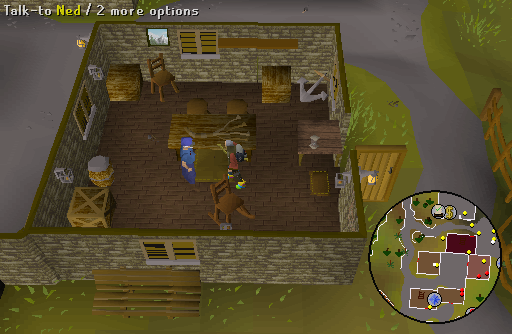
Now, go to Draynor. Talk to Ned and he'll offer to take you to Crandor. Give him your Map and he'll tell you to meet him at the ship. This is the big fight you've been waiting for. Pick up potions, food (tuna and up is recommended), armor and weapons (magic equipment, or crossbow/darts), teleport runes (optional), AND YOUR ANTI-DRAGONFIRE SHIELD. Since a shield cannot be wielded while using a regular bow, this is NOT recommended (dragon fire frequently hits for 26 damage); a Crossbow and Bolts (or Members throwing weapon) that allows you to use a shield is one alternative for Rangers; run into the ruins along the walls of her chamber, she will ignore you, and her fire can't reach you. This is good for rangers and mages. Full rune with a chainbody and scimitar is recommended for Melee.
- Go to your ship (The Lady Lumbridge). Go down a deck and talk to Ned. Off to Crandor!
-
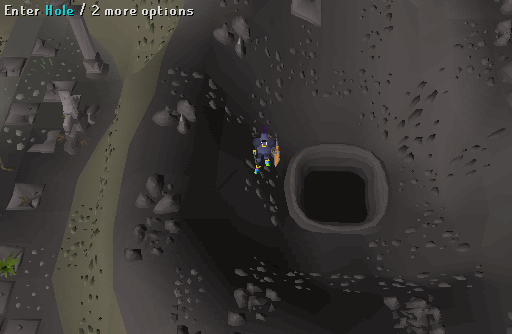
When you get to Crandor, your ship'll be banged up. Walk off the ship and go up the hill. Follow the path until you reach some King Scorpions. Evade them and walk north until you get to another up point. Go up past here, and dodge the Lesser Demon. Go down the cave opening.
-
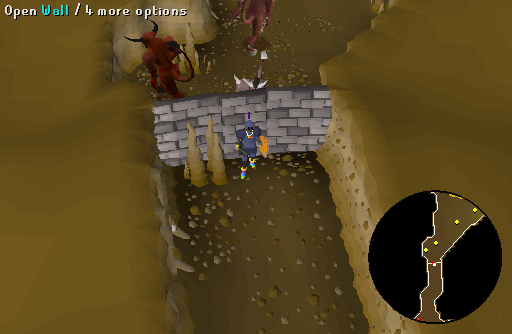
Dodge the Skeletons down here and walk further past the stronger Skeletons. Head south past the Lesser Demons (level 82) and go through the "secret" wall at the end of the tunnel. The command should be "Open". Your character will "memorize" the location for future use. This is to ensure that in case you die or teleport away during the fight, then you won't have to repair the boat again and simply use this shortcut instead. Once completed, go back to the stronger skeletons at Elvarg's cage and climb through the wall to fight Elverg.
CAUTION: Use your potions RIGHT NOW if you have any. If you forgot to bring your Dragonfire Shield, go back and get it. Do not attempt the fight without it.
-
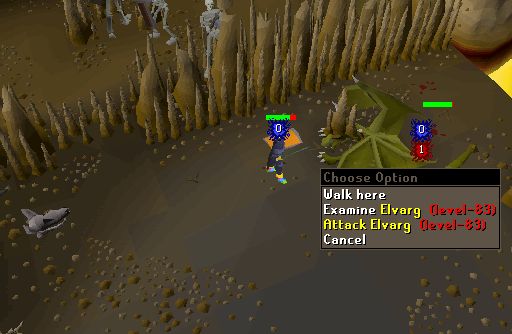
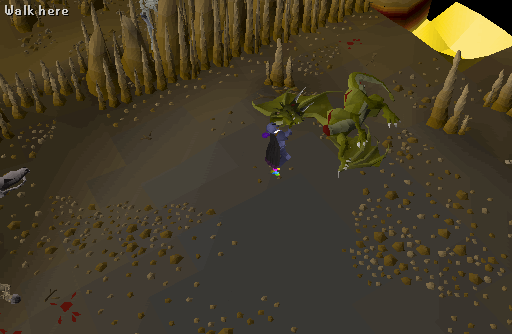
This is it. Attack Elvarg (level 83). She hits quite hard for a level 83. Eat when you need to, and make sure you don't die.
-
When you've killed her, take her head. You can either teleport to Lumbridge, or leave the cage and continue walking out of Karamja dungeon from the secret passageway at the Lesser Demons. Head east-southeast, and amid the skeletons you will see a dangling rope. Climb it to reach the outside world, where you will find yourself on top of Karamja's volcano. To get off Karamja, try the following.
- Bring money before you leave Port Sarim to fight Elvarg.
- Kill Skeletons or Lesser demons for the coins they drop.
- Pack bananas.
- Kill Imps for items and then sell those to General store (not recommended).
- Pickpocket the man at the dock (members).
-
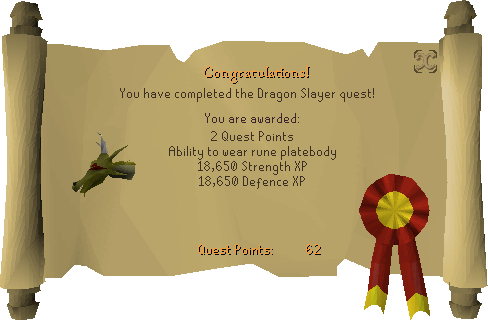
Head back to Oziach with Elvarg's head and talk to him.
Congratulations, Quest complete!
This Old School Quest Guide was written by Catherine, Ghoulies. Thanks to Fireball0236, Weezy, firespyrit, evomasta, stormer, DRAVAN, Axelman, Nitr021, gingerboy20, Perfect Idol, lorddan01, Kang227, TheRulnig, pokemama, Psycho944, Shinraz, gkef, havfunonline, rc pure, Tenseiken, themrb, de3plus, Minas_Kai, minikiltman, ossie000, thor__13, beaverboy40, Dell8400p4, Chaosblade77, Alfawarlord, Hammeh, Poofy, Cedros Man, andro girl, A Gentle Man, McSwindler, Gp Nd Xp, Jarkur, RollingGreen, RSSoloMC, R 0 B E R T, UgotWrecked, Hollow Heart, jglove87, mangano31, and DAVIFO for corrections.
This Old School Quest Guide was entered into the database on Fri, Feb 06, 2004, at 09:11:17 PM by Chownuggs and CJH, and it was last updated on Tue, Jul 03, 2018, at 04:11:12 AM by Ksb Single.
If anything is incorrect or missing, or if you have any new information to submit to this database, please submit it to us on our Content Submissions Forums.
If you see this guide on any other site, please report it to us so we can take legal action against anyone found stealing our content. This guide is copyrighted by RuneHQ, and its use on other sites is expressly forbidden. Do not ask if you can use our guides or images, the answer is and always will be NO!
Print this page with images - Back to the Old School Quest Guide Index Page - Back to Top
