

- Abridged: 30 Dungeoneering
- Unabridged: 60 Attack, 55 Dungeoneering, and 45 Thieving
- Abridged: 3,750 Dungeoneering experience and 375 Dungeoneering tokens.
- Unabridged: 21,670 Dungeoneering experience, 2,167 Dungeoneering tokens, and 11,660 Thieving experience or 37,080 Attack experience.
- Replay: up to 2,674 Dungeoneering tokens.
Table of Contents:
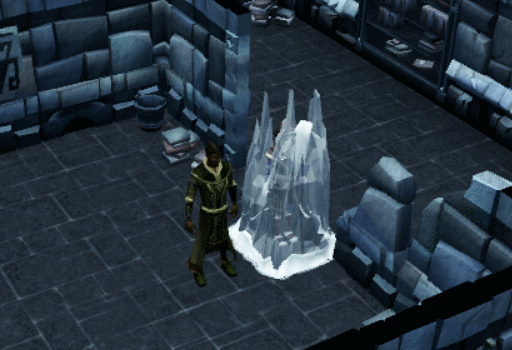
To start the Sagas, you must first unfreeze Skaldrun from a random frozen floor of complexity level 2 or higher. To unfreeze him, you light a fire next to him with logs and a Tinderbox or cast a fire spell on him. Once he has been rescued, you must speak to him fully before he will return to the surface. Once he has returned to the surface, he will be found West of the Gorajo hoardstalker and you can speak to him to start the Sagas.
The Sagas can be completed multiple times. However, you will only gain the full rewards the first time you complete them. During future replays, you will only receive Dungeoneering tokens. For each Saga there is a base number of tokens you will receive for completion. Unfortunately, with each successive replay, your reward will be reduced by 20% until after you have done it 4 times, as you will always earn at least 20% of the base token reward. This token reduction will reset daily at midnight Game Time.
When you lobby during a saga, if you have reached a checkpoint, you will be able to continue from that point when you ask Skaldrun about that story once again. Be aware that you cannot have more than one story going at a time. So, if you have started and reached a check point in one saga, if you choose to start another one, all progress will be lost in the first saga.
To be able to start the Sagas, there are several objects that must be found within a regular dungeon beforehand. These items serve to jog Skaldrun's memory. So, if you haven't found the object, you can't tell him about it and remind him. To begin this saga, you must have found the Damaged Device on floors 18-22.
After finding these objects, you will always need to talk with Skaldrun about each one before the option to complete it will become available. Note that he will only remember 1 item at a time, so it is not advised to wait to talk to him until after you have found all 5 objects. It is perfectly acceptable to wait to complete The Sagas until you have access to them all though.
Each Saga has an abridged and unabridged version. You may play the abridged version of a Saga if you don't have the required levels, however, the reward you receive will be less. By playing the unabridged version, you gain the rewards for both versions. Completing the unabridged version of the Sagas is also a requirement for: Hard Daemonheim Tasks and Master quest cape, as well as the (Trimmed) Completionist cape.
For an unabridged completion, you must complete the following actions during the Saga...
- Collect a total of 9 complete memories from: Hearthen the merchant, Captain Toma, and Lord Yudura.
- Do not let your adrenaline reach 0% from the beginning of the Warped floors until Bilrach's room.
- Correctly answer all the questions posed by Captain Toma's and Yudura's henchmen:
- "Got something to get off your chest, soldier? Be my guest."
- "Ask me later, Druf. I have no time for you right now."
- "Tell them to wait there, and no practice until I return."
- "Cut off their hands."
- "Kill him, or I will kill you."
- "His body is on the floor above. Fetch it yourself, I am busy."
In this Saga you will play as Moia, a Mahjarrat half-breed, as she tries to prove her worth to her commander, Lucien. Tasked with hunting a lost Mahjarrat, her journey takes her to Daemonheim and beneath, culminating in events that pave the way for the final chapter in the Daemonheim story to be told.
-
This saga begins with a large amount of cut-scenes. Initially you will find yourself with Lucien and Zemouregal at the ritual site investigating some odd markings. After a brief conversation, you will be told to inspect the area more. This is merely a diversion meant for them to be able to have a conversation without you involved. When they have finished talking, feel free to eavesdrop, you will be called back over and given a new mission: find Bilrach.
-
Hundreds of years will pass and you will find yourself entering the lands around Daemonheim. Walk North West up the stairs toward the entrance. As you do this another cut-scene will occur where a warrior and a merchant briefly talk about his wares and payment. When the scene concludes, walk toward the merchant and prepare for interrogation via puzzle.
-
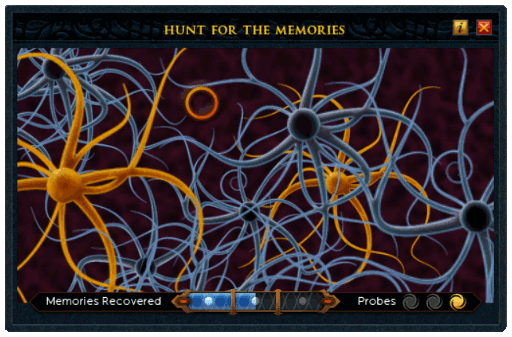
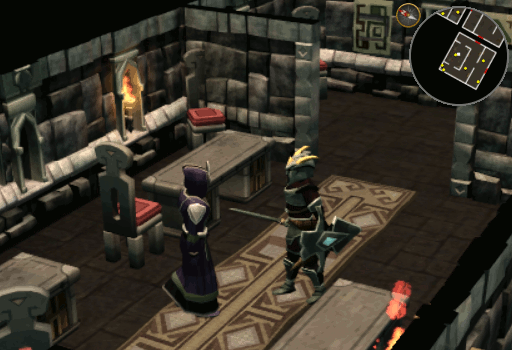
In this puzzle you will be placing 3 probes into the mind of your victim. You are searching for hidden memories within their mind. To find them, sweep your cursor around the memory field until the circle around the pointer flashes rapidly, then click; be aware that the placement of hidden memories will always be different for each playthrough. This will place your probe. The only indication you have for how close to your goal you hit the bars at the bottom of the box. It will fill a bar completely if you have hit it, fill it half way if you were close, and not fill at all if missed horribly. Be aware that it is highly advised to turn off any RuneScape music and to turn up the volume for this puzzle. You will be able to hear a difference in the noise made when your cursor is hovering over a sweet spot; from a low pitch hum to a quick, higher pitched one. Be aware that failing to at least partially capture these hidden memories means that the chat options needed later may not be available. So, don't just click willy-nilly.
-
Once you have stolen his memories, you will kill him and take his place. Walk North and climb down one of the Dungeoneering entrances.
-
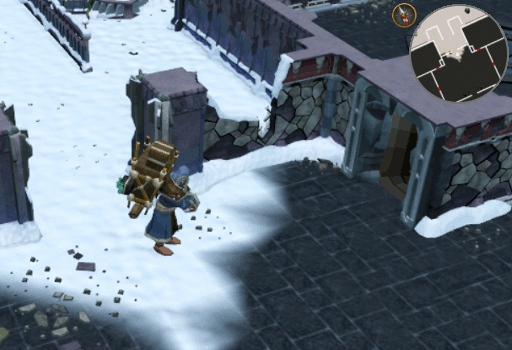
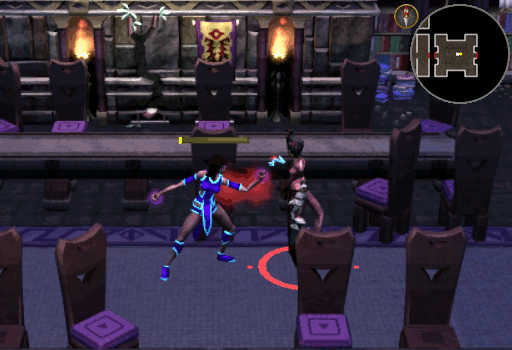
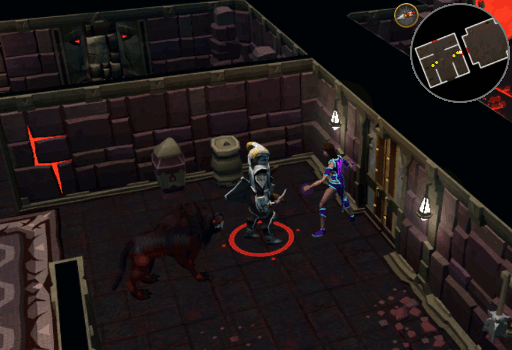
You will now find yourself on the frozen floors of Daemonheim. Enter the Eastern door and a cut-scene involving Captain Toma giving orders to his underlings will occur. Walk toward him and try to enter the door beyond him. Partway there you will decide that it is a bad idea and turn around, but you've already been spotted. Captain Toma will recognize that you do not belong here, and now you must take his memories and life as well. The interrogation will play out the same way as before.
-
Once you have taken on the captain as a new disguise, you will briefly speak with a mage that walks into the room. When he leaves, walk through the Eastern door, then the Southern one. In the next room you will be stopped momentarily by another underling asking about the supplies on the surface. You will tell him to go up and help if he so desires before moving on and quietly chastising yourself for being so out of "your" character. Exit through the door farther South, you will now have reached a check point and the Furnished floors.
-
Enter the door to the East and you will be stopped by a warrior who wishes to take his next sentry duty with you on the surface. Reply to him with:
"Got something to get off your chest, soldier? Be my guest." He will then walk away pleased with your answer. Now move on to the next room to the South then the one to the West.
-
In this next room you will be stopped once again. However, this time it is by a mage who is asking about his transfer request. The response you need to use here is "Ask me later, Druf. I have no time for you right now." He will then apologize for interrupting you and move out of your way. With the conversation finished, walk through the door to the South.
-
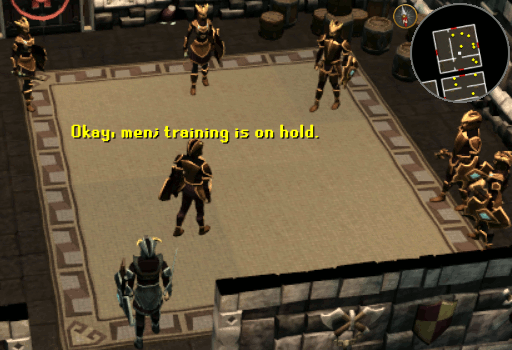
This room also holds people who wish for your attention. This time though, it is a whole group of them. It seems that Captain Toma is meant to witness them at combat practice. Inform the warrior that he is to "Tell them to wait here, and no practice until I return." You will now be free to enter the next 2 doors to the West.
-
The screen will darken and you will find yourself in more Furnished floors. Enter the 2 doors to the South. When you enter the second one you will be confronted by a dangerous figure. He will tell you to come closer in the intent of capturing you, most likely for experimentation, unfortunately for him he doesn't realize what you are capable of. You will teleport closer and begin to interrogate him as you have done the last 2.
-
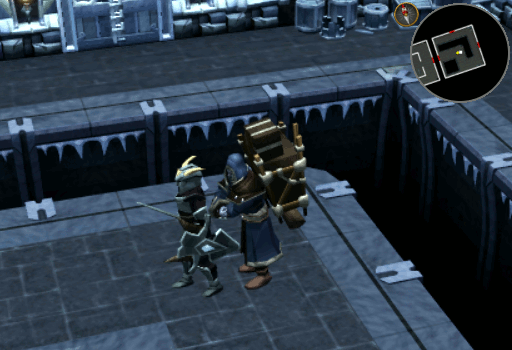
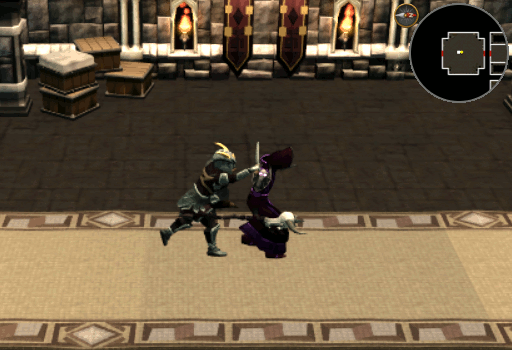
Unlike the others, however, Yudura will now fight you for what you have taken from him. As he is a Necrolord he may summon zombies to fight with him, simply ignore them and focus on Yudura as once he is dead they will disappear. When you have defeated him, you will take his outfit as a disguise. Walk through the door to the South to reach the next checkpoint, as well as the Occult themed floors.
-
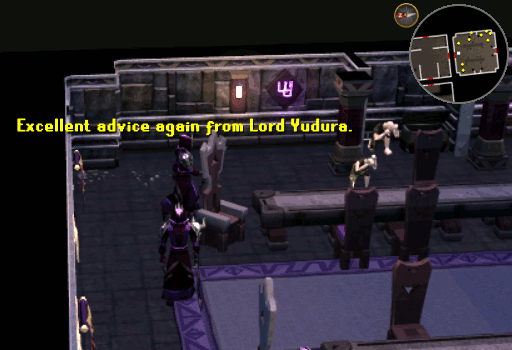
Walk through the East door, followed by the South and the questions will start again. This time you are asked by another Necrolord what he should do about his unruly slaves. Tell him to "Cut off their hands." He will thank you for your excellent advice and wander off to start chopping. You can now continue through the South door and then the West door.
-
Here you will find another question. This time, however, the issue is that one of the Necrolords is dealing with someone else using his slaves. Such outrage! Tell him "Kill him, or I'll kill you." and he will walk off to deal with his problem. Continue on West and then South.
-
You will now walk into the room with your final question. Here you learn what Yudura had in mind when he invited you closer. It seems that he was told to bring a body for an experiment of some kind. When asked where the body is, you will need to reply "His body is on the floor above. Fetch it yourself, I am busy." He will wander off complaining about your laziness. You are now free to travel through East doors twice.
-
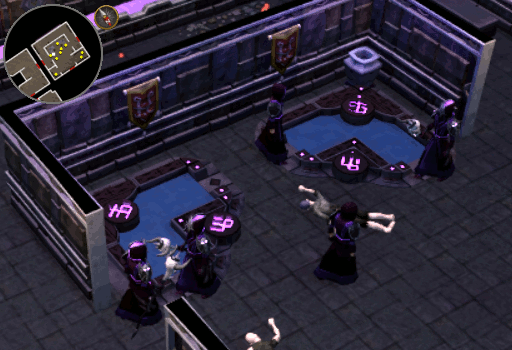
In the second room you will find 2 portals along the North wall draining them will raise your health to 9,900. This can be done with one, but you are able to drain both. With the portal(s) drained and your health maxed, walk through the door to the South and you will find a Hooved mage. When you step into the room it will travel into the next. Follow it into the room to the East.
-
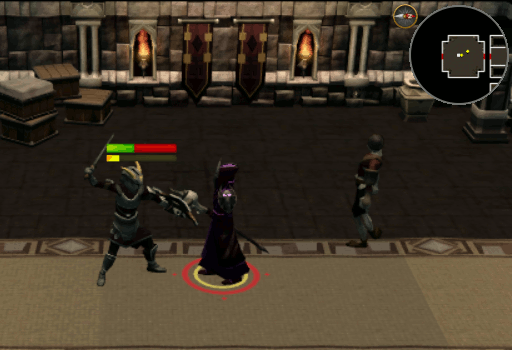
Here they will discover that you aren't whom you appear to be and sound the alarms. Since you will not be able to disguise yourself as it, your only option is to kill it using magic and melee attacks. If your adrenaline bar falls to 0, you will no longer be able to use magic attacks and will fall back to using a dagger. In order to refill this bar, and your health, simply drain another portal. Portals can only be used once as they will not refill. Be aware that interrupting the drain will not stop the portal from disappearing and you will not fully receive the benefits from it.
-
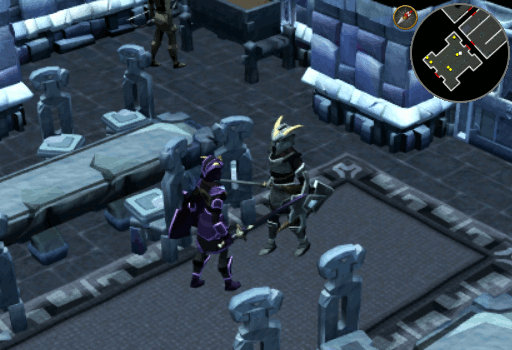
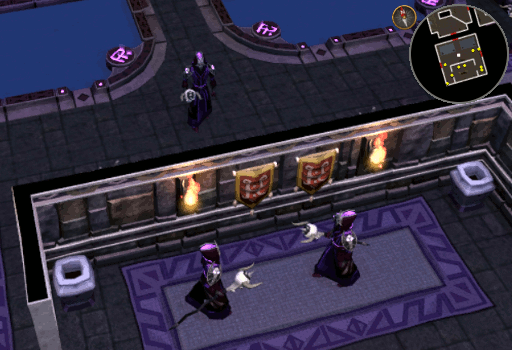
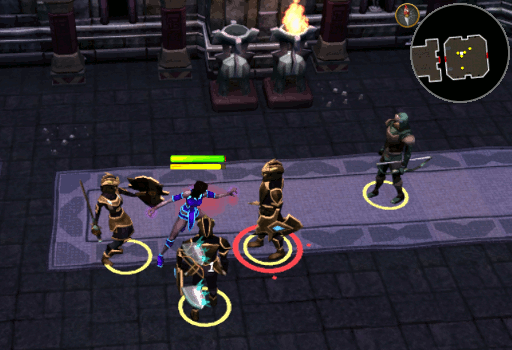
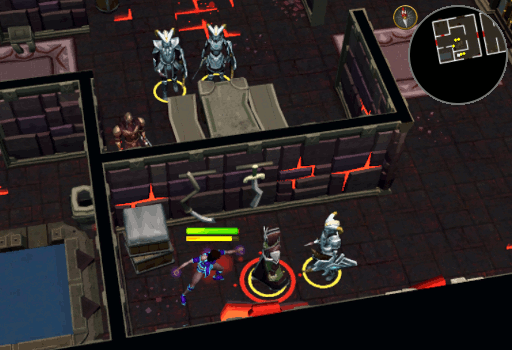
You will notice that the Hooved mage goes down rather quickly. Refill your adrenaline using the portal along the East wall then go through the East door. Be sure that before you enter, you set your main spell via your spell book. Inside you will find 4 warriors and 2 rangers. Kill them and move on through the Eastern door once again. You will now have reached the Warped floors and your next checkpoint.
-
From this point forward, you MUST keep your adrenaline bar above 0 if you wish to complete this Saga as unabridged. If necessary, you can lobby, log back in, and resume the saga from your last checkpoint to reset your adrenaline. Be aware that it means you will need to start back over from this step and progress to the end.
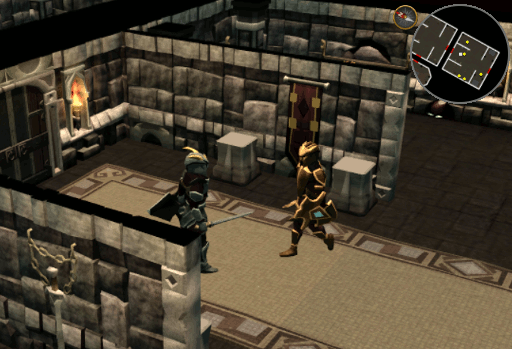
While there is a portal in this entrance room, it is not necessary to drain it as your energy should more than sufficient at the moment, however, choosing to drain it will not harm you either. Before entering, especially if you lobbied to reset, ensure that your auto-cast spell has been selected. Then enter the room to the South where you will find 3 warriors and 2 rangers. Kill all 5 of them, splitting them up to kill 1 or 2 at a time will help you avoid becoming overrun and losing excessive health.
-
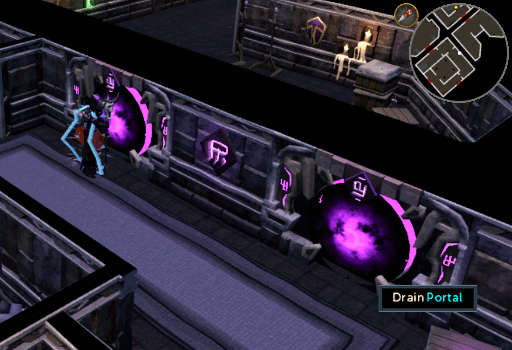
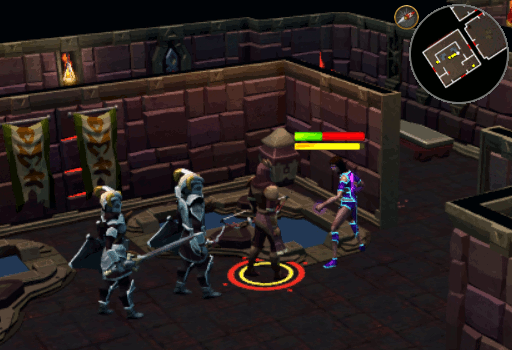
Enter the door to the East and you will notice a warrior, mage, and ranger flee into the next room and lock the door with a Silver shield key. Drain the portal just North of the door, then unlock the door with your power; or unlock the door then go drain the portal, depending on how much energy you have. If you have not drained the entrance room portal you can choose to go back and drain it to keep usable portals closer. Once you have unlocked the door, enter and kill the 3 warriors, ranger, and mage before continuing through the Southern door. Note there is another portal just North of the door you used to enter this room.
-
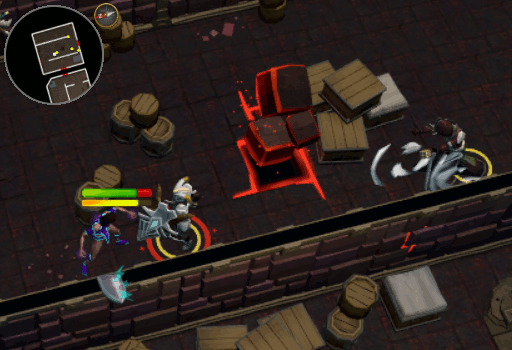
Exiting to the South you will once again find some soldiers fleeing. In the next room you will find 2 warriors and 2 Hellhounds. Kill them then unlock the Green shield door to the West. If necessary, there is another portal on the Eastern wall of this room, as well as one on the Western wall in the previous room.
-
In this next room you will face a ranger, mage, and 3 melee fighters. As per normal, kill them and move on to the room to the West. Be aware that there is a portal on both the North and South walls of this room. Before you move on, drain as needed. Go through the next 2 doors to the West, upon entering the second one, the screen will fade and you will find yourself in another section of the warped floors; your adrenaline bar will no longer decrease.
-
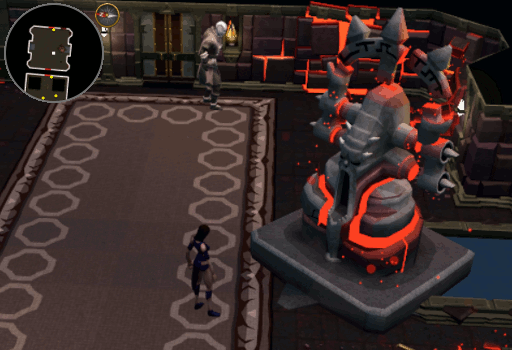
Walk through the bodies and wooden debris to the East door. Inside a cut-scene will begin where Moia confronts a babbling Bilrach. When the conversation ends, investigate the Ritual Marker and she will call Lucien to inform him of her progress. You will be given 4 reply options when he asks you about Bilrach:
- Bilrach is alive and dangerous. - Lucien will tell you to kill him or to die trying, as an insane Mahjarrat cannot be trusted.
- Bilrach is alive and not a threat. - Lucien will instruct you to bring Bilrach to him.
- Bilrach is dead. - Lucien will be furious and threaten to kill you.
- Bilrach is not here. - Lucien will be furious and threaten to kill you.
-
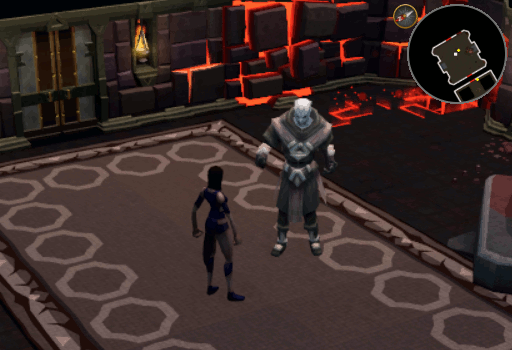
When you have finished talking to Lucien, speak with Bilrach. You will find that he has moments of lucidity and this is one of them. You will have 5 bits of conversation to go through with him. You must choose all chat options to move on to the next step. It is suggested to start from the bottom of the list as the choices shuffle after you have chosen the first. Starting from the bottom minimized the amount of shuffle that takes place. The order of the initial list is as follows:
- How did you know I was talking to Lucien?
- Tell me of the portals and their power.
- How long have you been here?
- What is this place? What is it for?
- Why is the Ritual Marker here? - Remember to start with this question and move up the list.
-
Once you have asked all the options you will be able to ask him "What happens now?" He will offer to teach you about power - true power. You will now be given 4 options that will affect the outcome of the Saga...
- This place must be destroyed - She says she will tell the other Mahjarrat about it and destroy it, but Bilrach knocks her out before she can.
- I'm taking all this for myself - She will try to take Bilrach's memories, as she did the others, but it knocks her out and Bilrach takes her with him.
- (Lie) I will follow you - She follows Bilrach intending to betray him and claim all the power.
- I will follow you - She goes with Bilrach to work with him.
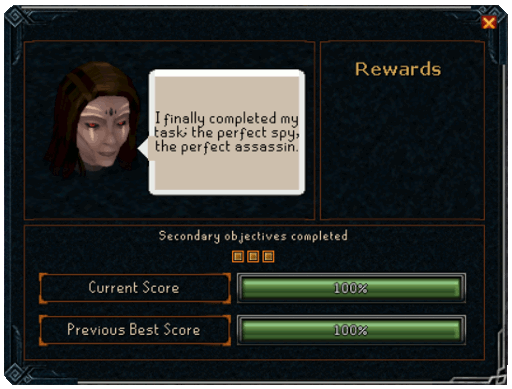
Congratulations! You have completed the Nadir Saga!
This Miniquest Guide was written by ChathMurrpau, Rooskii, and Greg. Thanks to Zandahar for corrections.
This Miniquest Guide was entered into the database on Fri, Jan 17, 2020, at 10:32:40 PM by Alk12, and it was last updated on Sat, Jan 25, 2020, at 09:50:38 PM by Chath.
If anything is incorrect or missing, or if you have any new information to submit to this database, please submit it to us on our Content Submissions Forums.
If you see this guide on any other site, please report it to us so we can take legal action against anyone found stealing our content. This guide is copyrighted by RuneHQ, and its use on other sites is expressly forbidden. Do not ask if you can use our guides or images, the answer is and always will be NO!
Print this page with images - Back to the Miniquest Guide Index Page - Back to Top
