

- Abridged: 23 Dungeoneering
- Unabridged: 55 Agility and Thieving
- Abridged: 2,410 Dungeoneering experience and 241 Dungeoneering tokens.
- Unabridged: 25,415 experience in Agility or Thieving.
- Replay: up to 271 Dungeoneering tokens.
Table of Contents:
To start the Sagas, you must first unfreeze Skaldrun from a random frozen floor of complexity level 2 or higher. To unfreeze him, you light a fire next to him with logs and a Tinderbox or cast a fire spell on him. Once he has been rescued, you must speak to him fully before he will return to the surface. Once he has returned to the surface, he will be found West of the Gorajo hoardstalker and you can speak to him to start the Sagas.
The Sagas can be completed multiple times. However, you will only gain the full rewards the first time you complete them. During future replays, you will only receive Dungeoneering tokens. For each Saga there is a base number of tokens you will receive for completion. Unfortunately, with each successive replay, your reward will be reduced by 20% until after you have done it 4 times, as you will always earn at least 20% of the base token reward. This token reduction will reset daily at midnight Game Time.
When you lobby during a saga, if you have reached a checkpoint, you will be able to continue from that point when you ask Skaldrun about that story once again. Be aware that you cannot have more than one story going at a time. So, if you have started and reached a check point in one saga, if you choose to start another one, all progress will be lost in the first saga.
To be able to start the Sagas, there are several objects that must be found within a regular dungeon beforehand. These items serve to jog Skaldrun's memory. So, if you haven't found the object, you can't tell him about it and remind him. To begin this saga, you must have found the Collection of Swords on floors 12-21.
After finding these objects, you will always need to talk with Skaldrun about each one before the option to complete it will become available. Note that he will only remember 1 item at a time, so it is not advised to wait to talk to him until after you have found all 5 objects. It is perfectly acceptable to wait to complete The Sagas until you have access to them all though.
Each Saga has an abridged and unabridged version. You may play the abridged version of a Saga if you don't have the required levels, however, the reward you receive will be less. By playing the unabridged version, you gain the rewards for both versions. Completing the unabridged version of the Sagas is also a requirement for: Hard Daemonheim Tasks and Master quest cape, as well as the (Trimmed) Completionist cape.
For an unabridged completion, you must complete the following actions during the Saga...
- Find and talk to Argax, allowing her to die peacefully or telling her to keep fighting.
- Confront Korel about the key, either sparing him or punishing him.
- Talk to Peleas after examining the remains of his lover Shianna, either lying to comfort him or telling the truth about her death.
In this Saga you will be controlling a Forgotten warrior whose party was savagely attacked by a group of 4 adventurers. Travel with her as she attempts to gain vengeance for her murdered brother, Taevas. Should she die during this saga, the story will end and you will need to start again. Despite having a health bar that has a maximum of 1900 points, the highest you can raise her health is 760; eating Giant flatfish will gain 100 life points each.
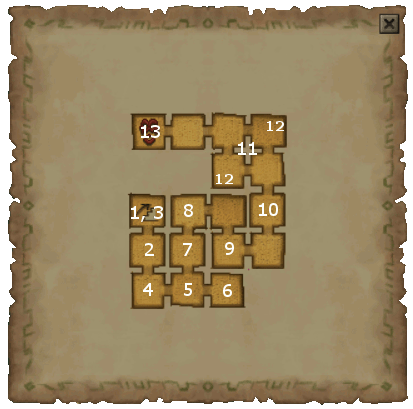
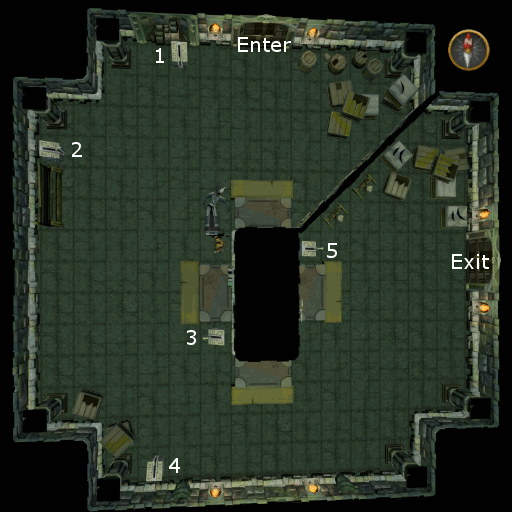
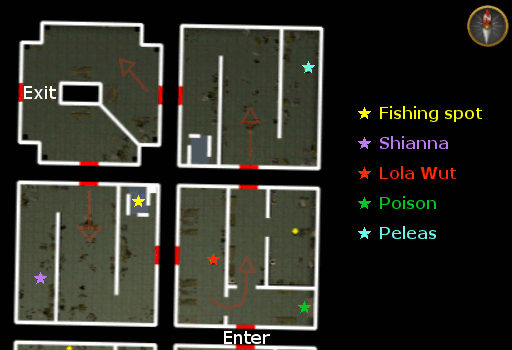
The map below indicates which room each step takes place in, for easy reference.
-
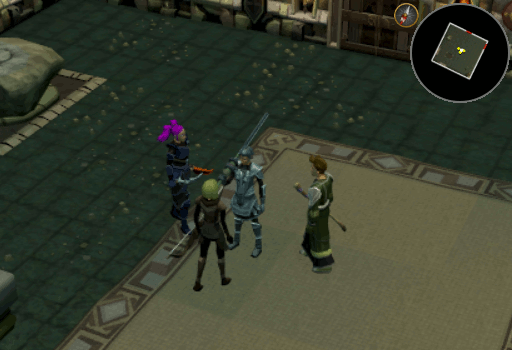
You will appear in the start room of this dungeon as Kay Thanxby who is accompanied by: Lotheria Seldorina, Lola Wut, and Ican Haz. Because Ican will have already grabbed the food, you will simply need to walk to the Southern door and enter it.
-
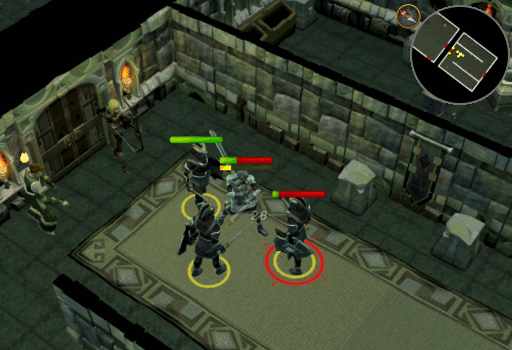
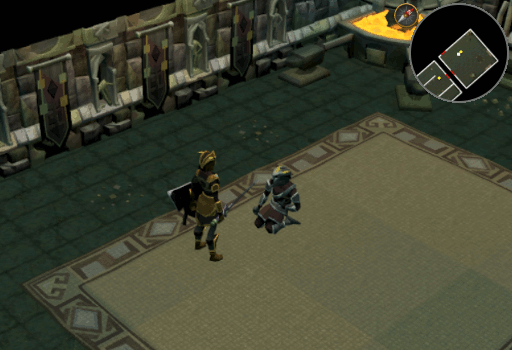
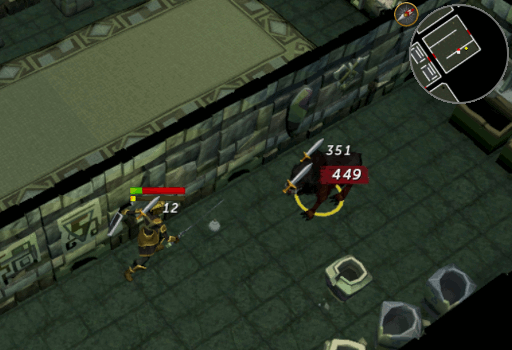
In the next room there are 4 level 105 Forgotten warriors. Enter and help the team kill them. Once the last one falls, the screen will darken and Skaldrun will continue the story from another perspective.
-
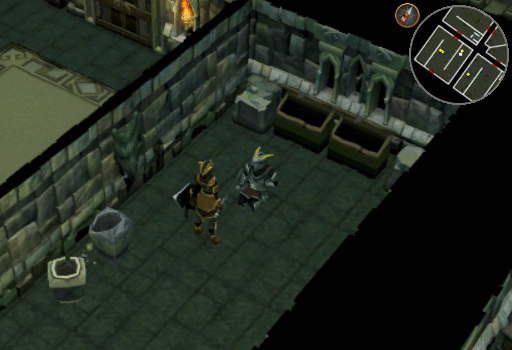
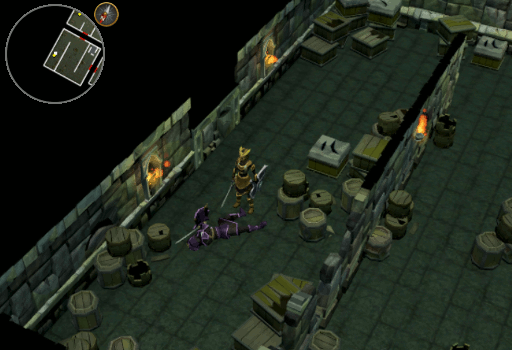
You will now find yourself as one of the Forgotten warriors that the team just fought. Once the conversation with Taevas concludes, you will notice that you are poisoned. So be sure to keep an eye on your health! Go into the start room and speak with Orin. You will now be given the choice to be Ruthless (Keep the fish, you need your strength) or Noble (Give Orin the fish, he needs it more than you do). Note that these choices do alter the outcome of the story.
-
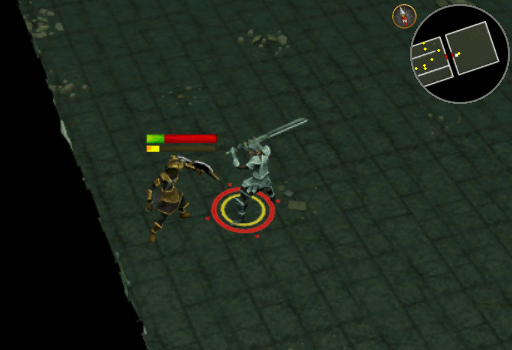
Now that you have the key, regardless of how you acquired it, walk back into the room where you left Taevas and open the Southern door. Inside you will find Lotheria Seldorina. You can choose once again to be Ruthless (Attack her from the shadows by standing behind a pillar until she walks by) or to be Noble (Fight her head-on). As she is a ranger, she should go down without much of a fight. Once she is dead, you will obtain her Ring of Kinship and some food. You will now need to solve the flip puzzle. When you choose to "Imbue" a tile, it and one tile at each of the 4 directions will all flip over to the opposite side (like a + sign), from green to yellow or vice versa. Choosing to "Force" a tile will change just that one tile to the other color, at the cost of some of your health so use it sparingly. Note that it will be possible to complete the board without having to force any tiles, but there is no perk for doing such. The puzzle is complete, and the door unlocks, when the entire board is 1 color - be it green or yellow.
-
With the puzzle complete, enter the room to the East. Inside you will see a Blue triangle key door to the North and another door to the East. You will also find 2 spiders inside. Kill them if you wish, doing so will earn you some food to help keep her alive a bit longer. Once you have decided to kill the spiders or not, open the door to the East.
-
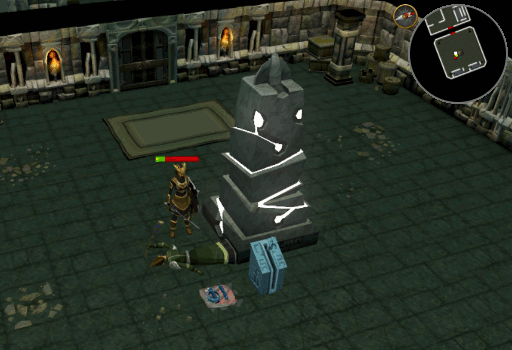
Inside the next room is Ican Haz near a Summoning obelisk. Behind the obelisk you will notice a blue lever; pulling it will summon a horde of Skeletons to maul him (Ruthless) or you can choose to saunter in and battle him yourself (Noble). Once he has been defeated, you will find some food, his Ring of Kinship, and the Blue triangle key. Return to the previous room and open the door to the North.
-
Opening the Blue triangle door, you will see a shadow of your dead brother Taevas goading you into killing the 2 Hellhounds that are within the room. If you do choose to give into his words and kill them, they will each drop an antipoison elixir. This potion will temporarily stall your poisoning. Note that if you get bitten by a spider, it will null the effects of this potion.
-
Enter the room to the North. Here you will find several shadows of your dead brother screaming for vengeance as well as a lone spider and Argax. Speak with Argax and choose to either let her die since she has earned her rest (Noble) or to keep her awake and make her fight for life (Ruthless).
-
Once she has passed, walk into the room to the East. Here you will find Salen and Lesk slain, along with your shadow brother. Then enter the room to the South, where you will find 5 levers around the room. Pull each one in turn to unlock the next door. Once you have pulled the 1st lever, you have approximately 20 seconds to unlock the rest before you are hit with damage and they reset.
-
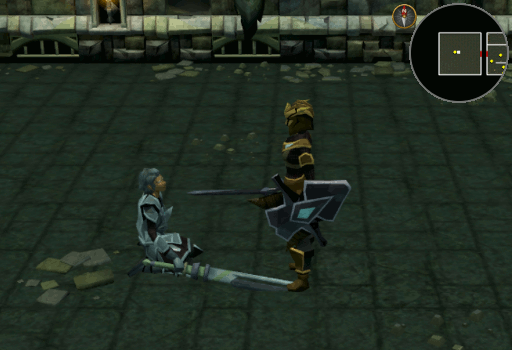
With the door unlocked, walk through the Western door and either kill the spider and hellhound within, or simply continue on into the Northern room. In this next room you will find Korel kneeling around the Western side of the room. Walk over and speak with him. You will learn that he sacrificed the key he had to save his own life. You can either kill him to prevent him from harming others again (Ruthless) or choose to spare him as he has learned his lesson (Noble).
-
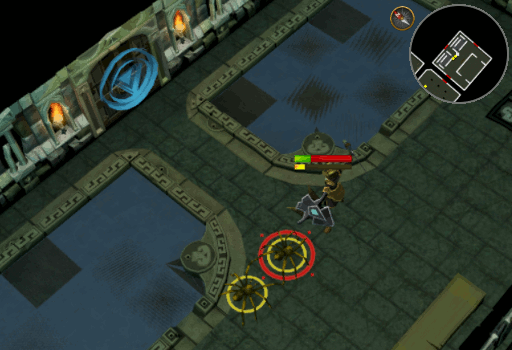
In the next room you will find the warrior from the initial group, named Lola Wut. If you follow her, she will wander a counter-clockwise path through 4 rooms, see red arrows in the image below. Once again you are left with a choice: attack her outright (Noble) or Poison her (Ruthless). If you wish to poison her...
- Wait until she continues on to the North East room.
- After she is out of the first room, step inside and walk to the East. Here you will find a Collection of bottles.
- Grab a bottle of poison and walk into the West room.
- Just North of the door you will see a fishing spot, use the poison on it then return to the first room and follow Lola Wut on her path, careful not to let her see you.
- She will eventually make her way to the fishing spot, where she will catch and eat one of the fish. This will knock her down to 1 life point.
- Attack her and the usual "let me tell you about my brother before killing you" scene will occur.
-
If you are completing the unabridged version of the Saga, while you are in these rooms you should investigate Shianna's body (found in the South West room) then speak with Peleas (North East room). You can choose to lie to him, thus giving him comfort at the end (Noble) or you can tell him the truth, so he can understand their brutality (Ruthless).
-
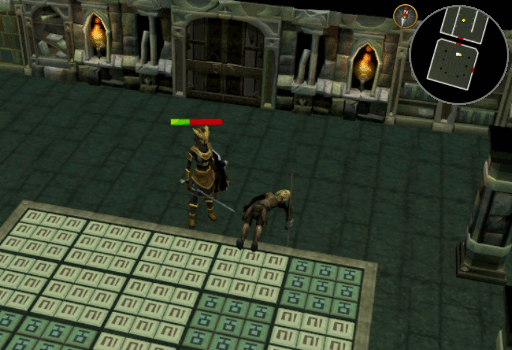
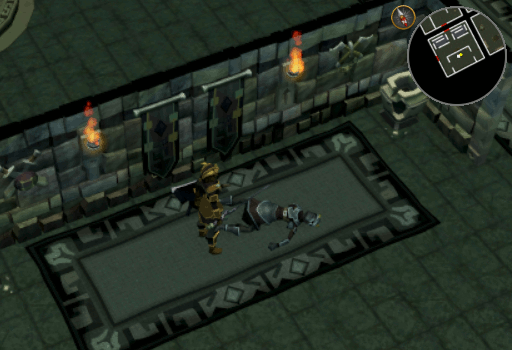
When you are ready to move on, unlock the Crimson rectangle door in the North West corner. You will travel through one more room of your slain comrades. In the last room you will find Kay Thanxby.
For the fight she will occasionally teleport around the room making it so you will have to chase her down and attack her again.
If you can manage to hit her when she is teleporting she will say "Oof!" and be hit for higher than normal damage; this can be achieved by clicking on her when she says "Catch me if you can!". Unfortunately, if you fail to hit her during her teleportation, she will cast entangle followed by 2 rapid magic attacks that can hit up to about 400 damage combined, before temporarily becoming non-aggressive.
Be sure to heal up as much as possible, maximum health of 760, before entering the fight and you should have no problem defeating her without dying so long as you manage to interrupt her teleportation.
-
With Kay now defeated you will confront her. You will always be presented with 4 options (listed below), however, depending on what choices you have made, not all options can be chosen; none of these change your reward. You can be too Noble, too Ruthless, or too neutral. Also note that if you have not completed the unabridged version of this saga on this pass through, you will only have 2 options that will cause you to kill Kay outright.
- Confront Kay's lies, show her the corpses. (Noble)
- Refuse to acknowledge Kay's lies.
- Accept her apology, giving her a quick death.
- Make her suffer. (Ruthless)
-
When you have made your choice, a conversation/cutscene will take place, then you will appear back in Daemonheim with Skaldrun where you will receive your reward.
Congratulations! You have completed the Vengeance Saga!
This Miniquest Guide was written by ChathMurrpau, Rooskii, and Greg. Thanks to Zandahar for corrections.
This Miniquest Guide was entered into the database on Fri, Jan 17, 2020, at 10:32:37 PM by Alk12, and it was last updated on Sat, Jan 25, 2020, at 09:51:01 PM by Chath.
If anything is incorrect or missing, or if you have any new information to submit to this database, please submit it to us on our Content Submissions Forums.
If you see this guide on any other site, please report it to us so we can take legal action against anyone found stealing our content. This guide is copyrighted by RuneHQ, and its use on other sites is expressly forbidden. Do not ask if you can use our guides or images, the answer is and always will be NO!
Print this page with images - Back to the Miniquest Guide Index Page - Back to Top
