

Once you have visited Anachronia, you will be able to build/activate the lodestone and return here via the lodestone network or continued use of the ship.
Alternatively, you can use your Slayer cape perk to teleport to Laniakea's secondary location in the South Eastern ruins.
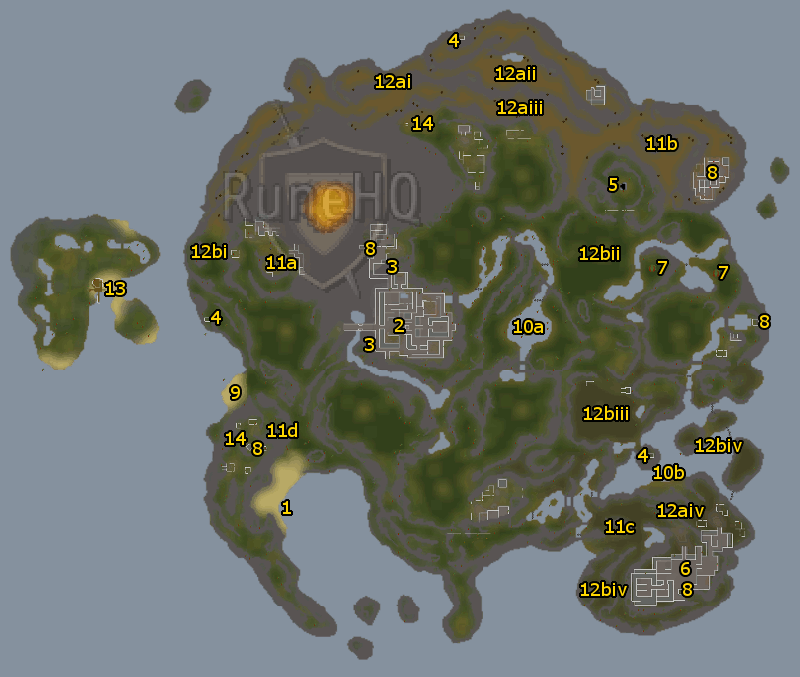
| 1. Boat Landing | 2. Base Camp | 3. Agility Course | 4. Totems |
| 5. Herby Werby | 6. Laniakea | 7. Overgrown Idols | 8. Dragonkin Shrines |
| 9. Shipwreck | 10. Fishing Sites | 11. Mining Sites | 12. Slayer Monsters |
| 13. Ranch Out Of Time | 14. Archaeology Caches |
- Boat Landing
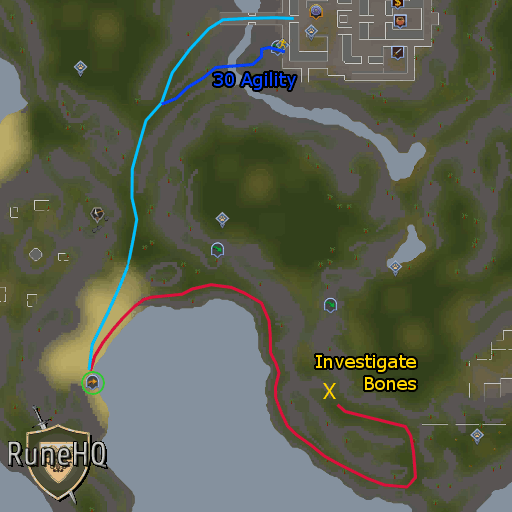
When first sailing to Anachronia from the mainland (Stormbreaker is found on the river's edge East of the Archaeology Guild), this is where you will end up. From here, you will need to travel East along the coast (red line). When you discover a large ribcage, you will investigate it and a cutscene will begin. As it ends, you will find yourself at the Anachronia Base Camp. Be sure to build/activate the lodestone before you leave the island to avoid having to walk back in the future (blue lines).
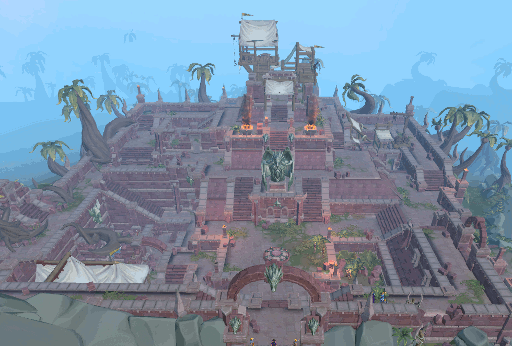
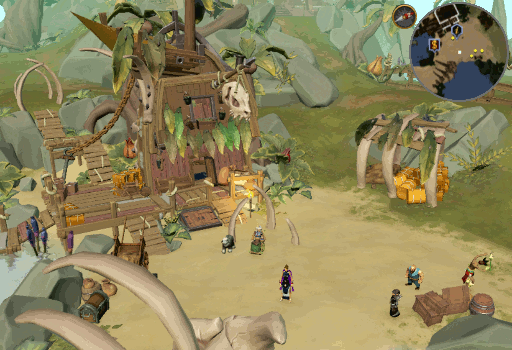
- Base Camp
This is the first section of Anachronia that you will actually get to explore. But before you do, you will want to speak to Giles. He will go over the very basics about how to build up your Base Camp. Alternatively, you can just rush through his tutorial and check out our handy guide, located here, instead.
Within the Base Camp are several people which you will get to know: Mr. Mordaut, Laniakea, Irwinsson, Alpheus, Eliza, Spa owner, several Guards, and various shop personnel you will meet as your Base Camp progresses: General store assistant, Armour store assistant, Gem store assistant, Rune store assistant, and Weapon store assistant.
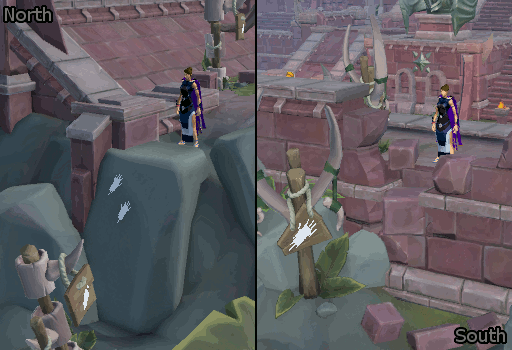
- Agility Course
On the Northern and Southern ends of the base camp are "entrances" to the Agility course. Both sections require 30 Agility to use; note that portions of the course farther from the Base Camp require higher levels to traverse. Please see our Agility guide for more information on this island-wide, bi-directional course.
- Totems
By participating in various activities on the island, you can collect 21 different totem pieces to create 7 different totems. Note that totem pieces can be kept in the Totem bag while collecting them and once you have the totems completed but not on a pedestal. Discovering all 21 totem pieces will complete the "Jurassic Perk" Anachronia Task.
Click map images for a larger view of the area.
Once you have created a totem, you will need to place it on 1 of 3 Totem pedestals before you can activate it. Note that buff(s) will need to be reactivated each week at reset. Once activated you cannot remove a totem from its pedestal until the buff resets.Totem Effect Section Locations Totem of the abyss A totem that connects to the Abyss to allow teleportation to itself Top Herby Werby reward shop for 200 Spirit points Middle Randomly found during Big Game Hunter Base 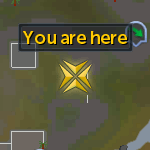
Search rubble in the ruins North of the Yellow salamandersTotem of auras A totem that helps to bring auras off cooldown 15% quicker Top Obtained by locating all 60 Zygomites Middle Randomly found while killing Slayer monsters (on and off task) around the island Base Randomly found traveling the Agility course Totem of crystal A totem that helps see off the gaze of Elven clan workers 25% quicker Top Randomly found traveling the Agility course Middle 
Search the rubble in the ruins North of the dragonkin statue (South West of the Feral dinosaur)Base Herby Werby reward shop for 200 Spirit points Totem of intimidation A totem that satisfies a lust for blood at the God Wars Dungeon, allowing kill count to be skipped Top 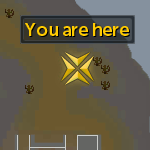
Search the rubble directly North of the North Eastern Dragonkin ShrineMiddle Reward for completion of Helping Laniakea Base Randomly found while killing Slayer monsters (on and off task) around the island Totem of navigation A totem that changes the winds to help port ships return from voyages quicker Top 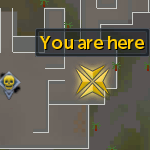
Search the rubble East of LaniakeaMiddle Obtained by locating 40 Zygomites Base Found at the center of either Overgrown Idol Totem of summoning A totem that helps to keep familiars summoned for 10% longer Top Randomly found traveling the Agility course Middle Randomly found while killing Slayer monsters (on and off task) around the island Base Randomly found during Big Game Hunter Totem of treasure A totem that decreases clue scrolls by 1 step Top Randomly found during Big Game Hunter Middle Randomly found traveling the Agility course Base Obtained by locating 40 Zygomites Remototem A totem that enables you to charge the other totems without phycically visiting them Top Randomly obtained by selling animals to Buyers Middle Randomly found while Mining around the island Base Obtained from Seren for completing Desperate Measures
To activate a totem, you will first need to place it on a pedestal. Click an empty pedestal and a selection window will open where you can choose which totem you would like to place. Once you have placed the totem, click it and interact with it. This will begin a "ritual" where you will receive Divination experience - this will last until the bar above your head is full. Occasionally a temporal instability will appear. You can click on these for additional experience, but it is not necessary to complete the ritual. Below you can see an empty pedestal and the Totem of Crystal on the same pedestal.
Alternatively, you can activate all totems without visiting them via the Remototem. This is a totem built in your Base Camp that will allow you to charge all of your totems from 1 location. Note that you will still need to go to the pedestal locations to add totems to them.
- Herby Werby
Once a week you can complete the Herby Werby Distraction and Diversion to earn Herblore, and potentially Firemaking, experience. Note that this activity can be reset with a D&D token (weekly) once per week. See our Herby Werby guidey widey (Yes, I went there) for more details on how to complete the activity.
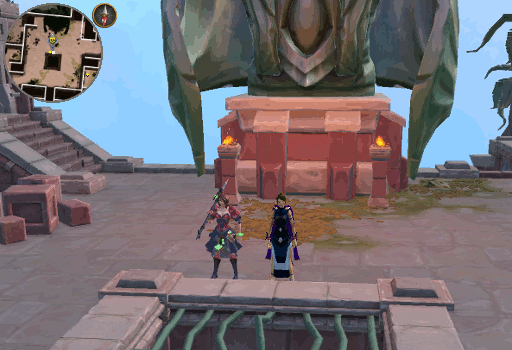
- Laniakea
Here is Laniakea's secondary position on Anachronia. Just like with her other location, you can speak with her to begin the miniquest (Helping Laniakea) by talking to her about poison ("Let's talk about you" then "Tell me about your poisons"), purchase Slayer equipment, or discuss Slayer tasks with her. Keep in mind that you will need 120 Combat and 90 Slayer to receive a task from her. Completion of Helping Laniakea will reward you with the Totem of Intimidation middle piece.
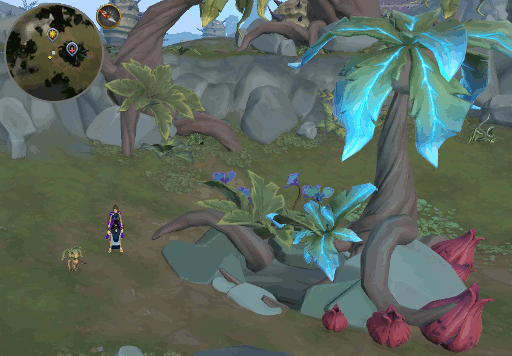
- Overgrown Idols
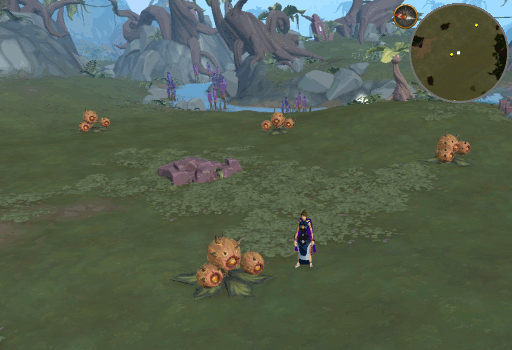
On the Eastern side of the island are 2 Overgrown Idols. At level 81 Woodcutting you can clear the vines. Doing so will earn you the chance to obtain Compacted leaves and Compacted wood as well as obtaining the Totem of navigation base by searching the idol once fully cleared.
North of the Eastern idol is also a small patch of Fertile soil. You can use this to grow your own Vile bloom by planting seeds dropped by their respective hosts (Liverwort seed from Liverworts, Luminous snaggler seed from Luminous snaggler, Lampenflora seed from Lampenflora, and Devil's snare seed from Devil's snare). Note that grown Vile blooms will only last for 3 minutes. Planting a Vile bloom here will earn you Farming experience, increased Slayer experience, and increase your chances of obtaining more vile seeds.
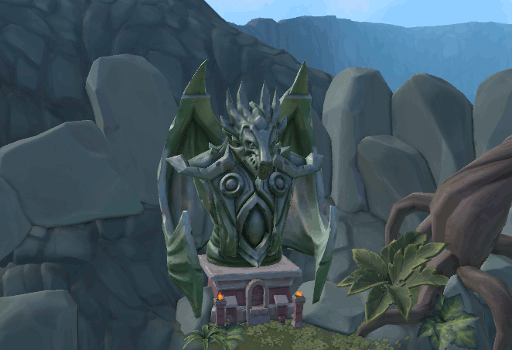
- Dragonkin Shrines
In 5 locations around the island are Drakonian statues. It is necessary to investigate all 5 of them to complete the "Stone Cold Observers" Anachronia Task. Beyond this feat, there is no purpose to these statues beyond decoration.
The Shrine just North of the Base Camp provides access to the Effigy Incubator after completion of Sins of the Father.
Note that there are Archaeology Caches for Felt and Orgone around the South Western shrine.
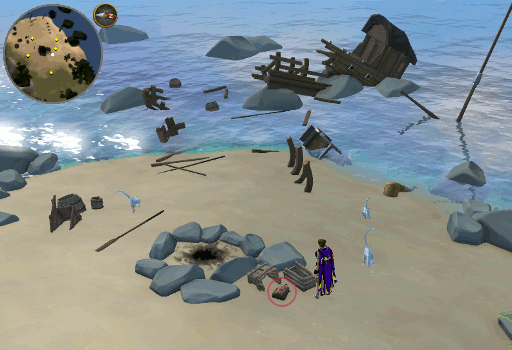
- Shipwreck
On the Western coast is a small beach which has the remains of Irwinsson's ship. This is of note as you should search the backpack located near the fire pit in order to locate a Broken compass. This compass can be repaired by using a Compass arrow (obtained randomly during Big Game Hunter) on it. Once repaired, it should be given to Irwinsson to complete the "A New Direction" Anachronia Task and earn 25 Hunter marks.
Along the coast South of the shipwreck, you can also find a bottle in the sand. While the bottle and message cannot be picked up, you can still read the message from Indiana Loans.
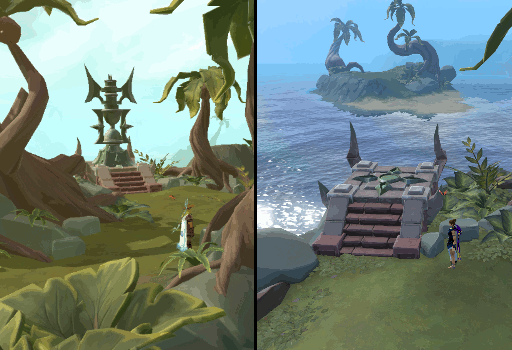
North of the Shipwreck, you will find a magical tree. This acts as your transportation to the Island to the West.
- Fishing Sites
On Anachronia there are 2 Fishing locations:-
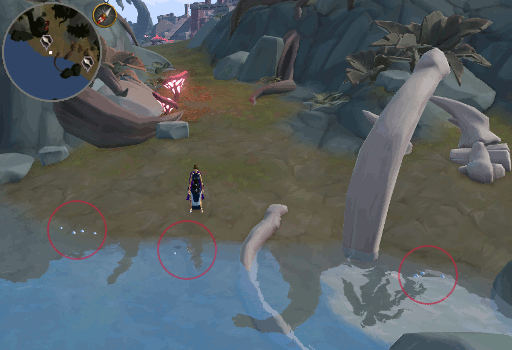
The first location we will explore is directly East of the Anachronia Base Camp. Due to the area's topography, this area acts more like 2 Fishing areas, but the types of fish you can catch do not vary depending on the specific location you choose. Here you can Harpoon and Cage fish - tuna (level 35), lobster (level 40), and swordfish (level 50).
-
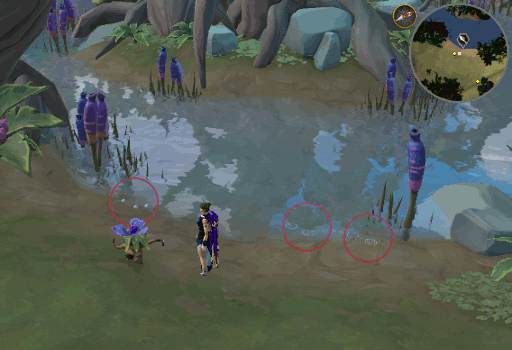
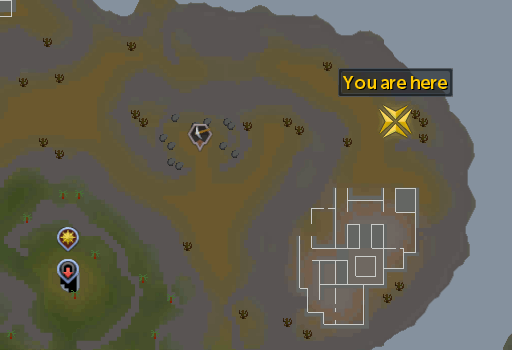
The second location is found North of Laniakea's secondary position on the island - the ruins to the South East. At this location, you can Harpoon and Net fish - mackerel (level 16), cod (level 23), bass (level 46), shark (level 76), and great white shark (level 80) as well as the usual paraphernalia that comes with Net fishing (Casket, Seaweed, etc.).
-
The first location we will explore is directly East of the Anachronia Base Camp. Due to the area's topography, this area acts more like 2 Fishing areas, but the types of fish you can catch do not vary depending on the specific location you choose. Here you can Harpoon and Cage fish - tuna (level 35), lobster (level 40), and swordfish (level 50).
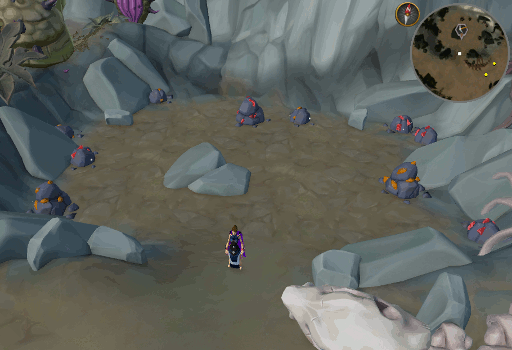
- Mining Sites
On Anachronia there are a total of 4 Mining locations:-
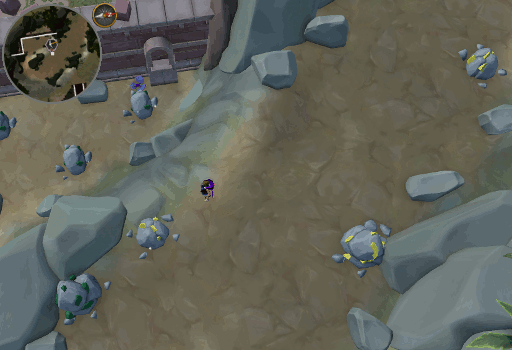
The first location is found in the ruins to the North West of Base Camp. It features 5 Adamantite rocks and 4 Luminite rocks. Both of these rocks require level 40 Mining.
-
The second location is close to the North East coast, near Herby Werby and one of the Dragonkin shrines. This area features 6 Drakolith rocks and 5 Orichalcite rocks. Both of these rocks require level 60 Mining.
-
The third location is West of Laniakea's secondary position on the island - the ruins to the South East. Here you will find 4 Dark animica rocks, which require 90 Mining.
-
The fourth and final location is South West of the Base Camp, near even more ruins and the Pawya hunting area. This location features 3 Light animica rocks. Like Dark animica, these rocks also require 90 Mining.
-
The first location is found in the ruins to the North West of Base Camp. It features 5 Adamantite rocks and 4 Luminite rocks. Both of these rocks require level 40 Mining.
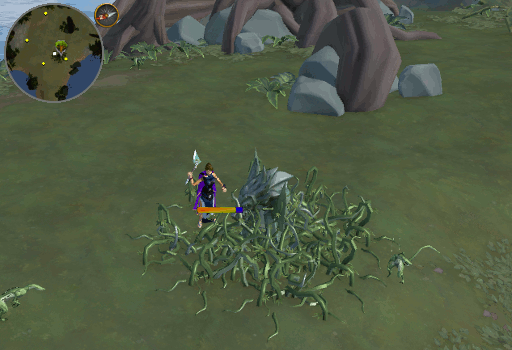
- Slayer Creatures
In addition to the Fishing and Mining areas, there are also 8 Slayer creatures, of 2 different types, in various areas of the island. These types of creatures include Dinosaurs and Vile Blooms. Note that Laniakea is the only Slayer master who can assign you either of these types of creatures.-
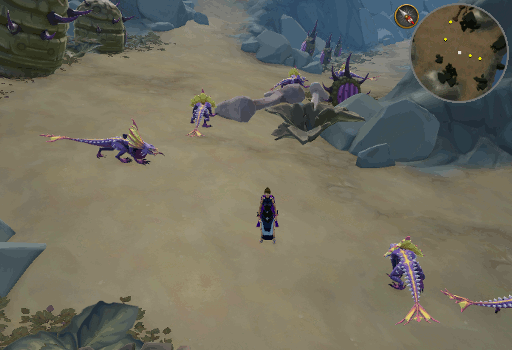
Dinosaurs
-
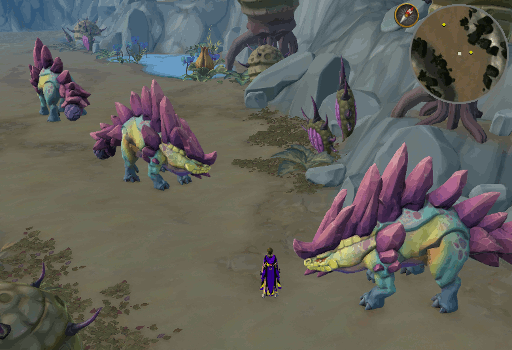
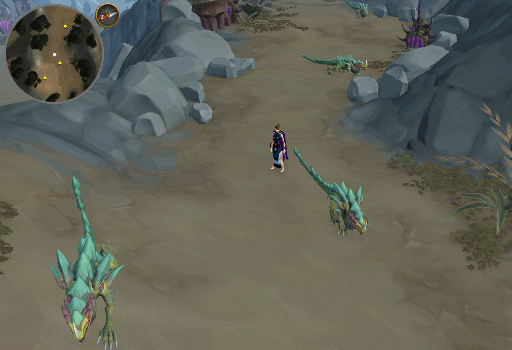
Directly North of the Base Camp are Venomous dinosaur. They are level 172 monsters that require 105 Slayer to injure. See their monster page for more information on how to kill them.
-
East of the Venomous dinosaur are Brutish dinosaur. They are level 164 monsters that require 99 Slayer to injure. See their monster page for more information on how to kill them.
-
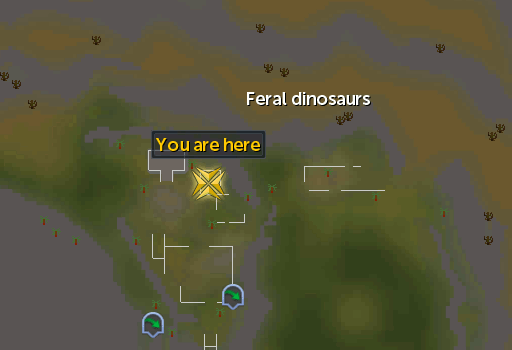
South of the Brutish dinosaur are the last of the Northern slayer creatures, Feral dinosaur. They are level 160 monsters that require 90 Slayer to injure. See their monster page for more information on how to kill them.
-
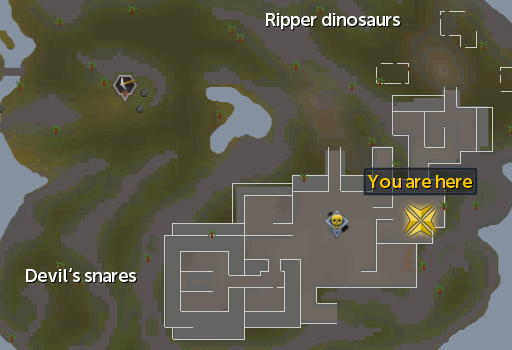
The fourth and final dinosaur can be found around Laniakea's ruins in the South East. These are Ripper dinosaur. They are level 174 monsters that require 114 Slayer to injure. See their monster page for more information on how to kill them.
-
Directly North of the Base Camp are Venomous dinosaur. They are level 172 monsters that require 105 Slayer to injure. See their monster page for more information on how to kill them.
-
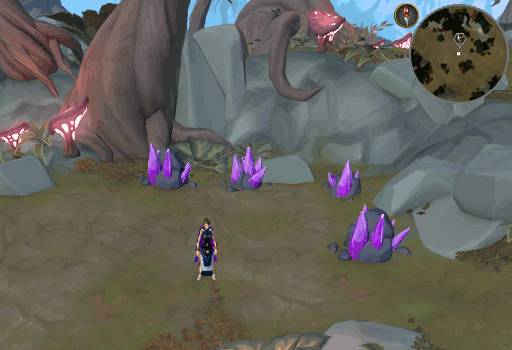
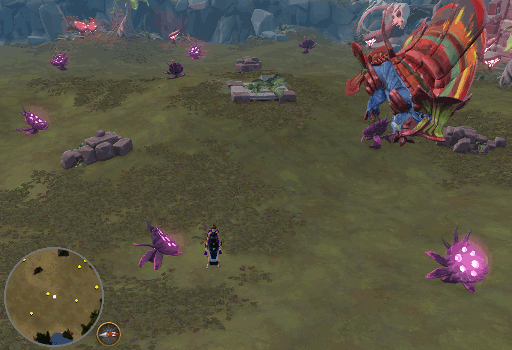
Vile Blooms
-
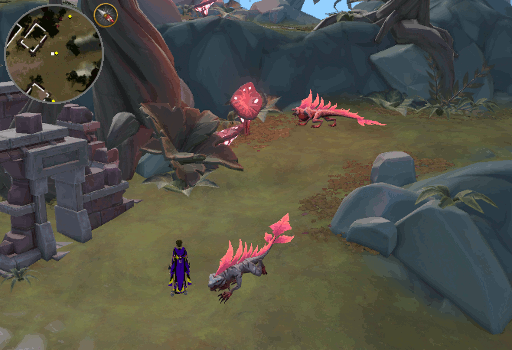
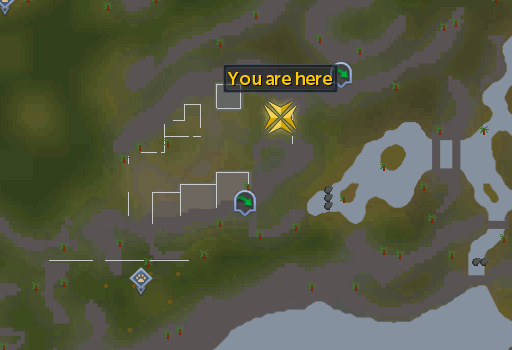
Directly West of the Base Camp are Luminous snaggler. They are level 224 monsters that require 95 Slayer to injure. See their monster page for more information on how to kill them.
-
To the East of the Base Camp, with the Oculi apoterrasaur, are Liverworts. They are level 228 monsters that require 110 Slayer to injure. See their monster page for more information on how to kill them.
-
South of the Liverworts, past the frogs and with the Asciatops, are Lampenflora. They are level 216 monsters that require 102 Slayer to injure. See their monster page for more information on how to kill them.
-
The last Vile bloom has a larger range than the rest of them. Devil's snare can be found on the 2 smaller islands North of the South Eastern ruins (Laniakea's secondary position) and directly West of it. They are level 220 monsters that require 90 Slayer to injure. See their monster page for more information on how to kill them.
-
Directly West of the Base Camp are Luminous snaggler. They are level 224 monsters that require 95 Slayer to injure. See their monster page for more information on how to kill them.
-
Dinosaurs
-
Ranch Out of Time
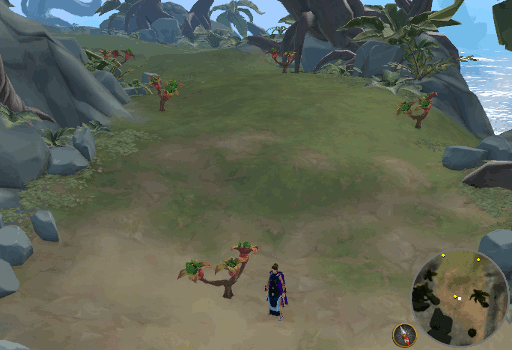
The island to the West of Anachronia is the location of the Ranch Out of Time. Here you can help Prehistoric Potterington care for various Anachronia critters. See our Ranch Out of Time guide for more details.
-
Archaeology Caches
On Anachronia, there are 2 locations which have Archaeology Caches. At the Northern location there are 4 Orthenglass locations. At the South Western location there are 4 Felt and 3 Orgone.

Hunting Map:
In addition to the areas of interest above, there are also several Hunting locations. Please see the map below for a quick where to find them. For more information on these creatures, see our Hunter guide or the individual monster's page.
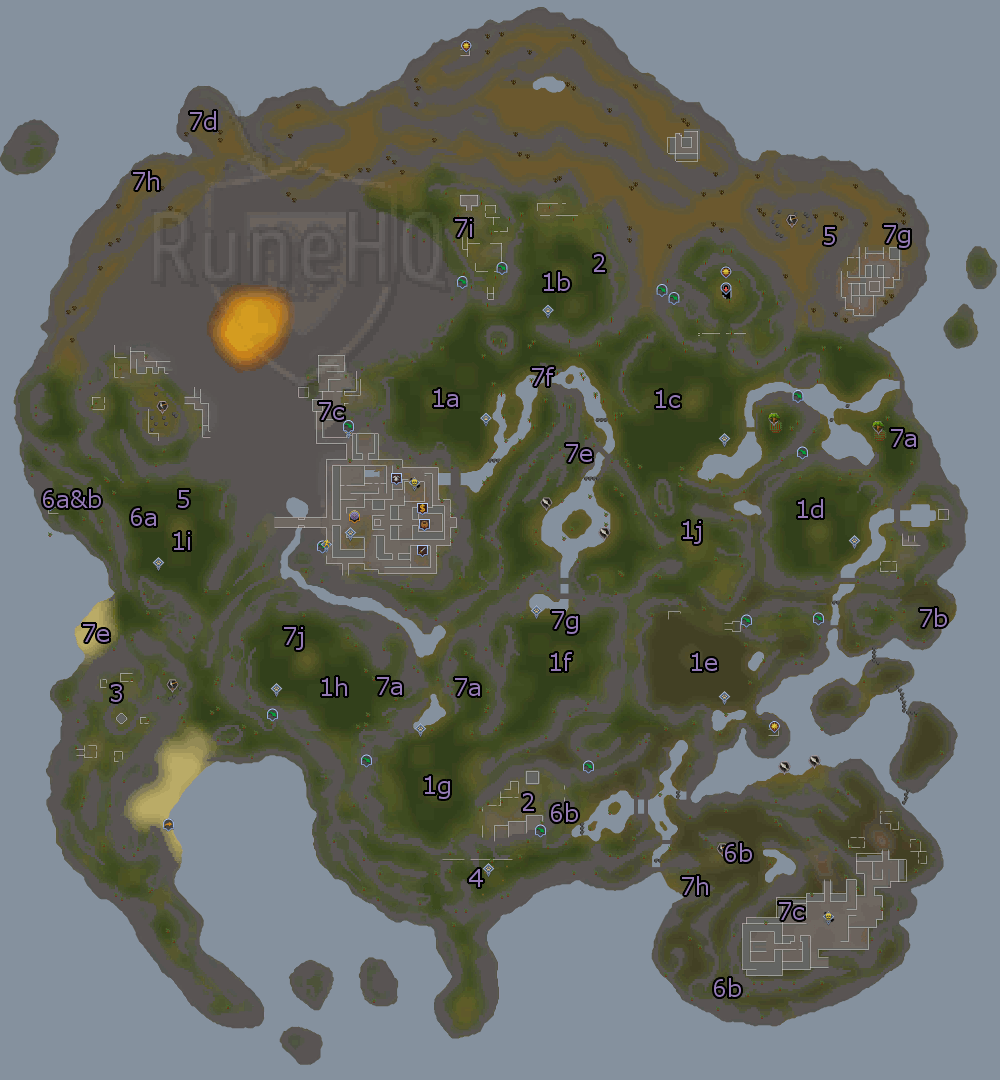
- Big Game Hunter creatures
- Grenwall (Box trapping)
- Pawya (Box trapping)
- Yellow salamander (Net trapping)
- Golden warbler (Bird snaring)
- Butterflies (Barehand or with net)
- Jadinkos (Box trapping, see also Herblore Habitat)
This City/Area Guide was written by ChathMurrpau. Thanks to Zandahar, 3ter 1, Fuzzyjoe162 for corrections.
This City/Area Guide was entered into the database on Sun, Jul 28, 2019, at 04:35:51 PM by Chath, and it was last updated on Mon, Apr 19, 2021, at 02:39:29 AM by Chath.
If anything is incorrect or missing, or if you have any new information to submit to this database, please submit it to us on our Content Submissions Forums.
If you see this guide on any other site, please report it to us so we can take legal action against anyone found stealing our content. This guide is copyrighted by RuneHQ, and its use on other sites is expressly forbidden. Do not ask if you can use our guides or images, the answer is and always will be NO!
Print this page with images - Back to the City/Area Guide Index Page - Back to Top
