

Heart of Stone
Mighty Fall, The
Nomad's Requiem
Throne of Miscellania
Void Stares Back, The
-
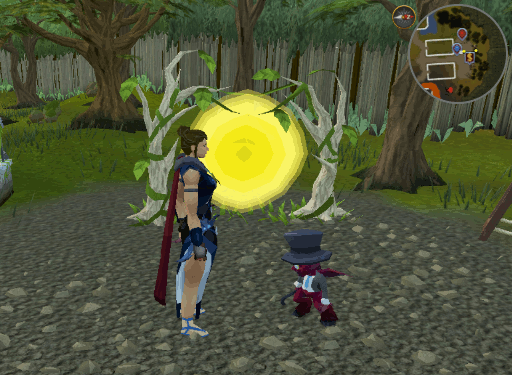
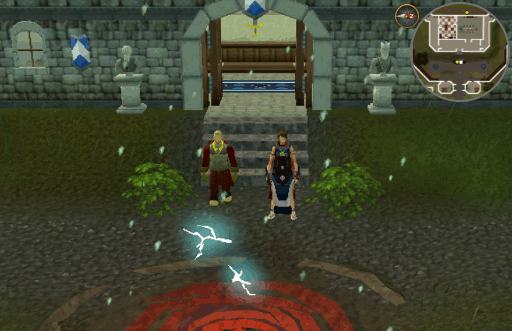
Go to the Soul Wars camp and talk to Zimberfizz. The camp is through the portal just South of the Edgeville bank. He will tell you that the Soul Obelisk is acting funny and ask you to check it out to see if you can figure out what is wrong with it.
-
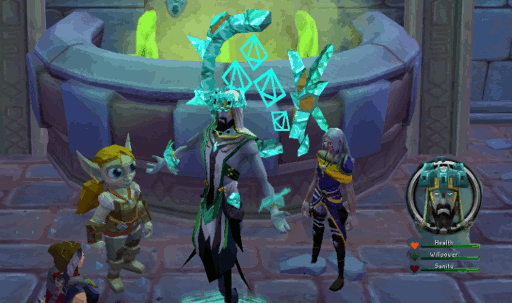
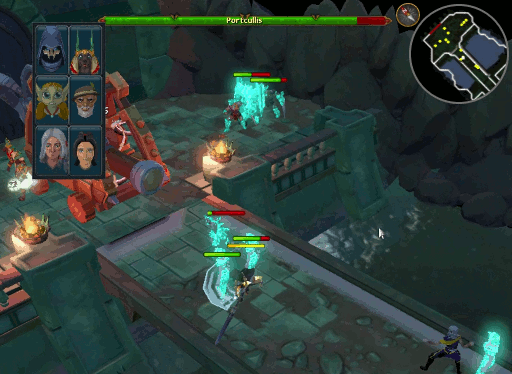
Investigate and enter the tent to the East and you will arrive in the throne room. You must investigate 5 things: the Throne, Sticky goo, Crystals, Fading footprints, and Strange emissions. Make sure you check the Strange emissions last as Zimberfizz will recognize that magic as Nomad's then you both will explode. Once the explosion happens, you will not be able to re-enter the throne room and Zimberfizz will now be a pile of ash at the Soul Wars camp. Note: the Zimberfizz ashes still have all of the same chat options, however, the ashes do not respond to you.
-
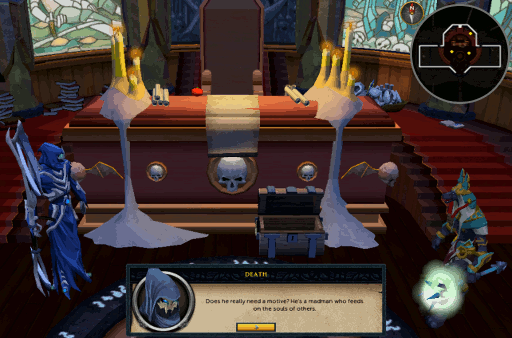
After the explosion you will find yourself in Death's office with him and Icthlarin. Here you find that Nomad has taken over Icthlarin's fortress and is trying to absorb all the recently deceased souls into the Soul Obelisk. The plan now is to take the fight to him. Icthlarin will continue to try and shield as many souls as possible and you must amass an army of your own to fight Nomad and his 'religious fanatics' (Order of Ascension members).
-
Travel through the door behind Death's desk and you will find yourself at Icthlarin's headquarters on the River Noumenon. Talk to Death and he will tell you that you need to collect souls that haven't made it across the river to Icthlarin's fortress yet. If you want, you can talk to Icthlarin about what the afterlife is like for the followers of different denominations.

-
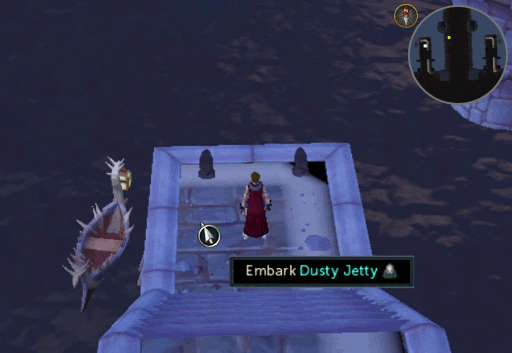
After speaking with Death (and Icthlarin if you chose to), make sure you have a weapon (Ranged
is suggested as your enemies use Magic) and some food, then travel North West to the Dusty Jetty. Choose to Embark, found on the dock not the boat, and you will be transported to the first of two locations.
-
The first location is a Limbo that resembles Lumbridge Castle. Your spouse from Throne of Miscellania (Brand or Astrid, depending on your gender during the completion of the aforementioned quest) will be there waiting for you to tell you about this area. Three souls have gathered here to wait that will be of use to you. Unfortunately, as they spend time there it seems that they forget who they are. It is your job to help remind them, thus enlisting them into your army.
-
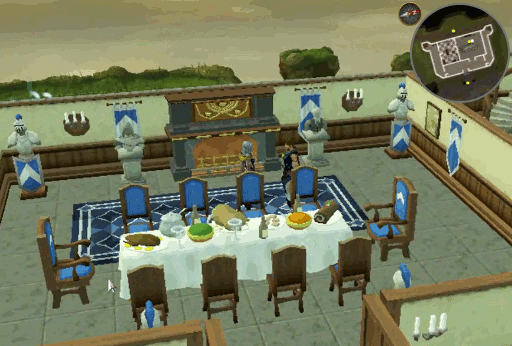
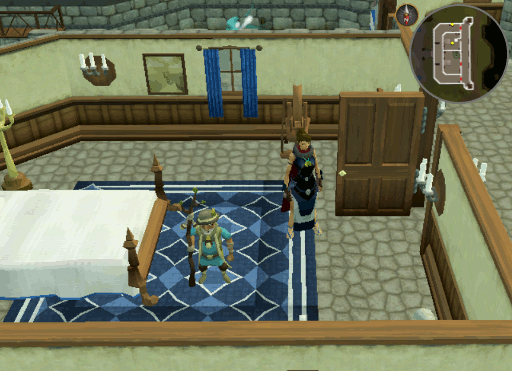
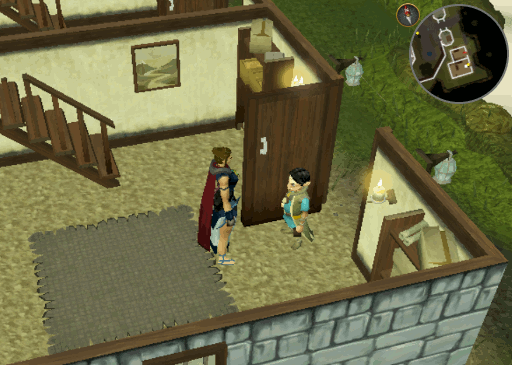
When you step into Lumbridge Castle, you will find Xenia on the 1st floor in the dining room. Greet her and you will find that she has locked her memories away.
-
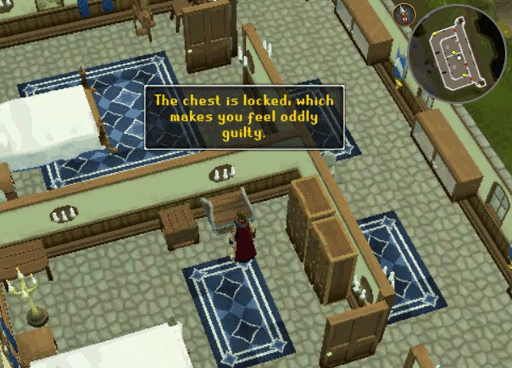
The first memory is located in Duke Horatio's bedroom. Climb the nearby stairs to the 2nd floor (up once) and enter the Northern room. On the South wall you need to attempt to open the chest. When you do Xenia's Guilt will attack you. Kill it and her guilt will drop a Guilt ridden key. Pick the key up (it must be in your inventory or you will be attacked by Xenia's guilt again) and open the chest. You will find a Xenia memory half.
-
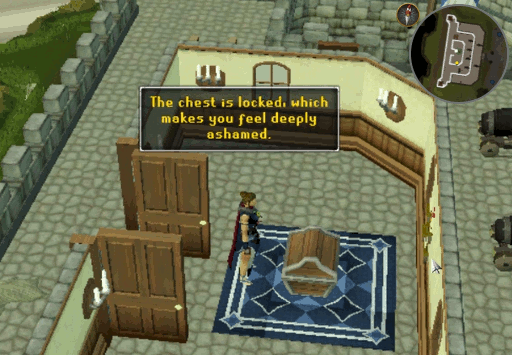
The second memory is on the 3rd floor of the Castle. Climb the nearby stairs and look in the room where the bank is normally located. Here, like below, you will find a chest which you must attempt to open. This time you will be attacked by Xenia's Shame, who will drop a Shame filled key. Once again, use the key on the chest to obtain half of a memory. Use one memory on the other to obtain Xenia's full memory.
-
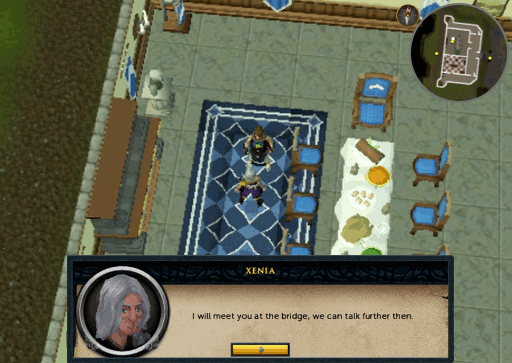
Return to the 1st floor where you found Xenia and use Xenia's memory on her. She will remember who she is and briefly apologize before telling you she will meet you at the bridge.
-
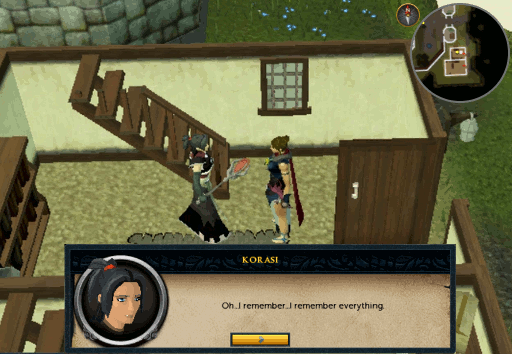
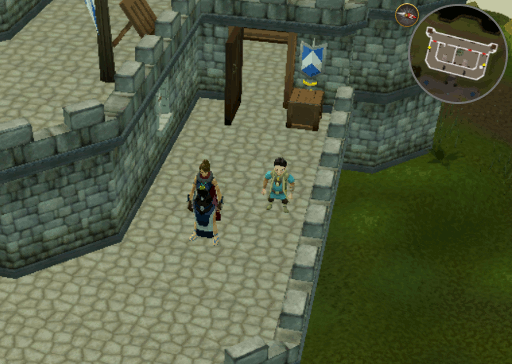
Just South East, outside the Castle walls, you will find Jessika or Korasi (which one you encounter depends upon how The Void Stares Back ended for you). Talk to Korasi and you will find that she no longer has any motivation.
Note: this section of the quest is identical regardless of which woman you have. The guide will be written with Korasi as the main contact to avoid confusion. If you have Jessika instead of Korasi, just switch names. For example, with the sentence above 'Talk to Jessika and you will find that she no longer has any motivation.'
-
Go to the South Western corner of the castle where you will find Wizard Grayzag. You will need to talk to him in the following order:
- I am not Korasi.
- My name is Korasi. (you transform into her)
- Wizard Grayzag? (he transforms, then resumes his form)
- You represent danger.
- I am not afraid of you. (he transforms into Korasi)
- Then I won't fail.

-
Travel East, to the South guard tower and climb up the ladder to the 2nd floor (up once). Here you will find the opposite woman; if you talked to Jessika originally you will find Korasi here, and if you talked to Korasi originally you will find Jessika here. Go through the conversation and she will hand you the second memory half.
-
Use one memory half on the other to create Korasi's memory. Climb down the ladder and walk South East back where you originally found the Korasi you talked with.
Note: that if Jessika was your original contact you will receive 2 Jessika memory halves and create Jessika's memory.
-
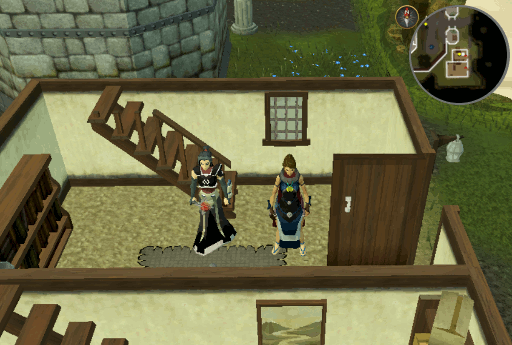
Go inside the castle and climb the stairs to the 2nd floor(up once). Here you will find Hazelmere walking around near the Southern room. Talk to him and you will discover that he is fragmented and in multiple places. You will need to find and help combine these pieces. As he teleports off you will see fragments indicate where he will be next.
-
Exit the room and walk North. Hazelmere is now outside on the balcony near the cannons. Talk to him again and he will teleport off to the next location.
-
Climb up the stairs to the 3rd floor, then climb the ladder to above the area where the bank usually is. Talking to him this time you will notice that he is slowly beginning to make more sense, however, he has teleported off yet again.
-
Go all the way back to the ground floor and out to the guard towers. Climb either ladder to the very top of the gatehouse. Talk to him and he will teleport to the next location.
-
Climb down to the ground floor again and walk to the Southeastern most building. Inside you will find and talk to Hazelmere again until he teleports away.
-
Walk behind the Castle and you will find Hazelmere. Once more talk to him and he will teleport to the last location.
-
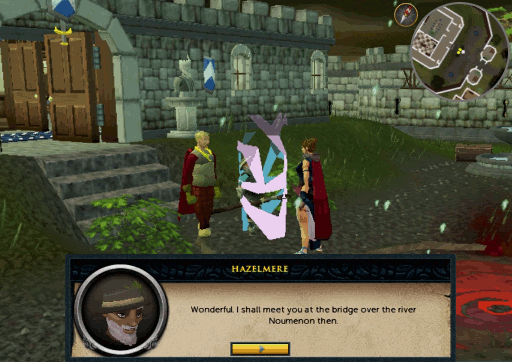
Now we find Hazelmere in his last location. Finally, he is straightened out and making complete sense. He tells you he knows what you're going to ask and will meet you on the bridge.
-
Since you have gathered all of your helpers from Limbo, talk to Brand/Astrid and you will hear Nomad's voice. After a brief discussion he will appear and kill Brand/Astrid then taunt you about your last meeting. Use the portal to head back to the Headquarters on the River Noumenon.

-
Back at the headquarters take a moment to gather good armor, weapons, and food from the bank chest by the Eastern stairs.
-
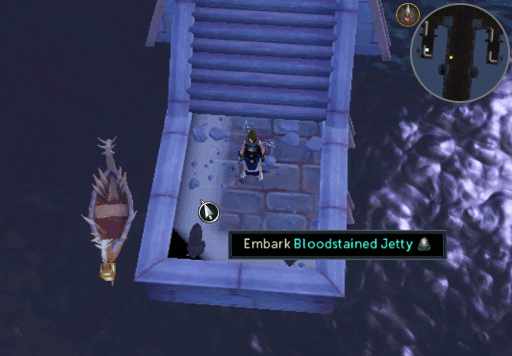
Once you are properly geared up, head North East and Embark on the Bloodstained Jetty.
-
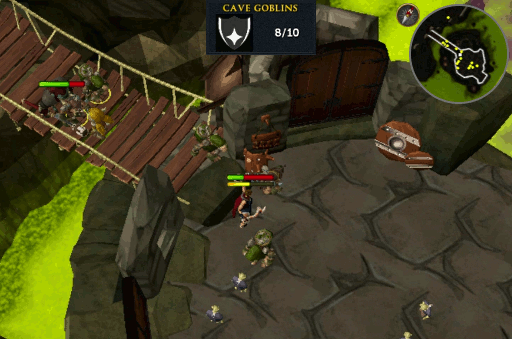
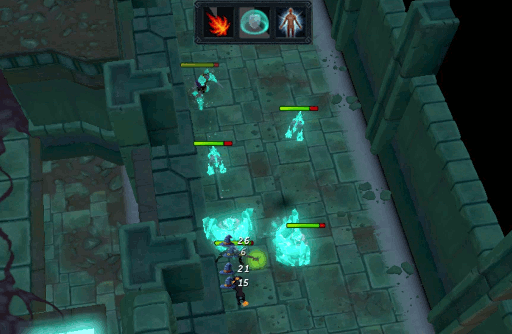
Here you will briefly talk to Zanik and find that she still died after The Mighty Fall. In her afterlife the other Bandosians torture her by repeatedly killing her and her friends. You now need to complete 3 waves of Bandosian attacks with at least 1 cave goblin still alive. After you cave successfully completed a wave, you will not have to complete it again if you fail the next one.
If you die here, you will be transported to Death's office as usual; you can buy back your items or step outside his office and reclaim them at a gravestone near his office portal North of the Draynor Village lodestone. Pets (summoned or otherwise) and the dwarf cannon cannot be brought to this afterlife.
The Bandosians are not weak to any combat style. Fighting with magic and using the ancient spellbook is recommended to entrap them, as well as take advantage of Area of Effect abilities. Some will run and others will walk; the runners have less life points, and it is advised to kill them first as they will make it to the cave goblins first. Using 'Incite' (Constitution level 24) and 'Provoke' (Defence level 24) are two highly recommended abilities as well, regardless of what combat method you choose. According to some, these fights are easier in Legacy mode.
-
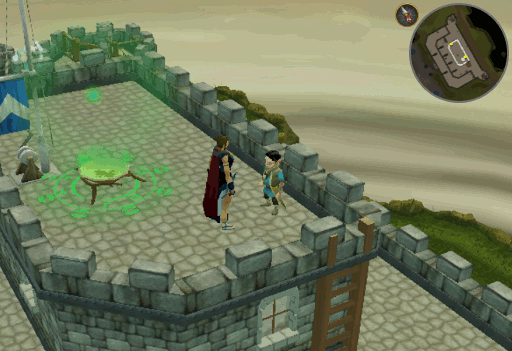
Once you have completed the Bloodstained Jetty afterlife, Death will confirm that you have all your needed allies. Now you need to interrogate Legio Septimus for information. Click the War table to begin the interrogation. You will need to use various interrogation techniques with Xenia's and Zanik's help. He will begin to divulge the information you need when his Willpower and Sanity are about half gone. If you leave the interrogation your progress will be reset; it will also be reset if you kill him. Make sure you gather ALL the information from him possible. The note about there being a 'back way in' is particularly helpful.
-
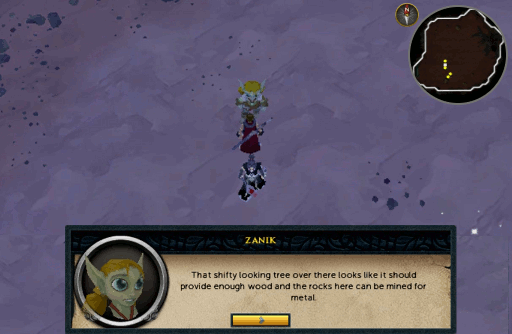
When you have gathered all of the information you will now need to gather supplies for a ram. Click the War table again and choose 2 allies to help you gather wood and metal (who the allies are does not matter). While you are gathering metal and wood, Nomad will speak to you. Taunting you about past deeds.
-
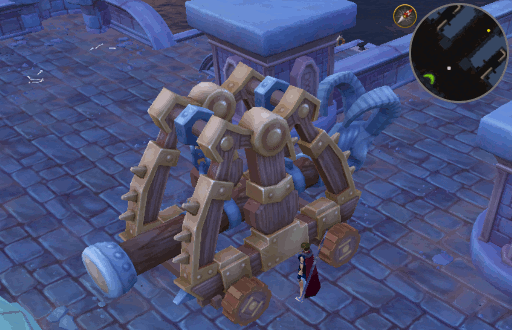
Next you will need to create the battering ram with the supplies you've gathered. Walk North down the stairs to the Battering ram hotspot and build it. Nomad will continue to torment you as you build.
-
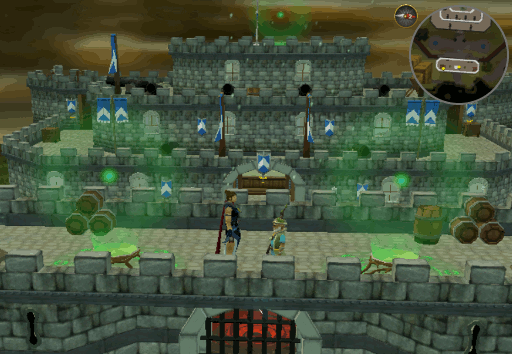
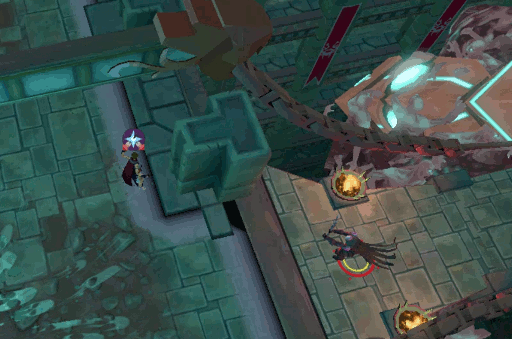
Once it is built, you and your allies will walk across the bridge while battling Ascension members (you do not need 81 Slayer to kill them); Range weapons/armor are recommended. If you get too far away from the ram it will stop. If the ram is destroyed on the trip you will start the passage again. You also have the ability to control where your allies are placed. When you reach the end of the bridge it will automatically bust through the doors and your group will continue.
-
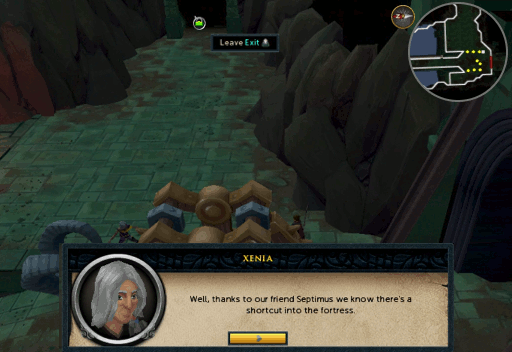
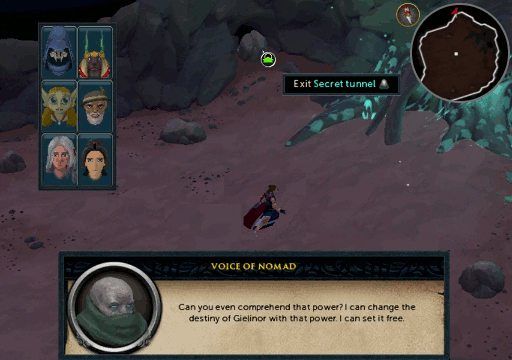
Now that you have reached the main chamber you have a choice to make. If you got all of the information from Legio, you know about a secret entrance, found to the East of the chamber. When you 'Leave Exit' you will find yourself in the chamber where you and your allies gathered the metal and wood. Go to the North East corner and interact with the boulder; Exit Secret Tunnel. If you choose to go this way you can skip the fight in the main chamber.
-
If you did not get all the information from Legio and do not know about the secret entrance, you will now be fighting more Ascension members to break through the door North of you. They will spawn on both sides of the ram as well as behind it and on the other side of the bridge. It is advisable to position Death and Icthlarin on each side of the ram with all the others on the bridge. When you have successfully beaten through the door, Zanik and Hazelmere will stay behind to guard your back while the rest of you continue on to fight Nomad.
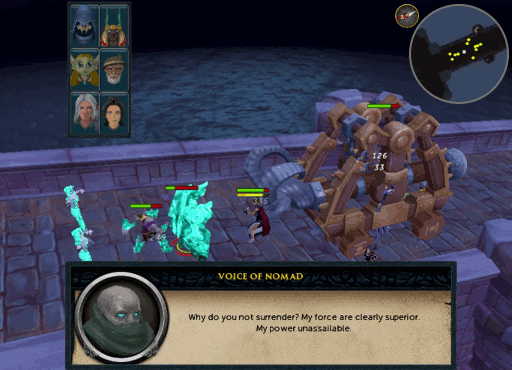
Nomad fights
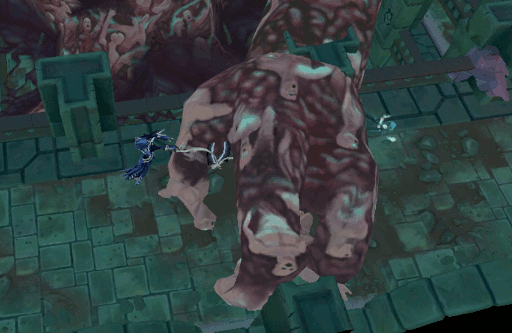
The fights with Nomad will be in several phases separated by your allies fighting the monster he created and refers to as Gielinor. Your fights are not safe deaths, should you choose not to reclaim your items from Death your gravemarker will be just outside his portal North of Draynor Village. All battles where you control your allies are safe; the phase will just restart. During this fight, pets are acceptable to bring.
-
Nomad Phase 1 - There are 2 special moves Nomad uses to attack you using Gielinor.
-
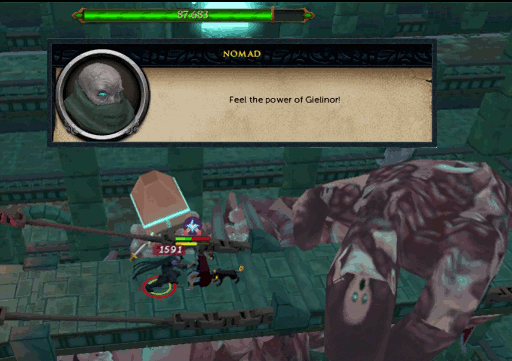
Nomad says 'Witness the power of Gielinor!', you are teleported to the middle of the bridge and him to either side. Gielinor will raise a hand to smash you. You can avoid this by moving from the center of the bridge. Or you can reduce it by using protecting or deflecting melee prayer/curse. Melee is a good combat style choice as you are forced to move in order to attack Nomad.
-
Gielinor will raise his hand in the air and shadows will appear around Nomad followed by pink streams of energy. These hit a constant 850 damage (450 damage if you protect or deflect magic) unless you move. If you fight Nomad from the opposite side you were before the attack you will not be hit by this attack; example you were attacking from the East before the attack, once Gielinor lowers his arm, run to Nomad's other side and attack from the West.
-
Nomad says 'Witness the power of Gielinor!', you are teleported to the middle of the bridge and him to either side. Gielinor will raise a hand to smash you. You can avoid this by moving from the center of the bridge. Or you can reduce it by using protecting or deflecting melee prayer/curse. Melee is a good combat style choice as you are forced to move in order to attack Nomad.
-
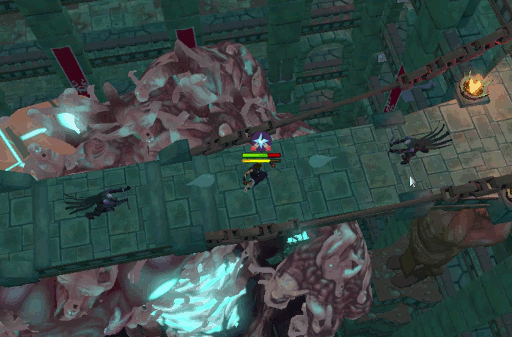
Once you have reduced Nomad to 0 health, you will control Xenia. Her mission is to clear the lower floor of 3 groups of Ascension members. While she is fighting them Gielinor sends intermittent bombs that hit for 1,000 magic based damage each time; these can be avoided by moving from the shadow that appears beforehand. While fighting, Xenia has 3 special moves to help eliminate the Ascension members.
- Fire Blast: Blasts all nearby Rorarii with a powerful homing projectile.
- Shield Dome: Reduces all incoming damage and reflects damage from Gladii back at them for a short duration.
- Shadow Stalk: Uses a copy of yourself to attack a nearby Scutarius from behind.
-
Nomad Phase 2: For this phase Nomad still has the 2 moves above, as well as a third.
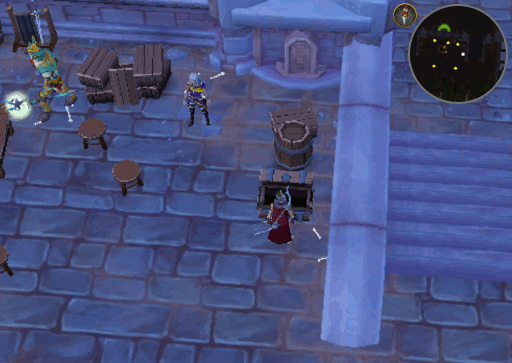
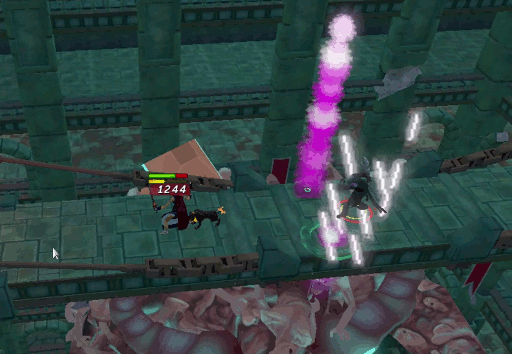
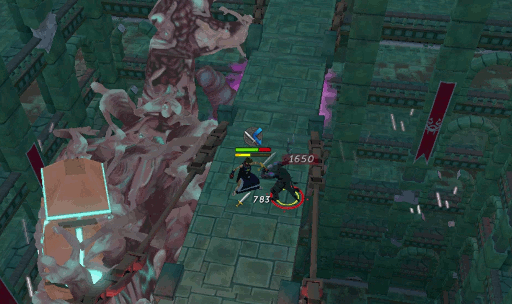
- His third move for this phase is his Soul Blast projectile attack from Nomad's Requiem. Nomad will disappear and teleport to the end of the bridge and a chatbox will appear with him saying 'Can you handle my wraith?'. At this point you will want to either hide behind a pillar at the end of the bridge (very close to the pillar like in the image below or it will still hit you), use Resonance (100% block) if you are wearing a shield, or use Debilitate (50% block, may be more depending on shield). If you do not block or hide from this attack you will receive up to 9,000 typeless damage.
-
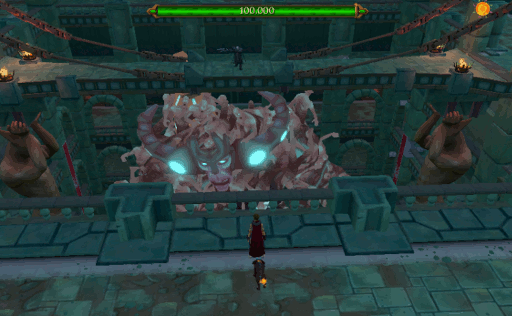
Now that you have gotten Nomad to 0 health again, you will take control of Death. His job is to weaken Gielinor by reclaiming a few of the souls. Like with Xenia, you will need to avoid projectiles from Gielinor and will have 3 moves to choose from.
- Provoke: Taunts the construct to attack your current location. Will only work due North, East, South, and West of the construct.
- Scythe Swipe: Uses your scythe to attack the construct when in range. Will release a trapped soul.
- Soul Reap: Releases a freed soul to weaken the construct.
-
Nomad phase 3: All three moves above are used and another one is added.
- When Nomad reaches half health he will summon a clone. At this point he will not use Soul Blast attack nor teleport you to the center of the bridge. If you manage to kill the real Nomad the phase will end and the next one will begin. If you kill the clone instead, he will resume using Soul Blast and teleporting you until you kill him.
-
We are on to our last ally now. Icthlarin's task is to collect souls before Gielinor can get them. He has only 2 special moves.
- Soul Release: Releases all nearby souls in a wide area. Release more souls than the construct to reduce its power.
- Deflection Shield: Reflects a powerful Soul Beam back at the construct. The effectiveness of the shield depends on how many souls you have released.
Make sure to travel in a counterclockwise direction (head East from the entrance).
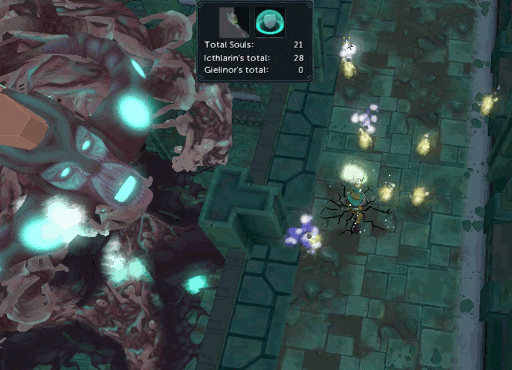
To collect souls: stand near a group of souls and click Soul Release, then continue running counterclockwise around the area. There are 7 groups of 7 souls to collect; once all 49 souls have been collected by you and Gielinor the 'round' will end; make sure to use the Deflection Shield at this point! You do not have to collect all the souls when you go around; as long as you collect more than Gielinor you can reflect his power and go around again.
-
Nomad phase 4: Finally, we have made it to the last battle (feel free to cheer). During this phase Nomad will only use quick attacking melee; unless you try to leave the bridge, then he will teleport you back. Gielinor will still occasionally blast magic upon the bridge, so watch out. Due to his high rapid hits, it is strongly suggested to use protect from or deflect melee.
-
Now that you have finally beat Nomad for the last time you will see him go down. A cutscene will not automatically occur, you will need to click Nomad for it. You will then get to choose if Death or Icthlarin gets to kill Gielinor.
-
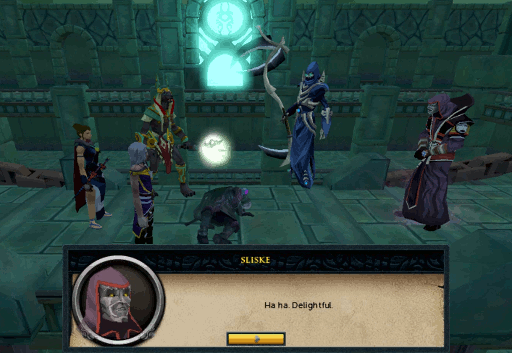
Once Gielinor has been destroyed, you will begin to discuss what is to be done with Nomad when Sliske will appear. After some conversation you will need to decide if Nomad will be allowed to live or if he must die for his crimes. Regardless of your choice, Sliske will take him away. Xenia will remind you that despite the setback, this is still a win for your team and the battle is over.
-
You will now go back to the headquarters on the River Noumenon to say goodbye to your friends who must move on. However, because the Soul Obelisk remains and Zimberfizz is now ashes, Icthlarin offers to let Zanik stay as its caretaker for a few years. If you refuse to let her, Zimberfizz's ashes will remain the Soul Wars host.
Congratulations! Quest Complete!

This Quest Guide was written by Jarkur, ChathMurrpau, and Dark.. Thanks to Anihalation and 3ter 1. for corrections.
This Quest Guide was entered into the database on Sun, Feb 28, 2016, at 03:13:54 AM by Jarkur, and it was last updated on Sun, Feb 02, 2020, at 07:38:30 PM by Chath.
If anything is incorrect or missing, or if you have any new information to submit to this database, please submit it to us on our Content Submissions Forums.
If you see this guide on any other site, please report it to us so we can take legal action against anyone found stealing our content. This guide is copyrighted by RuneHQ, and its use on other sites is expressly forbidden. Do not ask if you can use our guides or images, the answer is and always will be NO!
Print this page with images - Back to the Quest Guide Index Page - Back to Top
