

Note: This guide uses the English (US) based Numbering scheme, and not the English (UK/EU) Numbering scheme. An example: Second floor in English (US) Numbering scheme refers to First floor in the English (UK/EU) Numbering scheme, and likewise.
-
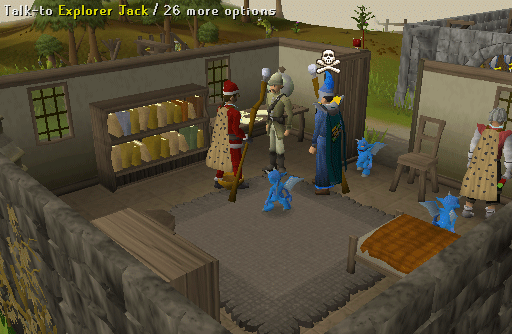
Speak to Explorer Jack just north of Lumbridge castle and west of the General store. He will tell you about the "riches" that await you in the land of snow, and will ask you to find out more about them. He will then give you a special code and will tell you to speak to Wizard Isidor in the Wizards' Tower to have him teleport you to the Land of Snow. The code word is "Ectosum Glissendo."
-
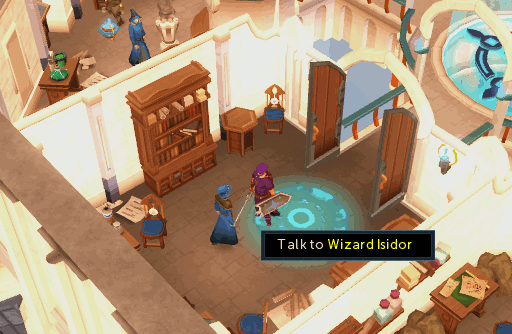
Wizard Isidor is located on the second floor of the Wizards' Tower. Speak to him and he will teleport you to the Land of Snow.
Note: Second floor in English (US) and First floor in English (UK/EU).
-
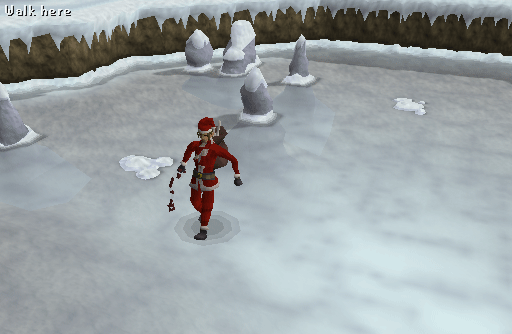
Once there, you will find that you cannot walk on the ice as it is far too slippery, so you must use the rocks around you in order to reach the cave. The solution for getting to the cave is as follows (there is more than one solution):
- Slide South
- Slide East
- Slide North
- Slide East
-
Cavern 1
You will now be in an underground room. You can slide in any direction and you will be halted by pillars. You can then slide in a different direction. Logging out and back in will reset you to the starting spot in each room. The circular patches on the floor will also stop you from sliding. Follow the instructions below to reach the next room.
- Slide East
- Slide North
- Slide West
- Slide South-East
- Slide South
- Slide East
-
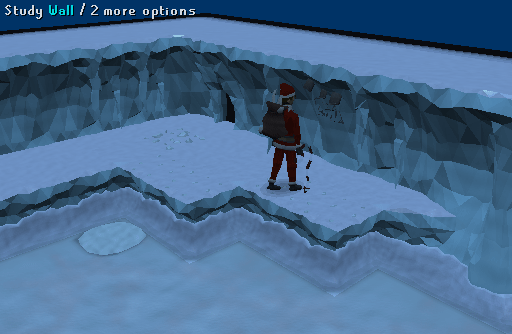
Cavern 2 - Crafting Reward
You will arrive in another maze room. Follow the instructions below to make it to the next room.
- Slide East
- Slide North-West
- Slide South
- Slide East
- Slide South
- Slide East
- Study the wall to get 2K Crafting XP
- Slide West
- Slide North
- Slide West
- Slide North
- Slide South-East
- Slide South-West
- Slide East
- Slide North
- Slide East
- Slide North
- Slide East
-
Cavern 3
You will then enter another room with a harder maze. Follow the instructions below to access the next room.
- Slide North
- Slide East
- Slide South
- Slide West
- Slide North
- Slide East
- Slide South
- Slide East
-
Cavern 4 - Agility Reward
You will arrive in a very complicated maze. Follow the instructions below to make your way into the next room.
- Slide North-East
- Slide North
- Slide East
- Slide South
- Slide East
- Slide North
- Slide East
- If you want the additional 10K Agility XP reward, slide south and follow the rest of these points otherwise slide north then east to just exit to the next room. (Note: As this is a member's skill, only members can do this part.)
- Slide East
- Slide South
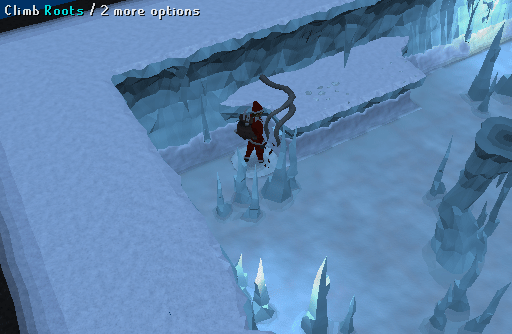
- Slide West - Climb the roots and study the wall to receive the 10k Agility XP.
- Climb back down, then slide East.
- Slide North
- Slide West
- Slide North
- Slide East
- Slide South
- Slide East
- Slide North
- Slide East
- Slide North
- Slide East
-
Cavern 5
You will once again arrive in a maze room. Follow the instructions below to reach the next room.
- Slide East
- Slide South
- Slide East
- Slide North
- Slide East
- Slide North
- Slide West
- Slide South-East
- Slide East
-
Cavern 6 - Woodcutting Reward
This is the last room - here you have to push the stone blocks into the gaps in the northern path. Follow the instructions below to get the blocks in position.
Block 1- Slide East (wakes up Yeti, then returns you to start)
- Slide South-East
- Slide East
- Slide South
- Push Stone Block West
- Slide South-West
- Slide North
- Slide East
- Push Stone Block North
- Slide North
- Slide West
- Slide North-East
- Push Stone Block East
- Slide East
- Slide South
- Slide East
- Push Stone Block North
- Slide West
- Slide South
Block 2- Slide South
- Slide East
- Slide North
- Push Stone Block East
- Slide East
- Slide South
- Slide East
- Push Stone Block North
- Slide North
- Slide East
- Slide North
- Push Block West
- Slide South
- Slide West
- Push Stone Block North
- Slide North-East
- Slide North
- Push Stone Block West
- Slide South-West
- Slide West
- Slide North-East
- Push Stone Block North
- Slide West
- Slide South
- Exit-room Archway (return to previous room)
-
Now that you are back in the previous room, you must reach the ledge in the northeast corner.
- Slide North
- Slide West
- Slide North
- Slide East and squeeze through the crevice
-
Slide along the ledge, then clear and study the wall to gain 20k Woodcutting XP. Now squeeze through the crevice at the end.
-
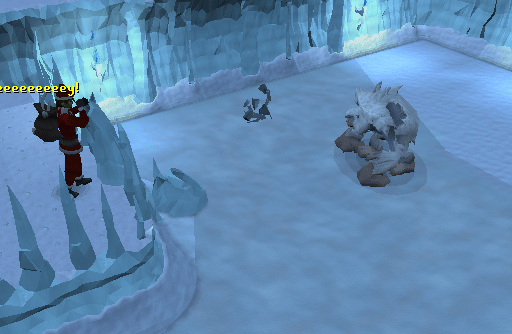
You will arrive in the room with the Yeti again, only this time he cannot see you. On the ledge you will see a pipe and on the wall behind it you will see an etching. Study the wall, then turn around and shout into the pipe. You will see a short cutscene of you winning a shouting match with the Yeti.
-
Squeeze through the crevice, slide back along the wall, then squeeze through the other crevice. Follow these instructions to reach the next room:
- Slide West
- Slide South-East
- Slide East (into next room)
- Slide East (into Yeti room)
-
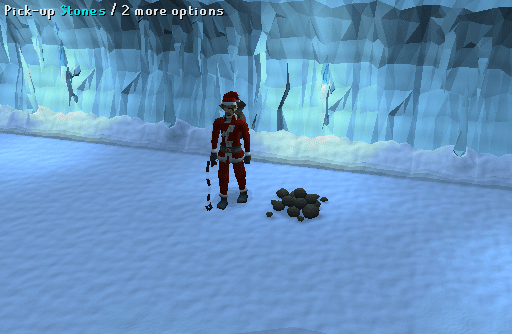
Once in the room with the now unconscious Yeti, pick up the stones and then slide back west out of the cave. Slide west again, right click the archway, and select "Exit-cave Archway" to return to the snow imps outside.
-
The snow imps will explain that the stones are actually just Yeti Dung and that they will enchant it for you to give to Explorer Jack. Teleport to Lumbridge and give them to Explorer Jack. You can either tell him that the stones are Yeti Dung or you can let him believe that they are real jewels. He will thank you and give you your reward.
Note: You can return to Explorer Jack later to receive an additional reward of 5k coins.
Congratulations! Quest Complete!
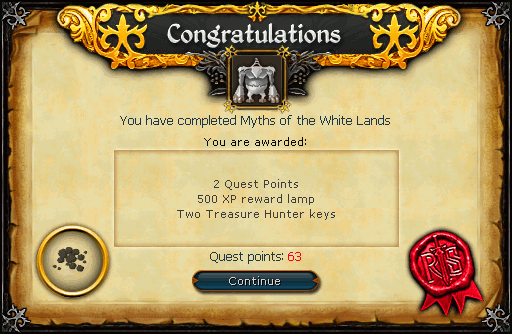
(Note: If you completed Sheep Shearer before it became a miniquest, then you will receive only 1 Quest point.)
This Quest Guide was written by diamondi3ack and Im4eversmart. Thanks to Skeletonmat, Lanka, The dying Soul, Yoshiman89, Mechachomp, Omega, axeking187, Ruzzy, senug5, Oakley, superjuan99, mechachomp, Greg, D2Ultima, uknowme60, Pac_Sun_Man, Clamball, Joe3750, Alfawarlord, Hilwin1, DarkBlitz, and Jarkur for corrections.
This Quest Guide was entered into the database on Tue, Dec 16, 2008, at 03:26:42 PM by Im4eversmart, and it was last updated on Wed, Mar 04, 2015, at 11:45:02 PM by Jarkur.
If anything is incorrect or missing, or if you have any new information to submit to this database, please submit it to us on our Content Submissions Forums.
If you see this guide on any other site, please report it to us so we can take legal action against anyone found stealing our content. This guide is copyrighted by RuneHQ, and its use on other sites is expressly forbidden. Do not ask if you can use our guides or images, the answer is and always will be NO!
Print this page with images - Back to the Quest Guide Index Page - Back to Top
