

*These items are obtained during the Pyramid Plunder minigame and and can also be bought off the Grand exchange.
-
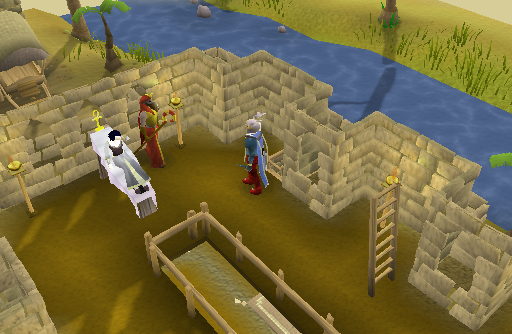
Begin the quest by speaking to the High Priest in the Temple of Icthlarin in Sophanem. He has a body that he wishes you to identify.
-
Head up the ladders in the Temple and take a look at the body. You will soon discover that the person is not dead, and happens to be Maisa (Osman's spy from the Contact! Quest).
-
After the cutscene, Speak to Maisa and she will tell you that she has discovered some tunnels beneath the city that she wishes you to explore, and asks you to avenge Kaleef's death by killing the Scabarites that lurk there.
-
Go back down and speak with the High Priest again. He will tell you that while he has no problem with you slaying the Scabarites, he asks that you have respect for his counterpart, the High Priest of Scabaras (in the hopes of future peace). He shares Maisa's view that there is a Scabarite camp to the East of Sophanem.
Click image to enlarge
-
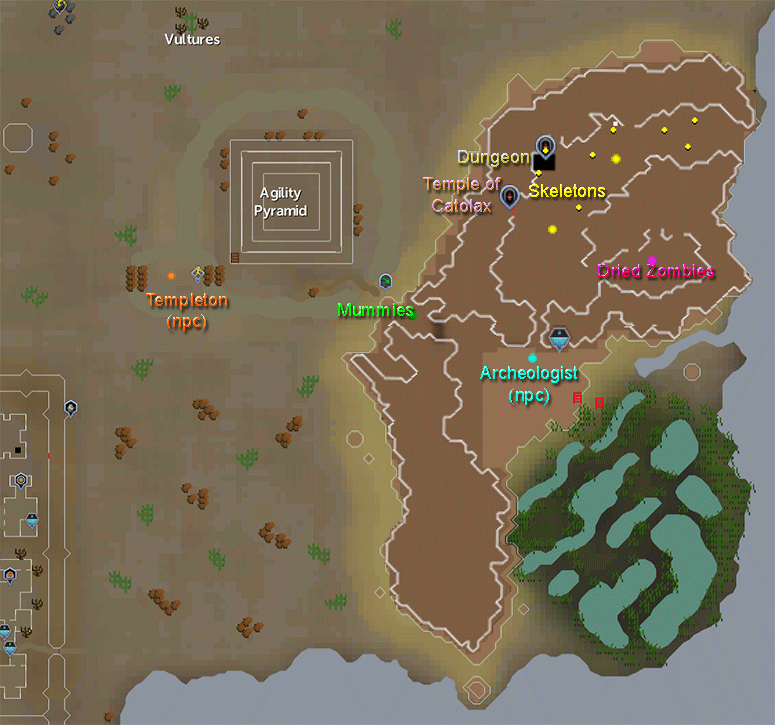
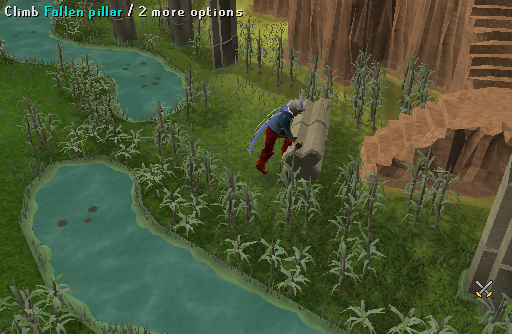
Bring a Rope with you and head to the northeast part of the city and climb through the hole in the wall. Run southeast past the Agility Pyramid until you reach the swamps. Head to the north west part of the swamp to find a fallen pillar. Climb over it and head up the stairs to the Archaeologist camp.
-
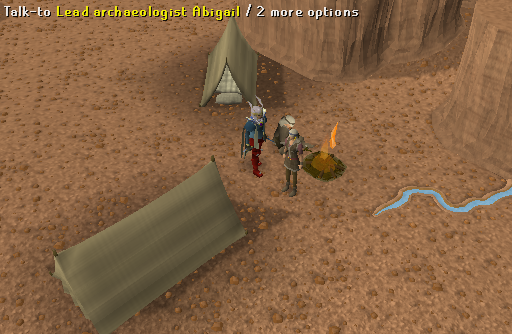
Speak to Lead Archaeologist Abigail and she will ask a favor of you in return for helping you find the entrance. She will tell you that you need to deliver some artifacts to Simon Templeton, but only after you pass a mathematical test. She says to round down to the nearest whole number for her questions. The questions are dependent upon your combat level, with more difficult questions for those with higher combat stats.
-
When you are done with the mathematical test, head west and go over the low wall to an area with mummies. Tie your Rope to the outhanging rock to make a permanent agility shortcut from the Agility Pyramid to the plateau.
-
Speak to her again and she will tell you that Simon wants a number of various artifacts for his collection. The required items vary from person to person. One example of the required items would be getting the Pyramid top from the top of the Agility Pyramid, 10 gold objects from Pyramid Plunder*, and antiqued bronze items. The bronze items are random for everyone, but it will add up to using 18 Bronze bars. She will give you an empty crate to put all of your items in.
-
For antiquing objects, rub camel dung onto them in the heat of the desert sun. To obtain Ugthanki dung, use a bottle of hot sauce (obtained from Ali the Kebab seller in Pollnivneach) on the camel's feed, and then scoop up the dung in a bucket. Alternatively, if you have a Camulet, you can simply speak to the camel and you won't need hotsauce. Once you have all of your bronze items add them to your Empty crate to get a Smelly crate.
-
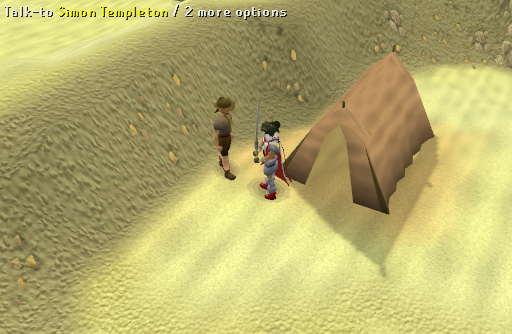
When you have collected all of your items, give them to Simon Templeton. Talk to him again and he will ask you to go and speak to the Mummy in the Pyramid Plunder entrance. Speak to the Mummy, and then head back to Simon. He will reward you by accepting items from the Pyramid Plunder Minigame.
-
Go back to the archaeologists and give them the Artefact receipt. They will give you a Scabaras research book and ask you to fill it with notes. The Scabarite notes are dropped by any of the monsters in the new area (except for the crocodiles).
-
Talk to the archaeologists once again after you have copied 4 pages to the notes. They will give you a Scabarite key to use on a nearby underground area.
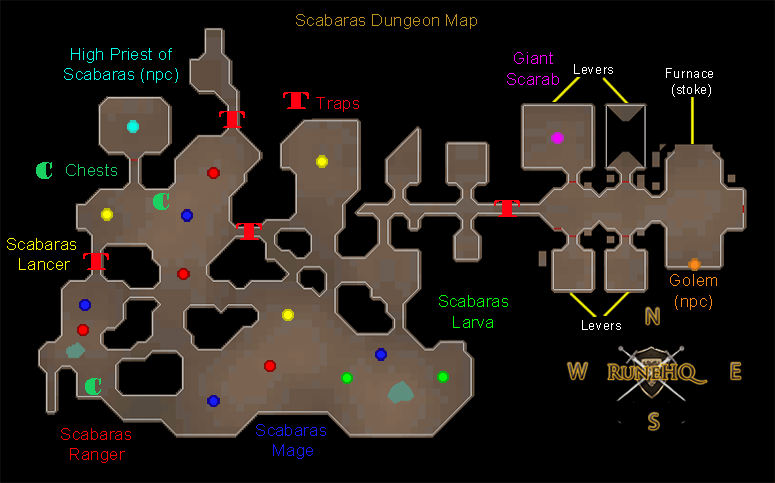
Click image to enlarge
-
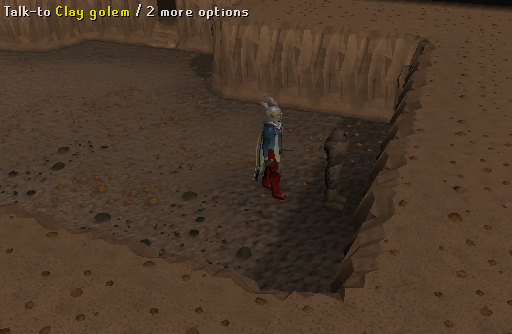
Go north from the archaeologists and climb down the stairs. Once down, talk to the Clay golem. He will tell you that he can apply power to different areas to help you.
-
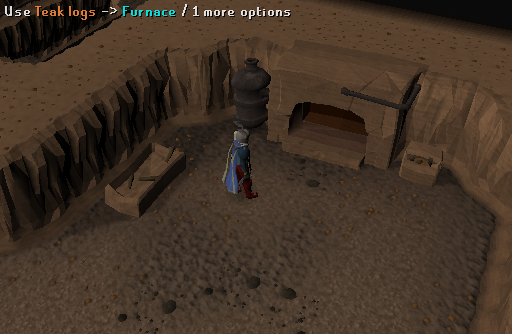
Go north and take a log from the fuel storage box and put it in the furnace. Return back to the golem and ask him to power up the rooms. It is advised to bring some extra logs just in case you cannot finish the levers with the logs in the storage box.
-
The room you select first will get most of the Golem's aid, and will be easiest to do. The rooms are a Mysterious Box room (where you have to play a rune memory game, matching three of the same rune), an Agility Pipe (where you have to balance), an empty room (where you use strength to pull the lever), and the scarab fight. Power up the rooms in the order you desire then pull the lever in each one. It is best to do the Mysterious Box room first since is the most failed room.
-
You require approximately level 90 in the skill to use the lever with the lowest assistance and not fail (except for the giant scarab lever. You just have to kill the scarab). The approximate assistance from the golem is as follows:
Highest: 30 level boost
2nd highest: 20 level boost
3rd highest: 10 level boost
Lowest: 0 level boost
-
The two most easily completed if your level is high or decent enough is the Agility door and the Strength door. If possible, bring Agility potions if you have a low Agility level and alternately bring Super strength potions for the Strength lever as well. This is only recommended if you have 60-70 of both skills.
-
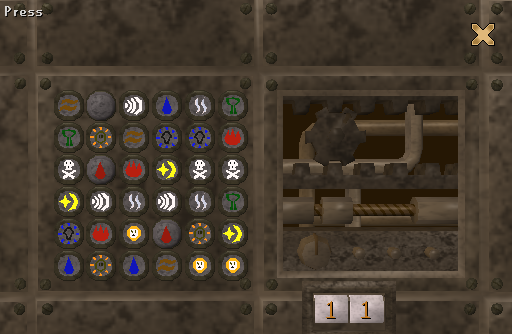
During the Mystery Box room, you will need to solve a matching game, you solve it by matching 3 runes of the same type in a row until all of the rune faces are visible. If the 3 runes you pressed do not match, after pressing a fourth you will lose a try, if they are correct, they will keep displaying. You are able to manipulate the cog, pinion, and switch to gain extra tries, if you fail to manipulate one you will loose tries.
Be sure to click the cog on the right atleast once, or the mechanics will fail halfway through regardless. Making a 6x6 grid on a piece of paper and writing down the runes makes this puzzle much easier.
-
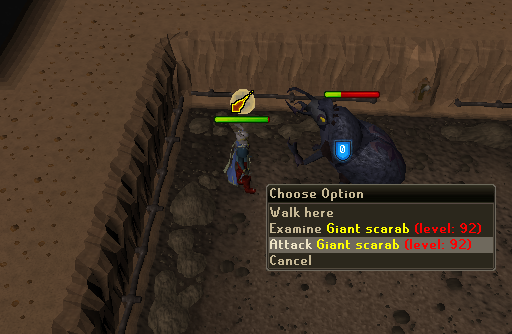
During the Scarab battle room, it is best to use a super set, good melee armor, a poisoned Keris dagger (p++) (from the Contact! quest), and the protect from magic prayer.
-
After you have pulled all the levers, you can now enter the locked door. You will not have to pull the levers again if you leave the dungeon area.
-
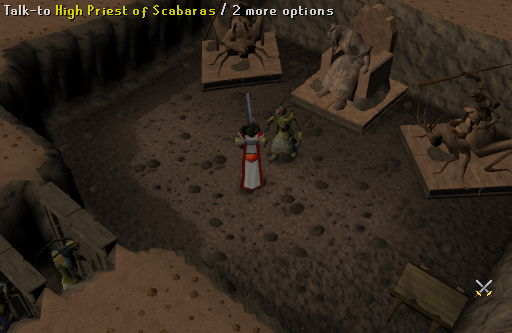
After you have completed all the rooms, continue to the West, keeping an eye out for the traps on the floor. The enemies here are very dangerous, so use caution and protection prayers. Head northwest to find the High Priest. The conversation will not make much sense at first. All ways will lead to restarting the conversation or fighting the High Priest (level 92). You will have to fight him a few times to knock some sense in his head. Ask what is going on and tell him the second option about the Devourer. After you do this a few times he will realize he is being hypnotized. He will then allow you to leave.
-
When approaching the High Priest, be sure to come prepared to fight in case you say the wrong thing to him. Talk to him and choose the following options: By all the deities, what is going on here? OR Sounds like the Devourer dragged you into heresy for her own ends. - Possibly attacked for this response. Repeat similar conversions (without killing him) until he tells you the ways of Scabaras. If you somehow anger him, he will attack, so be careful.
Note: Super restores and Relicym's balm are recommended to have if you fight. The High Priest (level 92) uses all 3 types of combat methods, so switching between prayers is advised.
-
After he has agreed to let you leave, report to the High Priest in Sophanem to collect your reward.
Congratulations! Quest Complete!
During the quest you collected four Scabarite notes. In the miniquest called Scabarites Notes, 19 notes will need to be collected, and given back to Abigail (Note: This is also a requirement for the trimmed Completionist cape). 17 notes can be obtained from killing monsters you faced during the quest, the last two monsters are found in these caves.
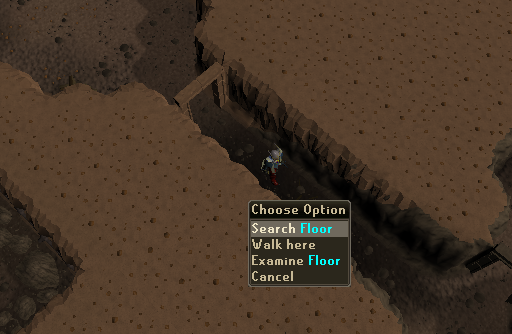
If you exit the priest's room, go north east along the wall. Very soon you will find a chest. Open it to find a set of notes.
South of the room there is a path that is free from traps that leads to a small room with some lancers and rangers. Here is another chest.
This Quest Guide was written by Belgariad04. Thanks to Fruitcheese, Trekkie, Mstreefland, Tinychris1, 00 0000 00, Thoke, Im4eversmart, Locost, Jakesterwars, Bob, Lady_java, Lightsaber69, Sillybrit, Knakki, Terr002, Beniholator, io_the_fair, Tigral, poopnater, Realruth, Ralkal, dragoon889, DarkAdvisor, Olllivander, Necraix, RdRanger2020, Jarkur, Alk12, and VoodooMajinx for corrections.
This Quest Guide was entered into the database on Wed, Jan 02, 2008, at 03:17:19 PM by Im4eversmart, and it was last updated on Thu, Jul 22, 2021, at 10:01:11 AM by Alk12.
If anything is incorrect or missing, or if you have any new information to submit to this database, please submit it to us on our Content Submissions Forums.
If you see this guide on any other site, please report it to us so we can take legal action against anyone found stealing our content. This guide is copyrighted by RuneHQ, and its use on other sites is expressly forbidden. Do not ask if you can use our guides or images, the answer is and always will be NO!
Print this page with images - Back to the Quest Guide Index Page - Back to Top
