

-
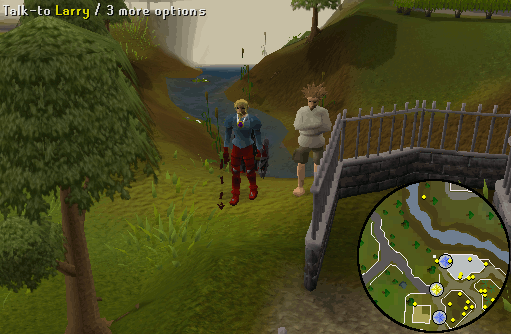
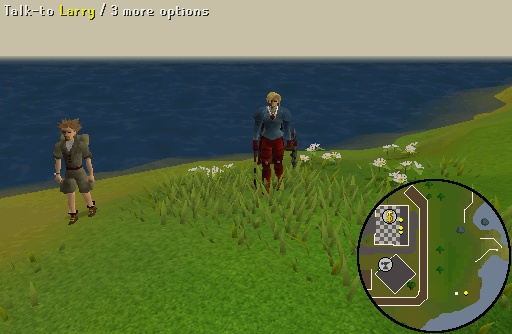
Talk to Larry near the penguin enclosure at Ardougne Zoo. He will inform you that the Zookeepers have put him in a strait-jacket as they think that he is crazy because he saw a giant penguin while on a fishing holiday. Agree to help him.
Note: The easiest way to reach East Ardougne is via the Ardougne Teleport spell (requires 51 Magic) or Lodestone Network.
-
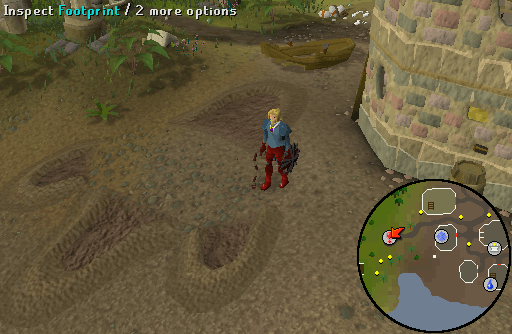
Head east out of East Ardougne to the small village of Witchaven. When you have reached the village, inspect the large footprint in the southwestern part of the village.
-
Report back to Larry. When you speak with Larry, both of you will be confronted by the Chief Zookeeper. Two cut scenes will occur, one in which the Chief Zookeeper inspects the footprint, and another in which Larry takes off the strait-jacket. Larry will then tell you to head up the Iceberg, north of Rellekka with your Clockwork suit.
Note: If you do not have a Clockwork suit, then Larry will give you a Clockwork book reminding you how to make one.
-
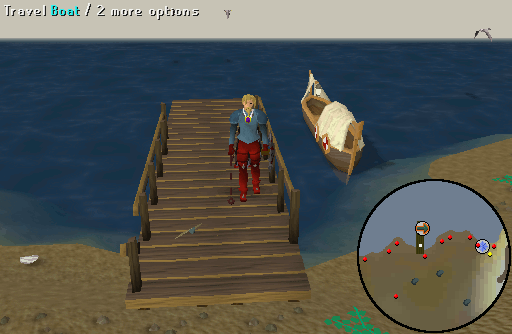
Make your way to the coast with Rock Crab northeast of Rellekka. Once there, travel on the boat to the iceberg.
Note: The easiest way to reach Rellekka is via the Fairy Ring code D K S, Enchanted lyre teleport or using the lodestone network to the Fremennik Province lodestone.
-
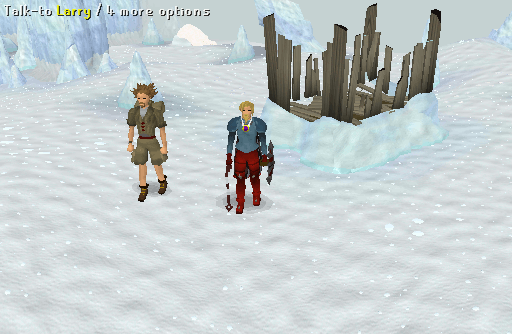
Once you have reached the iceberg, talk to Larry. He will tell you to investigate how to find the submarine, how to board the submarine, and how to disable the submarine.
-
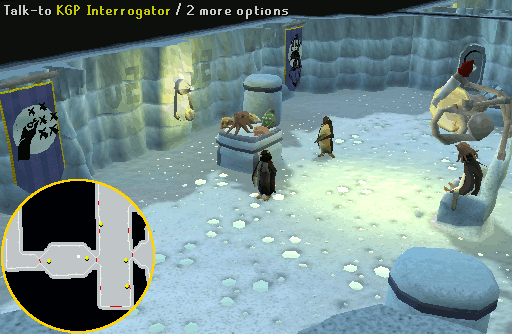
Head northwest until you come to an avalanche on the northern wall. Investigate it and you will be taken into the Penguin Base. Head into the room to the west and talk to the KGP Interrogator, who will ask you to interrogate the captured penguin.
-
Statement Response My captain trusted me to deliver the message. Your captain must trust you a great deal. My captain found a greater leader. What leader could possibly be greater than the Pescaling?
The sea may control your Captain, but he controls your life.He will bring unity by destroying the humans. Why not unite all penguins to The Sea, first?
He's only demonstrating his impatience.Nothing can stop him. If he comes to rescue you, he'll be captured. Our sacrifice will be remembered. 'Our sacrifice'? Only you appear to be making the sacrifice.
When you have finished interrogating the Captured penguin he will tell you his secret signal. He will tell you to call him the horn of the sea then you must dance the dance of sea.
Dance with a _, then groove with a _, and finish with a _ (different for every player). Search the crate near the KGP Interrogator to receive a Conch shell, Puffer, Octopus, Monkfish, and a Ray. Before you leave the room, take note of the type of fish the Captured penguin is wearing as a hat.
Note: The 3 emotes and the fish hat differ from player to player.
-
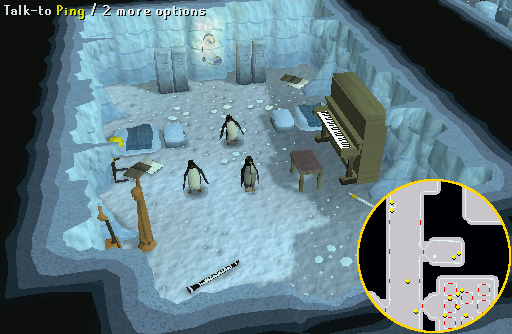
Leave the room and head out into the hall. Speak to every penguin there to find out how to get into the war room. They will tell you to speak to the KGP Agent at the end of the room in his booth. Speak with Ping or Pong inside the room southeast of the agent to find out how to get past the security door. He suggests that you ask the agent what makes him fall sleepy and to sing a lullaby.
-
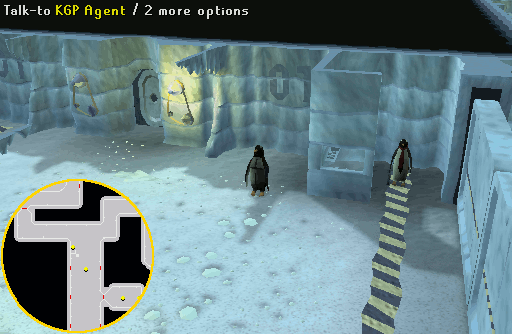
Talk to the KGP Agent guarding the door to the north and ask him what makes him sleep. Head back to Ping to create the lullaby. Rockhopper penguin, on the ice crop, when the ice breaks, your body will drop. "Chicklings" will come circling, watching your fall, and down will come penguins, "Squirrels" and all. Rockhopper penguin, in the "Blue" sea. "Bears" are approaching, they want you for tea, you can defeat these terrible foes, with your secret weapon: a "Kiss" on the nose. Rockhopper penguin, king of the sea, you are way cooler than "Sharks" could be. Return to the Guard and sing him the lullaby to put him to sleep. Once he is asleep, operate the controls in the booth to go through the doors.
Note: The lullaby differs from player to player.
-
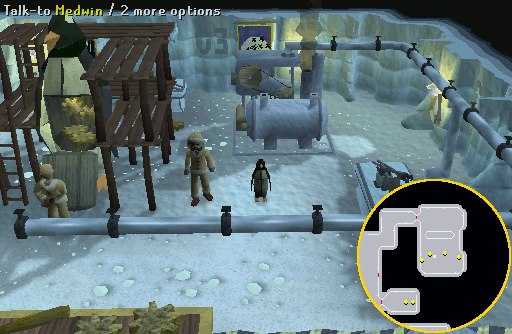
Head to the room towards the east and speak to Medwin. He will not believe that you are a spy and will ask you to remove you costume. Take off the suit and he will offer to help you if you are able to provide him with 3 penguin suits similar to yours.
-
Exit the room you're in and you will be evicted from the base for breaching security. Talk to Larry, who will tell you to give 8 Silk, 4 Plank, Needle, and Thread to Medwin. Speak to Larry again to become a penguin.
-
Go back into the base via the avalanche and operate the controls to get through the doors. Give the supplies to Medwin and he will teach you how to disable the submarine with his toolbox.
-
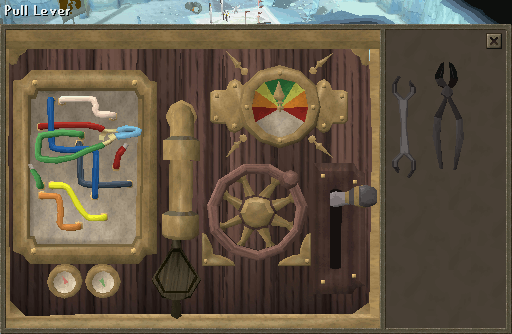
Inspect the Engine Panel in the room and follow the steps below to disable the submarine.
- Use the wrench to open the wire box cover.
- Cut the green and red wires with the wire cutters.
- Use the spare wire to rewire the green wire to the red wire.
- Wrap the tape around the raw ends.
- Pump air into the pipes using the bellows until the arrow is getting near the red.
- Turn the wheel but watch the gauge. Stop when the arrow points up on green. If you fail here, just pump the bellows again.
- Pull the lever, and the submarine will start on its new course.
-
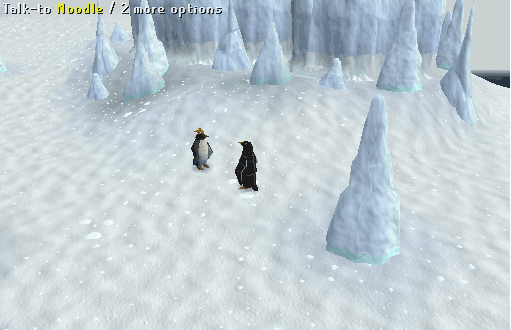
Head back to Larry outside of the base. He will tell you to acquire a fake I.D. to infiltrate further into the KGP base. Speak to Noodle outside the avalanche, who will exchange a Kgp id card in return for you owing a debt to the mafia.
-
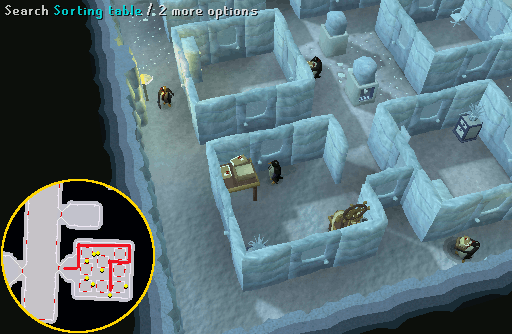
Enter the avalanche once again and enter the room to the east. Inside the room, you will find a maze. Make your way through the maze to the far southeastern cubicle and search the sorting table to receive a telegram. Now retrace your steps to leave the room.
- Head all the way north.
- Head all the way east.
- Head south one cubicle.
- Head west one cubicle.
- Head south two cubicles.
- Open the door and enter the room.
Note: If you are spotted by a penguin, you will be kicked out of the room, will lose the telegram, and will have to start over again.
-
Go back to Larry and show him what you have discovered. He will then ask you to meet him at the coast east of Yanille. Make your way to the coast east of Yanille. Talk to Larry to get back into the Clockwork suit. Put on the fish hat the Captured penguin was wearing and blow on the Conch shell. Perform the 3 emotes that your were told of before and enter the submarine.
Note: The 3 emotes and the hat to wear differ from player to player. If you forgot the emotes, head back to the Captured penguin to get hold of them again. The easiest way to reach Yanille is via the Lodestone Network home teleport spell. Alternatively, if you have started A Fairy Tale Part II - Cure a Queen, and have a Dramen staff, you can take the boat back to just outside Rellekka, and use the Fairy Ring on the nearby mountain. Enter the code CLS, and you will be teleported to Hazelmere's island.
-
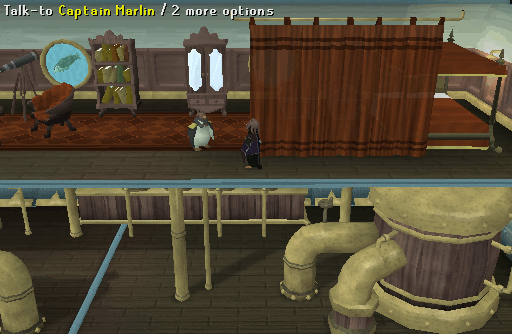
Once inside the submarine, climb up the ladder and head through the doors to the captain's room. Speak to Captain Marlin and either select to tell him the truth or to lie.
-
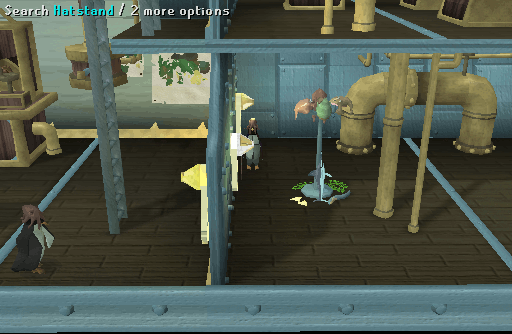
You will then be left in a room as a prisoner. Search the Hatstand to get some tools that will become your new toolbox. Use the Swordfish to open the door. Inspect the Engine Panel in the room and follow the steps below to disable the submarine. The submarine will now re-route itself.
- Use the Crab claw to open the Box cover.
- Cut the wires using the Shark tooth.
- Connect the wires with the Eel.
- Wrap the Seaweed around the raw end.
- Pump air into the pipes with the Pufferfish until the arrow is getting near the red.
- Turn the wheel using the Octopus, but watch the gauge. Stop when the arrow points up on green. If you fail here, just pump the bellows again.
- Use the Swordfish as the lever and pull it.
-
You will end up on a deserted island somewhere far away from Yanille. The dwarf will reveal that he has been a double agent in helping the King Penguin build the Submarine. Speak to Chuck the Polar Bear, disguised as a palm tree, to find out that he has been aiding Larry as he works for the PBJ. He will then sail you back to Ardougne Zoo.
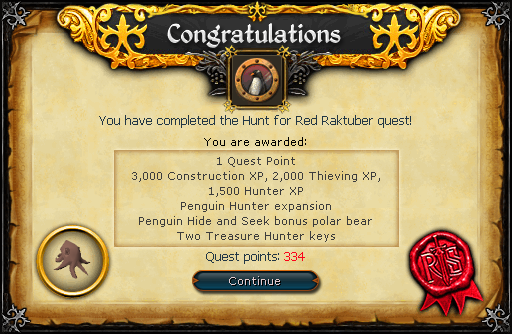
Congratulations! Quest Complete!
This Quest Guide was written by diamondi3ack, Kitty0333100, and Job is God. Thanks to Rody28, Kirsty, Eragon7985, bob, Alfawarlord, Im4eversmart, PKER2408, DarkAdivsor, Dameon10590, and Rednar for corrections.
This Quest Guide was entered into the database on Tue, Jun 02, 2009, at 01:24:16 PM by Alfawarlord, and it was last updated on Thu, Oct 01, 2015, at 11:01:34 AM by Jarkur.
If anything is incorrect or missing, or if you have any new information to submit to this database, please submit it to us on our Content Submissions Forums.
If you see this guide on any other site, please report it to us so we can take legal action against anyone found stealing our content. This guide is copyrighted by RuneHQ, and its use on other sites is expressly forbidden. Do not ask if you can use our guides or images, the answer is and always will be NO!
Print this page with images - Back to the Quest Guide Index Page - Back to Top
