

Must beat three level 91 demons.
Good Thieving and Agility is an advantage.
(Note: You might want to take a bow and arrows that you do not mind dropping. After certain points you will not need them again, and inventory space can get pretty low).
-
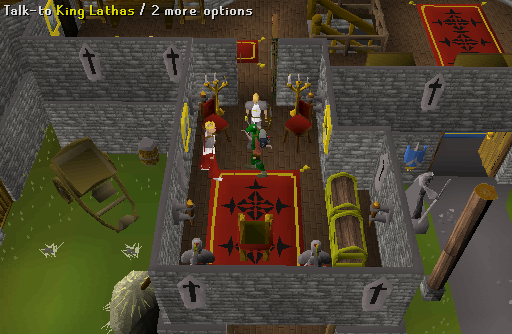
To start, talk to King Lathas who is on the second floor of the Paladin Castle in Ardougne. He describes the quest and directs you to his scout in West Ardougne.
-
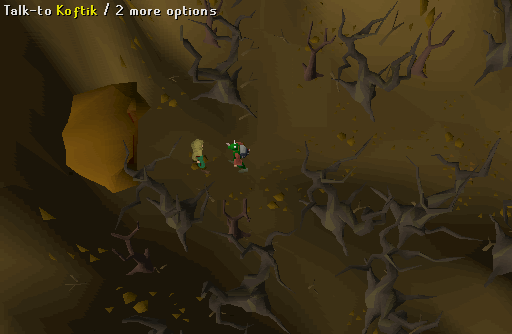
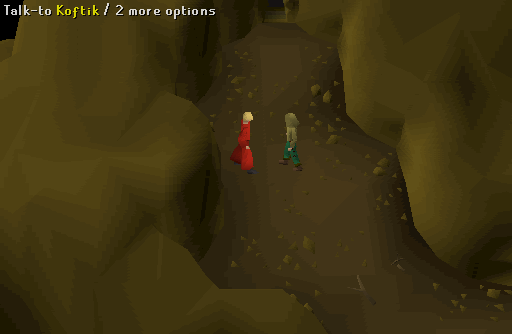
Head to West Ardougne, walk through the gates and go as far west as you can go and you should find Koftik; talk to him and then enter the cave near him.
-
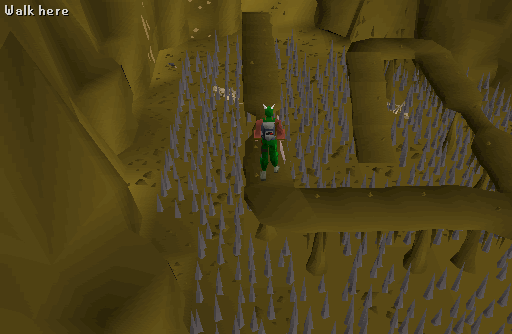
Now, here there are 2 choices. If you brought 2 ropes, you can use one rope on one of the stalactites, or you can use Agility to climb over the rocks. I recommend climbing the rockslides.
-
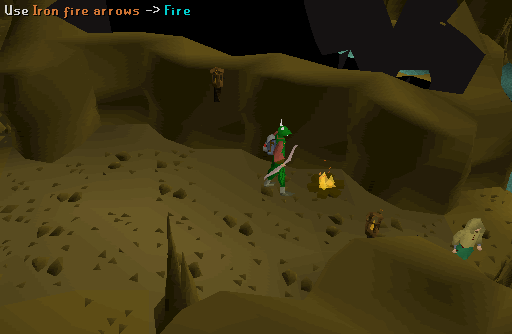
On the other side of swamp you meet Koftik again, talk to him and you get a damp cloth. Use it on the arrows you brought to get a fire arrow. Talk to him again to get another damp cloth and wrap it around the other arrows. Repeat until you have about 10 fire arrows. Use these arrows on the fire nearby to set them alight.
-
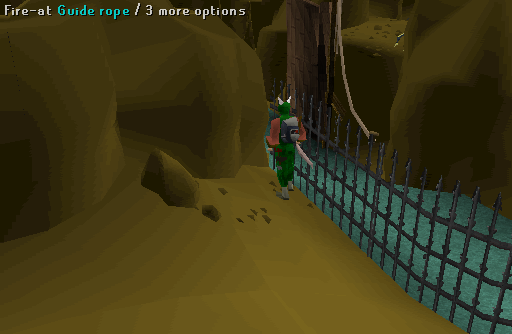
Now, go around the cliff to the east and then go north. You should be behind a fence, try shooting at the guide ropes that hold the bridge up. When you hit it you are automatically taken across it. Positioning is critical when shooting at ropes: you should be at fence in center of the length of the fence.
-
Now head north and pick up the plank that is guarded by blessed spiders then head south and follow the path which curves around to the east.
-
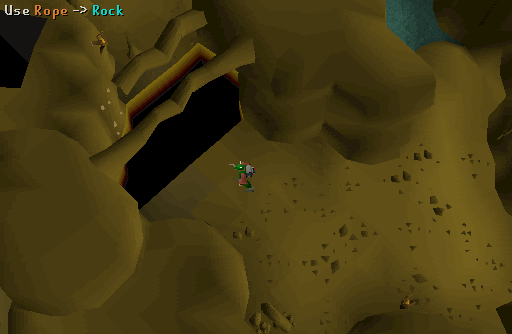
At a split in the path, the south side is a swamp and the north side is a gap. Use your rope on the pole-shaped rock above the gap to get across. [If you fail this obstacle, you will lose your rope and find yourself thrown into the "washout" dungeon. The sole path out of the "washout" dungeon forces you to cross numerous rockslides and then dumps you at the entrance to the underground path. At the very least, you will need another rope, since you lost yours on this obstacle.] Follow the path east and then south, climbing over a rockslide in a small alley. In the next area, climb west over another rockslide.
-
Now you should find Koftik, talk to him and you will find that he is slowly being possessed.
-
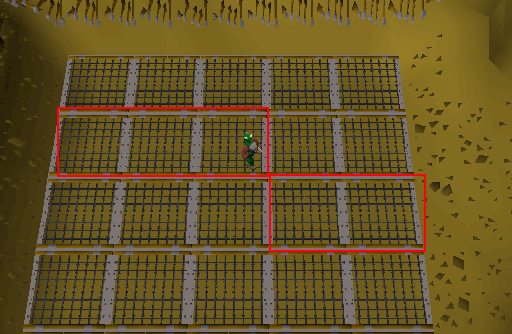
Here is the grid area. The safe path to cross the grid is different for each player, so experimentation is required to find the successful path which can be used for all future crossings. What worked for someone else may not work for you. The illustration here is just an example and will not work for everyone!! Write down your successful path as it will stay the same for you every time you come here. Every time you hit a bad square, you will fall through to the rocks below and take damage. If you fall, climb back up on the protruding rocks or you will continue to receive hits.
The trial-and-error method to find a way across is...
>Find the block you can stand on in the first row.
>Then try path 2 (straight across).
>If that doesn't work, position yourself in the closest corner of your working square exactly diagonal to the square you want to go to (each grid square is composed of four Runescape walking squares. If you don't get into the corner first, when you click on a diagonal square the game will walk you through a square that you already know doesn't work, and you'll be on the rocks again!) Then click on the diagonal square you wish to try (path 1 or 3).
Once you find one of those that work (path 3 in the illustrated example), try again path 2 (straight), 1, or 3.
Continue this process until you find a safe path across.
-
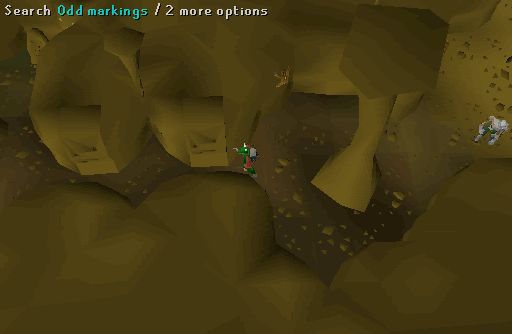
Once across, pull the lever next to the portcullis. It will open and automatically take you through. There are zombies and a furnace in this area. To the north-northwest is a one-way shortcut pipe that takes you back to before the rope-swing gap; you cannot use it to get back here. The west alley contains five spike traps; either run through if you are not very good at thieving, or try to search the odd markings and disarm the traps.

-
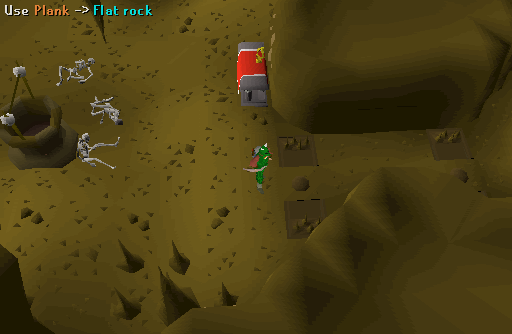
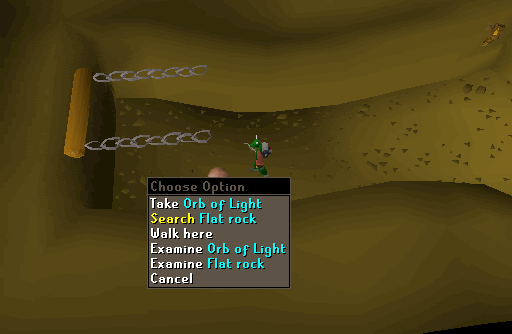
After the traps, there is a room with a well in the middle, as well as an old journal spawn and an altar. If you turn on prayers such as 2x hp restore and others, and keep recharging your prayer here, you can return to full health while conserving your food for later efforts. The first part is quite easy, go up the north road and notice there are flat rocks on the floor. Use the plank on the flat rocks to cross until you get to the orb of light, pick it up then return to the well.
-
Run across the northwest path trying not to get hit by the enemies, pick up the orb of light and return to the well.

-
The west path is the same as the north path, just use your plank on the flat rocks, pick up the orb of light and return to the well.
-
This is the easiest path, the southwest path. Search the flat stone under the orb, when you try to pick up the orb of light it will ask you if you want to disarm it. If you fail you will be damaged by a swinging log. When you have the orb return back to the well.
-
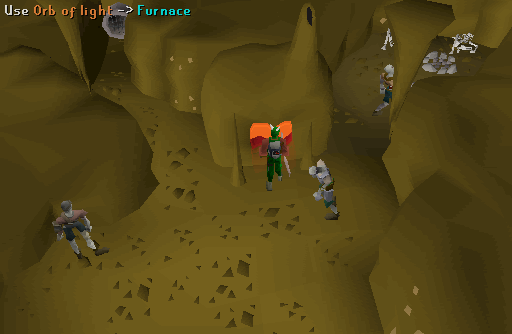
Now either run back across the path with the strange markings or search the odd markings and disarm the traps to return to the room with the zombies. Use all the orbs with the furnace and then go back to the room with the well by either disarming the traps or running.
-
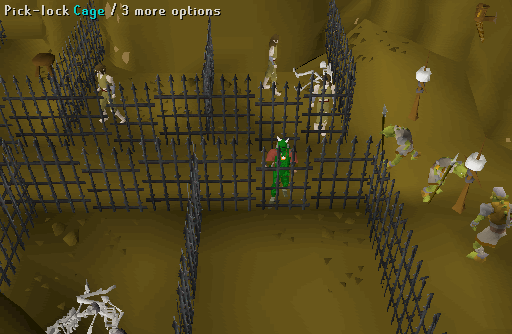
Climb down the well and search the crates nearby, one will contain some food. Now run across the path to get to some cages, pick lock the cage to the southeast. Use the spade on the mud to get through a tunnel.
-
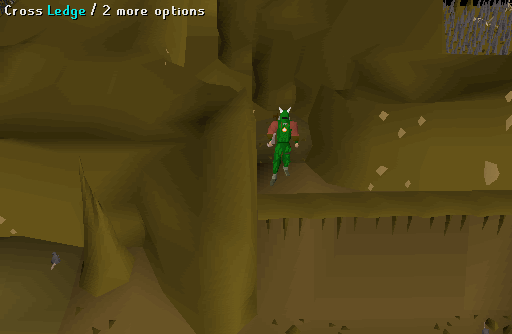
Head west and then cross the ledge south to get to another hard part. If you are a level 50+ thief then pick lock the gate and run east through the swamp past the rats to the other gate. Or, if you are a bad thief, then you need to cross the stone bridges to get to the other end. Falling off the stone bridges causes damage, and then you must follow a clear path back to the beginning of the stone bridges to try again. However, if you take the gate path once past the door, make your way through the swamp but sure you DON'T step on the bubbles or you'll have to start back at the beginning. That's right, you are suddenly starting over, outside the Underground Pass! This might be a good time to bank to replace all the food you spent on the grid since you'll know the correct path to follow this time.
-
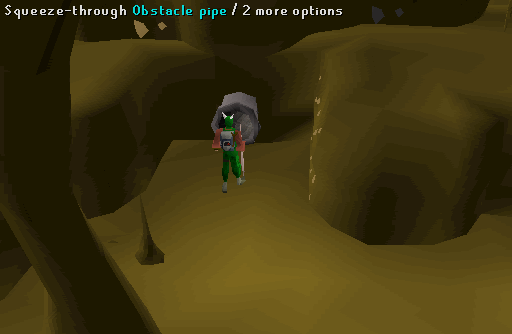
Follow the path south and go through the obstacle pipe.
-
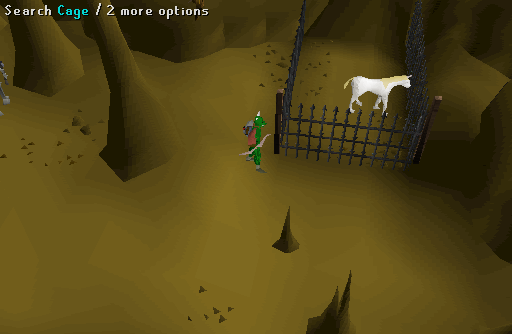
Search the Unicorn Cage for a railing. Go around to where the boulder is.
-
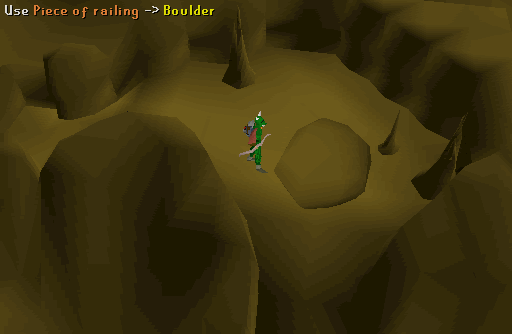
Use the Railing Pipe to move the boulder. Go back to the unicorn cage and search it for the unicorn horn.
-
Now enter the tunnel nearby.
-
Continue down the path past Zombies.
-
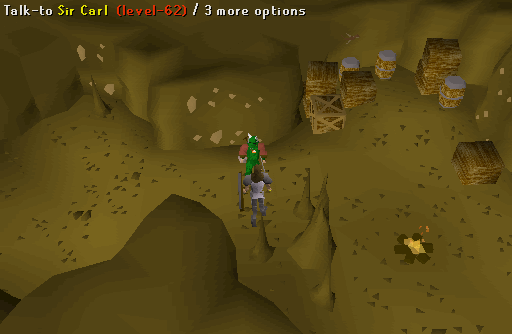
Talk to Carl the Paladin or Sir Jerro, he gives you food and a prayer potion. Then slaughter all three of the paladins to get the three Paladin badges (red, green and blue).
-
Continue down the path and use the Plank on the flat rock to disarm it.

-
Use the Unicorn horn and Crests on the well and go through the door. (Note this is the well you use your Iban Staff on to recharge it once you have finished the quest and have used all the charges).

-
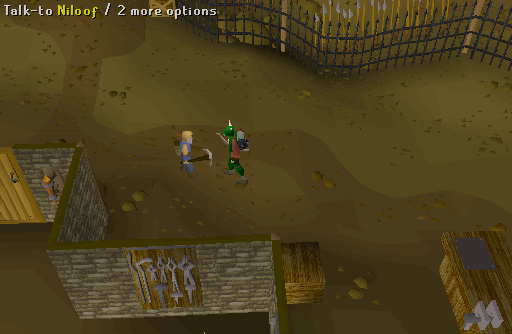
You are on second level of the Underground Pass dungeon (see Underground Pass Map). Head as far south as you can and look at the south wall to find a small staircase leading down. Once you're down, walk a bit to the west to find three dwarves in a small fenced area with two buildings. Talk to Niloof who will give you some food and mentions of a witch that knows Iban's secrets.
-
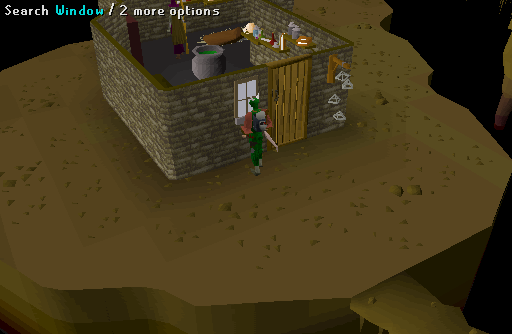
Now return to the second level of the dungeon by climbing upstairs. Head a little to the south-east where you can see a house, from there walk a little north where you can jump over a bridge. Walk along it and take the first turn south to find Kardia's house. Search the window and you'll hear her talking to herself about her missing cat.
Note: Do not attempt to open the door or you will take a hit causing up to 20 lifepoints damage.
-
Head north, take a left, hop across the gap, then take the north branch of the path. Follow it until you find the cat - denoted by a yellow dot on your minimap. Pick up the cat and return to witch's house again.
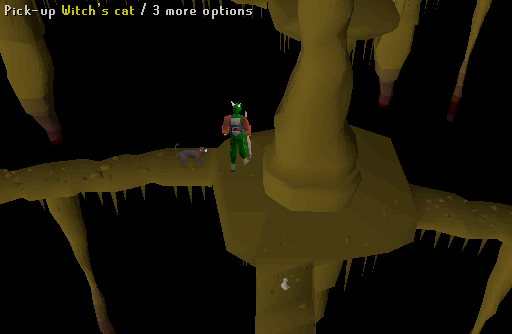
-
Use the cat on the door. You will automatically hide while she answers the door]; while she is playing with the cat, enter and search the chest near the door. You will find the Iban doll, an old journal, a stat restore potion and a super attack potion.
-
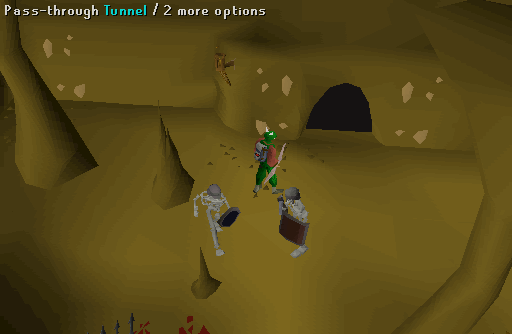
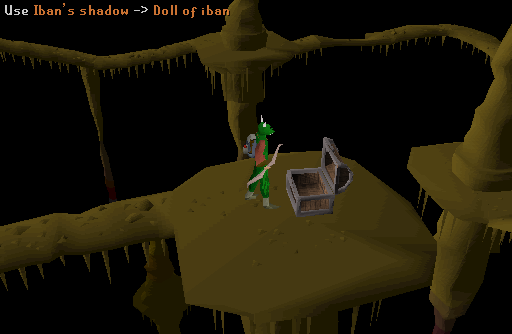
From the witch's house, go north, west, and then south to the three demons (see Underground Pass Map). Kill them and get their Amulets. Open the nearby Chest and get the Iban's shadow. Smear it on the Doll.
Note: If you are a low level or are using range or magic, there are safespots for killing the demons by standing on the narrow pathways.

-
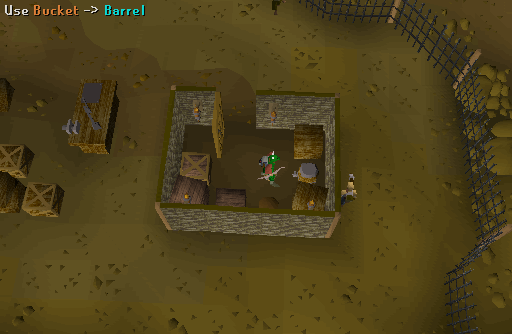
When you go back to dwarves (or if you fall you're at the dwarves), you should end in a HUGE open area. Go to the southwest for some Dwarves. After you've got the Witch's items, talk to all the dwarfs, Klank will give you Klank's Gauntlets and a Tinderbox. Take the Bucket. Empty the single indoor barrel in the house for Dwarf Brew. You can also get unlimited food from the drunken dwarf near Klank.
-
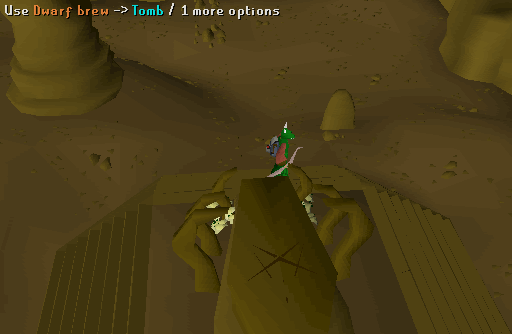
Go to the southeast part of this cavern to Iban's Tomb. Don't search it or you will take damage. Use the Dwarf brew on it and set it on fire with a Tinderbox. Take Iban's ashes and smear it on the Doll. You can now drop your Tinderbox and the Bucket.
-
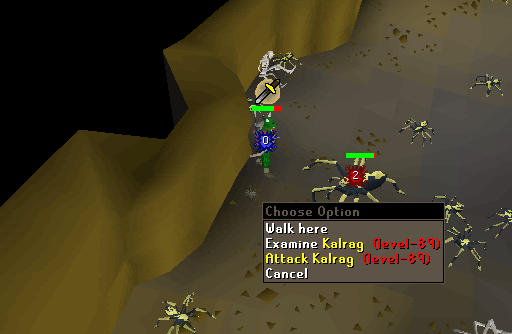
Go northeast into a canyon of spiders. At the north end of this area kill the HUGE spider (level 89). The blood automatically gets smeared on the Doll.
-
There is another set of stairs to the west of the spiders; these stairs will take you directly to the Soulless cage area for the next step.
-
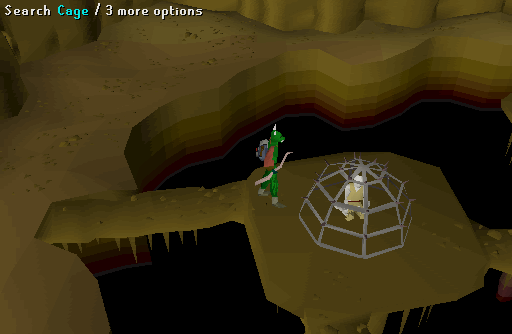
Go all the way northwest of the Maze. Wear Klank's Gauntlets, and Search Cages. The Soulless will bite you, but will fail because you're wearing nice Gauntlets. =) The cage that contains Iban's dove is very hard to find but keep at it and you should find it. Use Iban's dove with the Doll and you now have a Doll that is ready for the Final Battle
Note: when looking for Iban's dove, remember to look in both parts there are two parts with cages one northwestern (in the corner) and another a little more south from there...
-
Now get ready for the Final Battle. Head to the middle of the maze and kill some Iban Disciples to obtain Zamorak robes. Remove any weapons and armor, then equip the robes and go inside the temple.
Note: Before entering the temple, make sure that you have 3 inventory slots free or you may lose part of your reward (the Iban Staff, Death runes and Fire runes) since you are immediately teleported out of the room. If you need food Klank will sell some to you.
-
Iban will see you have the only weapon to destroy him, the complete Doll. He will blast spells at you! (Which looks like monster legs coming up from the floor).
-
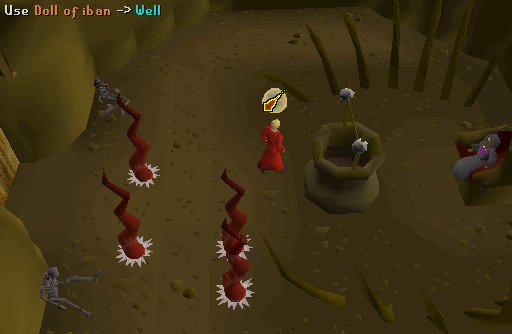
Run towards him, hopefully dodging the shots, and throw the Doll into the Well. Iban will die. Stay there it will take a little while for blasts to stop after you successfully throw Doll in well.
-
You will be transported to an underground area (this is why you need those empty spots in your inventory: you will not have time to eat and will miss your reward if you don't have empty spots!) Talk to the helper again and he'll take you outside.
-
Go back to King Lathas and report that Iban is dead. You can keep Klank's Gauntlets.
Some time after you have completed this Quest, King Lathas will send a courier to you with a message. This will allow you to begin the Regicide Quest.
This Old School Quest Guide was written by Swaty and quackmann. Thanks to Fireball0236, Stormer, jimfromtx, ImaGasLT, jfta0007, Slow Cheetah, Ghoulies, u gone lol, HEAT, einsteinman, JoshB, Master242424, martori, greatgecko, DRAVAN, pokemama, Eq_S_Guy, meowmix686,Maury75, Tenseiken, aeacus_1, Cuine100, McSwindler, ClickMeMore, Jarkur, bluerange77, NewOreo, Durp, DarkPyroNinja, Lucretius132, and L ogan for corrections.
This Old School Quest Guide was entered into the database on Mon, Apr 19, 2004, at 08:03:18 PM by DRAVAN and CJH, and it was last updated on Tue, Jul 04, 2017, at 03:22:43 AM by L1ttleR3d.
If anything is incorrect or missing, or if you have any new information to submit to this database, please submit it to us on our Content Submissions Forums.
If you see this guide on any other site, please report it to us so we can take legal action against anyone found stealing our content. This guide is copyrighted by RuneHQ, and its use on other sites is expressly forbidden. Do not ask if you can use our guides or images, the answer is and always will be NO!
Print this page with images - Back to the Old School Quest Guide Index Page - Back to Top
